
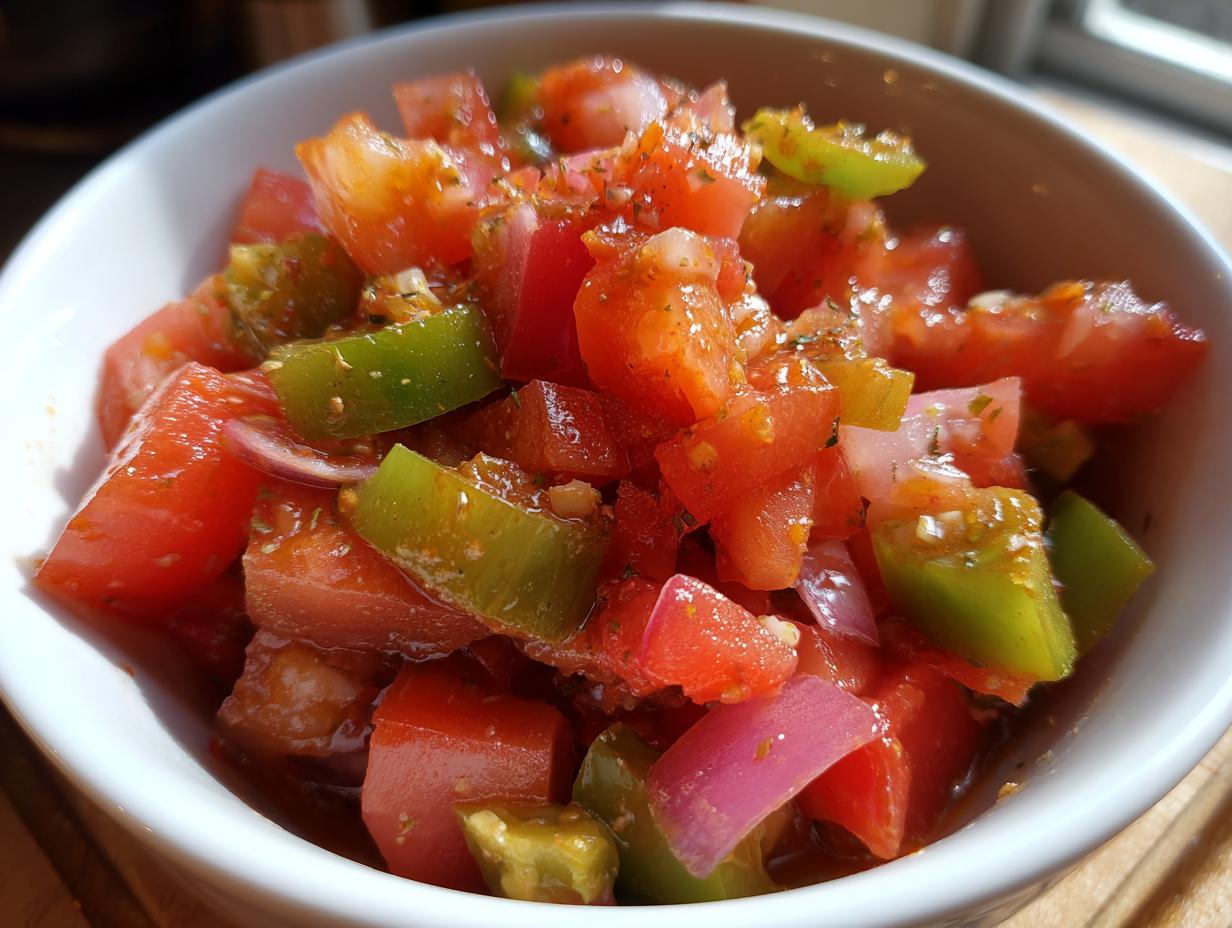
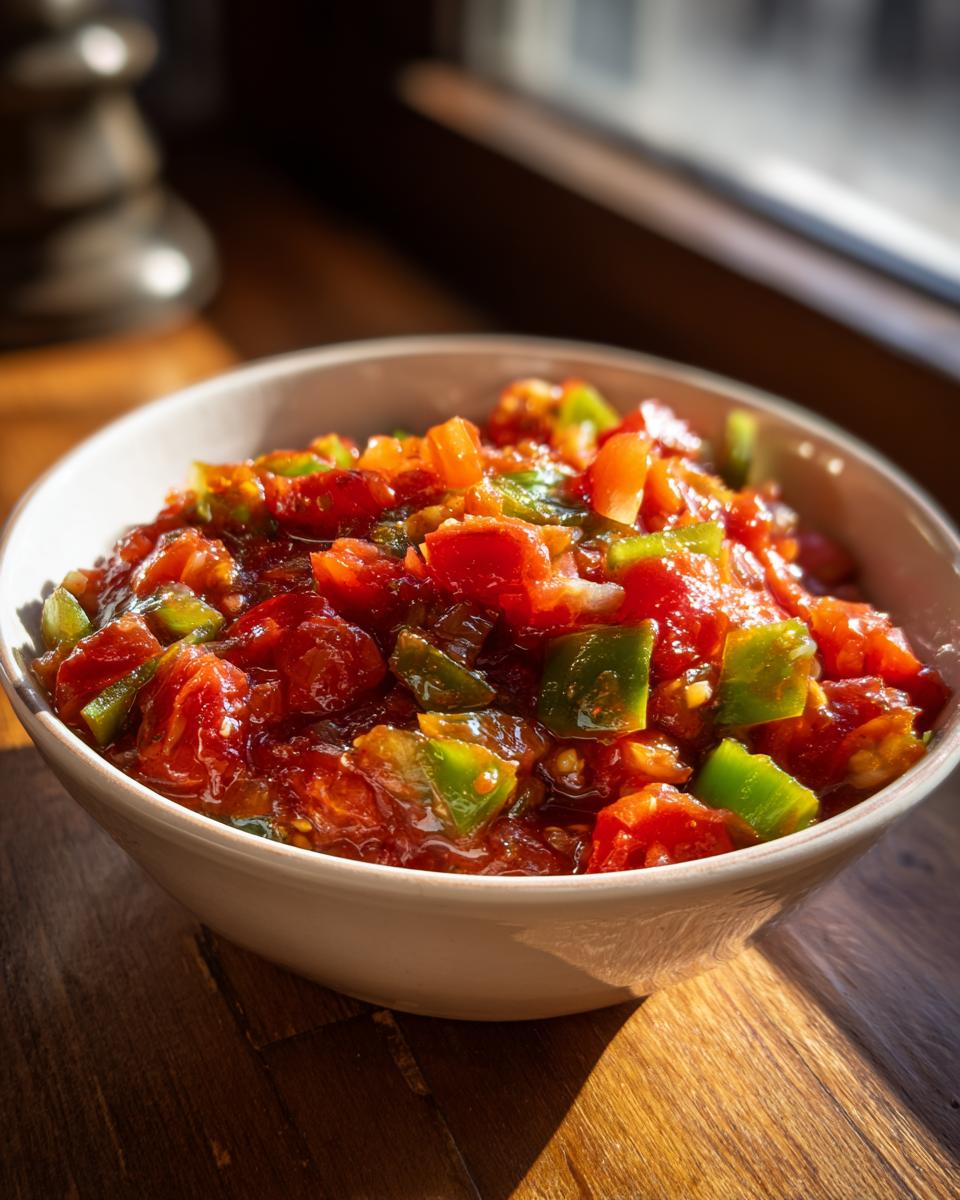
Oh, the joy of a garden overflowing with ripe tomatoes and peppers! There’s nothing quite like preserving that fresh-from-the-garden goodness so you can enjoy it all year long. That’s exactly why I’m so excited to share this absolutely tested water-bath salsa recipe with you. It’s perfect for canning and has this wonderful chunky texture that everyone loves. Plus, you can totally tweak the spice level to make it just right for your family – whether you like a little kick or a full-on fiesta! I’m Olivia Rosewood, and the heart behind DelishCraze has always been about bringing people together through food, just like my grandma used to do. This homemade salsa is a little piece of that connection, brought straight from your garden to your pantry. You can learn more about our story here.
- Why You'll Love This Homemade Salsa for Canning
- Essential Ingredients for Your Homemade Salsa
- Step-by-Step Guide to Making Homemade Salsa
- Tips for Success with Your Homemade Salsa
- Storing Your Chunky Salsa Preserve
- Frequently Asked Questions About Homemade Salsa
- Estimated Nutritional Information
- Share Your Homemade Salsa Creations!
Why You’ll Love This Homemade Salsa for Canning
Trust me, this homemade salsa recipe is going to be your new best pantry friend! Here’s why:
- Super Easy to Make: Seriously, even if you’re new to canning, this recipe walks you through it step-by-step. I promise it’s not as intimidating as it sounds!
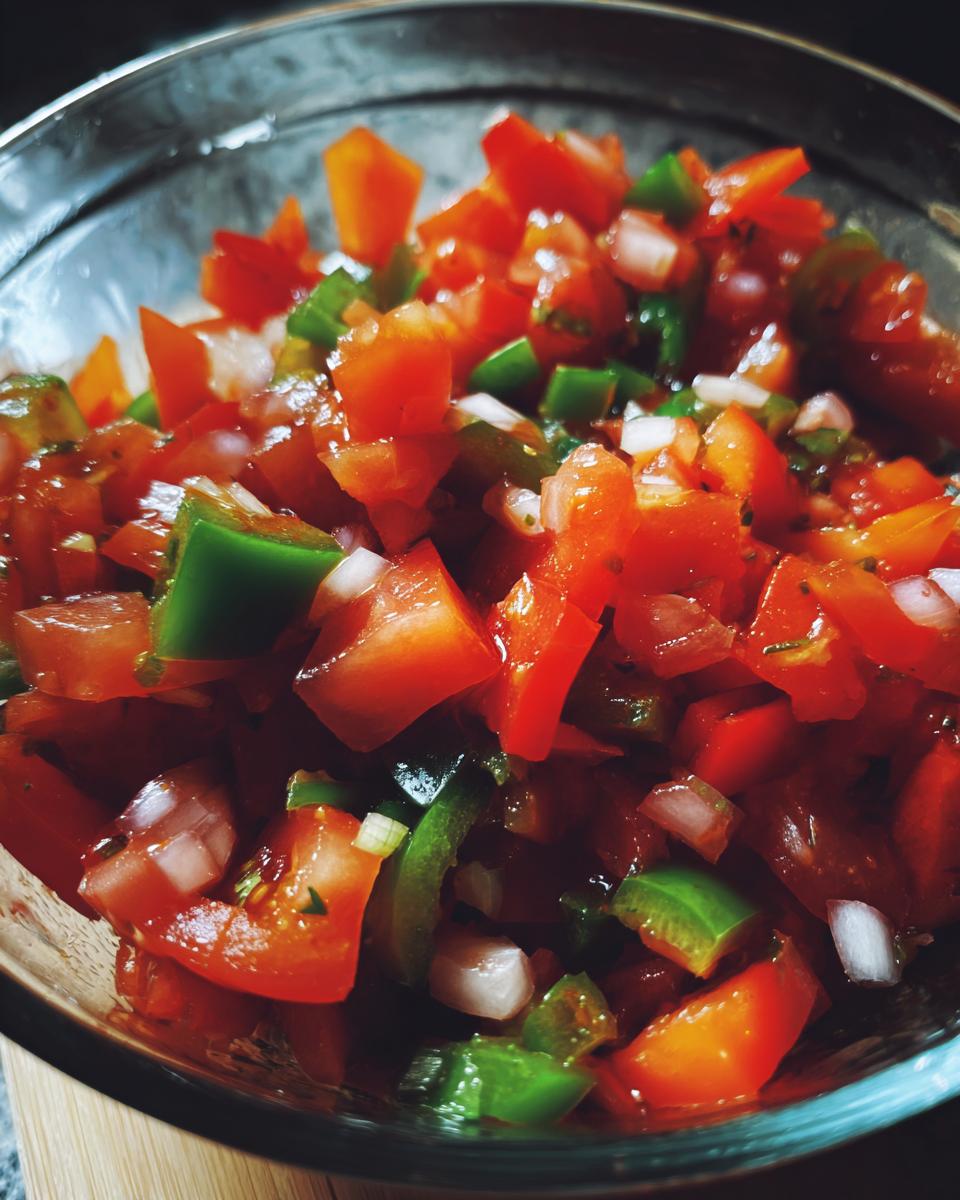
- Bursting with Fresh Flavor: It tastes like summer in a jar! Perfect for using up all those garden veggies when they’re at their peak.
- Tested for Safe Canning: This is a tested water-bath recipe, so you know it’s safe for your canner. That’s huge when you’re preserving your harvest!
- Totally Versatile: Great with chips, piled on tacos, or as a base for other dishes. Dress it up or down!
Essential Ingredients for Your Homemade Salsa
Alright, let’s talk ingredients! To make this amazing homemade salsa for canning, you’ll need a few things. Don’t worry, they’re all pretty standard and easy to find! Remember, for safe canning, it’s super important that your vinegar has at least 5% acidity – so grab that distilled white vinegar and make sure it’s the right kind. Here’s what you’ll need:
You’ll want:
- 6 cups of peeled, cored, and chopped tomatoes (this is about 3 pounds of tomatoes, so grab a good amount!)
- 1 cup of chopped green bell peppers (roughly 1 large pepper)
- 1 cup of chopped onions (about 1 medium onion will do)
- 2 to 4 jalapeno peppers, finely chopped. If you’re watching the heat, just remove those seeds!
- 4 cloves of garlic, all minced up nice and fine.
- 1/2 cup of distilled white vinegar (make sure it’s 5% acidity – this is key for safe canning!)
- 1 teaspoon of salt
- 1 teaspoon of dried oregano
- 1/2 teaspoon of ground cumin
- 1/4 teaspoon of cayenne pepper (this is optional, but if you like it spicy, go for it!)
Step-by-Step Guide to Making Homemade Salsa
Alright, let’s get down to business and turn those beautiful garden goodies into delicious homemade salsa! This is where all the magic happens, and honestly, seeing those jars lined up, ready to be enjoyed, is just the best feeling. We’re going to walk through this together, step-by-step, so you get a perfect water bath tomato salsa every single time. And remember, we’re sticking to tested methods that make sure your salsa is safe and sound for canning.
Preparing Your Canning Equipment
First things first, let’s get our canning station ready. You’ll need your water bath canner, jars, lids, and bands. Fill your canner about two-thirds full with water and get it simmering gently. While that’s heating up, wash all your jars, lids, and bands really well with hot, soapy water, then rinse them thoroughly. You want to keep those jars nice and hot until you’re ready to fill them – this helps prevent them from breaking when they meet that hot salsa!
Cooking the Chunky Garden Salsa
Now for the fun part – making the salsa itself! Grab a big, non-reactive pot because we’re about to combine all those flavorful ingredients. Toss in your chopped tomatoes, bell peppers, onions, those finely chopped jalapenos (remember to remove seeds if you want less heat!), and the minced garlic. Then, add in the vinegar, salt, oregano, cumin, and that optional cayenne pepper if you’re feeling brave! Give it all a good stir to make sure everything is well combined. Bring this mixture up to a boil over medium-high heat, stirring now and then. Once it’s boiling, reduce the heat and let it simmer for a good 20 minutes. This helps all those yummy flavors meld together and will thicken things up just a bit, giving you that perfect chunky texture for your homemade salsa.
Safe Canning Process for Salsa
Okay, this is the crucial part for making sure your delicious creation is shelf-stable and safe! Carefully ladle that hot salsa into your hot jars. Be sure to leave about a half-inch of headspace at the top – this is super important for a good seal. Use a little tool or a thin spatula to gently remove any air bubbles that might be hiding in there. Wipe the rims of the jars clean with a damp cloth; any little bit of salsa on the rim can prevent a proper seal. Center your lids on the jars, and then screw on the bands until they’re just fingertip tight. You don’t want to crank them down too hard! Now, carefully place the filled jars into your simmering canner, making sure they’re covered by at least an inch of water. Bring the water back up to a rolling boil, and then start your timer! For pints, you’ll process for 15 minutes, and for quarts, it’s 20 minutes. (Remember to adjust for altitude if you live above sea level!). After the time is up, turn off the heat, take the canner lid off, and let the jars sit in the hot water for another 5 minutes. This little rest helps ensure those seals are solid. Finally, carefully take the jars out and set them on a towel-lined counter to cool completely, usually for about 12 to 24 hours. Don’t tighten the bands. Check the seals the next day – if a lid popped, just refrigerate that salsa and enjoy it soon!
Tips for Success with Your Homemade Salsa
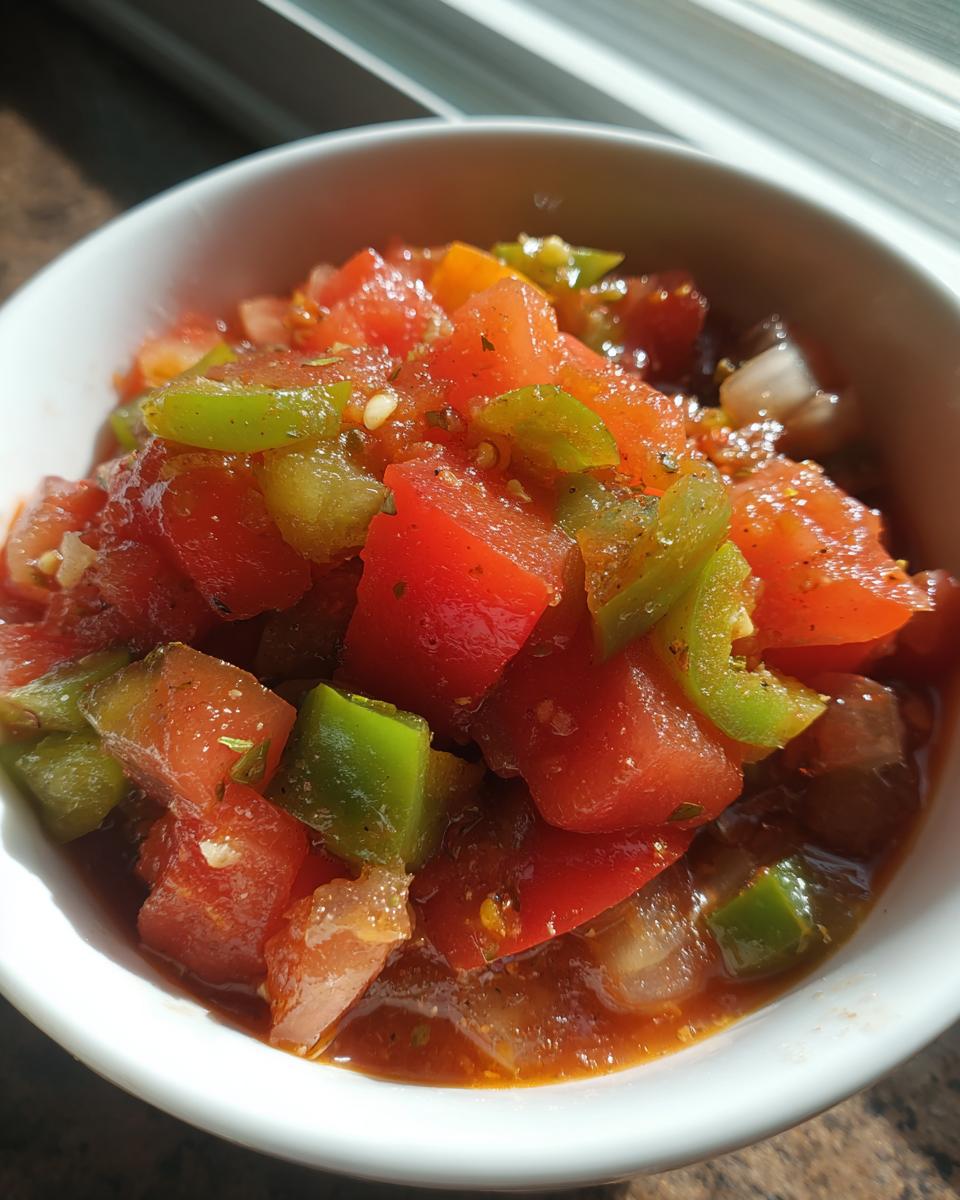
Alright, let’s make sure your spicy garden salsa turns out absolutely amazing! A few little tricks can really make all the difference. First off, use the best fresh tomatoes you can find – ripe ones will give you the best flavor and acidity, which is really important for canning safety. If you’re looking to dial up or down the heat, it’s all about those jalapenos! Keep the seeds in if you want some serious fire, or take ’em all out (and maybe even remove the membranes) for a milder salsa. For those of you who prefer a smoother salsa but still want that homemade goodness, you can totally pulse some of your ingredients in a food processor before you combine them. Just don’t go too crazy and puree it; we still want a little texture!
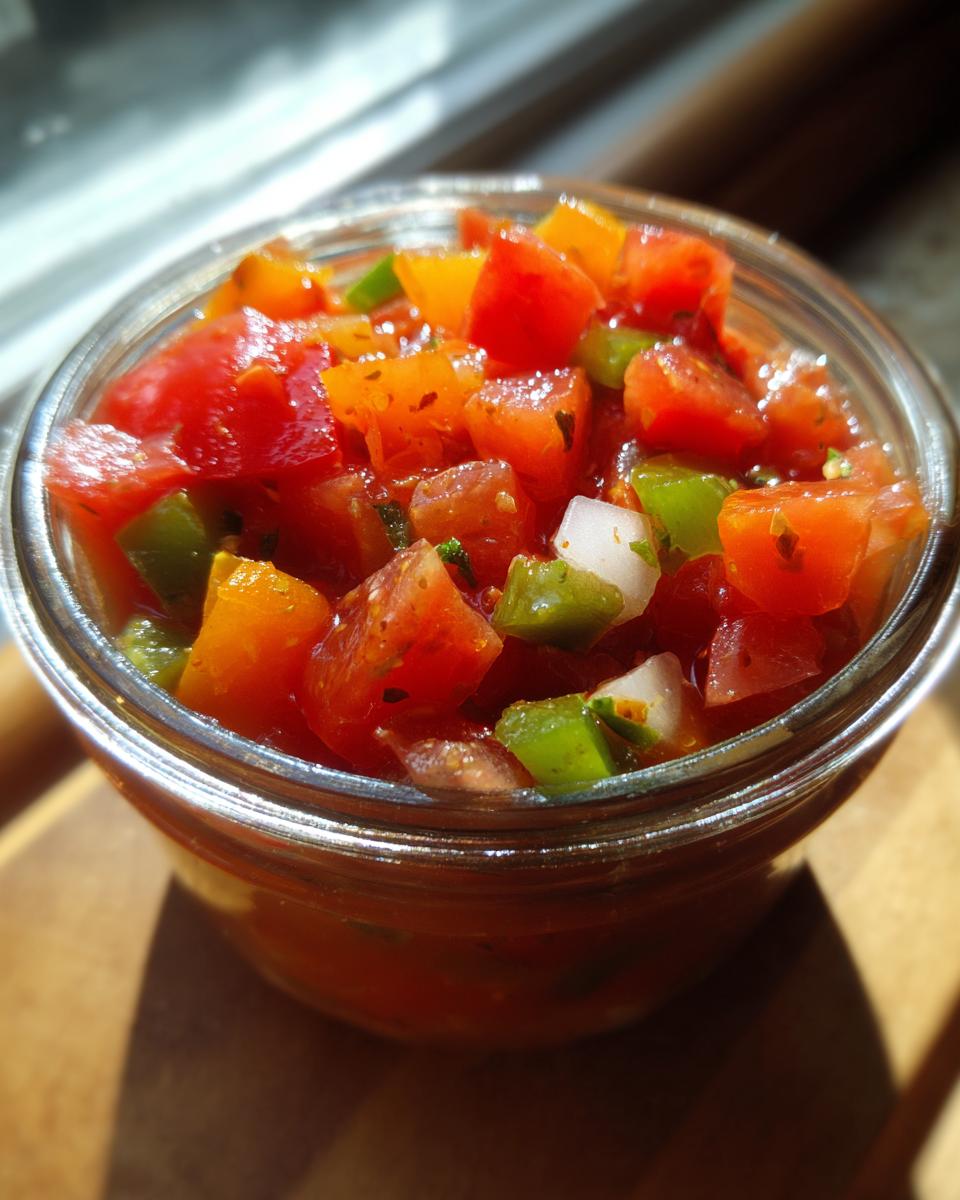
Storing Your Chunky Salsa Preserve
Woohoo, you did it! You’ve got beautiful jars of homemade salsa ready to go. Now, let’s talk about storing this chunky salsa preserve so it stays delicious for those chilly winter taco nights. After your jars have cooled for a good 12-24 hours (remember, don’t tighten those bands!), it’s time to check if they sealed properly. Just give each lid a gentle press. If it doesn’t pop or flex at all, you’ve got a good seal! Store those sealed jars in a cool, dark place, like a pantry or cellar. They’ll be good for up to a year! If a lid didn’t seal, no worries! Just pop that jar in the fridge and enjoy it within a week.
Frequently Asked Questions About Homemade Salsa
Got questions about making your own canned salsa? I get it! Canning can seem a little daunting at first, but I promise, it’s totally do-able, and the results are SO worth it. Here are a few things people often ask about this homemade salsa recipe:
Can I Use Fresh Tomatoes for This Homemade Salsa?
Absolutely! Fresh, ripe tomatoes are the best choice for this recipe. They give you the most vibrant flavor and also have the right acidity, which is super important for safe canning. When your tomatoes are nice and ripe, they just burst with deliciousness!
How to Make This Salsa Less Spicy?
It’s super easy to control the heat in your homemade salsa! For a milder version, the biggest trick is to completely remove the seeds and the white membranes from the jalapeno peppers before you chop them. Those are where most of the heat hides! You can also skip the optional cayenne pepper altogether.
Is This Homemade Salsa Recipe Safe for Canning?
Yes, yes, and YES! This recipe is specifically designed as a safe canning salsa recipe. We’re using a tested water-bath method, the correct amount of 5% acidity vinegar, and precise processing times. Following these steps ensures your salsa is safe to store on the shelf!
Estimated Nutritional Information
Just so you know, this information is an estimate, like a ballpark figure! It can change a bit depending on the exact tomatoes and brands you use. But generally, a 1/4 cup serving is about:
- Calories: 30
- Total Fat: 0g
- Sodium: 200mg
- Total Carbohydrates: 7g
- Dietary Fiber: 1g
- Sugars: 5g
- Protein: 1g
Share Your Homemade Salsa Creations!
I absolutely LOVE seeing what you all create in your kitchens! Did you make this homemade salsa? Tell me all about it in the comments below! I’d love to hear how it turned out, if you tweaked the spice, or what you served it with. And if you shared a pic on social media, tag me – I can’t wait to see your beautiful jars! If you have any questions or want to share recipe ideas, feel free to reach out via our contact page!
PrintHomemade Garden Salsa for Canning
A tested water-bath salsa recipe perfect for preserving your garden’s bounty. This recipe offers a chunky texture and can be adjusted for spice level.
- Prep Time: 30 min
- Cook Time: 30 min
- Total Time: 60 min
- Yield: About 6 pints 1x
- Category: Preserves
- Method: Water Bath Canning
- Cuisine: American
- Diet: Vegetarian
Ingredients
- 6 cups peeled, cored, and chopped tomatoes (about 3 lbs)
- 1 cup chopped green bell peppers (about 1 large)
- 1 cup chopped onions (about 1 medium)
- 2–4 jalapeno peppers, finely chopped (seeds removed for less heat)
- 4 cloves garlic, minced
- 1/2 cup distilled white vinegar (5% acidity)
- 1 teaspoon salt
- 1 teaspoon dried oregano
- 1/2 teaspoon ground cumin
- 1/4 teaspoon cayenne pepper (optional, for extra heat)
Instructions
- Prepare your water bath canner, jars, lids, and bands. Fill the canner about two-thirds full with water and bring to a simmer. Wash jars, lids, and bands in hot soapy water and rinse well. Keep jars hot until ready to fill.
- In a large non-reactive pot, combine chopped tomatoes, green bell peppers, onions, jalapeno peppers, and minced garlic.
- Add the vinegar, salt, oregano, cumin, and cayenne pepper (if using).
- Stir to combine all ingredients.
- Bring the mixture to a boil over medium-high heat, stirring occasionally.
- Reduce heat and simmer for 20 minutes, stirring often, to allow flavors to meld and slightly thicken.
- Carefully ladle the hot salsa into hot jars, leaving a 1/2-inch headspace. Remove air bubbles. Wipe jar rims clean with a damp cloth.
- Center the lids on the jars and screw on the bands until fingertip tight.
- Place jars in the simmering water bath canner, ensuring they are covered by at least 1 inch of water.
- Bring water to a rolling boil, then start the processing time: 15 minutes for pints or 20 minutes for quarts (adjust for altitude if necessary).
- Turn off the heat, remove the canner lid, and let jars sit in the canner for 5 minutes.
- Carefully remove jars from the canner and place them on a towel-lined counter to cool completely, about 12-24 hours. Do not tighten bands.
- Check seals after 12-24 hours. If a lid has not sealed, refrigerate the salsa and consume within a week. Properly sealed jars can be stored in a cool, dark place for up to a year.
Notes
- For a smoother salsa, you can pulse some of the ingredients in a food processor before combining, but do not puree.
- Adjust the number of jalapeno peppers and the amount of cayenne pepper to control the spice level.
- Always use vinegar with at least 5% acidity for safe canning.
- Ensure your tomatoes are ripe and have good flavor.
Nutrition
- Serving Size: 1/4 cup
- Calories: 30
- Sugar: 5g
- Sodium: 200mg
- Fat: 0g
- Saturated Fat: 0g
- Unsaturated Fat: 0g
- Trans Fat: 0g
- Carbohydrates: 7g
- Fiber: 1g
- Protein: 1g
- Cholesterol: 0mg