
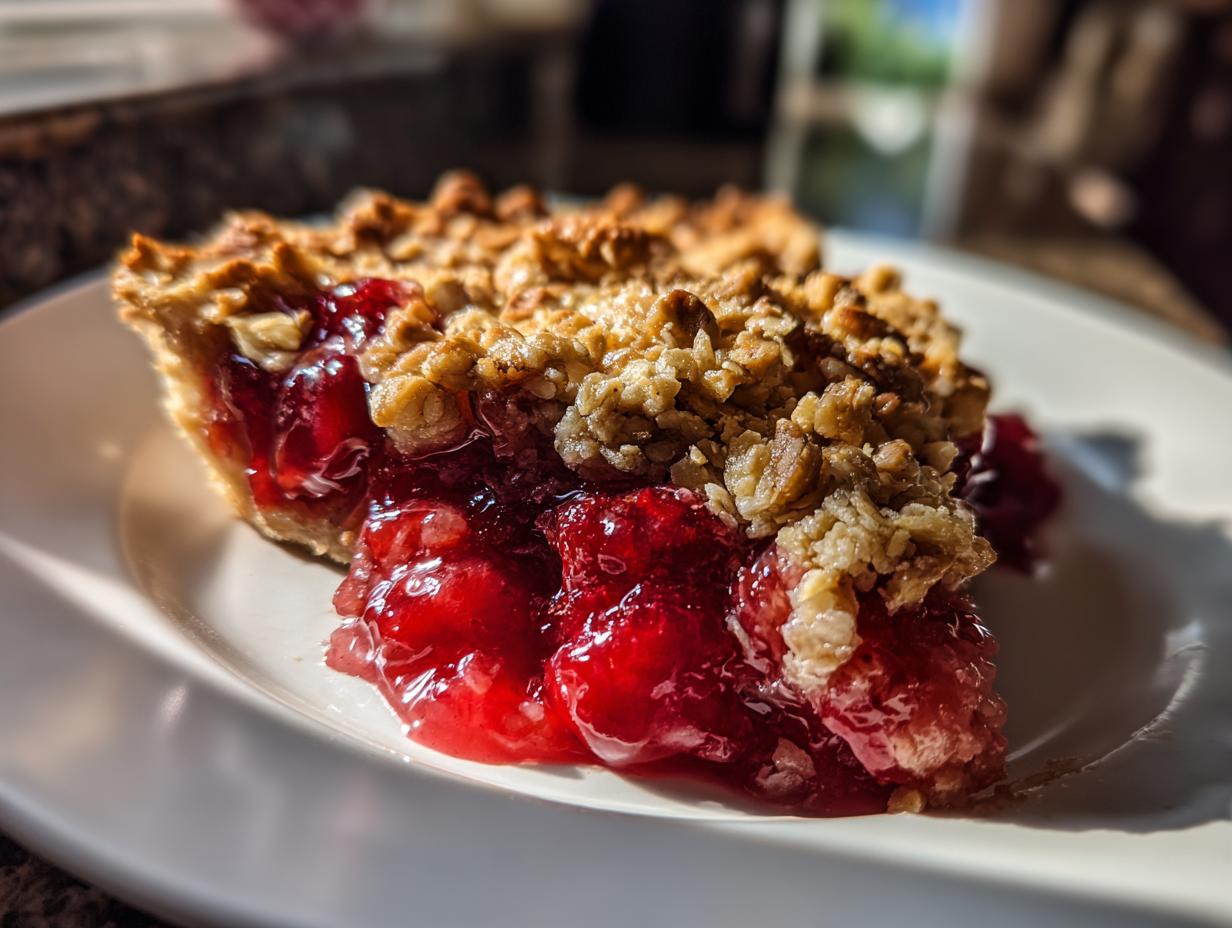
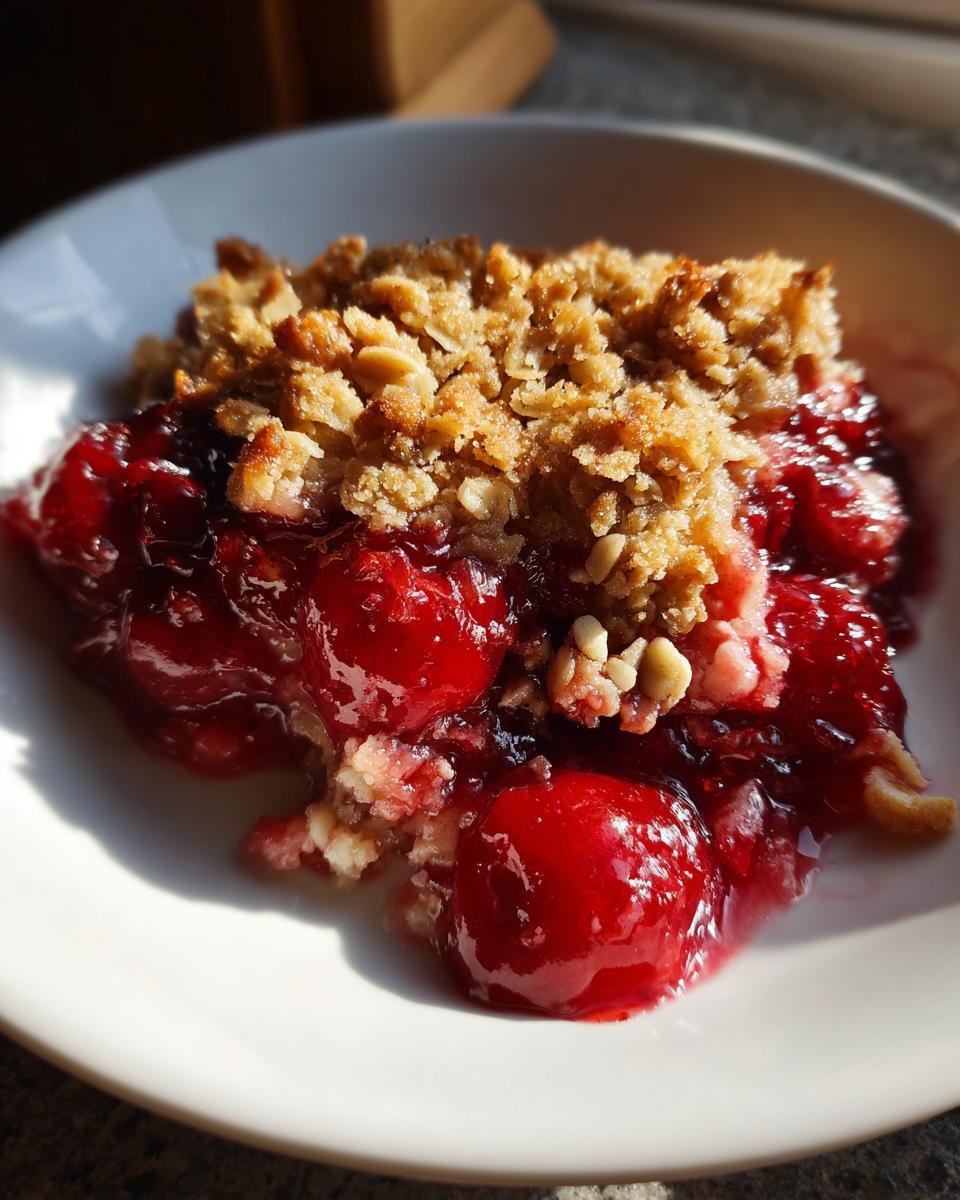
Oh, that feeling when summer rolls around and you’re just *craving* something sweet, a little tart, and ridiculously easy? My heart basically sings for a good fruit crisp! And let me tell you, this sour cherry crisp recipe is just IT. Forget fussy crusts, this is all about plopping a bunch of delicious, slightly tangy cherries into a dish and topping them with the most amazing, buttery, crunchy oat and nut crumble. It’s one of those recipes that just makes sense, especially when you’ve got a basket brimming with fresh (or even frozen!) tart cherries. It’s a perfect example of how simple ingredients, like the ones Olivia’s always focused on over on the DelishCraze About page, can come together to create pure comfort food magic. This one is seriously a summer baking hero!
- Why You'll Love This Easy Sour Cherry Crisp Recipe
- Ingredients for the Best Sour Cherry Crisp
- How to Make Sour Cherry Crisp: A Step-by-Step Guide
- Tips for the Perfect Homemade Sour Cherry Crisp
- Ingredient Notes and Substitutions for Your Sour Cherry Crisp
- Make-Ahead and Storage for Your Sour Cherry Crisp
- What to Serve with Your Tart Cherry Crumble
- Frequently Asked Questions about Sour Cherry Crisp
- Approximate Nutritional Information for Sour Cherry Crisp
Why You’ll Love This Easy Sour Cherry Crisp Recipe
Now, let me tell you why this sour cherry crisp is about to become your go-to summer dessert. Seriously, you’re going to love it!
- Super Easy Prep: We’re talking about 10 minutes, tops, to get this into the oven. Perfect for those busy weeknights or when you need a dessert, like, yesterday!
- Amazing Flavor Combo: The sweet tang of the sour cherries is just perfection against that buttery, crunchy oat and nut topping. It’s pure summer deliciousness!
- So Versatile: Whether you use fresh cherries from the farmer’s market or bag up some frozen ones, this crisp handles it all like a champ. Plus, it’s easily adaptable for gluten-free needs!
Ingredients for the Best Sour Cherry Crisp
Alright, let’s get our ingredients lined up for this seriously tasty sour cherry crisp. Don’t worry, nothing too fancy here, just good stuff that comes together beautifully!
- For the Filling:
- 4 cups sour cherries, either fresh or frozen (if frozen, no need to thaw!)
- 1/2 cup granulated sugar
- 2 tablespoons cornstarch (this is our secret to a perfectly thickened, not runny, filling!)
- 1 teaspoon lemon zest (brightens everything up!)
- 1/2 teaspoon ground cinnamon
- 1/4 teaspoon ground nutmeg
- For the Oat & Nut Topping:
- 1 cup all-purpose flour (or your favorite gluten-free blend!)
- 1 cup rolled oats (the old-fashioned kind work best for texture)
- 1/2 cup packed light brown sugar (adds that lovely caramel note)
- 1/2 cup chopped pecans or walnuts (or a mix! Your choice!)
- 1/2 teaspoon salt (balances all that sweetness)
- 3/4 cup (that’s 1 1/2 sticks!) cold unsalted butter, cut into small cubes (cold is key here for that crumbly texture!)
How to Make Sour Cherry Crisp: A Step-by-Step Guide
Seriously, this is where the magic happens, and it’s SO easy, you’ll think you’re cheating! We’re talking about getting this delicious sour cherry crisp ready for the oven in about 10 minutes flat. That’s less time than it takes to decide what to watch on TV, I swear!
Preparing the Tart Cherry Filling
First things first, let’s get those gorgeous tart cherries ready. Just toss them right into a big bowl with the granulated sugar, cornstarch (this little guy thickens everything up perfectly so it’s not runny!), lemon zest for brightness, cinnamon, and nutmeg. Give it all a good stir until everything looks nice and combined. Then, dump that beautiful cherry mixture into your baking dish – an 8×8 inch one is perfect, or anything similar. Easy peasy!
Creating the Sour Cherry Crisp Oat Topping
Now for the best part: that irresistible crispy topping! Grab another bowl and whisk together your flour, those lovely rolled oats, the packed brown sugar, chopped nuts (pecans or walnuts, whatever you fancy!), and a pinch of salt. Then, toss in your cold butter cubes. I like to use my fingertips for this part – just rub the butter into the dry stuff until it looks like coarse crumbs, maybe with a few bigger pea-sized bits still hanging around. It’s supposed to be rustic!
Assembling and Baking Your Sour Cherry Crisp
Okay, time to bring it all together! Sprinkle that crumbly topping evenly all over the cherry filling in the dish. Make sure you get it all covered! Now, pop that beauty into your preheated oven at 375°F (190°C). You’ll want to bake it for about 35 to 45 minutes. You’ll know it’s ready when the topping is a gorgeous golden brown and you can see the cherry filling bubbling happily around the edges. Let it cool for at least 15 minutes before you dive in – trust me, it helps the filling set up just right!
Tips for the Perfect Homemade Sour Cherry Crisp
Okay, so making this sour cherry crisp is already pretty foolproof, but I’ve picked up a few little tricks over the years that can take it from *really good* to absolutely *perfect*. You know, those little things that make all the difference?
First off, about the cherries: don’t stress too much about fresh vs. frozen. Honestly, both work totally great! If you’re using frozen, just toss them in straight from the freezer – no need to thaw them out. They’ll release their juices as they bake. My little trick for avoiding a soggy bottom? Make sure you really get that cornstarch mixed into the cherries; it’s the key to a lovely, thick filling instead of a watery one. And for the topping, remember the butter *has* to be cold! Cold butter means those lovely little chunks stay solid through most of the baking, creating that amazing crunchy texture we all love in a crisp. If your butter gets too warm, you’ll end up with more of a greasy paste, and nobody wants that!
Ingredient Notes and Substitutions for Your Sour Cherry Crisp
Now, let’s chat about the ingredients themselves and how you can make this sour cherry crisp recipe absolutely perfect for *you*. Sometimes you might not have exactly what the recipe calls for, or maybe you’ve got dietary needs to think about, and that’s totally okay! We can totally tweak things.
For starters, the cherries! I mentioned both fresh and frozen sour cherries work great, and it’s true. If you can’t find sour cherries, and honestly, sometimes they can be a little tricky to track down, you *could* use sweet cherries in a pinch, but you’ll want to cut back on the sugar a bit, and it won’t have that lovely tart punch. Also, if you’re baking this gluten-free, no problem! Just swap out the all-purpose flour in the topping for a good quality gluten-free all-purpose flour blend, or even experiment with almond flour for a slightly different, nutty flavor. And nuts in the topping? Totally optional if someone has an allergy, or if you just don’t have them. It’ll still be delicious without them!
Make-Ahead and Storage for Your Sour Cherry Crisp
One of the best things about this sour cherry crisp, besides how amazing it tastes, is how flexible it is! You can totally get a head start on it, which is a lifesaver when company’s coming or you just want dessert ready to go. If you want to prep ahead, just make the cherry filling and the crumble topping separately. Pop them into their own airtight containers and keep them in the fridge for up to 24 hours. When you’re ready to bake, just assemble and pop it in the oven! Baked leftovers? Oh yeah, they keep too! Just cover the dish once it’s cooled and pop it in the fridge. It’s still yummy over the next few days, though honestly, it rarely lasts that long in my house!
What to Serve with Your Tart Cherry Crumble
So, you’ve made this incredible tart cherry crumble, and it’s warm, bubbly, and smells like heaven. Now what? Well, you *could* eat it straight from the dish with a spoon – no judgment here! But if you want to take it to the next level, a big scoop of creamy vanilla ice cream is pretty much the gold standard. Absolutely melts into the warm fruit and crunchy topping, it’s divine! A dollop of homemade whipped cream is also a lighter, but still delicious, option. Honestly, this beautiful cherry dessert stands on its own, but these classic pairings just make it sing!
Frequently Asked Questions about Sour Cherry Crisp
Got questions about whipping up this delicious sour cherry crisp? I’ve got you covered! Here are some of the things people often wonder, and the answers to make your baking journey smooth sailing.
Can I use fresh cherries instead of frozen for this sour cherry crisp?
Absolutely! Fresh sour cherries are fantastic in this recipe. Just be sure to pit them first. They’ll work beautifully and give you that wonderful fresh-fruit flavor. If your fresh cherries seem extra juicy, you might want to add just a *tiny* bit more cornstarch, like an extra teaspoon, but usually, it’s a one-to-one swap with frozen.
How do I make this sour cherry crisp recipe gluten-free?
Making this gluten-free is super easy! For the topping, just swap out the all-purpose flour for a good quality gluten-free all-purpose flour blend that contains xanthan gum. Some people even love using almond flour for the topping because it adds a lovely richness, though the texture will be a little different. Just remember to check that your oats are certified gluten-free if you have celiac disease!
How do I know when my tart cherry crisp is done baking?
You’ll know your tart cherry crisp is perfectly baked when the topping is a beautiful, golden brown color and you can see the cherry filling bubbling up around the edges. That bubbly filling is a sure sign everything inside is cooked through and thickened nicely. If the topping looks like it’s browning too fast, you can always loosely tent a piece of foil over the top for the last 10-15 minutes of baking.
What if I don’t have pecans or walnuts for the topping?
No nuts? No problem! Your sour cherry crisp will still be absolutely delicious without them. You can simply omit them from the topping mixture. Some folks even like to add a bit more oats or even some sunflower seeds for a little crunch instead. The buttery oat topping is the star anyway!
Approximate Nutritional Information for Sour Cherry Crisp
Just a little heads-up: these numbers are estimates, okay? Because every kitchen is a little different, and we all use slightly different ingredients, the exact nutritional breakdown can wiggle around a bit. But, for a serving of this yummy sour cherry crisp, you’re generally looking at around 450 calories, about 25g of fat (with 15g being saturated), 5g of protein, and roughly 55g of carbs, including about 40g of sugar and 5g of fiber. Enjoy every bite!
PrintEasy Sour Cherry Crisp Recipe

A simple and delicious sour cherry crisp with an oat and nut topping, perfect for a summer dessert.
- Prep Time: 15 min
- Cook Time: 40 min
- Total Time: 55 min
- Yield: 6 servings 1x
- Category: Dessert
- Method: Baking
- Cuisine: American
- Diet: Vegetarian
Ingredients
- 4 cups fresh or frozen sour cherries, pitted
- 1/2 cup granulated sugar
- 2 tablespoons cornstarch
- 1 teaspoon lemon zest
- 1/2 teaspoon ground cinnamon
- 1/4 teaspoon ground nutmeg
- 1 cup all-purpose flour
- 1 cup rolled oats
- 1/2 cup packed light brown sugar
- 1/2 cup chopped pecans or walnuts
- 1/2 teaspoon salt
- 3/4 cup (1 1/2 sticks) cold unsalted butter, cut into cubes
Instructions
- Preheat your oven to 375°F (190°C).
- In a large bowl, toss the sour cherries with granulated sugar, cornstarch, lemon zest, cinnamon, and nutmeg. Pour the cherry mixture into an 8×8 inch baking dish or a similar-sized oven-safe dish.
- In a separate medium bowl, combine the flour, rolled oats, brown sugar, chopped nuts, and salt.
- Add the cold butter cubes to the dry ingredients. Use a pastry blender, your fingertips, or a fork to cut the butter into the mixture until it resembles coarse crumbs with some larger pea-sized pieces.
- Evenly sprinkle the crumble topping over the cherry mixture in the baking dish.
- Bake for 35-45 minutes, or until the topping is golden brown and the cherry filling is bubbly.
- Let the crisp cool for at least 15 minutes before serving. This allows the filling to set.
Notes
- For a gluten-free version, use a gluten-free all-purpose flour blend or almond flour in the topping.
- You can make the cherry filling and the crumble topping up to 24 hours in advance. Store them separately in the refrigerator, then assemble and bake when ready.
- Serve warm with vanilla ice cream or whipped cream.
Nutrition
- Serving Size: 1/6 of crisp
- Calories: 450
- Sugar: 40g
- Sodium: 150mg
- Fat: 25g
- Saturated Fat: 15g
- Unsaturated Fat: 10g
- Trans Fat: 0g
- Carbohydrates: 55g
- Fiber: 5g
- Protein: 5g
- Cholesterol: 60mg