
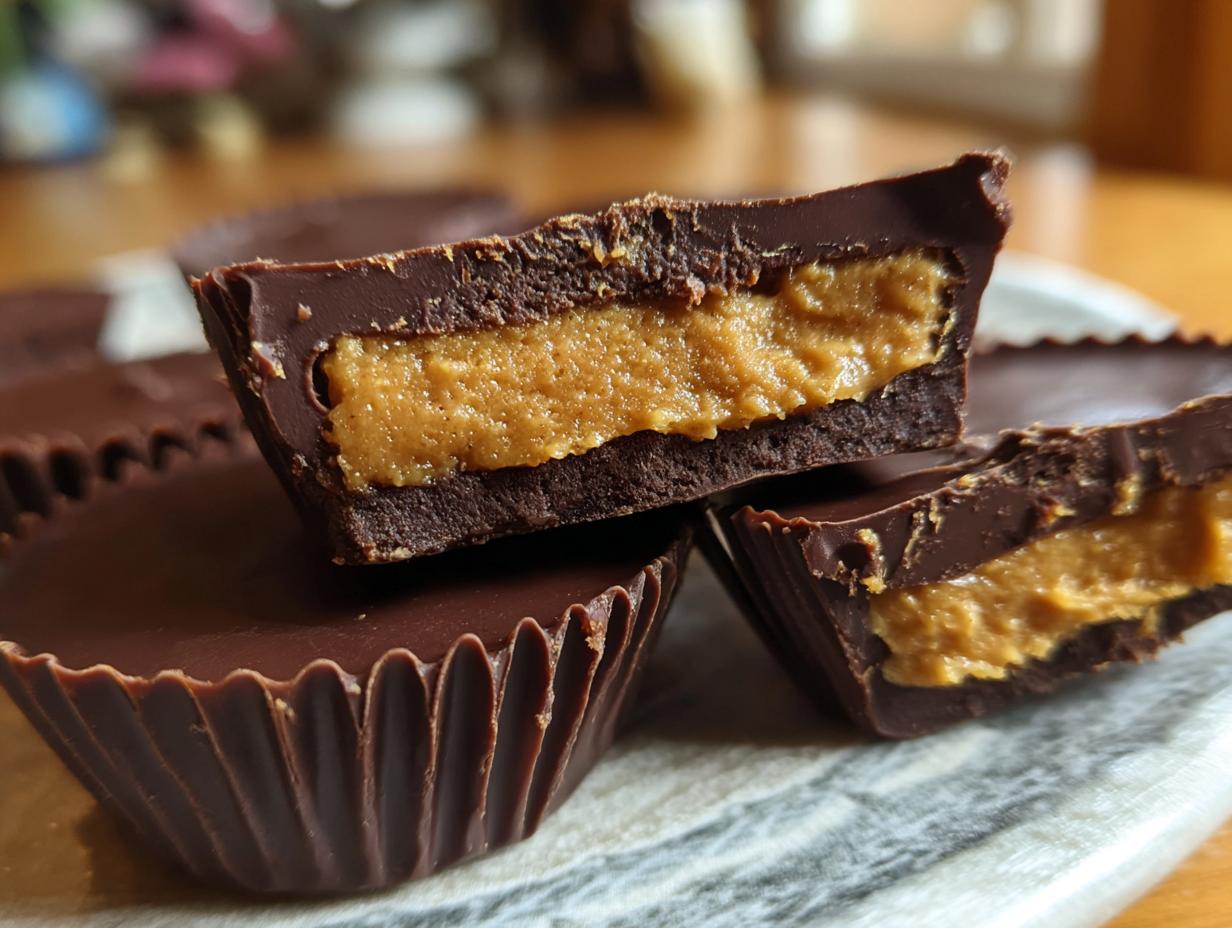
Halloween is such a fun time, isn’t it? The crisp air, the spooky decorations, and of course, the candy! If you’re anything like me, you love getting a little creative in the kitchen, especially when it comes to treats for the kids or a party. My absolute favorite thing to whip up when the spooky season rolls around is homemade peanut butter cups. Seriously, they’re a game-changer!
This recipe is my go-to because it’s just so darn easy – and the best part? No baking required! It’s the perfect no-bake way to get that classic chocolate and peanut butter combo just right, and they look so cute too. I remember when my own kids were little, we’d spend an afternoon making batches of these together. The kitchen would get a little messy, sure, but the smiles they’d get when they pulled out those perfectly formed little cups… priceless! It’s that kind of simple joy in creating something delicious with your own hands that DelishCraze is all about. These homemade peanut butter cups are just perfect for busy families who want a little bit of magic without a lot of fuss.

- Why You'll Love These Homemade Peanut Butter Cups
- Gather Your Ingredients for Homemade Peanut Butter Cups
- How to Make Easy Homemade Peanut Butter Cups
- Tips for Perfect Homemade Peanut Butter Cups
- Decorating Your Halloween Candy Creations
- Frequently Asked Questions about Homemade Peanut Butter Cups
- Nutritional Information
- Share Your Homemade Peanut Butter Cups
Why You’ll Love These Homemade Peanut Butter Cups
Seriously, these little delights are a treat for SO many reasons. If you’re looking for a fun project that’s actually doable, especially with little helpers around, you’ve found it!
- Kid-Friendly Fun: The kids absolutely adore helping with these! From mixing the filling to spooning the chocolate, it’s a project they can get involved in.
- Super Easy & No-Bake: You don’t even need to turn on the oven! Just melt, mix, spoon, and chill. Seriously, what’s easier than that?
- Perfect for Parties: Need a quick dessert for a get-together or your kiddo’s birthday bash? These homemade peanut butter cups are a guaranteed hit.
- Totally Customizable: Want to make them extra spooky for Halloween? We’ve got ideas for that! You can tweak the flavors, too.
- Deliciously Addictive: Let’s be honest, nothing beats that classic chocolate and peanut butter combo when it’s made right at home. They’re just SO good!
Gather Your Ingredients for Homemade Peanut Butter Cups
Alright, let’s get our game face on and gather everything we need for these amazing homemade peanut butter cups. It’s pretty straightforward, which is exactly what we love, right?
- 1 cup of good quality semi-sweet chocolate chips: Make sure they’re nice and smooth when melted. You can also use dark chocolate if that’s your jam!
- 1/2 cup of creamy peanut butter: I find creamy works best for that smooth, classic filling. You can totally use crunchy if you like a little texture surprise, though!
- 1 tablespoon of maple syrup or honey (optional, for natural sweetness): If you’re going the maple syrup route, make sure it’s the real stuff! This just adds a touch of natural sweetness without being overpowering.
- 1/4 cup of powdered sugar (optional, for natural sweetness): This also helps make the peanut butter filling a little smoother and sweeter.
- Mini peanut butter cup molds or a mini muffin tin: These are your best friends for getting that perfect little cup shape! If you don’t have molds, a regular mini muffin tin lined with paper liners works like a charm.
That’s pretty much it! See? Super simple. You probably have most of this in your pantry already. Now, let’s move on to the fun part!
How to Make Easy Homemade Peanut Butter Cups
Alright, buckle up, because we’re about to make some magic! Making these homemade peanut butter cups is honestly such a breeze, and I promise, the result is totally worth it. You’ll be amazed at how simple it is to get that perfect, satisfying chocolate-peanut butter flavor right in your own kitchen. If you’re looking for some easy DIY candy inspiration, you’ve found it!
Melting the Chocolate for Your Homemade Peanut Butter Cups
First things first, let’s get that chocolate all melty and smooth. Grab your semi-sweet chocolate chips and pop them into a microwave-safe bowl. Microwave them in 30-second bursts, giving them a good stir in between each go. This prevents any burnt bits and ensures you get beautifully smooth, luscious chocolate that’s perfect for coating those molds.
Preparing the Peanut Butter Filling
While your chocolate is melting, or just after, let’s whip up that peanut butter goodness. In a separate bowl, stir together your creamy peanut butter. If you’re adding a touch of natural sweetness, now’s the time to mix in that maple syrup or honey and the powdered sugar too. Just keep stirring until it’s all nicely combined and looks like a lovely, spreadable filling.
Assembling Your Spooky Sweets
Now for the fun assembly! Grab your mini peanut butter cup molds or your lined mini muffin tin. Spoon a little bit of that melted chocolate into the bottom of each mold, and then gently swirl it up the sides a tiny bit. You don’t need a ton, just enough to create a nice little chocolate shell. Next, spoon about a teaspoon of your peanut butter mixture right into the center of each chocolate-lined cup. Finally, spoon the rest of your melted chocolate over the top of the peanut butter filling, making sure to cover it completely. Smooth the tops a bit if you like, or leave them rustic!
Chilling and Finishing Your Easy DIY Candy
Once everything is nicely filled, it’s time for the fridge! Carefully place your molds into the refrigerator and let them chill for at least 30 minutes. You’ll know they’re ready when the chocolate is completely firm to the touch. Once they’re nice and solid, gently pop them out of their molds. And voilà! You’ve just made your own amazing batch of easy DIY candy!
Tips for Perfect Homemade Peanut Butter Cups
Okay, so you’ve made your first batch, and they’re pretty darn great, right? But if you want to take your homemade peanut butter cups from good to absolutely *spectacular*, I’ve got a few little secrets up my sleeve. These are the things I’ve learned over the years that just make things easier and tastier. You can find even more easy DIY candy ideas here, and for more party-ready treats, check out our appetizers and party snacks!
Making Them Mini Peanut Butter Cups
Honestly, the mini version is my favorite! Using those tiny molds is the key. They’re just the perfect size for popping into your mouth, and they’re super cute. If you don’t have the specific peanut butter cup molds, a regular mini muffin tin with paper liners works like a charm. Just keep an eye on the chilling time – these little guys firm up super fast!
Customizing Your Chocolate and Peanut Butter
Don’t be afraid to get creative here! I love semi-sweet, but milk chocolate or even dark chocolate chips work beautifully. Sometimes I’ll even mix in a little chunk of white chocolate for a marbled effect. And peanut butter? While creamy is classic, crunchy adds a fun texture. For a healthier vibe, natural peanut butter is fantastic, though you might need a tiny bit more sweetener to balance it out.
Getting That Perfect Chocolate Shell
The trick to a smooth chocolate coating is to make sure it’s not too thick or too thin. If your melted chocolate seems a bit stiff, you can stir in a teaspoon of coconut oil. It makes it super smooth and easy to coat the molds. And don’t skimp on coating the sides of the mold either – it creates that all-important shell!
Sweetening Secrets
If you’re trying to cut down on refined sugar, maple syrup and honey are fantastic natural sweeteners for the peanut butter filling. Powdered sugar is great too because it dissolves so easily, but if you’re going completely natural, you might just use a touch more maple syrup and skip the powdered stuff. It’s all about finding what tastes best to you!
Decorating Your Halloween Candy Creations
Okay, so your amazing homemade peanut butter cups are all ready to go, but let’s make them extra special for Halloween! This is where the real fun begins, and you can totally get the kids involved. Just a few little touches can turn these yummy treats into spooky sweets everyone will love.
Sprinkles are your best friend here! For a classic look, a mix of orange and black sprinkles is always a winner. You can also get those fun candy eyes – just pop a couple onto the still-wet chocolate top of your peanut butter cups before they set. Seriously, it makes them look like little monsters! If you’re feeling fancy, melt a tiny bit of white chocolate and use a piping bag or even just a toothpick to draw little ghost shapes or spiderwebs on top. It’s amazing what a few piped lines can do!
Frequently Asked Questions about Homemade Peanut Butter Cups
Got a few lingering questions about whipping up these awesome homemade peanut butter cups? Don’t sweat it! I’ve gathered some of the most common ones to make sure your candy-making adventure is a total success.
Can I use different kinds of chocolate?
Absolutely! While semi-sweet is my go-to for that classic flavor, feel free to get creative. Milk chocolate makes them a bit sweeter and creamier, and dark chocolate lovers will enjoy the richer, bolder taste. You can even mix them or do a layer of one and a layer of another for a cool effect. Just make sure whatever chocolate you choose melts nicely!
How long do these homemade peanut butter cups last?
These little guys are pretty sturdy! Stored in an airtight container in the refrigerator, they’ll stay fresh and delicious for about 1-2 weeks. They’re great for making ahead for parties or just keeping a stash for yourself for those chocolatey cravings. Trust me, they go fast!
Can I make them vegan?
You bet! This recipe is super easy to make vegan. Just make sure your chocolate chips are dairy-free, and use maple syrup instead of honey if you’re adding sweetener. Many natural peanut butters are already vegan, so you’re golden there. You’ll have delicious vegan candy in no time!
What if I use natural peanut butter?
Natural peanut butter is a fantastic choice if you’re looking for a healthier option, but it can sometimes change the consistency of the filling. It might be a bit runnier. If you find your filling is too thin, just mix in a little extra powdered sugar or a tiny bit of melted coconut oil to help thicken it up before you layer it. It’ll still be amazing!
Can I use different nut or seed butters?
Oh, for sure! Almond butter, cashew butter, or even sunflower seed butter make for super fun variations. They’ll give your treats a slightly different flavor profile, but the method stays exactly the same. It’s a great way to cater to different tastes or allergies. You can explore even more healthy ideas like these!
Nutritional Information
Just a heads-up, the nutritional info here is an estimate, okay? It can totally change depending on the exact ingredients you use, especially the type of chocolate and if you add those optional sweeteners. But generally, each of these yummy chocolate peanut butter treats is around 100 calories, with about 7g of fat and 9g of carbs.
Share Your Homemade Peanut Butter Cups
Alright, now it’s YOUR turn to get in on the fun! Have you made these homemade peanut butter cups? I’d absolutely LOVE to hear all about it! Did your kids have a blast helping? Did you try any fun flavor twists? Please, leave me a comment below – I read every single one! And if you snap some pics of your spooky sweets, tag us on social media! We can’t wait to see your amazing creations. For more guidelines, feel free to check out our terms of use.
PrintHomemade Peanut Butter Cups
Create your own delicious peanut butter cups with this easy recipe. Perfect for kids and parties, these no-bake treats are a fun DIY candy project.
- Prep Time: 15 min
- Cook Time: 0 min
- Total Time: 45 min
- Yield: 24 mini cups 1x
- Category: Desserts
- Method: No Bake
- Cuisine: American
- Diet: Vegetarian
Ingredients
- 1 cup semi-sweet chocolate chips
- 1/2 cup creamy peanut butter
- 1 tablespoon maple syrup or honey (optional, for natural sweetness)
- 1/4 cup powdered sugar (optional, for natural sweetness)
- Mini peanut butter cup molds or a mini muffin tin
Instructions
- Melt the chocolate chips in a microwave-safe bowl in 30-second intervals, stirring between each, until smooth.
- In a separate bowl, mix the peanut butter with maple syrup and powdered sugar, if using, until well combined.
- Spoon a small amount of melted chocolate into the bottom of each mold or mini muffin cup, coating the sides slightly.
- Add a teaspoon of the peanut butter mixture to the center of each chocolate-lined mold.
- Top with the remaining melted chocolate, ensuring the peanut butter filling is covered.
- Chill in the refrigerator for at least 30 minutes, or until firm.
- Carefully remove from molds and enjoy your homemade peanut butter cups.
Notes
- For a spooky Halloween touch, you can add orange or black food coloring to some of the melted chocolate before molding.
- Decorate with sprinkles or edible candy eyes after the chocolate has set.
- This recipe is easily scalable for larger batches.
- Use natural peanut butter for a healthier option.
Nutrition
- Serving Size: 1 cup
- Calories: 100
- Sugar: 8g
- Sodium: 20mg
- Fat: 7g
- Saturated Fat: 3g
- Unsaturated Fat: 4g
- Trans Fat: 0g
- Carbohydrates: 9g
- Fiber: 1g
- Protein: 3g
- Cholesterol: 0mg