
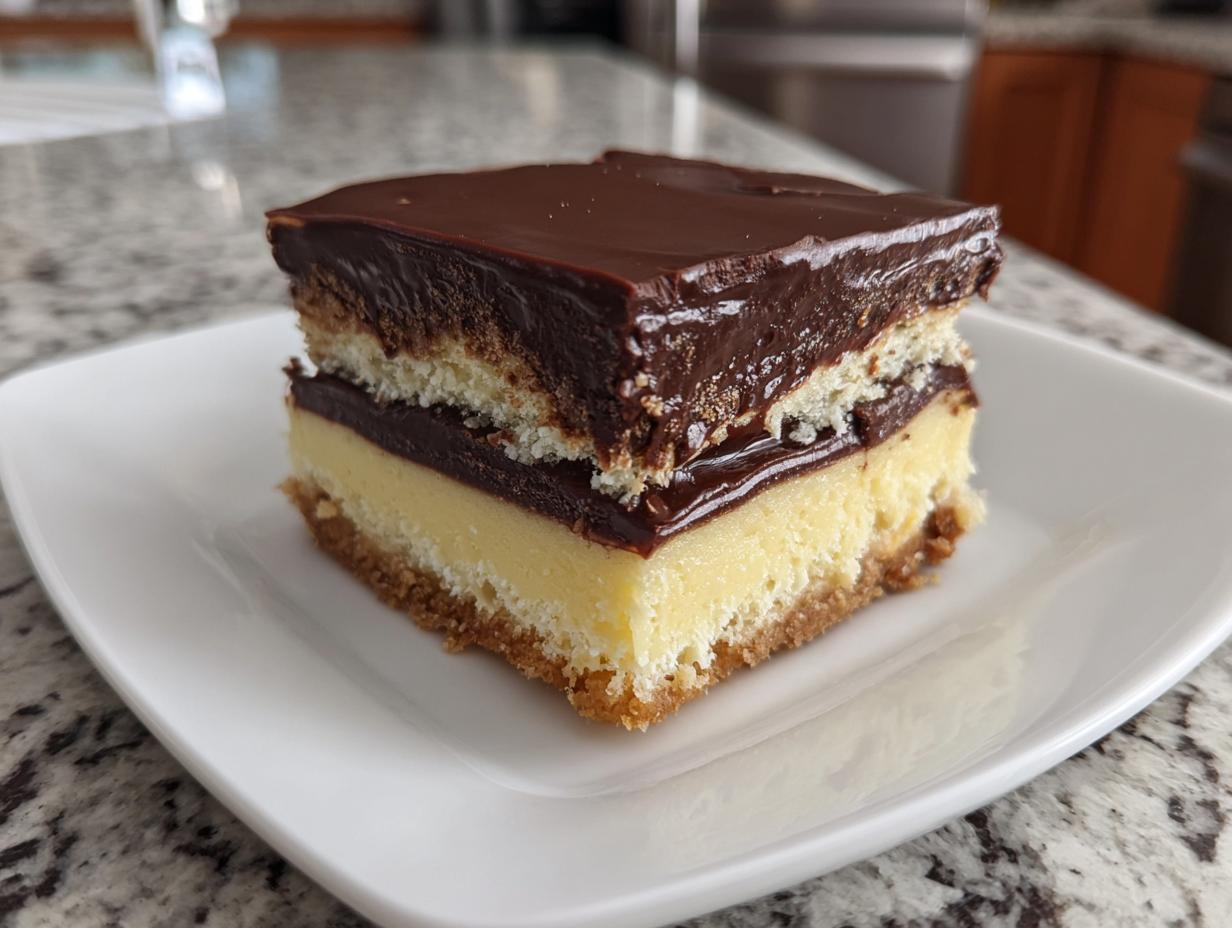
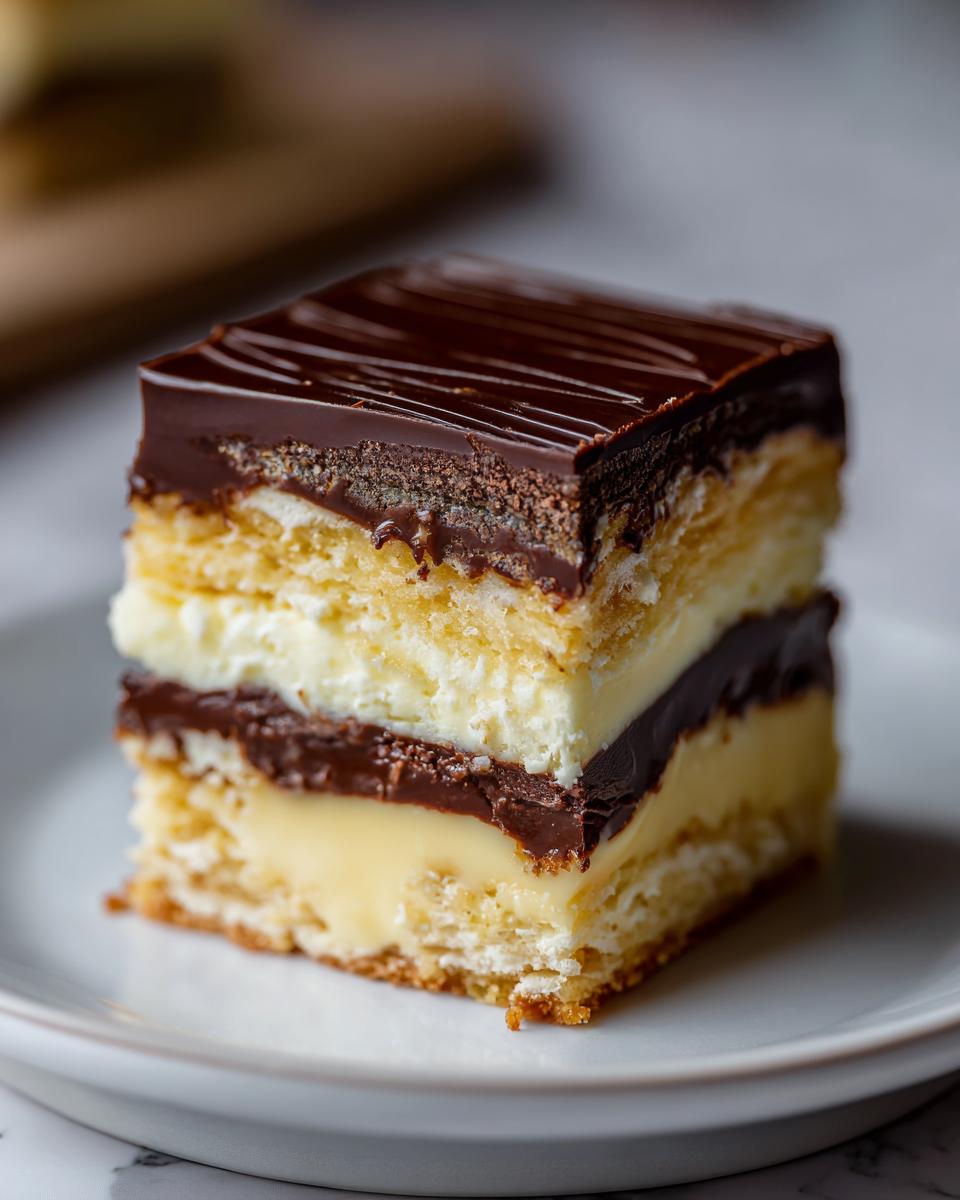
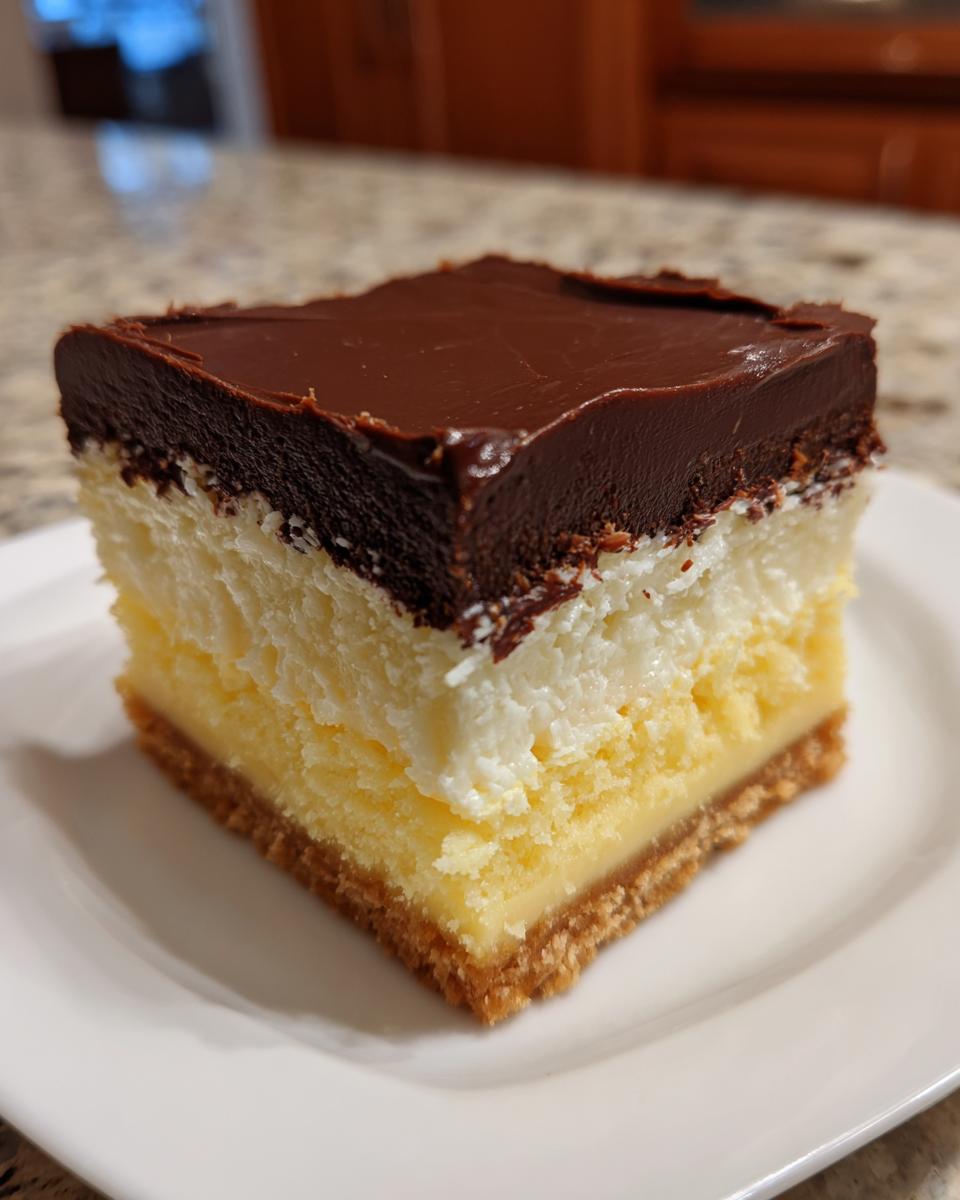
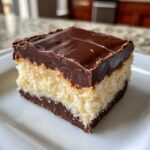
Remember those classic diner desserts? The ones with the perfect balance of creamy filling and rich chocolate? Well, I’ve taken that beloved flavor combo and turned it into the easiest, most decadent treat you can imagine: Boston cream pie fudge! Seriously, this no-bake layered fudge captures all the magic of a real Boston cream pie, but in bite-sized pieces that are perfect for sharing (or not!). I used to adore getting a slice of Boston cream pie after a long week, and recreating that pure joy in fudge form has been an absolute blast. It’s a little taste of nostalgia, made simple.
- Why You'll Love This Boston Cream Pie Fudge
- Gather Your Ingredients for Boston Cream Pie Fudge
- Crafting Your Layered Fudge Recipe
- Tips for Perfect Vanilla Custard Fudge
- Ingredient Notes and Substitutions
- Serving and Storing Your Easy Homemade Fudge
- Frequently Asked Questions about Boston Cream Pie Fudge
- Estimated Nutritional Information
- Share Your Boston Cream Pie Fudge Creations!
Why You’ll Love This Boston Cream Pie Fudge
Trust me, this fudge isn’t just delicious, it’s downright addictive! Here’s why you’ll be making it again and again:
- Seriously Easy: It’s totally no-bake! Just a few simple steps and you’re on your way.
- That Perfect Flavor: We’re talking creamy vanilla custard fudge paired with a rich, glossy chocolate ganache. It’s pure Boston cream pie bliss in every bite.
- Looks Amazing: The layers make it look so fancy, like you spent hours on it!
- Party Perfect: Makes a fantastic dessert platter addition or a special treat for holidays and get-togethers.
- Quick to Whip Up: Perfect for when you need a sweet fix in a hurry or unexpected guests arrive.
- Crowd Pleaser: Everyone loves fudge, and this flavor combo is a winner every single time.
Gather Your Ingredients for Boston Cream Pie Fudge
Alright, let’s get down to business! To make this dreamy boston cream pie fudge, you’ll want to round up these goodies. Don’t worry, they’re all pretty standard pantry staples, with maybe just one or two special folks. Making sure you have the right stuff is half the battle, and trust me, it preps you for success!
Here’s what you’ll need:
- 1 cup (that’s 2 sticks!) of good old unsalted butter, make sure it’s softened so it creams up nicely.
- 1 cup granulated sugar – this is for the base fudge layer.
- 1/2 cup evaporated milk. This gives the fudge its signature smooth texture.
- 1 teaspoon of pure vanilla extract. The good stuff, please! It really makes a difference.
- A tiny pinch of salt – just 1/4 teaspoon – to make all those flavors pop.
- 3 cups of powdered sugar (or confectioners’ sugar), sifted if you want to be extra fancy and avoid lumps.
- For that gorgeous chocolate topping, you’ll need 1/2 cup semi-sweet chocolate chips.
- And just 2 tablespoons of heavy cream for your luscious ganache.
Crafting Your Layered Fudge Recipe
Okay, now for the fun part – making this amazing boston cream pie fudge! Don’t let the layers fool you; this is seriously straightforward and, best of all, no baking involved! Just follow these simple steps, and you’ll have a dessert that looks like it came straight from a fancy bakery. Remember, patience is key here, especially when it comes to letting it chill!
Preparing the Pan and Base Fudge Layer
First things first, grab an 8×8 inch baking pan. Line it with parchment paper, making sure to leave a little overhang on the sides. This little trick makes lifting the fudge out later a breeze! Now, in a medium saucepan, melt your butter over medium heat. Toss in the granulated sugar and evaporated milk. Bring this mixture to a rolling boil, stirring constantly. You gotta let it boil for exactly 5 minutes – no more, no less! This precise timing is what gives fudge its perfect texture, just like how we treat our English toffee.
Making the Chocolate Ganache Topping
While that fudge mixture is doing its thing or cooling slightly, let’s whip up that dreamy chocolate ganache. Grab a small, microwave-safe bowl. Toss in your semi-sweet chocolate chips and the heavy cream. Microwave this in 30-second bursts, stirring really well between each interval. Keep going until it’s perfectly smooth and glossy. It’s that simple!
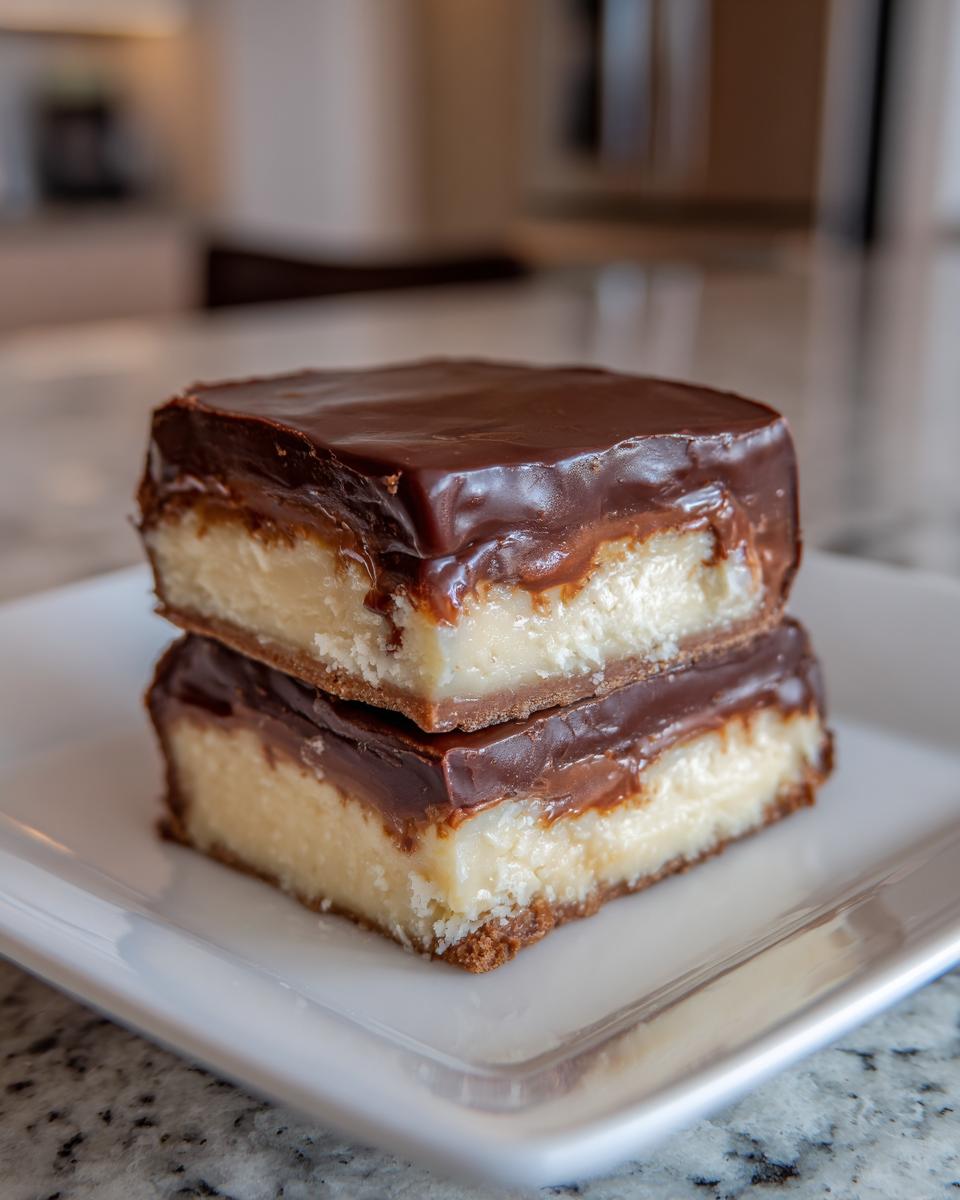
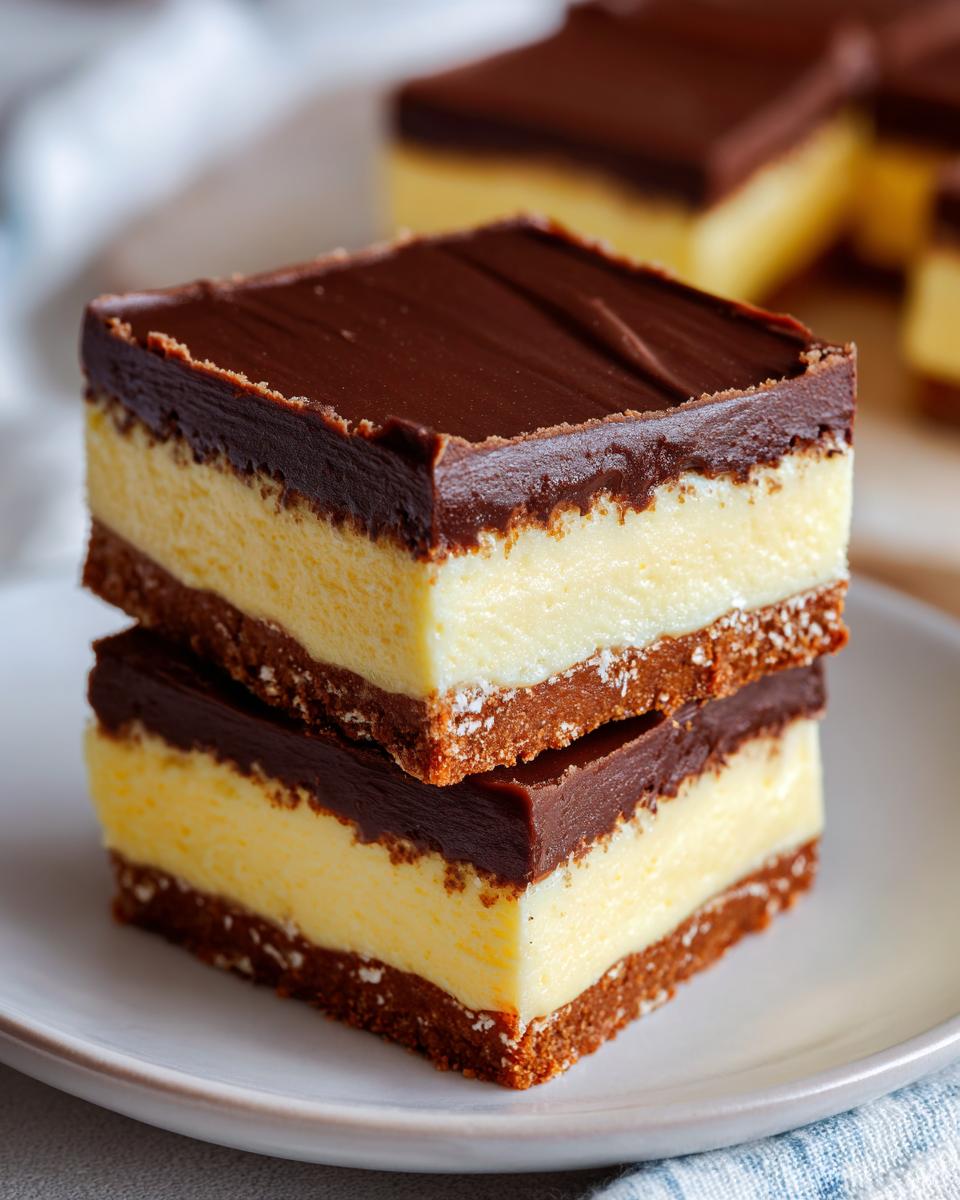
Assembling and Chilling Your Boston Cream Pie Fudge
Now for the magic! Pour about half of that gorgeous fudge mixture into your prepared pan and spread it out into an even layer. Be gentle so it’s nice and flat. Then, carefully pour your smooth chocolate ganache over this first fudge layer. Spread it out just as evenly as you did the first layer. Finally, spoon the rest of the fudge mixture on top of the chocolate ganache. Spread this top layer carefully, trying not to swirl it too much into the chocolate. Pop the whole pan into the refrigerator for at least 2 hours, or until it’s totally firm. Good things come to those who wait, right? It’s the same idea as letting our homemade peanut butter cups set up perfectly.
Tips for Perfect Vanilla Custard Fudge
Making incredible vanilla custard fudge that tastes just like the real deal is totally doable! It all comes down to a few little secrets that ensure your fudge is smooth, creamy, and packed with that classic flavor. Here are my top tips to make sure your layered fudge recipe turns out absolutely perfect, every single time:
First off, that boiling time is *super* important. When you boil the butter, sugar, and evaporated milk mixture, letting it hit a rolling boil for exactly 5 minutes is non-negotiable! Seriously, grab a timer. This step is what cooks the sugar properly and helps the fudge set up with that lovely chewy-yet-creamy texture we’re going for. Too short, and it’ll be too soft; too long, and it can get grainy or too hard.
Speaking of graininess, the key to that super smooth, melt-in-your-mouth texture is really beating in the powdered sugar. You want to do it gradually after the initial boil and cooling a bit. Keep stirring until it’s completely smooth and there are no powdery streaks left. It makes all the difference, kind of like how taking your time with homemade jam makes it taste so much better!
Also, try to work relatively quickly after you add the powdered sugar. Once it’s smooth, get half of it into the pan and then work on your ganache and the rest of the fudge. Fudge starts to set up as it cools, and you want it to be pourable enough to spread evenly for those gorgeous layers. Don’t stress if it’s not *perfectly* smooth on top; a little rustic charm is totally okay!
Ingredient Notes and Substitutions
So, you’re itching to whip up this boston cream pie fudge but maybe don’t have *exactly* everything on hand? No worries! Most of these ingredients are pretty straightforward, but let’s chat about a couple of things. If you can’t find evaporated milk, regular whole milk can work in a pinch, but you might need to boil it just a tad longer to thicken it up. For the chocolate ganache, feel free to swap the semi-sweet chips for dark chocolate if you love a more intense chocolate flavor, or even milk chocolate if that’s your jam!
Serving and Storing Your Easy Homemade Fudge
Once your delicious boston cream pie fudge is all set, it’s time to slice and serve! For the cleanest cuts, run a sharp knife under hot water and dry it well before slicing. This little trick helps prevent sticking and gives you beautiful, neat squares. You can store any leftovers in an airtight container right in the refrigerator for up to a week. It stays wonderfully fresh and tastes fantastic as a chilled treat. They’re just as good as our cranberry crumble bars, if not better!
Frequently Asked Questions about Boston Cream Pie Fudge
Got questions about making this scrumptious boston cream pie fudge? I’ve got answers! People often wonder about a few key things, so let’s clear them up so your fudge-making adventures are a total success. I’ve learned a thing or two over the years, especially when it comes to whiping up tricky candies like this granola, and these tips apply to fudge too!
Can I make this fudge without a candy thermometer?
Absolutely! You don’t need a fancy candy thermometer for this recipe. The key is to boil the sugar and milk mixture for *exactly* 5 minutes after it starts rolling. Grab a timer and keep stirring constantly. This step is crucial for getting that perfect fudge texture!
How do I get clean cuts for my layered fudge?
For those super sharp, bakery-worthy squares, here’s my trick: after the fudge has chilled and set, lift it out using the parchment paper. Run a sharp knife under hot water, wipe it dry really well, and then slice. Repeat this between each cut. It makes a world of difference and prevents that squishy, sticky mess.
Can I use different types of chocolate for the ganache?
You sure can! While semi-sweet is classic, feel free to use dark chocolate chips for a richer, more intense chocolate flavor. Milk chocolate chips will also work for a sweeter ganache. Just remember that different chocolates might melt a little differently, so adjust your microwaving time as needed.
My fudge seems too soft. What did I do wrong?
Usually, this happens if the sugar mixture wasn’t boiled for the full 5 minutes. This step is super important for cooked fudge! Make sure you’re measuring your ingredients accurately and that your stovetop is heating evenly. A calibrated timer is your best friend here!
Estimated Nutritional Information
Now, I know you’re probably wondering about the deets! While everything is a little different depending on the exact ingredients you use (like what kind of chocolate chips you grab!), here’s a ballpark idea of what you’re looking at per serving of this super yummy boston cream pie fudge. It’s a treat, for sure, but totally worth it! Remember, these are just estimates, but they give you a good idea. For more detailed info on certain treats, you can check out recipes like my protein mug cake.
- Serving Size: About 1 small square
- Calories: Around 150 kcal
- Total Fat: Roughly 8g (with about 5g being saturated fat)
- Carbohydrates: About 18g
- Sugar: Approximately 20g (yep, it’s sweet!)
- Protein: Around 1g
- Sodium: About 20mg
Share Your Boston Cream Pie Fudge Creations!
I absolutely LOVE seeing what you all create in your kitchens! If you whip up this boston cream pie fudge, please consider leaving a comment and rating the recipe below. I’d be thrilled if you shared photos of your delicious fudge on social media (tag us!) so I can see your amazing work! You can also learn more about our passion for home cooking here.
PrintBoston Cream Pie Fudge
A no-bake layered fudge with vanilla custard flavor and a chocolate ganache topping, reminiscent of Boston cream pie.
- Prep Time: 20 min
- Cook Time: 10 min
- Total Time: 2 hr 30 min
- Yield: 36 servings 1x
- Category: Dessert
- Method: No-Bake
- Cuisine: American
- Diet: Vegetarian
Ingredients
- 1 cup (2 sticks) unsalted butter
- 1 cup granulated sugar
- 1/2 cup evaporated milk
- 1 teaspoon vanilla extract
- 1/4 teaspoon salt
- 3 cups powdered sugar
- 1/2 cup semi-sweet chocolate chips
- 2 tablespoons heavy cream
Instructions
- Line an 8×8 inch baking pan with parchment paper, leaving an overhang on the sides.
- In a medium saucepan, melt the butter over medium heat. Add granulated sugar and evaporated milk. Bring to a rolling boil, stirring constantly. Boil for exactly 5 minutes.
- Remove the saucepan from heat. Stir in vanilla extract and salt.
- Gradually beat in the powdered sugar until smooth.
- Pour half of the fudge mixture into the prepared pan and spread evenly.
- In a small microwave-safe bowl, combine chocolate chips and heavy cream. Microwave in 30-second intervals, stirring in between, until smooth.
- Pour the chocolate ganache over the fudge layer in the pan and spread evenly.
- Pour the remaining fudge mixture over the chocolate ganache and spread carefully.
- Chill in the refrigerator for at least 2 hours, or until firm.
- Lift the fudge out of the pan using the parchment paper overhang. Cut into squares.
Notes
- For a richer chocolate flavor, use dark chocolate chips for the ganache.
- Ensure your granulated sugar and milk mixture boils for the full 5 minutes for the correct fudge consistency.
- This fudge is best stored in an airtight container in the refrigerator.
Nutrition
- Serving Size: 1 square
- Calories: 150
- Sugar: 20g
- Sodium: 20mg
- Fat: 8g
- Saturated Fat: 5g
- Unsaturated Fat: 3g
- Trans Fat: 0g
- Carbohydrates: 18g
- Fiber: 0g
- Protein: 1g
- Cholesterol: 20mg