


Oh, friends, there are classic desserts, and then there is the kind of dessert that makes you stop everything else you’re doing—the kind that tastes like pure sunshine and kitchen magic. I’m talking about a truly show-stopping lemon meringue pie, made completely from scratch. When I decided five years ago that I needed to reclaim my kitchen from those crazy graphic design deadlines, this was one of my first missions: conquer the notoriously tricky meringue!
We aren’t reaching for a box mix here, no sir. This recipe guarantees that breathtakingly zesty filling and the tallest, fluffiest meringue topping you’ve ever seen. Trust me when I say we’ve cracked the code on preventing that dreadful weeping. This very specific technique is what makes this the absolute best lemon meringue pie recipe, perfect for bringing that warm, connected feeling back to your busy table.

- Why This Classic Lemon Meringue Pie Recipe Works
- Ingredients for Your Homemade Lemon Pie From Scratch
- How to Prepare the Best Lemon Meringue
- Tips for No Weep Lemon Meringue Success
- Variations on the Classic Lemon Meringue
- Serving Suggestions for Your Zesty Lemon Dessert
- Storage and Reheating Instructions for Lemon Meringue
- Frequently Asked Questions About Lemon Meringue Pie
- Estimated Nutritional Data for This Lemon Meringue Recipe
Why This Classic Lemon Meringue Pie Recipe Works
I know there are a million lemon pie recipes out there, but this one is different. Seriously! When you nail this, you create a true showstopper dessert. We focused on making sure two things happen every single time: the meringue stays high and doesn’t weep, and the filling isn’t just sweet, it actually sings with bright lemon flavor.
Here’s the real magic behind why this standard recipe became my favorite:
- The filling thickens perfectly using cornstarch, which sets up stronger than just relying on egg yolks alone.
- We use cream of tartar in the whites—that’s the secret weapon for structural support!
- Everything is assembled while the filling is hot, which essentially ‘bakes’ the bottom of the meringue to lock it down.
Achieving the Perfect Tart and Sweet Lemon Meringue
If you want that amazing hit of citrus, you need fresh juice and zest, full stop. That combination cuts through the sugar perfectly. This isn’t a cloyingly sweet experience; it’s a proper zesty lemon dessert that tingles your tongue. It’s the balance that makes you immediately want another slice.
Buttery Pie Crust Tutorial for Your Lemon Meringue
Look, the filling is the star, but a soggy bottom ruins everything! That’s why we insist on a fully pre-baked, buttery crust. It has to be cooled completely before the hot filling ever touches it. If you need a refresher on getting that crust golden and flaky without shrinking, make sure you check out my guide on baking perfect crusts before you start this pie.
Ingredients for Your Homemade Lemon Pie From Scratch
When you’re making a classic dessert like this, you simply can’t guess! Precision is everything, especially when you’re dealing with egg whites that refuse to cooperate if there’s a tiny bit of fat around. I’ve laid out exactly what you need below, broken down by the three main players: the crust, the filling, and that gorgeous, fluffy topping. Don’t make any substitutions here; this is how we guarantee a perfect lemon meringue every time!
For the Buttery Pie Crust (Pre-made/Blind Baked)
For this recipe, we assume you’ve already baked your crust shell. That’s half the battle won right there! You absolutely must have one fully baked, 9-inch pie crust, cooled completely before you start pouring in the filling. If the crust is even slightly warm, the hot filling will melt that hard work right out of it!
- One perfectly blind-baked 9-inch buttery pie crust.
For the Zesty Lemon Filling (Lemon Curd Recipe Base)
This is where the magic flavor comes from—that bright, tangy punch we just talked about. Make sure that lemon juice is fresh; that little bit of extra effort makes a colossal difference in a lemon curd recipe base like this.
- 1 1/2 cups granulated sugar
- 1/3 cup cornstarch (this is your thickener!)
- 1/4 teaspoon salt
- 1 1/2 cups cold water
- 4 large egg yolks, lightly beaten (save those whites!)
- 1/2 cup fresh lemon juice (not from concentrate, please!)
- 1 tablespoon fresh lemon zest
- 2 tablespoons unsalted butter
For the Fluffy Meringue Topping
Here is where we ensure structure! The key items here are room temperature whites and that little bit of cream of tartar. Do not grab cold egg whites; they just won’t whip up right. And check your bowl—it needs to be spotless, completely grease-free, or you’ll end up with soup instead of a cloud!
- 6 large egg whites, brought to room temperature
- 1/2 teaspoon cream of tartar
- 1/2 cup granulated sugar (this is separate from the sugar for the filling!)
How to Prepare the Best Lemon Meringue
Okay, deep breaths! This is where we stop thinking about recipes and start thinking about technique. Getting this perfect lemon meringue assembled right is the difference between a lovely dessert and an absolute triumph. Since we want this lemon meringue pie recipe to be easy for you, I’ve broken the process down into three manageable chunks. Don’t rush the saucepan stuff—that’s vital for a firm filling!
Making the Lemon Filling for Your Lemon Meringue Pie Recipe
First things first, whisk together that bigger sugar amount, your cornstarch, and the salt right in your saucepan—dry ingredients first to avoid lumps! Then, slowly whisk in the cold water until it looks smooth. You have to cook this over medium heat, and I mean stir constantly. You want it to gently bubble up and then boil for a full minute. This boiling step is non-negotiable; it cooks out the raw starch flavor! Once it does that, pull it off the heat.
Now for the yolks. Whisk the 4 yolks really gently in a side bowl. Slowly pour about a cup of that hot sugar mix into the yolks while whisking nonstop—this is tempering, and it stops the yolks from scrambling. Once you’ve done that, pour that warm yolk mixture *back* into the saucepan. Return it to the heat, stir until it gets thick and boils again for one minute—yes, again! Finally, take it off heat for the last time, stir in your lemon juice, zest, and butter until everything melts into that gorgeous, thick lemon base. Pour that glorious filling right into your cooled, baked crust immediately.
Whipping the Fluffy Meringue Topping
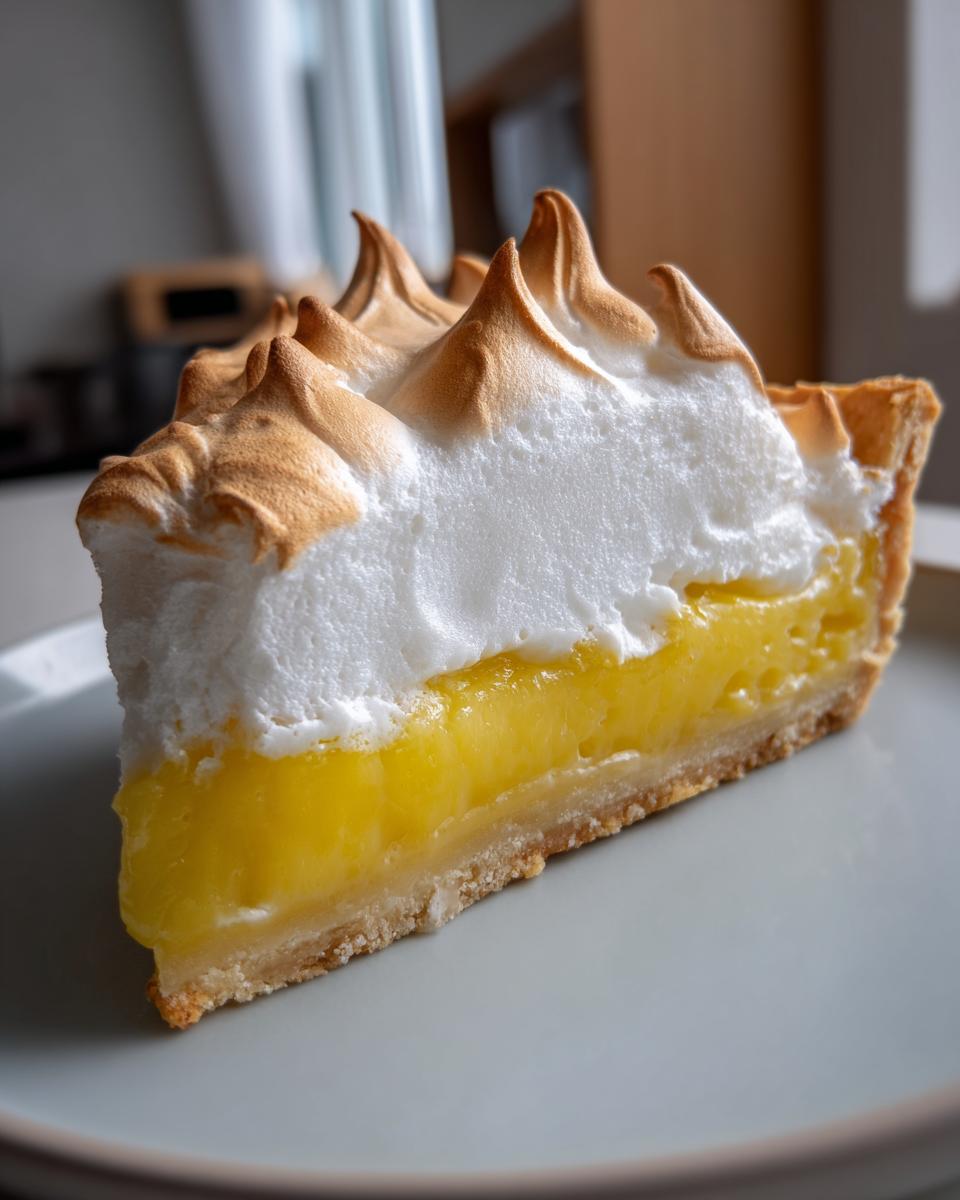
While the filling is still scorching hot (seriously, work fast!), it’s time for the topping! Grab those room temperature egg whites and your cream of tartar—I use an electric mixer for this because my arm gets tired! Beat on medium speed until you see soft, fluffy peaks starting to form. This is your cue to start adding the smaller portion of sugar, just one tablespoon at a time. You need to let the sugar dissolve before you add the next spoonful. Keep beating until you have stiff, glossy peaks. When you pull the whisk out, the peak should stand straight up without flopping over—that’s how you know you’ve made the best fluffy meringue topping!
Assembling and Baking the Lemon Meringue
Once that meringue is perfect, you need to tackle it onto the hot filling right away. This is the best trick for preventing shrinkage, I promise! Spread that meringue all the way to the edges of the crust, making sure it touches the pastry all the way around. If there’s a gap, the meringue will shrink away from the crust as it bakes. Use the back of a spoon to make those pretty, dramatic swirls on top. Pop that into a 350°F oven for about 12 to 15 minutes, just until those peaks turn a lovely golden color. Then, the hardest part: let it cool slowly, patiently, on a rack at room temperature. Don’t rush it into the fridge right away!
Tips for No Weep Lemon Meringue Success
I hear you! That weeping or shrinking meringue? It’s the absolute worst when you’ve done all that work on your lemon meringue. Don’t panic about it anymore! My secrets for keeping that topping tall, fluffy, and perfectly set come down to control—specifically temperature control and cleanliness. Follow these two main rules, and you’ll have a professional-looking pie every time without the runny mess. This is what elevates a good pie into the most classic lemon pie.
Temperature Control for Perfect Lemon Meringue
You absolutely must spread your meringue onto hot filling. I cannot stress this enough! The meringue needs that initial blast of heat to start setting the bottom layer right where it meets the lemon. Once it’s baked golden on top, pull that magnificent lemon meringue pie out. The real killer is immediately sticking it in the fridge. Nope! Let it cool slowly, patiently, on the counter at room temperature for at least four hours. Sudden cold shocks cause the sugar in the meringue to sweat, which is where weeping starts!
Grease-Free Secrets for Stable Meringue
If there is even a molecule of fat, oil, or yolk in your bowl, your 6 egg whites will turn into sad foam instead of stiff peaks. Before you even touch the mixer, wipe your bowl and whisk attachment down with a little white vinegar or lemon juice, then dry them thoroughly. Also—and this is crucial—make sure your egg whites are fully at room temperature. Cold whites create a weaker structure, so let them sit out for about 30 minutes before you start whipping them up for your topping.
Variations on the Classic Lemon Meringue
While I think my gorgeous full-sized pie is absolutely the best lemon meringue dessert you could ever make, sometimes life calls for something bite-sized, right?
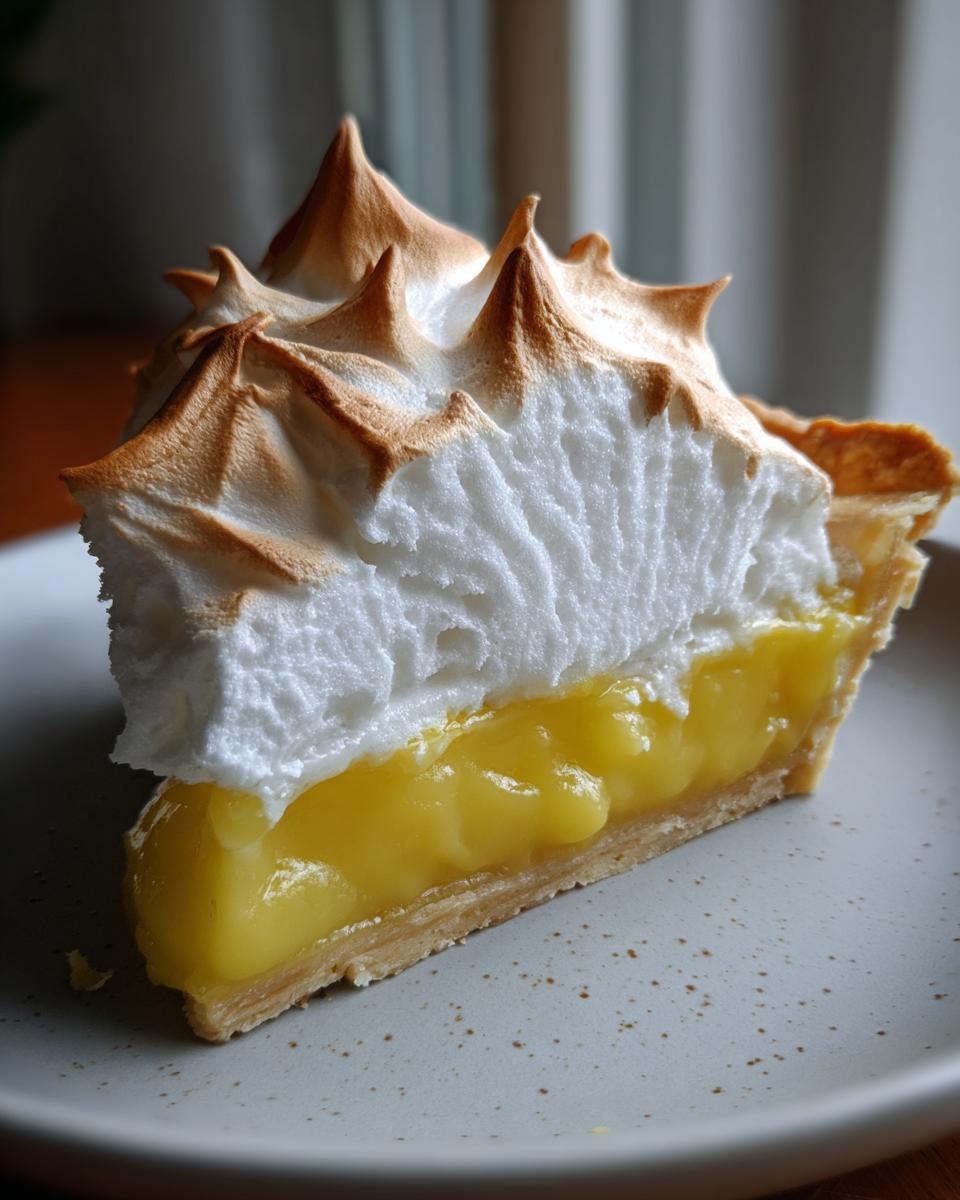
You absolutely don’t have to stick to the giant pie dish! The essence of that tart and sweet pie flavor translates beautifully to other formats. If you’ve ever wanted to try making mini lemon meringue tarts, it’s shockingly simple, and they look so fancy on a platter!
Making Mini Lemon Meringue Tarts
For individual servings, you just use pre-made mini tart shells or even a muffin tin lined with pastry dough. Fill them with the hot lemon filling just like usual, but watch the baking time closely! Because they are so small, the meringue might only need 8 to 10 minutes in the oven to get those cute little golden peaks. They set up faster, which is great for when you need a speedy summer citrus dessert!
Serving Suggestions for Your Zesty Lemon Dessert
Once your pie has chilled properly—and resist slicing it right away, I know it’s hard!—it’s time to show it off!
Because this dessert is so vibrant and colorful, it really doesn’t need much fuss. A light dusting of extra lemon zest right on top of the meringue peaks just before serving looks stunning. If you are serving it alongside fruit, fresh raspberries or sliced kiwis offer a beautiful color contrast to the bright yellow and white. It pairs perfectly with a strong cup of coffee or a very dry sparkling wine!
Storage and Reheating Instructions for Lemon Meringue
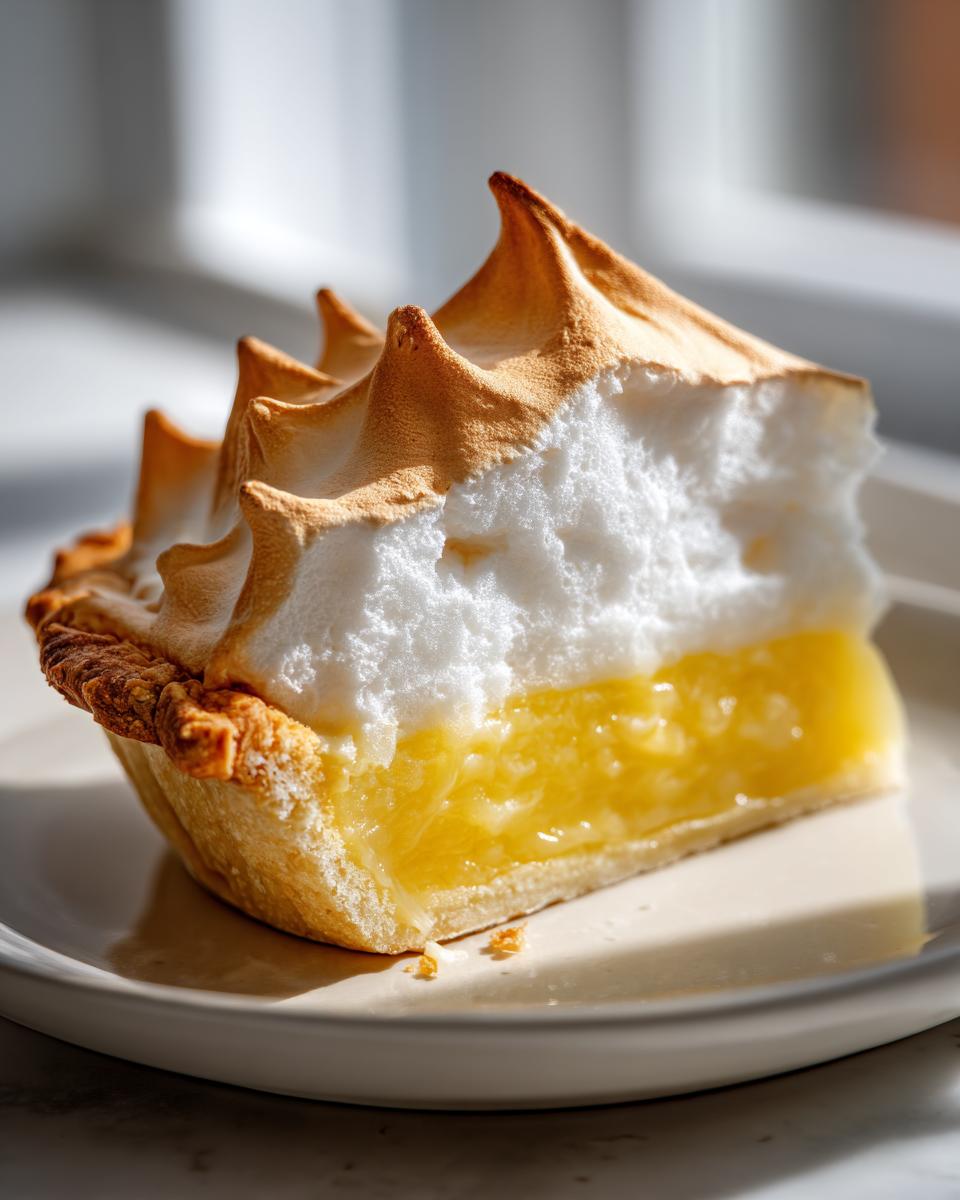
Now, here’s the difficult part about making this incredible lemon meringue pie: you have to know how to store it or it *will* fall apart after you’ve worked so hard. Unlike most creamy desserts, you absolutely cannot leave this out on the counter overnight, but you also can’t slam it straight into the cold fridge!
Keep your glorious lemon meringue pie lightly covered (don’t seal it tightly; it needs to breathe!) and refrigerate it. It’s best eaten within two days, tops. The humidity in the fridge speeds up the weeping process, so while it’s safe past day two, the meringue really starts to look sad after 48 hours. Never try to reheat this pie!
Frequently Asked Questions About Lemon Meringue Pie
Whenever I share my easy lemon meringue recipe, people always have questions because they’ve had bad luck with this pie before! It’s totally normal. This isn’t as straightforward as making cookies, but once you know these little insider tips, you’ll be whipping up a beautiful classic lemon pie every time. Check out the answers to some of the questions I get asked most often!
Can I make the lemon filling ahead of time for my lemon meringue?
Yes, you absolutely can! The lemon filling is actually sturdy enough to be made a day ahead, which is a lifesaver when you’re planning a big meal. Once you cook the filling and take it off the heat, you need to cover it immediately. Use plastic wrap and press it directly onto the surface of the hot lemon mixture. This stops a rubbery skin from forming on top. Then, chill it completely. When you take it out to assemble the pie, you’ll need to reheat it briefly on the stove—it should be hot again before you pour it into that cooled crust and top it with the meringue!
What is the best way to slice a lemon meringue pie cleanly?
This is the final hurdle to that picture-perfect slice! Cutting this pie without dragging the meringue all over the plate takes technique. Here’s my trick: grab a really sharp, thin knife and dip it entirely into a tall glass of hot water—like boiling water if you can stand it! Wipe the blade totally dry, then make one clean slice through the pie. Dip the knife back into the hot water, wipe it again, and then slice the next piece. The hot, clean blade glides through the filling and cuts the meringue without sticking and tearing. It works like a charm!
Is using cornstarch instead of flour necessary for the filling?
For this specific recipe, yes, I absolutely insist on cornstarch. Flour can sometimes leave a slightly cloudy or opaque look, and honestly, flour doesn’t give you that slick, smooth set that cornstarch does. We need that filling to be perfectly clear and vibrant yellow, which cornstarch nails every time. Plus, cornstarch handles the high heat required to properly cook the egg yolks and activate the thickening process without getting gritty, which is what makes this recipe so much more reliable than others!
Estimated Nutritional Data for This Lemon Meringue Recipe
When we’re talking about a treat this decadent and wonderful, we have to be realistic about what goes into it, right? This recipe is designed for flavor and showmanship, not necessarily for counting every single calorie, but I wanted to give you a general idea of what you’re looking at per slice of this beautiful lemon meringue pie.
Please remember that these numbers are just estimates! They are based on using standard measurements and the ingredients listed in the recipe. If you use a store-bought crust or add extra sugar to your meringue for a deeper toast, those numbers will shift a little bit. But this gives you a solid baseline for this amazing, homemade classic!
- Serving Size: 1 slice
- Calories: 350
- Sugar: 40g
- Sodium: 150mg
- Fat: 15g
- Saturated Fat: 7g
- Unsaturated Fat: 8g
- Trans Fat: 0g (That’s good news!)
- Carbohydrates: 50g
- Fiber: 1g
- Protein: 6g
- Cholesterol: 100mg
Classic Homemade Lemon Meringue Pie

Make this classic lemon meringue pie from scratch. It features a buttery crust, a zesty lemon custard filling, and a tall, fluffy meringue topping.
- Prep Time: 30 min
- Cook Time: 45 min
- Total Time: 5 hours 15 min
- Yield: 8 servings 1x
- Category: Dessert
- Method: Baking
- Cuisine: American
- Diet: Vegetarian
Ingredients
- 1 recipe for 9-inch buttery pie crust (blind baked)
- 1 1/2 cups granulated sugar
- 1/3 cup cornstarch
- 1/4 teaspoon salt
- 1 1/2 cups cold water
- 4 large egg yolks, lightly beaten
- 1/2 cup fresh lemon juice
- 1 tablespoon lemon zest
- 2 tablespoons unsalted butter
- 6 large egg whites, room temperature
- 1/2 teaspoon cream of tartar
- 1/2 cup granulated sugar (for meringue)
Instructions
- Prepare and blind bake your 9-inch pie crust. Let it cool completely.
- For the lemon filling, whisk together 1 1/2 cups sugar, cornstarch, and salt in a medium saucepan. Gradually whisk in the cold water until smooth.
- Cook the mixture over medium heat, stirring constantly, until it thickens and boils. Boil for 1 minute, stirring constantly. Remove from heat.
- In a separate bowl, whisk the egg yolks. Slowly temper the yolks by whisking about 1 cup of the hot sugar mixture into the yolks. Then, pour the tempered yolk mixture back into the saucepan with the remaining hot mixture.
- Cook over medium heat, stirring constantly, until the filling returns to a boil. Boil for 1 minute. Remove from heat.
- Stir in the lemon juice, lemon zest, and butter until the butter melts completely. Pour the hot filling into the cooled, baked pie crust.
- For the meringue, place the egg whites and cream of tartar in a clean, grease-free mixing bowl. Beat on medium speed until soft peaks form.
- Gradually add the 1/2 cup of sugar, one tablespoon at a time, beating well after each addition. Continue beating until stiff, glossy peaks form. Do not overbeat.
- Spread the meringue over the hot lemon filling, making sure the meringue touches the edges of the crust all around to prevent shrinking. Create decorative swirls with the back of a spoon.
- Bake at 350°F (175°C) for 12 to 15 minutes, or until the meringue peaks are lightly golden brown.
- Cool the pie completely on a wire rack at room temperature for at least 4 hours before slicing. Avoid placing it in the refrigerator immediately to prevent meringue weeping.
Notes
- To prevent the meringue from weeping, make sure the lemon filling is hot when you spread the meringue on top.
- For a stable meringue, use room temperature egg whites and ensure your mixing bowl is completely free of any fat or grease.
- Bake the pie on the lower-middle rack of the oven for even heat distribution.
Nutrition
- Serving Size: 1 slice
- Calories: 350
- Sugar: 40g
- Sodium: 150mg
- Fat: 15g
- Saturated Fat: 7g
- Unsaturated Fat: 8g
- Trans Fat: 0g
- Carbohydrates: 50g
- Fiber: 1g
- Protein: 6g
- Cholesterol: 100mg