
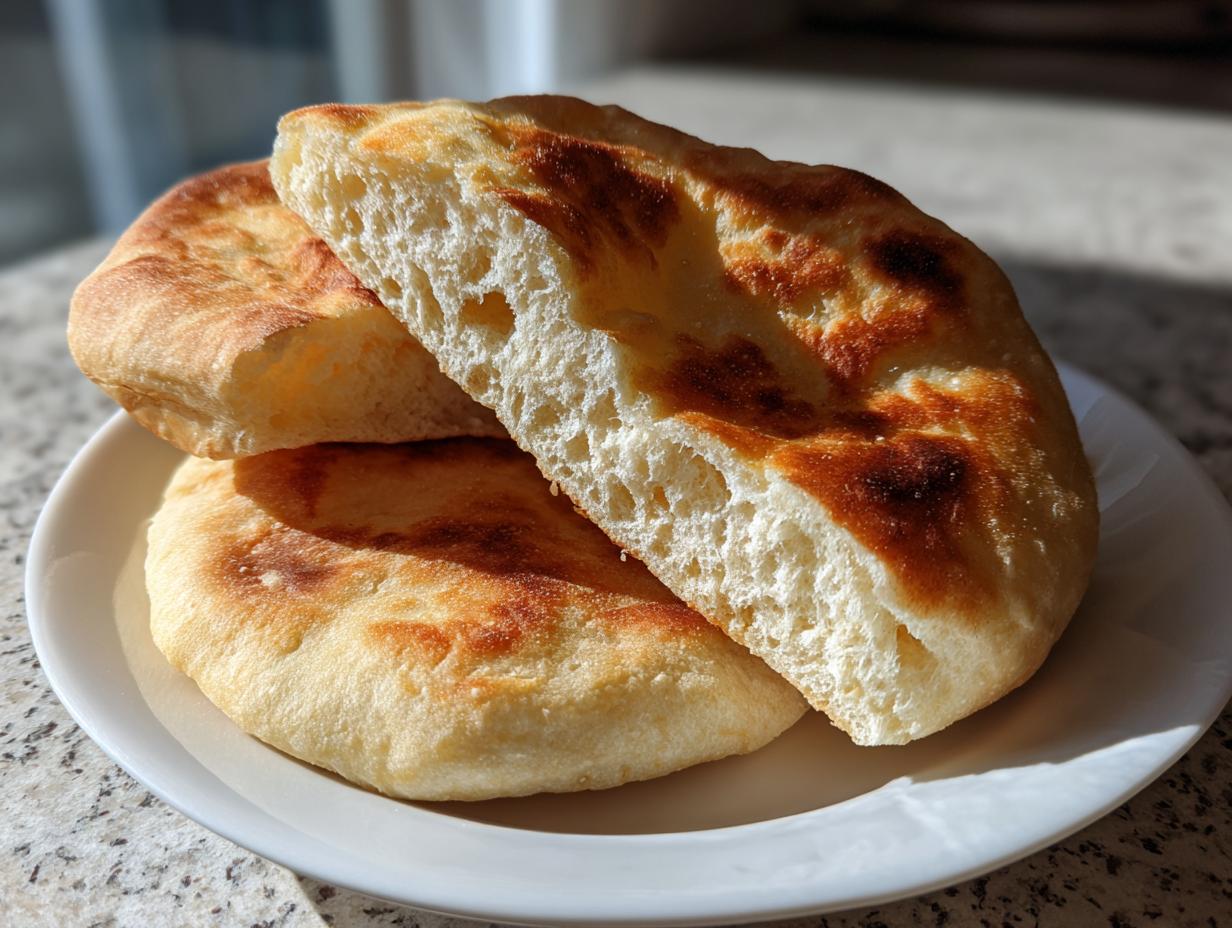
Honestly, does anything beat breaking open a package of store-bought pita bread to find perfectly flat, dry excuses for flatbread? Ugh, it’s the worst! I remember feeling so frustrated when I needed those classic pockets, so I put my head down and figured out how to make truly soft pita bread that puffs up exactly like it should. Here at DelishCraze, my goal—and I know Olivia Rosewood feels the same way—is bringing simple, reliable cooking back into everyone’s busy life. Forget those sad supermarket versions; this recipe for pita bread is your new secret weapon for home baking success, giving you that amazing, fresh baked bread at home experience every single time. If you love the idea of fresh bread, you absolutely must check out my recipe for easy homemade pretzel bites!
- Why This is the Best Homemade Pita Bread Recipe
- Ingredients for Soft Pita Bread
- How to Make Pita Bread From Scratch: Step-by-Step Instructions
- Cooking Methods for Perfect Pita Bread
- Tips for Success Making Pita Bread at Home
- Variations: Garlic Pita Bread and More
- Serving Suggestions for Fresh Baked Bread at Home
- Storage and Reheating Instructions for Pita Bread
- Frequently Asked Questions About Homemade Pita Bread Recipe
- Reader Feedback and Next Steps
Why This is the Best Homemade Pita Bread Recipe
I’ve tried almost every homemade pita bread recipe out there, and frankly, most of them fall flat—literally! What makes this one the champion of easy flatbread recipes is that it delivers on its promise: ridiculously soft, wonderfully fluffy pita bread that actually puffs every time you bake it. Trust me, once you try making your own pita bread from scratch, you’ll never look back at the package stuff again.
- It’s simple: uses only 6 core ingredients you probably already have.
- It’s reliable: I promise you’ll get those perfect pockets.
- It’s fast: Ready from start to finish in under two hours!
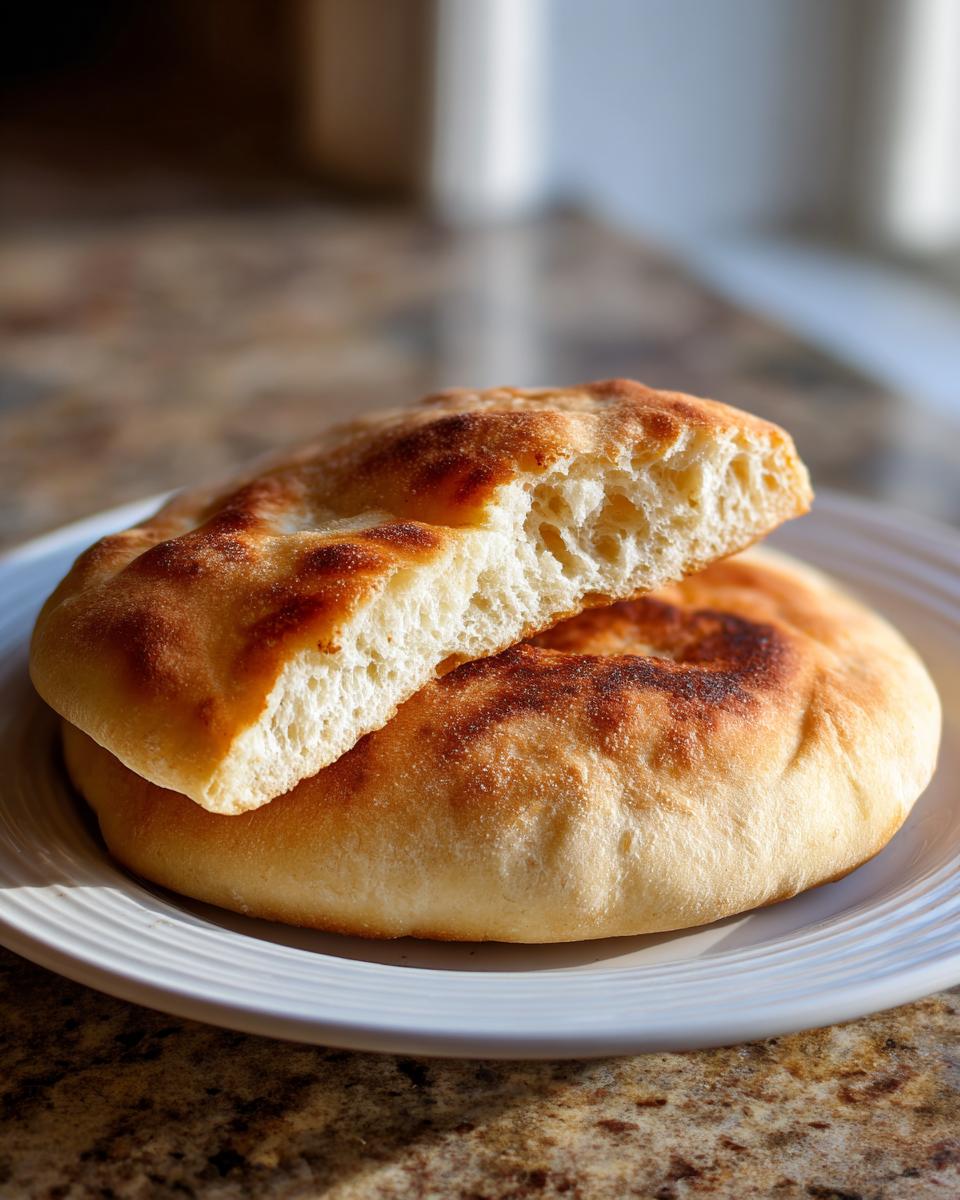
Speaking of those wonderful pockets, that’s where the real magic is!
Achieving the Signature Pita Pocket Puff
That puff moment is everything! It happens because of rapid steam expansion trapped between the dough layers. My secret here is twofold: first, you need to roll the dough evenly thin—no thick spots allowed! Second, you need screaming hot air. We preheat the oven (or skillet) to 500°F. That powerful blast of heat vaporizes the water in the dough instantly, forcing the top and bottom layers apart. It’s like a little edible hot air balloon!
If you’re looking for other dip-worthy homemade treats, you seriously have to check out my recipe for easy homemade nacho cheese!
Ingredients for Soft Pita Bread
To get the best possible soft pita bread, you need exactly what’s listed here. It’s a short list, which I love because it makes putting together this yeast flatbread so quick! These proportions are key for getting that right elasticity.
- 1 teaspoon active dry yeast
- 1 teaspoon sugar
- 1 cup warm water (about 105-115°F)
- 2 1/2 cups all-purpose flour, plus more for dusting
- 1 teaspoon salt
- 2 tablespoons olive oil
Remember, after you finish baking these, you should try my easy 30-minute creamy chicken alfredo—it’s perfect for dipping!
Ingredient Notes and Substitutions for Pita Bread
Okay, listen up about the water temperature! If it’s too hot, you zap your yeast—no foam, no lift. If it’s too cold, the yeast just sleeps. We need that happy spot between 105°F and 115°F so it gets foamy fast. This recipe is completely vegan pita bread recipe friendly since we skip the dairy entirely. While some people try for a true 5 ingredient pita bread, trust me; that tiny bit of sugar feeds the yeast, and the olive oil keeps the final dough supple and manageable. Don’t skip them!
How to Make Pita Bread From Scratch: Step-by-Step Instructions
Making incredible pita bread that puffs up like a dream is all about timing and treating your yeast right. If you follow these steps exactly, you’ll have soft, glorious Middle Eastern bread ready for dipping in no time. It’s so rewarding to create this yeast flatbread when you see them ballooning up in the oven!
Activating the Yeast and Mixing the Pita Bread Dough
First, we wake up that yeast! Grab a small bowl and mix your warm water—remember, not too hot, just 105°F to 115°F—with the sugar and yeast. You need to let this little party sit on the counter for about 5 to 10 minutes. If it gets foamy on top, congratulations, your yeast is alive and ready for action! If it doesn’t foam, toss it and start over; that’s part of the process when learning how to make pita bread.
Once it’s bubbly, whisk your flour and salt together in a big bowl. Pour in that foamy yeast water and the olive oil. Mix it up until you get what looks like a messy, shaggy blob. Don’t worry about being neat yet; we solve that in the next step.
Kneading and First Rise for Fluffy Pita Bread
Now, turn that dough shaggy mess out onto a lightly floured surface. This is where you build strength! You need to knead this dough for a solid 5 to 7 minutes. You’re working toward a dough that feels smooth and stretchy under your hands, not sticky and rough. When it feels happy, put it into an oiled bowl and cover it up tight. Let it chill out in a warm spot for 60 to 90 minutes. It has to double in size—that’s serious proofing time required for fluffy pita bread!
Shaping and Preheating for the Perfect Pita Pockets Recipe
Once it’s puffy, gently punch the air out. I divide the dough into exactly 8 equal pieces and roll each one into a tight little ball. Cover them and let them rest for 15 minutes—this relaxes the gluten so they roll out nicely. While they rest, turn your oven up to 500°F (260°C)! You must place a baking stone or an upside-down heavy baking sheet inside while it preheats for a full 30 minutes. You need volcanic heat for that textbook pita pockets recipe puff!
Then, roll those balls into 6 or 7-inch circles, about 1/8 inch thick. If you’re trying out my easy oven baked BBQ chicken thighs tonight, these pitas will be the perfect vessel! Don’t forget that for every baking success, cleaning up is easier if you’ve got some pretzel bite-related crumbs cleaned up with a good sponge later!
Cooking Methods for Perfect Pita Bread
Getting that awesome pocket to form is entirely down to the cooking method, so you have choices here! While I adore the oven method for volume, the skillet pita bread technique is fantastic if you’re only making a few or just want to watch the magic happen in real time. Which method you choose, just remember: HIGH HEAT is non-negotiable if you want that signature puff!
If you’ve already made a batch in the oven, throw these warm pitas next to my crispy oven baked sweet potato fries. Delicious!
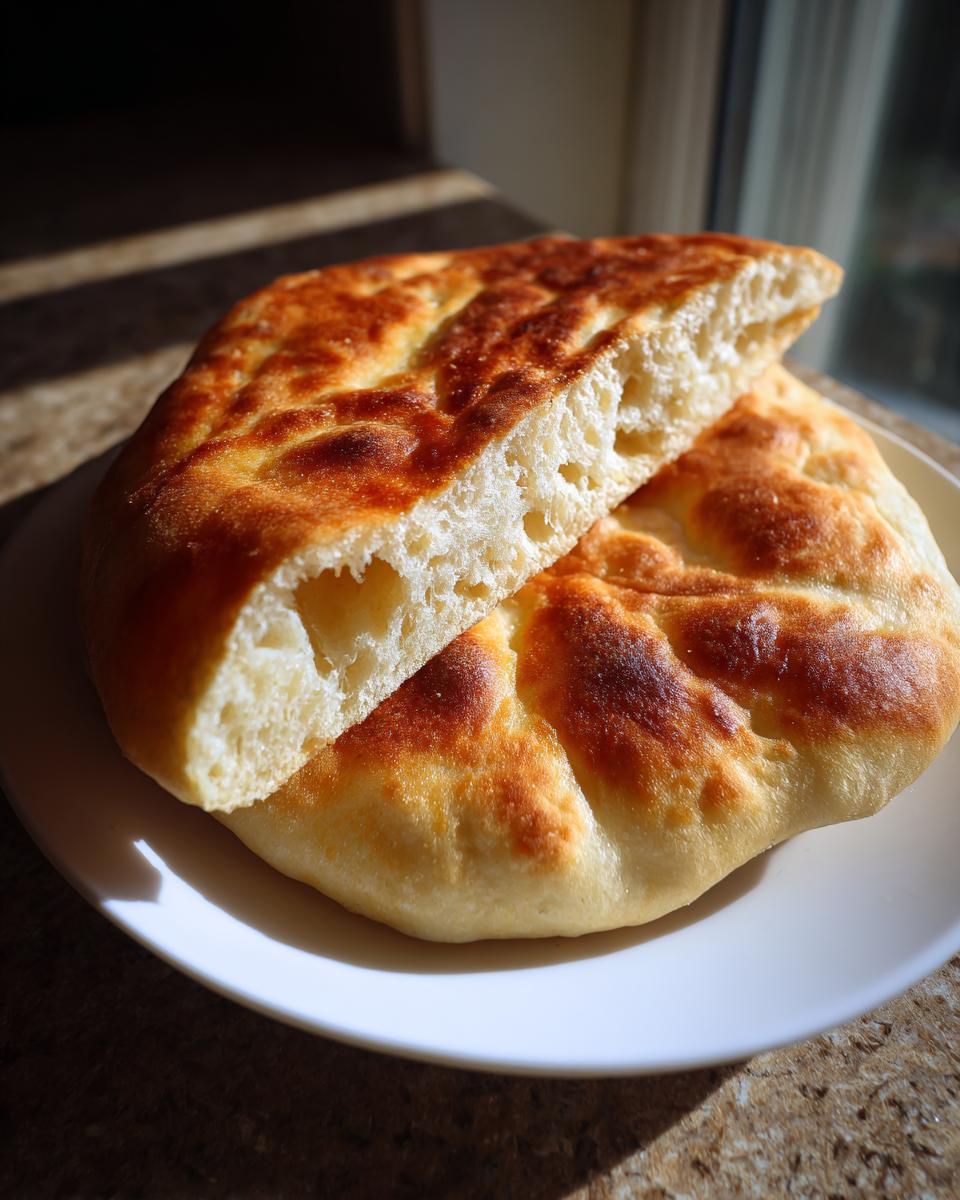
Oven Baked Pita Technique for Maximum Puff
This is the classic method for mass production, which is great when you have company over. You must slide those rolled-out circles directly onto that screaming hot baking stone or sheet—no hesitation here! Shut the oven door fast to trap all that heat. They only need 2 to 3 minutes, honestly. They puff up almost instantly, and wow, that sight never gets old! The absolute most important step afterward is removing them immediately and stacking them, covered, under a clean kitchen towel. That steam trapped around the bread keeps the oven baked pita beautifully soft instead of letting it dry into cardboard overnight.

Skillet Pita Bread Alternative
Don’t have an oven, or maybe you just want to make a couple right now? A dry, hot cast-iron skillet works like a charm! Set your skillet over medium-high heat—no oil needed in the pan. Lay one rolled pita down. You’ll see bubbles form within about a minute. When it starts looking puffy, flip it over! Cook until it puffs fully on the second side. These are just as good as oven versions, but maybe slightly less uniform if you’re making a *ton* of them. For more amazing recipes covering global flavors, take a peek at this great recipe!
Tips for Success Making Pita Bread at Home
You’ve got the technique down, but sometimes the bread just needs a little extra coaching to be the best soft pita bread possible. My biggest piece of advice? Don’t rush the rise! That hour gives the yeast time to build the structure needed to trap steam later. If you cut that short, you just get a thin cracker, not a fluffy pita!
Also, pay attention to your rolling. If you leave one spot thicker than the others, that spot won’t puff, creating a weak spot or a tear. Aim for evenness around 1/8 inch thick across the whole circle. Don’t worry about it if you need to use a little extra flour while rolling, but try to brush off the excess before it hits the hot oven surface.
And seriously, that oven has to be ripping hot—500°F minimum! That’s the secret to making this homemade pita bread recipe truly shine. For more tips on getting things fluffy in the kitchen, check out my guide to best creamy scrambled eggs!
For further guidance on getting those perfect results, I always recommend checking out this resource for easy pita bread recipes!
Variations: Garlic Pita Bread and More
Okay, so you’ve mastered the perfect puff. Now it’s time to play! My absolute favorite optional step is turning this into incredible garlic pita bread. As soon as the pitas come off the hot surface and are tucked under that towel, I immediately brush them with melted butter mixed with fresh garlic and a little dried parsley. The residual heat melts it right in, and the smell is just heavenly!
If you want to try making my easy garlic butter spread, the bread is the perfect vehicle for it. You can also skip the garlic and try a pinch of dried oregano or a tiny bit of za’atar sprinkled on top before baking for a lovely Middle Eastern bread twist. It’s so much fun customizing these!
If you want to see another great recipe that focuses specifically on the garlic version, check this out: Easy Garlic Pita Bread from Scratch!
Serving Suggestions for Fresh Baked Bread at Home
Now that you have this gorgeous, perfectly puffed pita bread, what are you going to do with them? You could just eat them plain—I won’t judge! But they really shine when paired with classic dips. I love making a big batch of my homemade tzatziki sauce and just scooping away.
If you need an actual meal, these are the perfect vehicle for a gyros filling or some leftover shredded chicken. Or, think simpler: treat them like you would any easy flatbread recipe. Slice them in half once they cool slightly and stuff them full of your favorite sandwich fillings. Honestly, they are so good when warm, they barely need anything!
For more inspiration on authentic Mediterranean pairings, check out what my pals over at Easy World Recipes suggest for their Greek style!
Storage and Reheating Instructions for Pita Bread
The biggest challenge with fresh baked bread at home is keeping that unbelievable softness past day one. If you have leftovers, don’t just stick them in a plastic bag! Store your plain pitas in a zip-top bag, but make sure to squeeze most of the air out before sealing them up. That helps keep them pliable.
Reheating is key to bringing back the fluff! You can microwave them for about 10 seconds, but that can sometimes make them chewy later. My favorite way is popping them back onto a 400°F baking sheet for just 3 minutes. They warm up fast and get that faint, wonderful, just-baked texture again!
Frequently Asked Questions About Homemade Pita Bread Recipe
I know when I first started baking, I had a million questions swirl around in my head before I even touched the yeast! I’ve gathered the ones people ask me most often down here, so you can jump straight into baking your perfect pita bread.
Is this pita bread recipe difficult or can a beginner make it?
Oh, absolutely a beginner can make this! I designed this recipe to be foolproof. The biggest challenge is just getting the temperature right when proofing the yeast, but once you see that foam, you know you’re golden. It’s a very easy flatbread recipe once you get the dough kneaded right. Seriously, don’t let the yeast scare you!
How do I know if my pitas will actually puff up?
The puff is all about heat and rolling! If you rolled your dough evenly thin (about 1/8 inch all the way across) and your oven is fully preheated to 500°F—don’t cheat on the preheat time!—you should get that glorious pocket. If you check out this great guide on simple vegan pita bread, they cover some great visual cues too.
Can I make a gluten-free or whole wheat version of this pita bread?
That’s a great question! Because this recipe relies heavily on the gluten structure to create those pockets, adapting it to be gluten-free is really tricky, and you might end up with a flatter disk. However, substituting 1/2 of the all-purpose flour for whole wheat flour works fine if you want a nutty flavor and slightly healthier option. If you want something quick and easy later in the week, you can try my recipe for quick and healthy homemade chocolate milk instead!
Can I make this pita bread recipe ahead of time?
Yes! You can mix and knead the dough, let it have its first rise, and then punch it down, coat it lightly with oil, and store it in the fridge for up to two days. Just let the dough balls warm up on the counter for about 30 minutes before you roll them out. It makes having fresh baked bread at home much easier!
Reader Feedback and Next Steps
Whew! We made it through the entire process of turning simple flour and yeast into the best pita bread you’ve ever had. Now I’m dying to know what you think! Did you get that glorious pocket in every piece? Was the skillet pita bread method easier for you than the oven? Don’t keep your successes (or hiccups!) to yourself!
Please take a moment to leave a star rating right below this section. It really helps other home cooks feel confident trying this recipe out. If you snapped a picture of your warm piles of bread, I’d love for you to tag me on Instagram! I’m always looking for real-life photos showing off the amazing work you all do in your kitchens.
And most importantly: what are you stuffing inside those perfect pita pockets recipe creations? Are you making gyros loaded with veggies, or are these destined to be dunked completely into some amazing homemade hummus? Let me know in the comments!
If you ever have a question about the recipe or just want to let me know what you’d like to see next on DelishCraze, feel free to reach out to me directly via my contact page. Happy baking, friends!
PrintEasy Homemade Soft & Fluffy Pita Bread (Guaranteed to Puff)
Make soft, fluffy pita bread from scratch that puffs perfectly to create pockets. This easy recipe uses simple ingredients and results in fresh bread better than store-bought versions.
- Prep Time: 20 min
- Cook Time: 15 min
- Total Time: 1 hour 45 min
- Yield: 8 pitas 1x
- Category: Bread
- Method: Baking/Skillet
- Cuisine: Middle Eastern
- Diet: Vegan
Ingredients
- 1 teaspoon active dry yeast
- 1 teaspoon sugar
- 1 cup warm water (about 105-115°F)
- 2 1/2 cups all-purpose flour, plus more for dusting
- 1 teaspoon salt
- 2 tablespoons olive oil
Instructions
- Activate the yeast: In a small bowl, combine the warm water, sugar, and yeast. Let it sit for 5 to 10 minutes until foamy.
- Mix the dough: In a large bowl, whisk together the flour and salt. Pour in the yeast mixture and the olive oil. Mix until a shaggy dough forms.
- Knead the dough: Turn the dough out onto a lightly floured surface. Knead for 5 to 7 minutes until the dough is smooth and elastic.
- First rise: Place the dough in a lightly oiled bowl, turning to coat. Cover the bowl with plastic wrap or a damp towel and let it rise in a warm place for 60 to 90 minutes, or until doubled in size.
- Divide and rest: Punch down the dough gently. Divide it into 8 equal pieces. Roll each piece into a smooth ball. Cover the balls and let them rest for 15 minutes.
- Preheat: Place a baking stone or an inverted heavy baking sheet in your oven. Preheat the oven to 500°F (260°C) for at least 30 minutes while the dough rests.
- Roll out: On a lightly floured surface, roll each dough ball into a circle about 6 to 7 inches in diameter and about 1/8 inch thick.
- Bake: Carefully place 1 or 2 rolled pitas directly onto the hot stone or baking sheet. Close the oven door quickly. Bake for 2 to 3 minutes. The pita should puff up completely.
- Finish: Remove the puffed pita with tongs. Place it on a clean towel and cover it immediately to keep it soft. Repeat with the remaining dough.
Notes
- For extra flavor, brush the warm pitas with melted garlic butter after baking.
- If you do not have an oven, you can cook the pitas one at a time in a dry, hot cast-iron skillet over medium-high heat until bubbles appear, then flip and cook until puffed.
- This recipe is naturally vegan.
Nutrition
- Serving Size: 1 pita
- Calories: 180
- Sugar: 1
- Sodium: 250
- Fat: 3
- Saturated Fat: 0.5
- Unsaturated Fat: 2.5
- Trans Fat: 0
- Carbohydrates: 34
- Fiber: 2
- Protein: 6
- Cholesterol: 0