
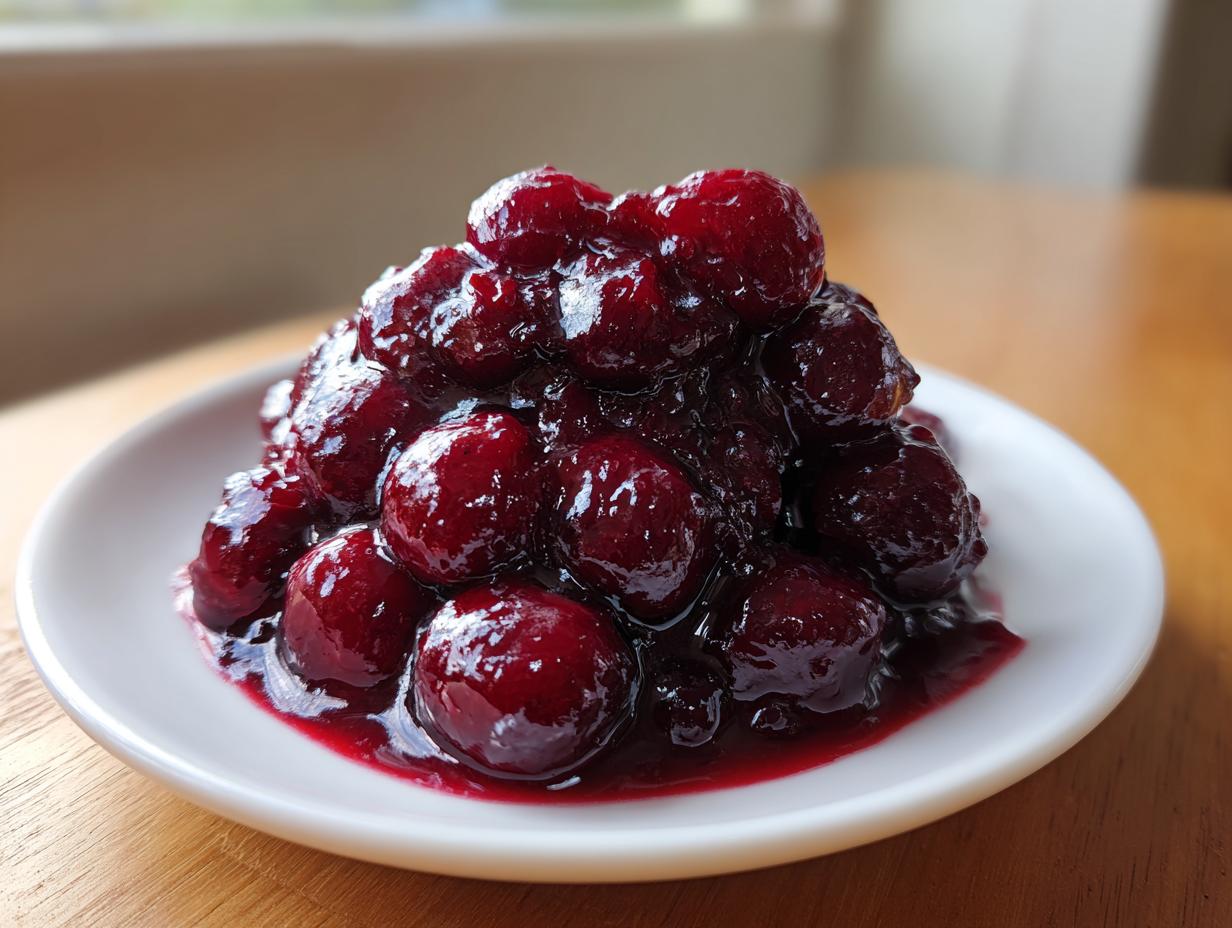
You know that feeling when you cut into a slice of pie and all the beautiful fruit just slides out into a sad, watery puddle? Ugh, I absolutely hate it! Honestly, that’s why I’ll never touch the canned stuff again. We deserve better than those weirdly firm, artificially colored cherries, right? Here at DelishCraze, Olivia Rosewood is serious about keeping American classics *real*, and that means making our own ingredients whenever possible. That’s why learning **How To Make Cherry Pie Filling** from scratch is essential. This recipe guarantees you get the **best homemade cherry pie filling from scratch**—thick, intensely flavored, and bursting with juice for the perfect pie.
- Why This Homemade Cherry Pie Filling Recipe Is a Must-Try
- Ingredients for the Best Cherry Pie Filling From Scratch
- How To Make Cherry Pie Filling: Step-by-Step Instructions
- Expert Tips for Perfect Cherry Pie Filling Every Time
- Storage and Preservation for Your Cherry Pie Filling
- Using Your Versatile Cherry Topping Recipe Beyond Pies
- Frequently Asked Questions About Cherry Pie Filling
- Estimated Nutritional Data for Cherry Pie Filling
- Share Your Sweet and Tart Cherry Filling Creations
Why This Homemade Cherry Pie Filling Recipe Is a Must-Try
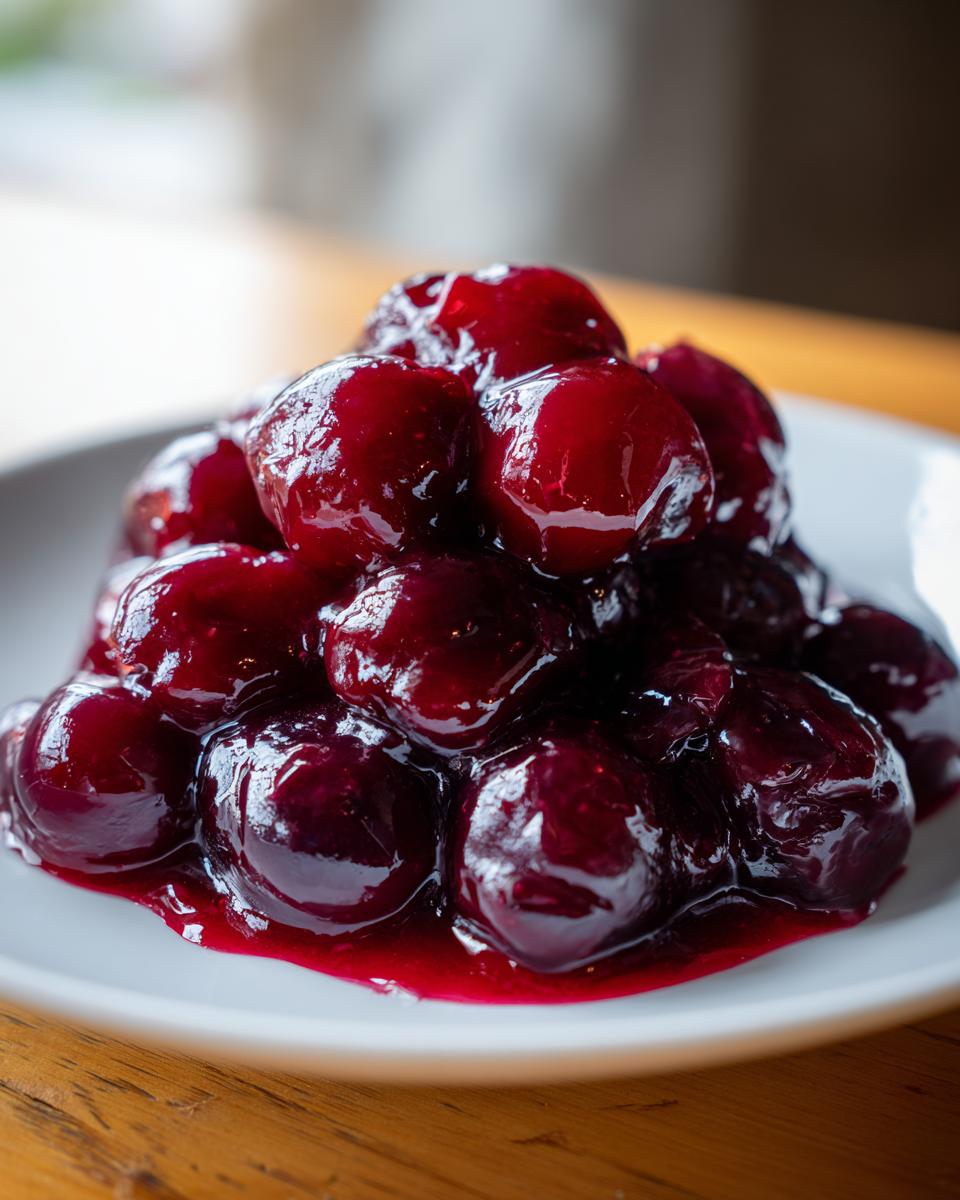
Forget the store-bought jars; they just can’t compete with this. When you make this recipe at home, you control everything—the sweetness, the tartness, and most importantly, the texture! It’s the path to achieving that truly **thick juicy cherry pie filling** everyone dreams about.

- No more watery pie disasters!
- You get that vibrant, true cherry flavor we love.
- It comes together faster than you think—seriously, less than 20 minutes! Keep this one handy for those nights you need something extra special, similar to how we keep the quick weeknight dinners on rotation.
Achieving the Perfect Thick Juicy Cherry Pie Filling Consistency
The secret to avoiding that runny mess is mixing the cornstarch right into the sugar before adding any liquid. We create a slurry! By whisking the thickener into the dry ingredients first, it dissolves perfectly and avoids those annoying lumps that ruin a beautiful filling. That’s pure technique keeping things perfectly thick!
Versatile Cherry Topping Recipe for All Your Desserts
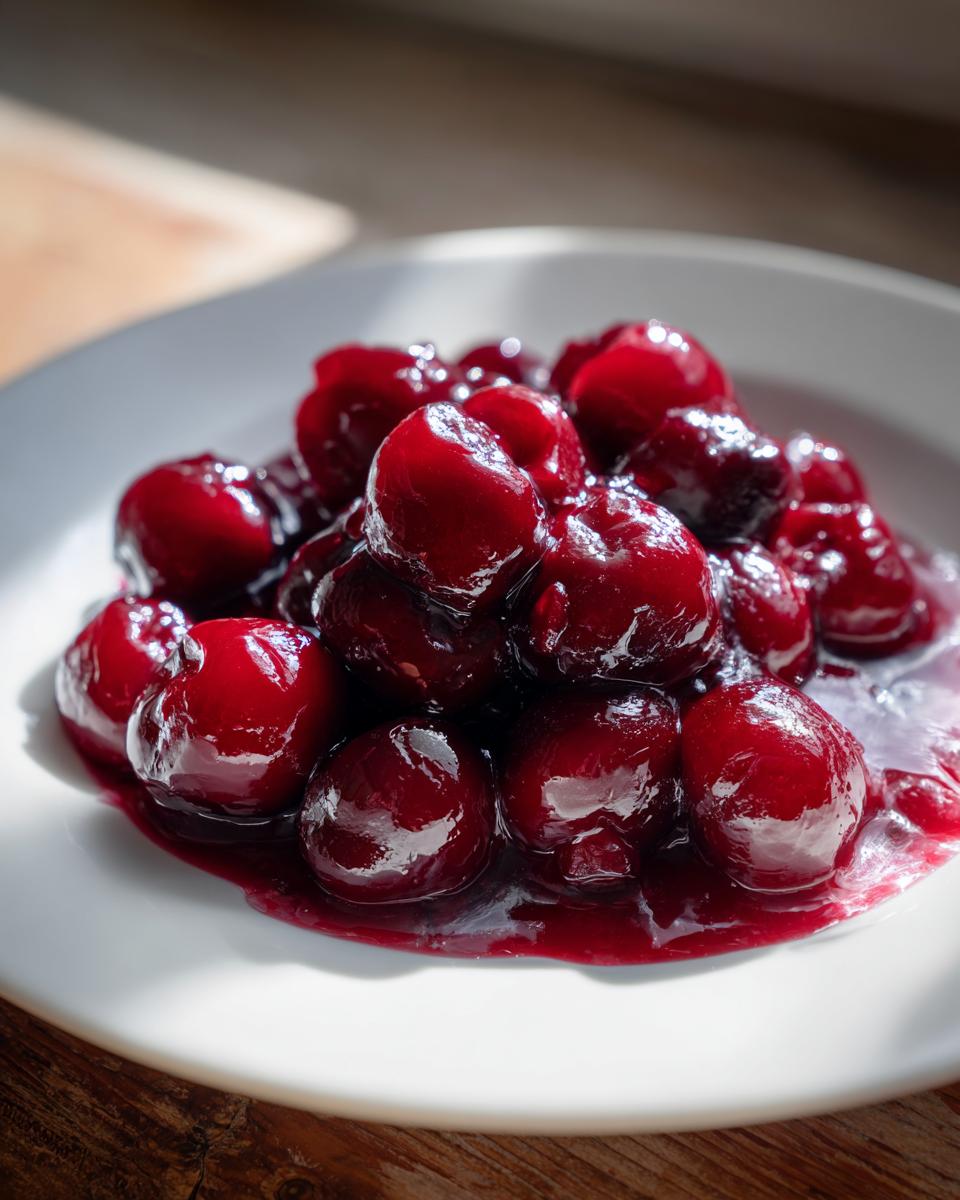
Don’t feel like baking a whole pie today? No problem! This is truly a **versatile cherry topping recipe**. Once it cools down, it’s perfect spooned over vanilla ice cream or a slice of cheesecake. It even tastes amazing swirled into pancake batter or dolloped right onto morning waffles. It’s just too good to keep hidden under a top crust!
Ingredients for the Best Cherry Pie Filling From Scratch
Gathering your supplies is half the battle, and honestly, this recipe is beautifully simple. Once you see the list, you’ll realize there’s no reason to grab that can off the shelf! We rely on just a few things to get that amazing sweet and tart balance. Remember, having your ingredients measured out makes the stovetop part fly by!
Ingredient Notes and Substitutions for Your Cherry Pie Filling
You have options here, which is great for flexibility! You can use 4 cups of fresh or frozen cherries—and trust me, if you use frozen, toss them in straight from the freezer; don’t even bother thawing them. If you happen to have canned cherries, make sure to drain them really well and cut back on the added sugar a bit. I love adding just a tiny splash of almond extract at the end; it really boosts that deep cherry flavor, making it taste richer without yelling “almond!” at you.
How To Make Cherry Pie Filling: Step-by-Step Instructions
Okay, this is where the magic happens, but you have to stick with me and keep stirring! We aren’t looking for a hands-off recipe here; we are creating something luxurious and thick, and that takes attention right on the stovetop. You’ll need a medium saucepan and a whisk ready to go. Get all your cherries prepared—pitted if fresh, straight from the bag if frozen—and let’s get cooking. This process moves fast once it heats up, so don’t leave the kitchen!
Mixing the Thickener for Smooth Cherry Pie Filling
First things first: ditch the lumps! In your dry saucepan, whisk the sugar and cornstarch together until they look totally united. Then, slowly pour in that cold water. Keep whisking until it’s completely smooth like silk. This is the most important part for making an easy cherry pie filling recipe that sets up perfectly. If you skip whisking the dry bits first, those cornstarch clumps never fully dissolve, and trust me, no one wants flavorless starch pockets in their pie.
Cooking Time and Setting the Homemade Cherry Filling
Now add your beautiful cherries, lemon juice, and salt. Turn the heat up to medium and stir, stir, stir! You need constant movement for about five to eight minutes until it starts bubbling hard. Once it’s bubbling, reduce the heat and let it cook for just one final minute while you watch it thicken up enough, meaning when you pull the spoon out, the filling should cling right to it. That’s your cue to take it off the heat! Don’t use it hot, either. You must let it cool completely on the counter—that cooling time is when it firms up to that perfect, sliceable, juicy texture you want. If you want to read more about preserving summer flavors, check out what the folks over at Texas Homesteader have shared!
Once it’s totally cool, you can use it right away in your favorite pie crust or slip it into a jar for later. Happy cooking!
Expert Tips for Perfect Cherry Pie Filling Every Time
We’ve locked down the technique, so now let’s talk about making this cherry pie filling truly spectacular. Olivia Rosewood, bless her heart, is a huge proponent of balancing sweet and tart, especially with cherries. If you’re using those bright red, super-sweet cherries, you absolutely need that little extra punch of lemon juice to keep it from tasting flat. That tiny bit of tartness makes the sweet notes sing!
If you can get your hands on tart cherries, go for it! Olivia prefers them because they offer a deeper, more complex flavor in the final product. We’re aiming for flavor depth, not just sweetness here. Also, a tiny pinch of salt—seriously, just a pinch—is non-negotiable. It does nothing but highlight the fruit. Trust me on these tiny additions; they take your from good to unbelievable. Check out these tips for easy homemade toffee; the flavor balancing rule applies there, too!
If you want to dive deeper into making things from scratch, you should see what kind of deliciousness the folks at The Toasty Kitchen are whipping up with their versions!
Storage and Preservation for Your Cherry Pie Filling
Here’s the best news about making a big batch of this filling: it stores beautifully! First things first: you absolutely must let it cool completely on the counter before you even think about putting a lid on it or moving it to the fridge. If you seal it hot, all that steam creates condensation, and that’s how you get a runny filling later on. Once cooled, it’s good in an airtight container in the refrigerator for about a week. You can even check out tips for storing quick breads—the same rule about cooling applies!
Now, if you want that sunshine flavor year-round, you’ve got to think about canning. If you plan on making a large batch specifically for your **Canning Cherry Pie Filling Recipe**, please, please, *please* use tested, up-to-date water bath canning procedures. Don’t guess when it comes to preserving high-acid foods! You can find great, safe guidelines out there, like the ones provided by Old Plain Recipes. That way, you can pull out jars of homemade goodness whenever a pie craving strikes!
Using Your Versatile Cherry Topping Recipe Beyond Pies
You have this gorgeous, thick, juicy cherry pie filling, and you don’t *have* to put it straight into a crust! Honestly, that would be a crime considering how good this **versatile cherry topping recipe** is. Think about it: warm up just a few spoonfuls and drizzle it over my amazing white chocolate raspberry cheesecake—it adds such a punch.

It’s also fantastic layered in a parfait with yogurt and granola for a slightly fancy breakfast or even just warming it slightly and pouring it over pancakes or waffles on a slow Sunday morning. Seriously, make a double batch; you’ll use it all up!
Frequently Asked Questions About Cherry Pie Filling
I know when you’re in the middle of baking, you need quick answers! So, I’ve pulled together the most common questions I get asked about making this luscious cherry pie filling. Hopefully, this helps you solve any last-minute kitchen mysteries so you can get that pie into the oven!
Can I use fresh cherries for this cherry pie filling recipe?
Oh, absolutely! Fresh cherries are my favorite when they are in season. They give that vibrant, clean flavor that just sings. The only crucial step you cannot skip—and I mean *cannot* skip—is pitting them first. No one wants to bite into a whole pit! Once they are naked, they work just as beautifully as frozen ones in this batch.
How do I make this cherry pie filling using frozen cherries?
This is one of the best things about this recipe: convenience! If you are making your **cherry pie filling using frozen cherries**, leave them frozen solid. Seriously! Do not thaw them first. The amount of liquid they release when baking is already accounted for in our cornstarch calculation, so adding them directly to the sugar/cornstarch mixture works perfectly.
What if my homemade cherry pie filling is too thin?
Ugh, disaster averted! If you’ve cooked it down and you’re worried it hasn’t set up enough—especially before putting it into the crust—don’t panic. Just make a tiny extra slurry: mix one teaspoon of cornstarch with two teaspoons of cold water in a separate tiny bowl until smooth. Take your big pot off the heat, whisk in that tiny slurry slowly, and then put it back on medium heat for just 30 seconds until it bubbles and thickens again. You can learn a lot about thickening agents from my post on easy homemade caramel sauce, too!
Estimated Nutritional Data for Cherry Pie Filling
Now, I’m not a nutritionist—I’m just focused on making delicious things that taste like summer in a crust! But I know a lot of you like to keep track, so here is the ballpark idea of what you’re looking at per half-cup serving once this beautiful, **thick juicy cherry pie filling** is done. Remember, since we are making this totally from scratch, these numbers can shift depending on how sweet your actual cherries were or if you add a dash more lemon than I did!
- Serving Size: 1/2 cup
- Calories: 210
- Sugar: 35g
- Sodium: 5mg
- Fat: 0g
- Saturated Fat: 0g
- Unsaturated Fat: 0g
- Trans Fat: 0g
- Carbohydrates: 54g
- Fiber: 2g
- Protein: 0g
- Cholesterol: 0mg
If you’re looking for more ideas on how certain ingredients affect things, sometimes looking at the ratios in recipes like my easy homemade caramel sauce recipe can give you a hint about how sugar impacts the breakdown. Enjoy every bite of this homemade goodness!
Share Your Sweet and Tart Cherry Filling Creations
Now that you’ve whipped up this incredible, luscious cherry pie filling, I really, really want to hear about it! Making food is meant to be shared, and seeing your results brings me so much joy. Did you use sweet or tart cherries? Did you manage to keep your hands off it while it cooled, or did you sneak a taste right off the spoon?
Don’t be shy! Head down to the comments section below and give this recipe a rating. Tell me what you used it for—was it a classic double-crust pie, or did you use your batch of homemade cherry pie filling as that perfect topping we talked about?
If you took a picture of that perfect slice or that gorgeous topping drizzled over ice cream, please share it on Instagram and tag me! It truly connects us, and seeing your creations is the best part of building this community around simple, delicious home cooking. Happy baking, everyone!
PrintThick and Juicy Homemade Cherry Pie Filling From Scratch

Make the best homemade cherry pie filling using fresh or frozen cherries. This easy recipe creates a thick, juicy filling perfect for pies or as a versatile dessert topping.
- Prep Time: 10 min
- Cook Time: 10 min
- Total Time: 20 min
- Yield: About 5 cups 1x
- Category: Dessert Component
- Method: Stovetop Cooking
- Cuisine: American
- Diet: Vegetarian
Ingredients
- 4 cups fresh or frozen pitted sweet or tart cherries
- 1 cup granulated sugar (adjust to taste based on cherry sweetness)
- 1/4 cup cornstarch
- 1/4 cup cold water
- 1 tablespoon lemon juice
- 1/2 teaspoon almond extract (optional)
- Pinch of salt
Instructions
- If using frozen cherries, do not thaw them first. If using fresh cherries, pit them.
- In a medium saucepan, whisk together the sugar and cornstarch until combined.
- Stir in the cold water until the mixture is smooth and there are no lumps.
- Add the cherries, lemon juice, and salt to the saucepan.
- Place the saucepan over medium heat. Stir constantly as the mixture heats up.
- Continue stirring until the mixture thickens significantly and begins to bubble. This usually takes 5 to 8 minutes.
- Once boiling, reduce the heat to low and cook for 1 more minute, stirring constantly. The filling should coat the back of a spoon.
- Remove the pan from the heat. Stir in the almond extract, if using.
- Allow the cherry pie filling to cool completely before using it in a pie or storing it. Cooling helps the filling set to its final thick consistency.
Notes
- For a canning recipe, follow tested water bath canning procedures for high-acid foods.
- If you prefer a slightly tarter flavor, use tart cherries and increase the sugar slightly.
- This filling works well as a topping for cheesecake, ice cream, pancakes, or waffles.
- If you use canned cherries, drain them first and reduce the added sugar by half a cup.
Nutrition
- Serving Size: 1/2 cup
- Calories: 210
- Sugar: 35g
- Sodium: 5mg
- Fat: 0g
- Saturated Fat: 0g
- Unsaturated Fat: 0g
- Trans Fat: 0g
- Carbohydrates: 54g
- Fiber: 2g
- Protein: 0g
- Cholesterol: 0mg