
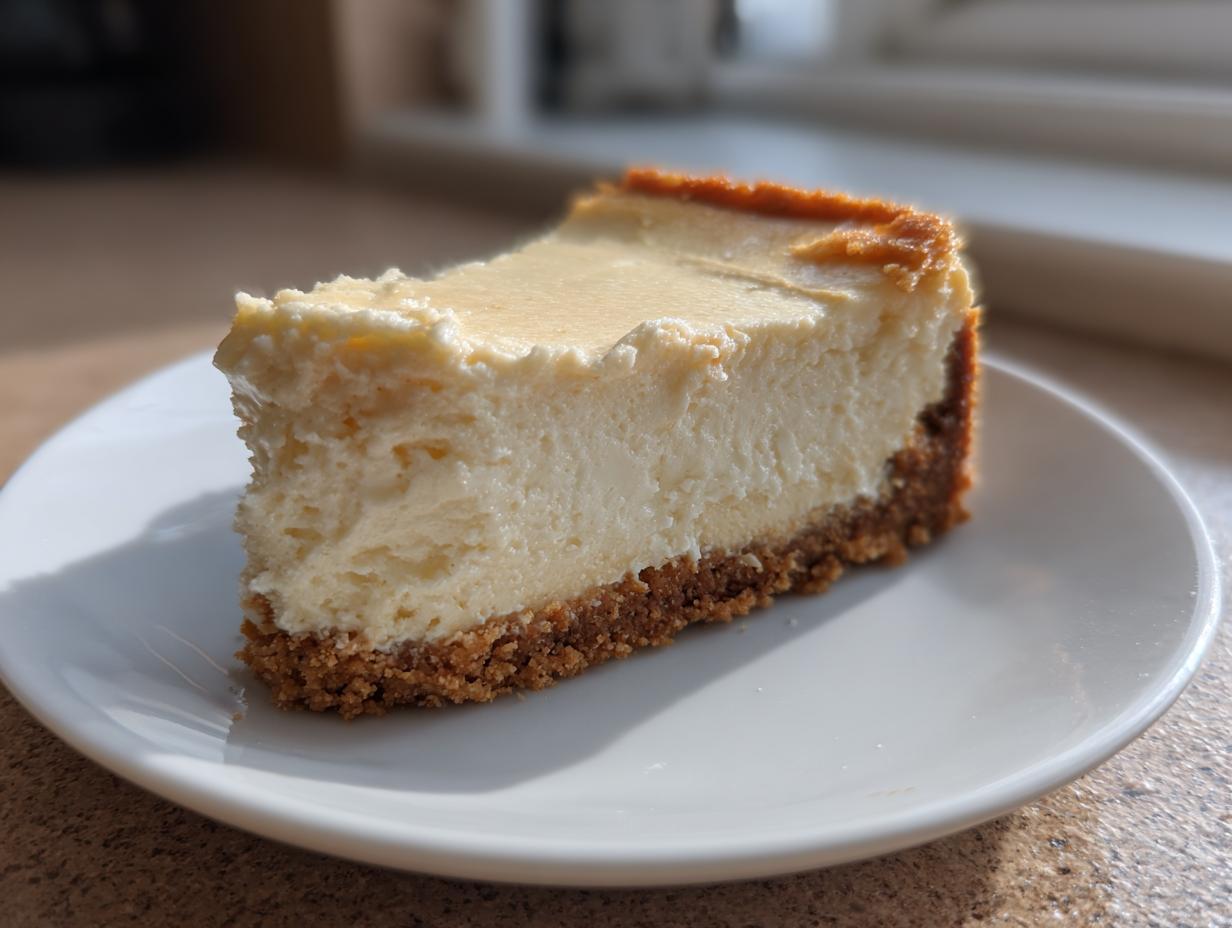
I don’t know about you, but sometimes the craving for cheesecake hits, and it hits hard! It feels like a dessert you absolutely shouldn’t touch when you’re trying to stick to your fitness goals. But guess what? We can completely ditch that guilt! This Protein Cheesecake is the secret weapon I keep in my back pocket for those moments. It’s rich, it’s incredibly creamy, and it actually *helps* your macros because we load it up with protein. Here at DelishCraze, founder Olivia Rosewood is all about making food that fits into your real life, and you can read more about her journey over on our About page. This recipe proves that healthy doesn’t have to mean boring. We nailed the technique to give you a perfectly baked, high-protein version!
- Why This Baked Protein Cheesecake is Your New Favorite Healthy Cheesecake Dessert
- Gathering Ingredients for the Ultimate Protein Cheesecake
- Step-by-Step Instructions for Your Baked Protein Cheesecake
- Variations: From No Bake Protein Cheesecake to Easy Cheesecake Jars
- Storage and Making Ahead with Your Protein Cheesecake
- Serving Suggestions for a Light Cheesecake Recipe
- Frequently Asked Questions About Protein Cheesecake
- Estimated Nutritional Data for This Dessert with High Protein Content
- Share Your Protein Cheesecake Creations
Why This Baked Protein Cheesecake is Your New Favorite Healthy Cheesecake Dessert
I know what you’re thinking: healthy cheesecake usually tastes like sweet, vaguely cheesy cardboard, right? Wrong! This is the Healthy Cheesecake Dessert that completely changed my life. When I first started focusing on boosting my protein intake, I thought I had to give up satisfying treats. But this recipe proves you can have that rich, decadent texture and still hit those fitness goals. It’s genuinely a Macro Friendly Cheesecake!
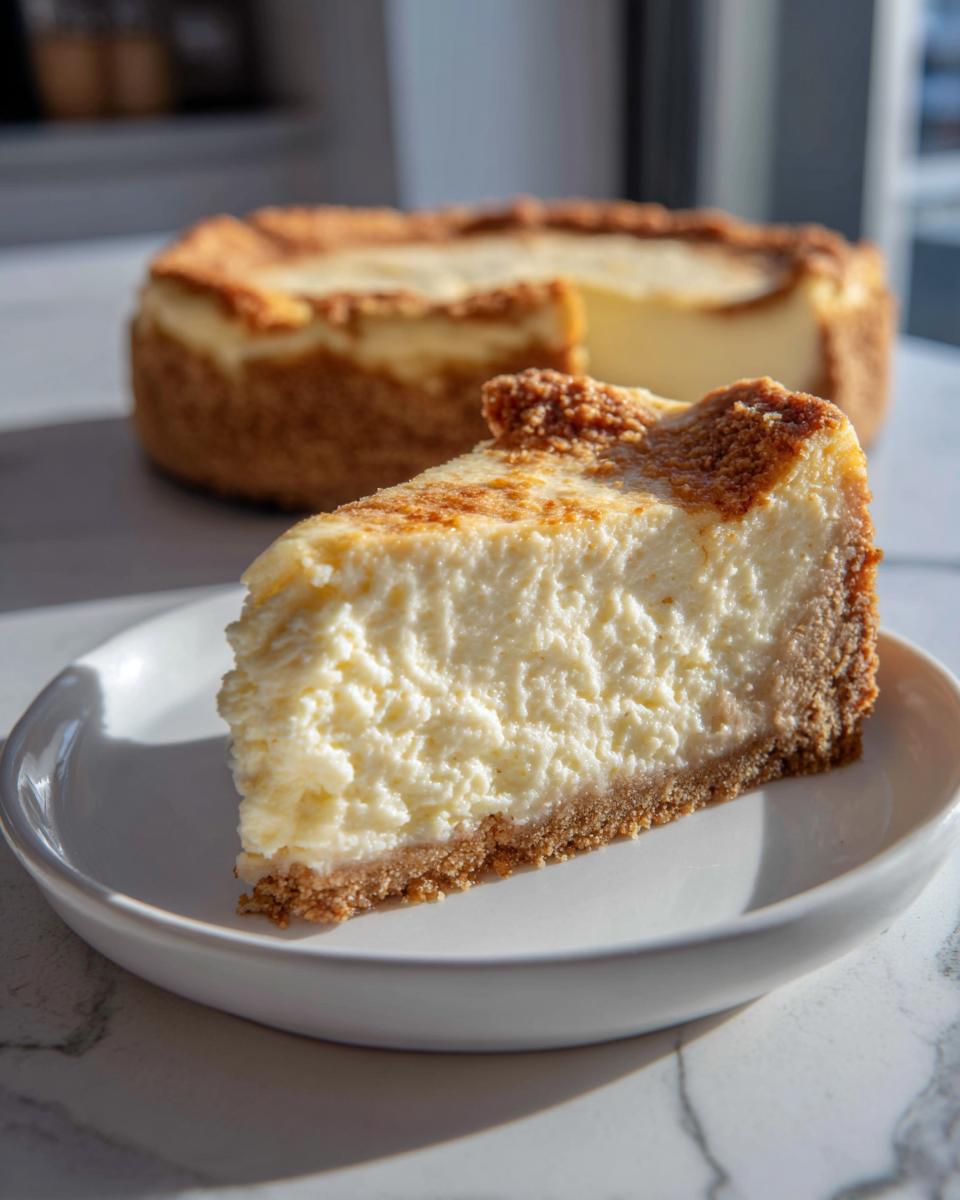
The best part is you don’t have to completely overhaul your dinner routine for this dessert, which you can check out some quick dinner inspiration for right here. This baked version gives you that wonderful slight chew and dense mouthfeel that a real New York style cheesecake offers, just lighter!
Achieving Maximum Protein with Cottage Cheese Cheesecake Recipe
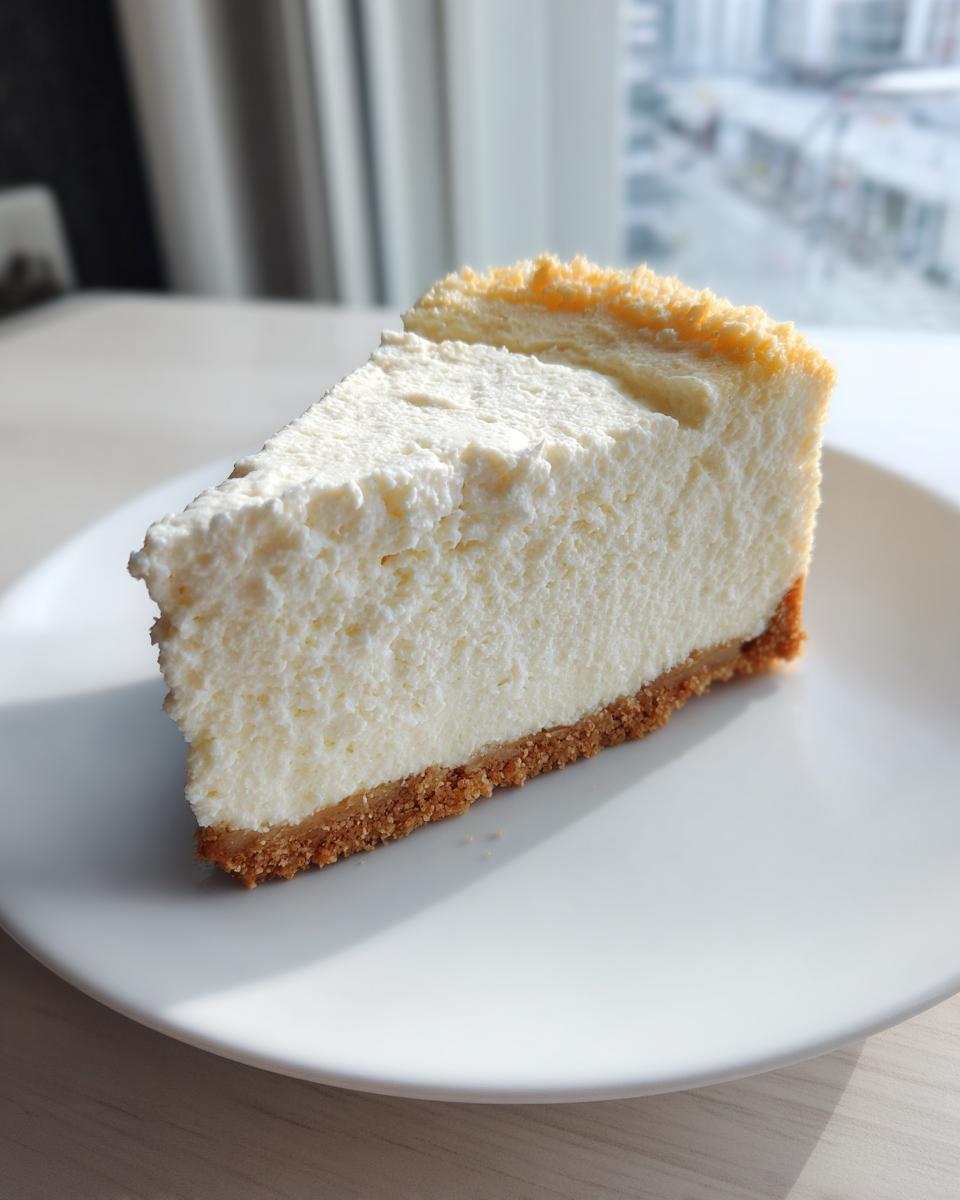
The secret sauce, or maybe I should say the secret cheese, is using a combo of ingredients you might already have. We ditch most of the full-fat cream cheese and load up on low-fat cottage cheese and Greek yogurt. Those two together are protein powerhouses! Seriously, when you drain the cottage cheese properly, it blends up like silk. This way, you are looking at right around 25g of protein per slice. That’s huge for a dessert!
Tips for a Perfectly Smooth Creamy Protein Dessert
If you want that perfectly seamless, Creamy Protein Dessert texture, you absolutely must use a food processor or blender. Don’t try mixing this by hand in a bowl; you’ll end up with grainy bits, trust me. The tip I swear by is this: after you blend the cheeses and protein powder, scrape down the sides about three times. Get everything incorporated before adding the eggs. This careful blending ensures your final Protein Cheesecake isn’t just healthy—it’s pure velvet goodness!
Gathering Ingredients for the Ultimate Protein Cheesecake
Okay, let’s talk supplies! Having the right ingredients ready makes this process so smooth. It really helps if you prep your cheeses ahead of time. I always recommend draining that cottage cheese really well first—like, press out the excess moisture—otherwise, your crust might get swampy, and nobody wants that wiggle!
We break things into two main groups: the base, and the creamy filling. Don’t forget you need two large eggs for structure in this baked recipe. If you’re skipping the graham crackers to keep this a Gluten Free Cheesecake, switch over to almond flour for the crust. It gives it this lovely, slightly nutty base that pairs so well with the vanilla protein powder in the middle. For more ways to use cottage cheese that are just as fun, you should totally check out my fluffy pancake recipe!
Step-by-Step Instructions for Your Baked Protein Cheesecake
Alright, let’s get baking! This isn’t complicated, but the timing is everything to make sure you get that perfect, crack-free top. Remember, we’re aiming for trust here; if you follow my lead on the cooling part, the cheesecake gods will reward you with cream perfection. Grab your 7-inch springform pan, and let’s start building this amazing, high-protein treat. For other fun cheesecake adventures, check out my banana cream cheesecake after you master this one!
Preparing the Crust and Preheating
First things first: crank your oven up to 325°F (160°C). Give that springform pan a good grease or even line the bottom with parchment paper—it makes life so much easier later! For the crust, just stir your crumbs, a little melted butter, and a quarter cup of your sweetener together until it’s like damp sand. Press it down *really* firmly into the bottom of the pan. Then, pop it in to pre-bake for 8 minutes. If you went the almond flour route for a Gluten Free Cheesecake crust, 8 minutes is still perfect.
Creating the Smooth Filling for Your Protein Cheesecake
Now for the magic! You absolutely need a food processor or a really strong blender here. Toss in that drained cottage cheese, the Greek yogurt, your protein powder, the vanilla, and the remaining sweetener. Blend it, scrape the sides, blend it again, until it looks like pudding—no lumps allowed! Once it’s silky smooth, this is key: add your eggs one at a time. Mix only until they disappear. If you overmix after the eggs go in, you risk adding too much air and getting a weird, rubbery texture on your Protein Cheesecake.
Baking and Essential Cooling Techniques
Pour that glorious filling right over your slightly cooled crust. Bake it for about 40 to 50 minutes. You should see the edges look set, but the middle should have a little wobble, like Jell-O. Here is the tip that saves your cheesecake heaven: when the time is up, turn the oven OFF. Don’t open the door! Just crack it open a tiny bit and let that cheesecake sit in the residual heat for a full hour. This slow, gentle cool-down is what stops those dreaded cracks. After that hour, take it out to finish cooling on the counter before chilling overnight.
Variations: From No Bake Protein Cheesecake to Easy Cheesecake Jars
I truly love this baked version because it feels so traditional, but honestly, sometimes you just don’t want to turn the oven on, or maybe you need to take dessert to a party and bringing a massive springform pan just isn’t going to happen. That’s when we pivot to alternatives!
If you’re sweltering in the summer heat or just need something lightning fast, turning this into a No Bake Protein Cheesecake is super simple. The biggest change? We leave out those two eggs entirely! Since we need something to help it set up firm, I usually mix in about a teaspoon of unflavored gelatin dissolved in a little bit of hot water right after blending the cottage cheese and yogurt mixture. You have to work quickly at that stage, but wow, the results are worth it. If you’re looking for other quick desserts that skip the oven, you have to check out my no-bake cookies!
And for portion control? Oh, I am a huge fan of putting everything into individual jars. Think about it—you make one batch of the filling, and you suddenly have eight perfect little servings ready to grab. These Easy Cheesecake Jars are great for meal prepping that sweet fix for the week, or for packing lunches. It means you can control exactly how much dessert goodness you get every single time. They chill up just as beautifully as the big cake does. If you want to see how another baker handled a baked version, check out this great article on a high-protein baked cheesecake for comparison!
Storage and Making Ahead with Your Protein Cheesecake
This is the best part about making a big, beautiful, macro-friendly dessert like this: it is fantastic for planning ahead! Cheesecake actually tastes better the next day, which is just a bonus for us busy folks. Don’t even try to rush slicing this one; you absolutely must let it chill completely.
I know patience isn’t always easy when something smells that good, but you need a minimum of four hours in the fridge. Honestly? If you can leave it alone overnight, it firms up beautifully. When it’s cold, the texture goes from ‘a bit jiggly’ to actually firm enough to slice cleanly. This makes it perfect for your weekly rotation!
Because this recipe is so solid and uses healthier dairy bases instead of tons of heavy cream or butter, it stores wonderfully. I treat this just like any other baked cheesecake. Covering it tightly—plastic wrap right against the surface helps prevent any weird fridge smells from getting in—means it stays fresh for about four to five days. That’s almost a full work week of a planned, high-protein treat! It’s basically the ultimate Protein Dessert Meal Prep helper.
If you’re prepping individual servings in those jar versions we talked about, that’s even easier! Just pop the lids on tight. Keeping things organized like this saves me so much trouble on busy weekdays. Speaking of making things ahead and easy, if you need quick breakfast options for the week, you have to look at my egg muffin recipe—it’s another winner for planning ahead!
For anyone who loves the jar concept for portability, check out these high-protein cheesecake jars I saw online; they show how simple it is to portion this kind of treat out perfectly!
Serving Suggestions for a Light Cheesecake Recipe
So, you’ve pulled your perfect, creamy Protein Cheesecake out of the fridge, and it is ready to party! This cheesecake is sturdy enough that it holds up beautifully to toppings, but since we are still aiming for that amazing, guilt-free experience, we should keep the additions light, right? This is where we turn a fantastic dessert into a stunning centerpiece!
Even a simple serving really shines, but if you want to dress it up a little, I have a few favorite ways that keep this a truly Light Cheesecake Recipe. If you’re serving a slice fresh, don’t go crazy drowning it in high-sugar sauces. A little bit goes such a long way, and you still get all the flavor payoff!
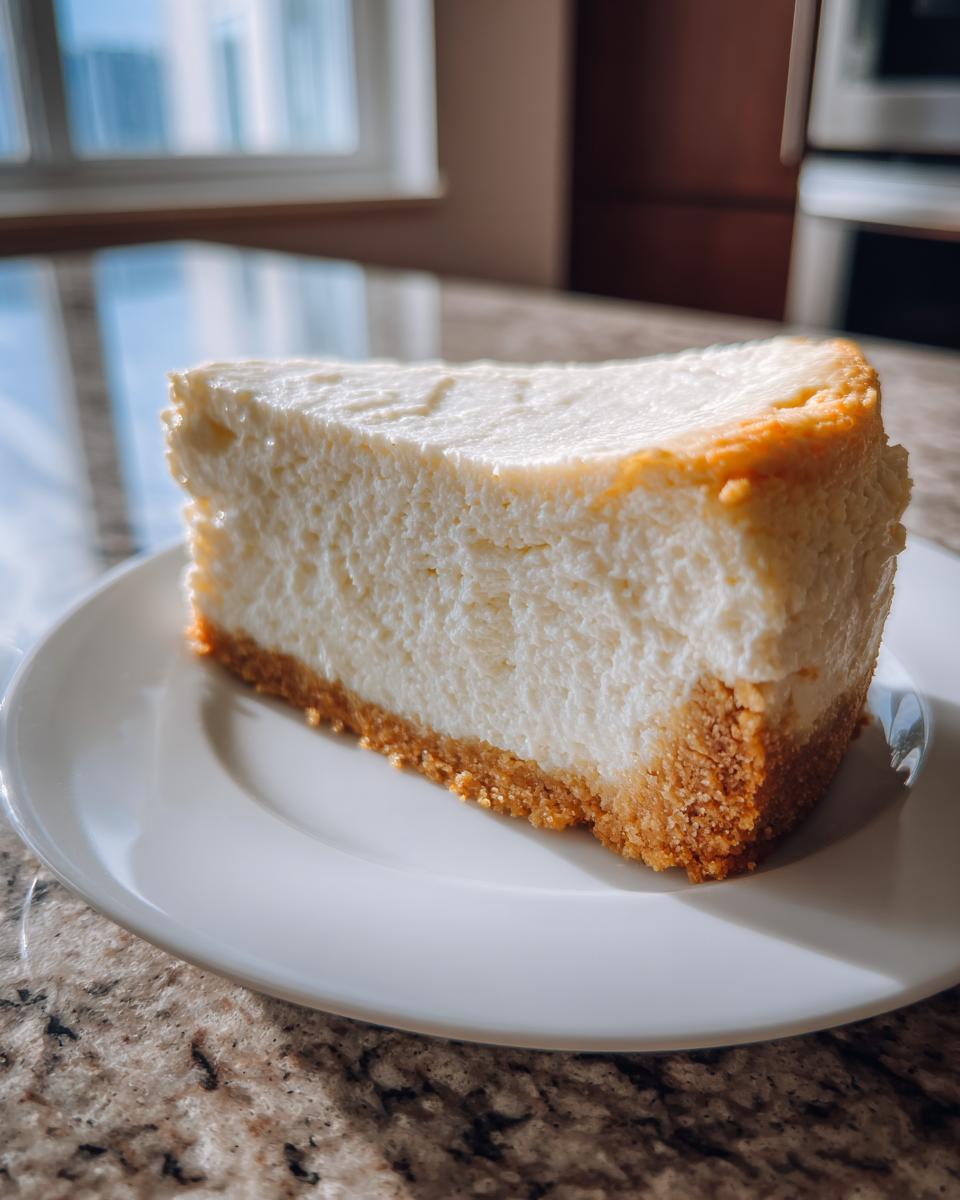
My absolute favorite is just a few mounds of fresh, bright red raspberries or strawberries. The tartness of the berries cuts through the richness of the cheesecake so perfectly. Plus, the color contrast? Gorgeous! If your cheesecake came out looking perfectly golden brown, you almost don’t need anything else because the presentation is already there.
If you need a bit of drizzle, which I totally understand, I recommend a very light drizzle of sugar-free maple or caramel syrup. You just need enough to catch the light. Less is more here! Or, if you want an earthy aromatic kick, a really generous dusting of ground cinnamon is an old trick that never fails. It smells amazing out of the oven (even if you are just sprinkling it on the top cold slice!).
For anyone who loves a classic pairing, a sprinkle of chopped pecans or walnuts on top adds a satisfying little crunch that contrasts with the creamy filling. If you want ideas for dressing up homemade desserts, you should look at how I style my strawberry cupcakes; those visual tricks work here too!
Frequently Asked Questions About Protein Cheesecake
It’s funny how making one healthy recipe always sparks a million questions! I get it; when you are experimenting with new ingredients and trying to fit things into a specific eating plan, you need solid answers. I’ve gathered a few of the most common things people ask me about this specific Protein Cheesecake recipe. I really want you to feel confident walking into the kitchen!
If you are looking for other ways I adapt classic treats to be healthier, you should check out my guide on making sugar-free banana bread—it shares a lot of the same logic!
Can I substitute the protein powder in this Protein Cheesecake Recipe?
Yes, but you have to pay attention to what you swap! The recipe calls for vanilla whey or casein, and both work great. Whey tends to give a little more lightness, whereas casein can make things a touch denser. If you swap entirely to using pure casein powder without the whey, you might need just a tiny splash more Greek yogurt or milk because casein absorbs moisture differently. If you use a different flavor, like chocolate or unflavored, just know it will change the color and maybe the sweetness level slightly. Remember, using a high-quality powder is key because it’s such a primary flavor!
Is this recipe suitable for a Low Calorie Cheesecake diet?
Absolutely, that’s one of the main selling points! When you look at the nutrition breakdown, you’ll see that by using low-fat cottage cheese, non-fat yogurt, and zero-calorie sweeteners, we keep the density down while packing in the protein. It comes out to about 240 calories per slice! That’s a genuine win when you’re looking for a decadent slice that still qualifies as a Low Calorie Cheesecake treat. It really shines as a macro-friendly dessert, giving you that satisfying feel without spiking your daily intake too high.
Just know that if you start adding high-calorie toppings like a huge dollop of whipped cream or sweet syrups, you’ll push that count up quickly. Keep the toppings light and beautiful, like the fresh berries we talked about, and you’re golden! If you want to see how someone else approaches a truly light baked cheesecake, check out this pin on high-protein cheesecake for more info.
Can this recipe be made Keto Friendly?
This is a great question, especially since we use sweeteners. We’ve already made this recipe naturally low in sugar, but if you want to ensure it’s fully Keto, you need to check your crust ingredients. If you use the graham cracker crumbs, that’s certainly not Keto-friendly due to standard sugar and starches. The easiest switch is using almond flour or crushed pecans mixed with butter and Keto-safe sweetener for the base. If you make that swap, the filling is already good to go, as we rely on zero-calorie sweeteners!
Why did my cheesecake crack even after following the oven instructions?
Ugh, cracks! They are the nemesis of every baker. While turning the oven off and letting it cool slowly inside is key, sometimes, if your cheesecake batter was over-mixed after the eggs went in, it develops too much air, and that air expands, leading to a sinkhole crack when it chills. Also, ensure your springform pan wasn’t too close to the oven element, which cooks the top too fast. Next time, try covering the top loosely with foil for the first 20 minutes of baking!
Do I have to use a springform pan for this Protein Cheesecake?
I strongly recommend a springform pan because it has those straight, removable sides, making it super easy to release the sides without damaging the crust or the filling edges. If you absolutely cannot use one, you must line a regular 7-inch round cake pan with a sling made of parchment paper long enough that the ends stick up over the edges like handles. You’ll use those ends to gently lift the whole cheesecake out once it’s fully chilled onto your cutting board.
Estimated Nutritional Data for This Dessert with High Protein Content
Now we get to the part that really helps us plan our meals, especially when we’re trying to stay on track! I’ve run the numbers on this Protein Cheesecake based on the ingredients list provided, and while these are definitely estimates—your protein powder brand or sweetener choice can nudge them around—they give you a fantastic, reliable baseline for tracking.
This recipe is generally designed to yield 8 generous slices, and honestly, knowing where your macros land makes enjoying a treat so much easier. It’s such a fantastic source of clean fuel. You’ll be happy to know this is a truly Dessert with High Protein Content!
If you’re looking for other ways to start your day strong with solid nutrition, you absolutely have to check out my ideas for healthy breakfast ideas—because balance is key!
Here is the breakdown based on an 8-serving yield:
- Calories: Approximately 240 per slice
- Protein: A whopping 25 grams! Yep, you read that right.
- Fat: Around 8 grams
- Carbohydrates: Roughly 18 grams
See? A legitimately satisfying dessert that keeps the protein high and the calories reasonable. You get the creamy texture you crave without derailing your whole day. It’s definitely my go-to when I need a sweet hit that supports my training goals!
Share Your Protein Cheesecake Creations
Look, seeing is believing, right? I’ve given you my very best advice here for creating what I think is the most delightfully creamy and satisfying Protein Cheesecake out there. But the real fun starts after you pull it out of the fridge!
I absolutely love hearing from you all when you try one of my recipes. Knowing that my tips helped you achieve that perfect, smooth texture makes my day! So, once you’ve let this set up properly and you’ve sliced into one of these beauties—which I hope you consider the ultimate Satisfying Protein Snax—I want to know how it went!
Did you stick with the simple vanilla and berries, or did you jazz it up with some extra mix-ins we discussed? Did you find the cottage cheese draining step was the real game-changer, like I do?
Please, please drop a rating below out of five stars! Five stars if it shocked you by tasting like a real dessert, one star if you ended up with soup (I hope not!). Also, if you snapped a picture of your masterpiece, I’d love to see it! You can always reach out or send me your flavor experiment photos over on the Contact page. Happy baking, and I can’t wait to see your stunning results!
PrintUltimate Healthy Baked Protein Cheesecake

Make a creamy, satisfying baked cheesecake that supports your fitness goals. This recipe uses cottage cheese and Greek yogurt for a high-protein, lower-calorie dessert.
- Prep Time: 20 min
- Cook Time: 50 min
- Total Time: 6 hours 10 min
- Yield: 8 servings 1x
- Category: Dessert
- Method: Baking
- Cuisine: American
- Diet: Low Fat
Ingredients
- 1 cup graham cracker crumbs (or almond flour for gluten-free)
- 2 tablespoons melted butter or coconut oil
- 1/4 cup zero-calorie sweetener
- 16 ounces low-fat cottage cheese, drained well
- 8 ounces non-fat Greek yogurt
- 1/2 cup vanilla whey or casein protein powder
- 1/4 cup zero-calorie sweetener
- 1 teaspoon vanilla extract
- 2 large eggs
Instructions
- Preheat your oven to 325°F (160°C). Lightly grease a 7-inch springform pan or line it with parchment paper.
- Prepare the crust: Mix the graham cracker crumbs, melted butter, and 1/4 cup sweetener in a small bowl. Press this mixture firmly into the bottom of the prepared pan. Bake the crust for 8 minutes, then remove and let it cool slightly.
- Prepare the filling: In a food processor or high-speed blender, combine the drained cottage cheese, Greek yogurt, protein powder, 1/4 cup sweetener, and vanilla extract. Blend until completely smooth, scraping down the sides as needed. This step is crucial for a creamy texture.
- Add the eggs one at a time, blending briefly after each addition until just combined. Do not overmix once the eggs are added.
- Pour the filling over the cooled crust in the springform pan.
- Bake for 40 to 50 minutes. The edges should look set, but the center should still have a slight jiggle.
- Turn off the oven, crack the door open slightly, and let the cheesecake cool inside the oven for 1 hour. This prevents cracking.
- Remove the cheesecake from the oven and let it cool completely on a wire rack.
- Cover the cheesecake and refrigerate for at least 4 hours, or preferably overnight, before slicing and serving.
Notes
- For an extra smooth texture, press the cottage cheese through a fine-mesh sieve before blending.
- If you want a low-carb crust, use almond flour instead of graham crackers.
- This recipe yields approximately 8 servings, providing about 25g of protein per slice.
Nutrition
- Serving Size: 1 slice
- Calories: 240
- Sugar: 5
- Sodium: 350
- Fat: 8
- Saturated Fat: 4
- Unsaturated Fat: 4
- Trans Fat: 0
- Carbohydrates: 18
- Fiber: 1
- Protein: 25
- Cholesterol: 60