
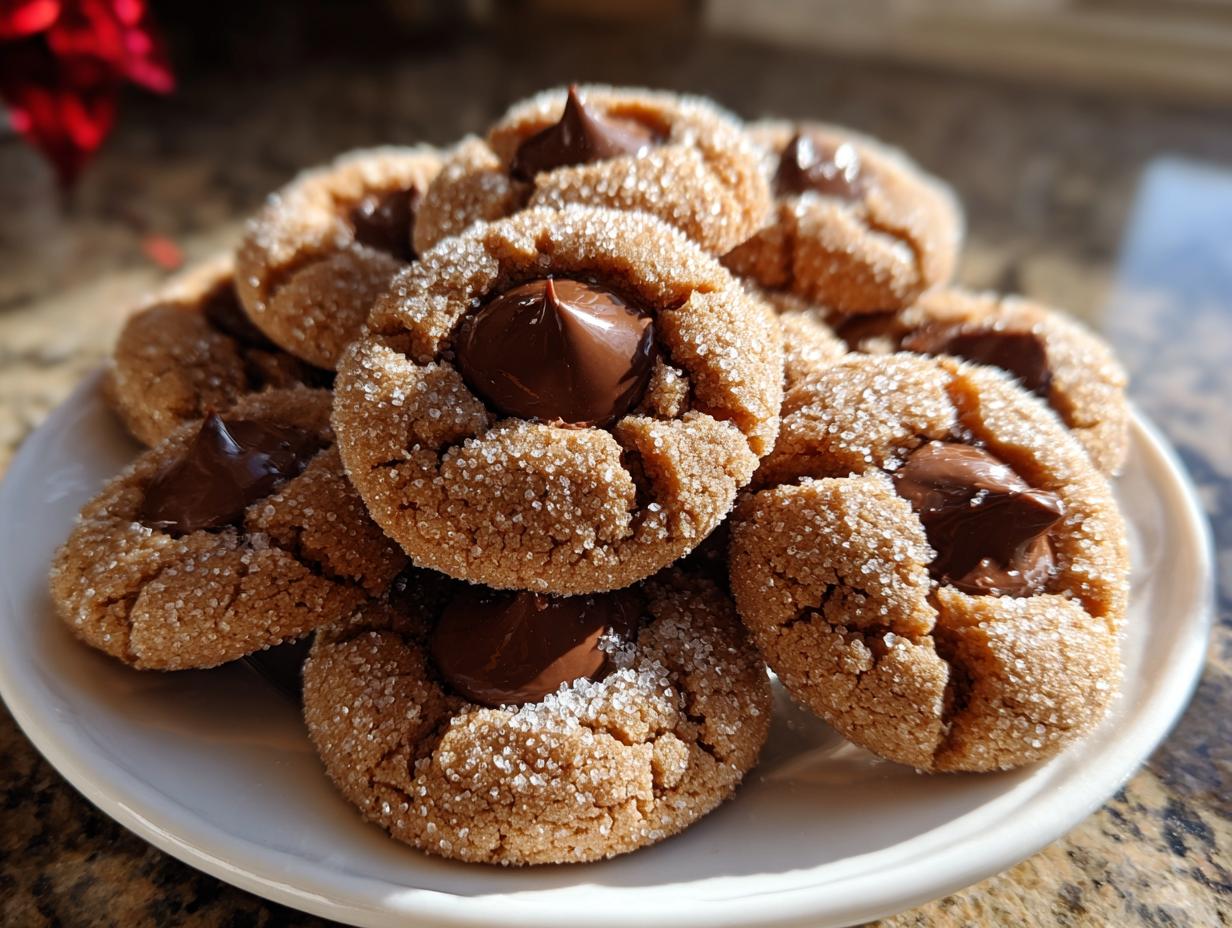
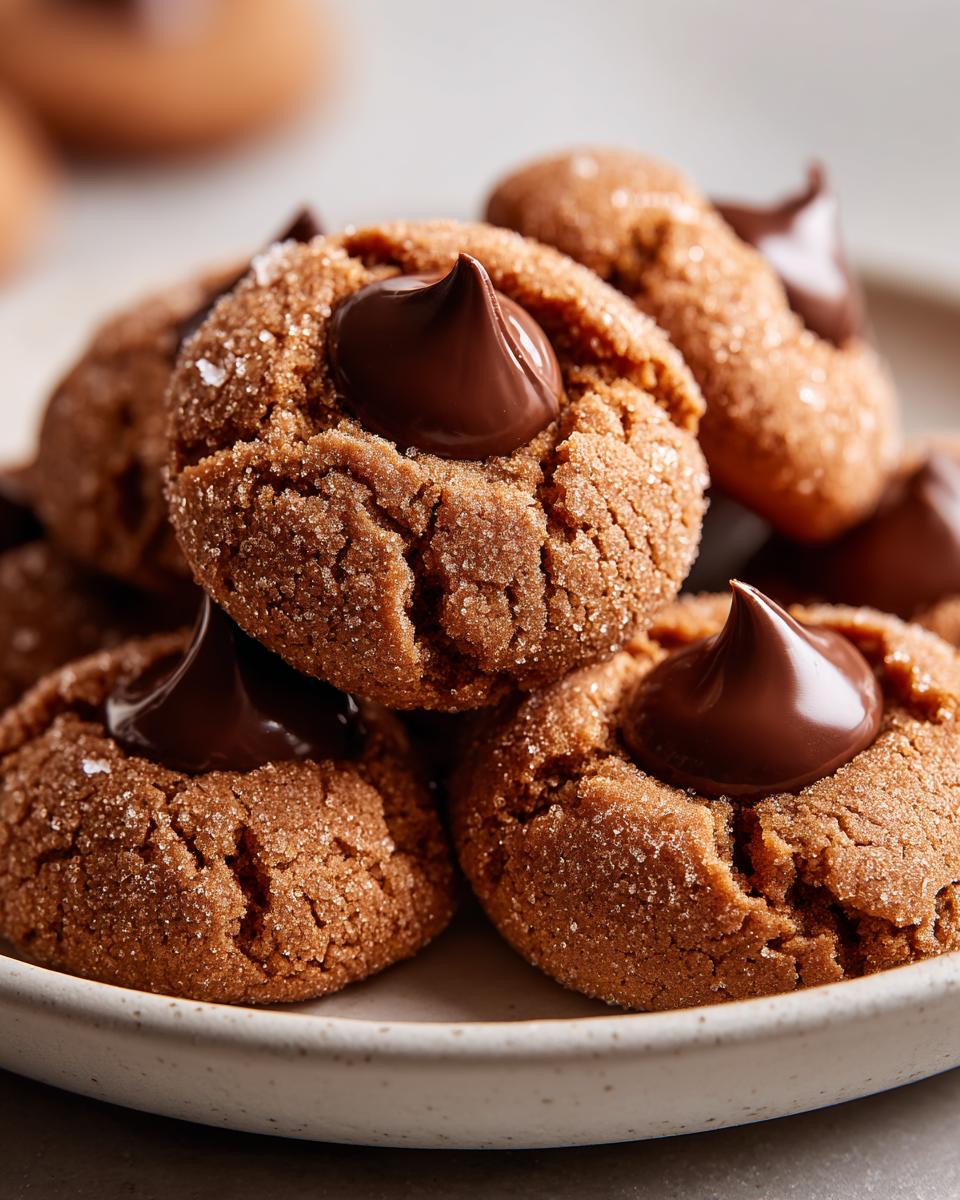
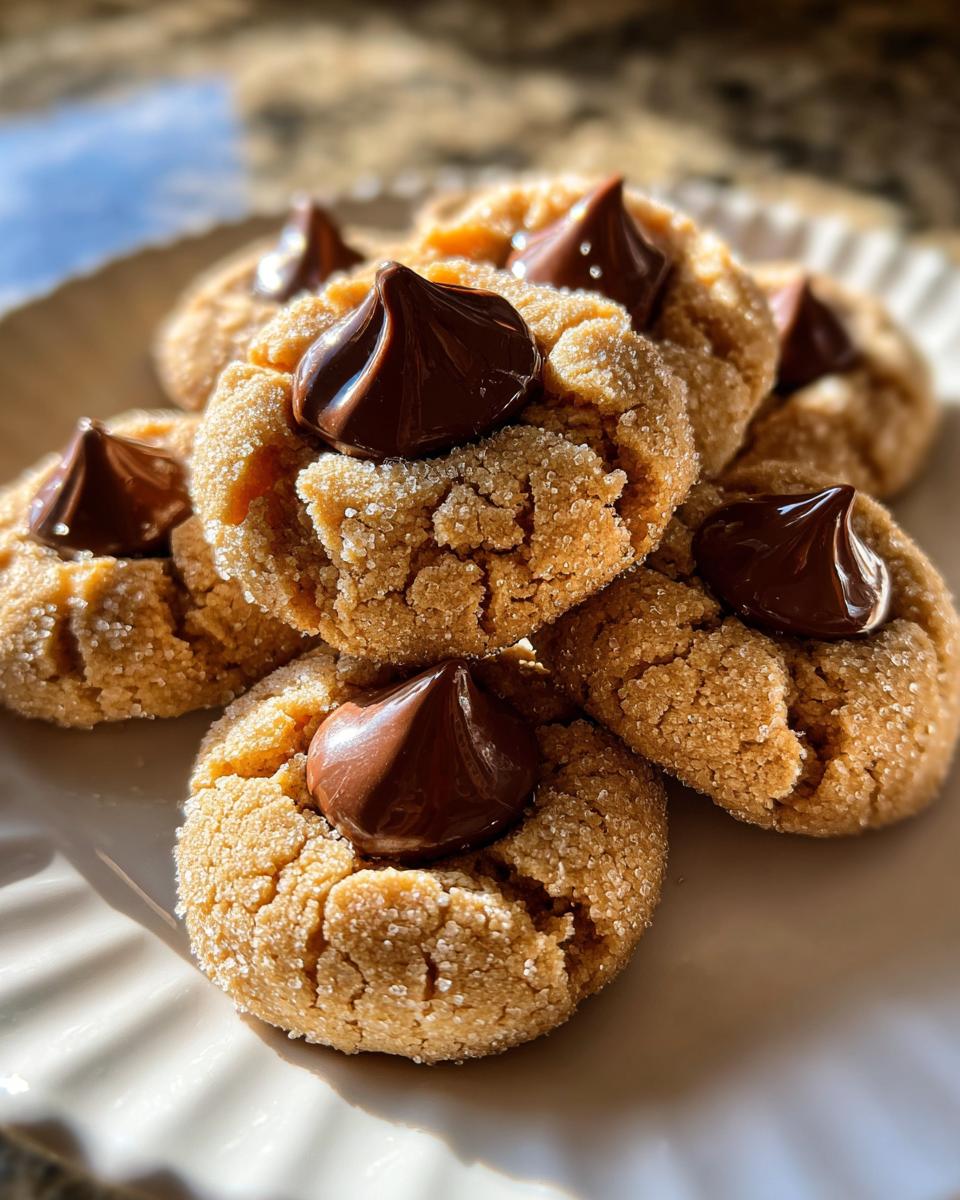
There’s just something about the smell of baking peanut butter that instantly pulls me back to my childhood kitchen. It’s pure nostalgia in a cookie tin, and if you’re looking to capture that cozy, comforting feeling, you have to make my classic peanut butter blossoms. Forget those dry, store-bought versions! My goal here at DelishCraze, which started when I was trying to bring that warmth back into my own busy adult life, is to give you a recipe that delivers that signature soft, chewy indulgence every single time. We’re talking about a perfect crackle on the top, giving way to that wonderful, slightly melted milk chocolate kiss right in the center. Trust me, these are the best, easiest holiday treats you’ll turn to year after year.
- Why This is the Best Recipe for Soft and Chewy Peanut Butter Blossoms
- Gathering Ingredients for Your Peanut Butter Blossoms
- Step-by-Step Instructions for Perfect Peanut Butter Blossoms
- Ingredient Notes and Substitutions for Peanut Butter Blossoms
- Making Peanut Butter Blossoms for Holiday Baking Recipes
- Frequently Asked Questions About Peanut Butter Blossoms
- Estimated Nutrition for Classic Peanut Butter Blossoms
- Share Your Homemade Peanut Butter Blossoms
Why This is the Best Recipe for Soft and Chewy Peanut Butter Blossoms
When I’m whipping up a batch of these for Christmas Cookie Favorites, I always get asked why mine always manage to stay so wonderfully soft, even the next day. It’s not magic, I promise! It all comes down to a few key science-y bits we include in the dough that other recipes skip. Plus, these are fantastic because you don’t have to wait around for dough to chill—you can mix, roll, bake, and decorate super quick. That speed combined with an incredible texture makes this the only way I’ll ever make them. Don’t even get me started on how they compare to some other chewy cookies, like my maple brown sugar ones; these blossoms have a completely unique, nostalgic bite!
Achieving the Perfect Soft Baked Cookies Texture
The secret to that melt-in-your-mouth center lives right in the creaming step. We use both granulated and brown sugar, of course, but how you beat the butter, peanut butter, and sugars is huge. You need to incorporate air! If you rush this, the cookies will bake up dense and hard. Don’t stop mixing until that butter mixture has turned notably lighter in color—that pale color means you’ve whipped enough air in there to keep things fluffy later on. Also, using softened (but not melted!) butter is non-negotiable for that pillowy texture.
Tips for Making Classic Peanut Butter Blossoms Every Time
The biggest issue people have with their peanut butter blossoms is usually the cookie spreading into flat, greasy puddles in the oven. Two things fix this right away. First, make sure your dough balls are a consistent size—about one inch—and roll them snugly in the sugar. This coating actually helps the cookie gently set its shape during that initial blast of heat. Second, watch your oven like a hawk! They bake fast, and under-baking slightly is actually better than over-baking if you want that truly chewy result we talked about.
Gathering Ingredients for Your Peanut Butter Blossoms
Okay, the really great news about these classic peanut butter blossoms is that you probably have most of what you need in your pantry right now. There’s no fancy sourcing required for these Easy Peanut Butter Treats! We keep the ingredient list simple and reliable so you can focus on the fun part: rolling the dough and pressing that chocolate kiss in. It’s all about clarity here, making sure the measurements are spot on for success.
Ingredient List for Classic Peanut Butter Blossoms
- 1 cup unsalted butter, softened
- 3/4 cup creamy peanut butter
- 3/4 cup granulated sugar, plus 1/4 cup for rolling
- 3/4 cup packed brown sugar
- 2 large eggs
- 1 teaspoon vanilla extract
- 2 1/4 cups all-purpose flour
- 1 teaspoon baking soda
- 1/2 teaspoon baking powder
- 1/2 teaspoon salt
- 1 cup milk chocolate kisses (like Hershey’s Kisses), unwrapped
Step-by-Step Instructions for Perfect Peanut Butter Blossoms
Alright, let’s get these beauties into the oven! Since we skipped the chilling time, mixing these peanut butter blossoms is super straightforward. We’re working quickly here because time is chocolate, right? Just follow these steps exactly, especially around the baking and pressing stages, and you’ll have perfect cookies ready for your holiday tray. You can find more inspiration for other great peanut butter recipes over at my post on perfect peanut butter cookies.
Preparing the Dough for Your Peanut Butter Blossoms
First things first: make sure your oven is set to 375 degrees F and you’ve got parchment paper lining those baking sheets—this helps keep the bottoms from burning. Now for the mixing! Get your softened butter, peanut butter, both sugars (granulated and brown!), eggs, and vanilla into a big bowl. Use your mixer to cream these until they look light and fluffy. Seriously, don’t skimp on this; it’s crucial for that soft texture! In a separate bowl, whisk your flour, baking soda, baking powder, and salt together. Then, add those dry bits to the wet mixture slowly, mixing only on low speed until it just comes together. I can’t stress this enough: stop mixing the moment you don’t see any more streaks of flour. Overmixing is the enemy of a tender cookie!
Baking and Adding the Chocolate Kiss to Peanut Butter Blossoms
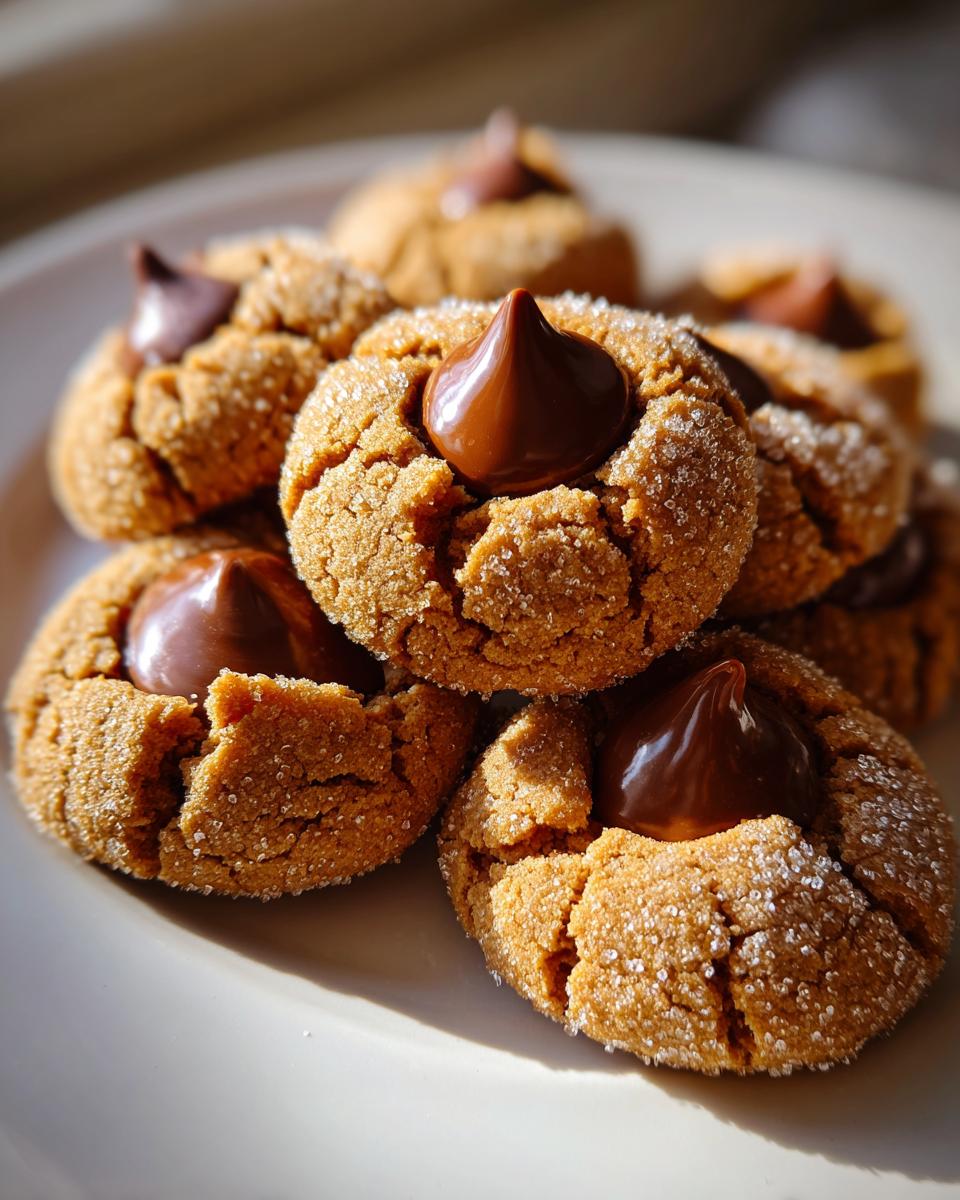
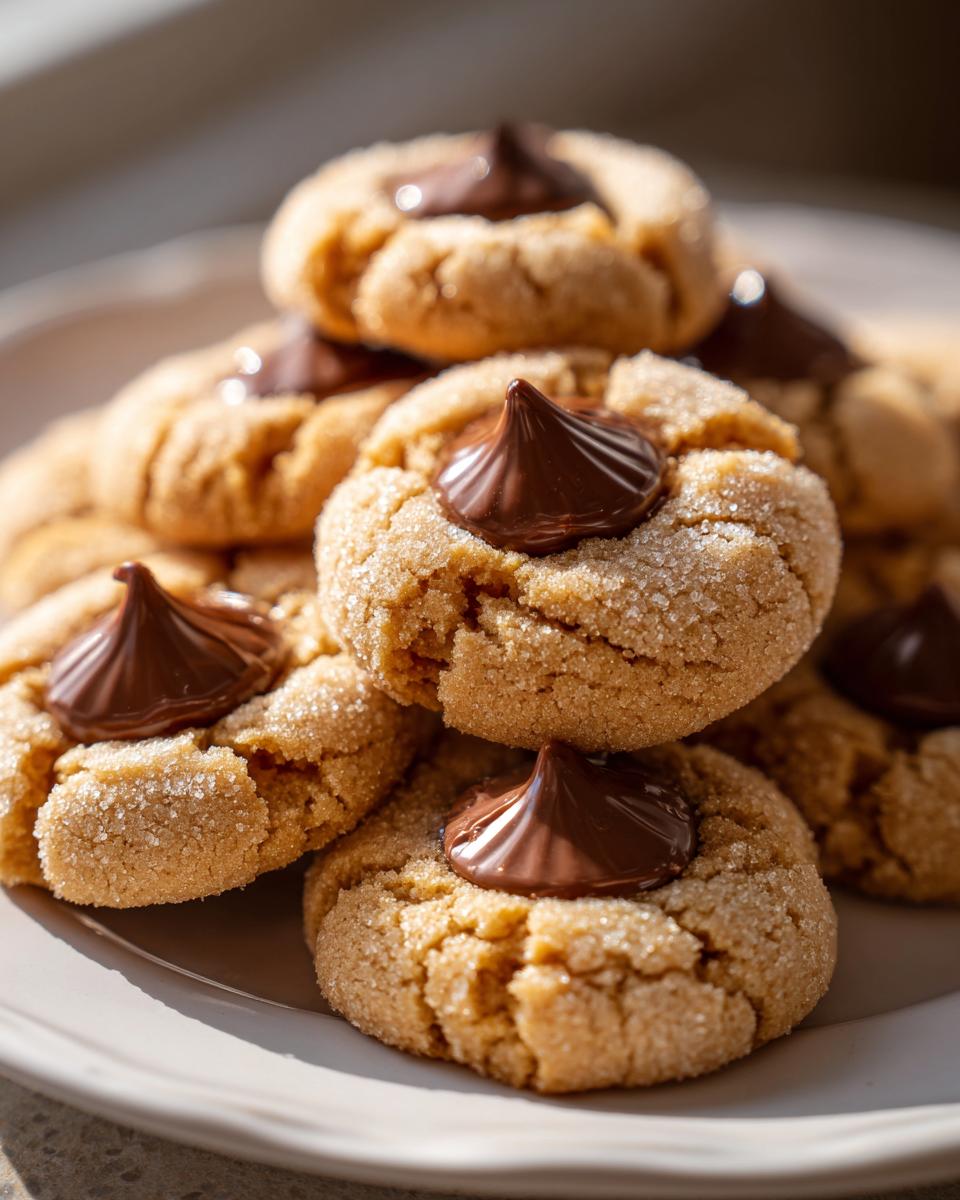
Time for the fun part! Pour that reserved 1/4 cup of sugar into a shallow dish. Scoop your dough into one-inch balls and roll each one carefully in the sugar until it’s totally coated. These sugar balls create that fantastic crackled top on our finished peanut butter blossoms. Place them on your prepared sheets about two inches apart. Pop them into the oven for a quick 8 to 10 minutes—they should look set on the edges but still look a bit soft in the middle. Immediately take the sheet out! While they’re still piping hot, gently press one unwrapped chocolate kiss right into the center of each cookie. The residual heat from the cookie does all the work, gently melting that chocolate without making a huge mess. Let them sit on the hot sheet for about five minutes before moving them over to a wire rack to cool completely. If your cookies are spreading too much, check out the tips from Opera Cook for keeping things perfectly shaped!
Ingredient Notes and Substitutions for Peanut Butter Blossoms
I get asked all the time if you can swap ingredients in baking, and for these treasured peanut butter blossoms, I usually say: try to stick close to the recipe! This classic cookie relies on a certain structure, but there are a few places where you can totally customize things to your taste or what you have on hand. We want to make sure you get that perfect texture we talked about, so these tiny tweaks can make a big difference in the end result, even if they aren’t exactly the traditional way. If you’re ever looking for cookie ideas that skip dairy or eggs entirely, I have a great roundup of vegan chocolate chip cookies, but for this recipe, let’s keep it classic!
Peanut Butter Choice for Optimal Peanut Butter Blossoms
The recipe calls for creamy peanut butter, and honestly, that’s what gives us the cleanest, smoothest dough that rolls up beautifully. If you try to use natural peanut butter—the kind where the oil separates—your dough will be greasy and probably spread way too much in the oven. Crunchy peanut butter works in a pinch if you’re desperate, but it will give the cookie a much more rugged texture inside, which isn’t quite what you want when aiming for that signature melt-in-your-mouth feel. Stick to smooth, conventional brands!
Chocolate Kiss Variations for Your Peanut Butter Blossoms
The original inspiration for peanut butter blossoms always involves the good old Hershey’s milk chocolate kiss, but sometimes you need a change! I’ve experimented, and you have plenty of great options for that iconic top hat. You can absolutely swap the milk chocolate flavor for dark chocolate kisses if you prefer a richer, less sweet contrast to the salty cookie dough. White chocolate kisses are fun, especially around Easter or Christmas when you want a different color profile. My favorite, slightly more indulgent swap? Just use a miniature peanut butter cup instead of the kiss once they come out of the oven. They melt beautifully and make the cookie twice as peanut-buttery. Just remember to gently press them in right away!
Making Peanut Butter Blossoms for Holiday Baking Recipes
It’s almost impossible to talk about Christmas Cookie Favorites without mentioning these beauties. My peanut butter blossoms really shine when they’re sitting next to powdered sugar cookies or some of my Russian Tea Cakes on a big holiday platter. Because they are so easy to make and require absolutely no chilling time, they are my secret weapon for huge batches needed for cookie exchanges or school fairs. If you’re planning ahead, these are fantastic candidates for make-ahead prep, which is essential when the holidays get hectic. Even other bakers who focus on cookie exchanges know that skipping the fuss means more treats, which is why recipes like these from Clara are always popular, too—you can check out great tips over at her site.
Storage and Make-Ahead Tips for Peanut Butter Blossoms
Since these are soft cookies, we want to keep that texture intact for as long as possible. Once your peanut butter blossoms are totally cool—and I mean totally cool, or the chocolate will get messy—you can store them in an airtight container at room temperature. They hold up beautifully for up to a full week! That’s what makes them perfect for baking a few days before a big party.
Now, for make-ahead success: you can prepare the dough, roll those little balls, and coat them in the sugar ahead of time. Just lay those sugared balls out on a parchment-lined cookie sheet and store the whole thing tightly wrapped in plastic wrap in the refrigerator for up to two days. When you’re ready to bake, preheat your oven, and pull them straight from the fridge onto the baking sheet. You might need to add just a minute or two to the baking time since they’ll be colder going in. Do NOT press the kiss in until they come out of the oven, though! That part always has to be done hot.
Frequently Asked Questions About Peanut Butter Blossoms
I totally get it; baking questions pop up when you’re trying to nail a classic recipe! It’s tough when you want them to turn out exactly right, especially when you’re hoping for that perfect batch of Soft Baked Cookies. Here are a few things I hear most often when people are testing this recipe for the first time.
Why are my peanut butter cookies spreading too much?
Spreading is usually a temperature issue or a fat issue, plain and simple! If your butter or peanut butter gets too warm before you mix the dough, the structure just won’t hold up in the oven. Remember, we need that butter softened, but if it’s greasy or looks oily, that’s a problem. Also, make sure you’re using the right ratio of flour. If the dough feels sticky or loose when you try to roll the balls, it means you need a tiny bit more flour, or you might have accidentally weighed your flour improperly. Measure accurately, and keep your ingredients cool!
Can I skip rolling the dough in sugar for these peanut butter blossoms?
You technically *can*, but oh my goodness, why would you want to skip that step for your peanut butter blossoms? That granulated sugar coating isn’t just for pretty looks! When the cookie dough hits the heat, that sugar coating crystallizes quickly. That’s what creates the signature, gorgeous crackle pattern on the top of the cookie. Skip the sugar, and you usually end up with a flatter cookie that might even stick to your pan a little more easily. That sugary shell gives you the best texture contrast against the soft interior, so yes, definitely roll them!
How long do peanut butter blossoms stay fresh?
The best part about these Chocolate Kiss Cookies is that they actually stay soft for days! Honestly, they are great for up to a week when stored in an airtight container at room temperature. They don’t need refrigeration—please don’t store them in the fridge unless your kitchen is ridiculously hot! Refrigeration tends to dry out cookies unless they are specifically designed for it. I like to put a small slice of bread in the container with them; it sounds silly, but the cookie absorbs just a tiny bit of moisture from the bread and keeps that chewy center perfect. For storage tips on other treats, you can always check out my advice on keeping fluffy rolls soft!
Estimated Nutrition for Classic Peanut Butter Blossoms
Now, because we’re talking about baking with butter, peanut butter, and a kiss of chocolate, we know these aren’t a light snack, but they are totally worth it! The details below are based on one standard cookie serving from this recipe. Just remember, these numbers are estimates, of course. Depending on the brand of peanut butter or the exact size of those kisses you use, things might shift a tiny bit, but this gives you a great baseline for your baking plans.
- Serving Size: 1 cookie
- Calories: 160
- Fat: 9g
- Carbohydrates: 18g
- Protein: 3g
- Sugar: 12g
- Cholesterol: 20mg
Share Your Homemade Peanut Butter Blossoms
I truly hope you loved making these cookies as much as I love sharing this recipe with you. Seeing your creations is honestly the best part of running DelishCraze—it shows me that the warmth of home baking is spreading! When you finish your batch of these nostalgic treats, I’d be thrilled if you came back here to leave a quick rating. Even a few stars tell me you enjoyed the process and the final soft, chewy result.
If you made any fun substitutions, or maybe you tried the dark chocolate version and want to tell everyone how amazing it was, please drop a comment below! Your tips and experiences help the next person who wanders into the kitchen feeling a little unsure. For beautiful photos, tag me on social media—I love seeing these classic cookies show up on your holiday tables! Happy baking, friends, and don’t forget to check out the super moist lemon loaf recipe next!
PrintClassic Soft and Chewy Peanut Butter Blossoms

Make these classic Peanut Butter Blossoms for a soft, chewy cookie with a crackled top and a melted chocolate kiss center. This simple recipe is perfect for holiday baking or any time you need a nostalgic treat.
- Prep Time: 15 min
- Cook Time: 10 min
- Total Time: 25 min
- Yield: About 3 dozen cookies 1x
- Category: Dessert
- Method: Baking
- Cuisine: American
- Diet: Vegetarian
Ingredients
- 1 cup unsalted butter, softened
- 3/4 cup creamy peanut butter
- 3/4 cup granulated sugar, plus 1/4 cup for rolling
- 3/4 cup packed brown sugar
- 2 large eggs
- 1 teaspoon vanilla extract
- 2 1/4 cups all-purpose flour
- 1 teaspoon baking soda
- 1/2 teaspoon baking powder
- 1/2 teaspoon salt
- 1 cup milk chocolate kisses (like Hershey’s Kisses), unwrapped
Instructions
- Preheat your oven to 375 degrees F. Line baking sheets with parchment paper.
- In a large bowl, cream together the softened butter, peanut butter, granulated sugar, and brown sugar until light and fluffy. You can use an electric mixer for this step.
- Beat in the eggs one at a time, then mix in the vanilla extract.
- In a separate medium bowl, whisk together the flour, baking soda, baking powder, and salt.
- Gradually add the dry ingredients to the wet ingredients, mixing on low speed until just combined. Do not overmix the dough.
- Place 1/4 cup of granulated sugar in a shallow dish. Roll the dough into 1-inch balls. Roll each ball in the reserved granulated sugar until coated.
- Place the sugared dough balls about 2 inches apart on the prepared baking sheets.
- Bake for 8 to 10 minutes, or until the edges are set and the tops show slight cracks. The centers should still look slightly soft.
- Immediately after removing the cookies from the oven, gently press one chocolate kiss into the center of each warm cookie. The residual heat will soften the chocolate.
- Let the cookies cool on the baking sheet for 5 minutes before transferring them to a wire rack to cool completely.
Notes
- For the softest cookie, do not overbake. The cookies firm up as they cool.
- You can substitute milk chocolate kisses with dark chocolate or peanut butter cups for a variation.
- These cookies store well in an airtight container at room temperature for up to one week.
Nutrition
- Serving Size: 1 cookie
- Calories: 160
- Sugar: 12
- Sodium: 85
- Fat: 9
- Saturated Fat: 4
- Unsaturated Fat: 5
- Trans Fat: 0
- Carbohydrates: 18
- Fiber: 1
- Protein: 3
- Cholesterol: 20