

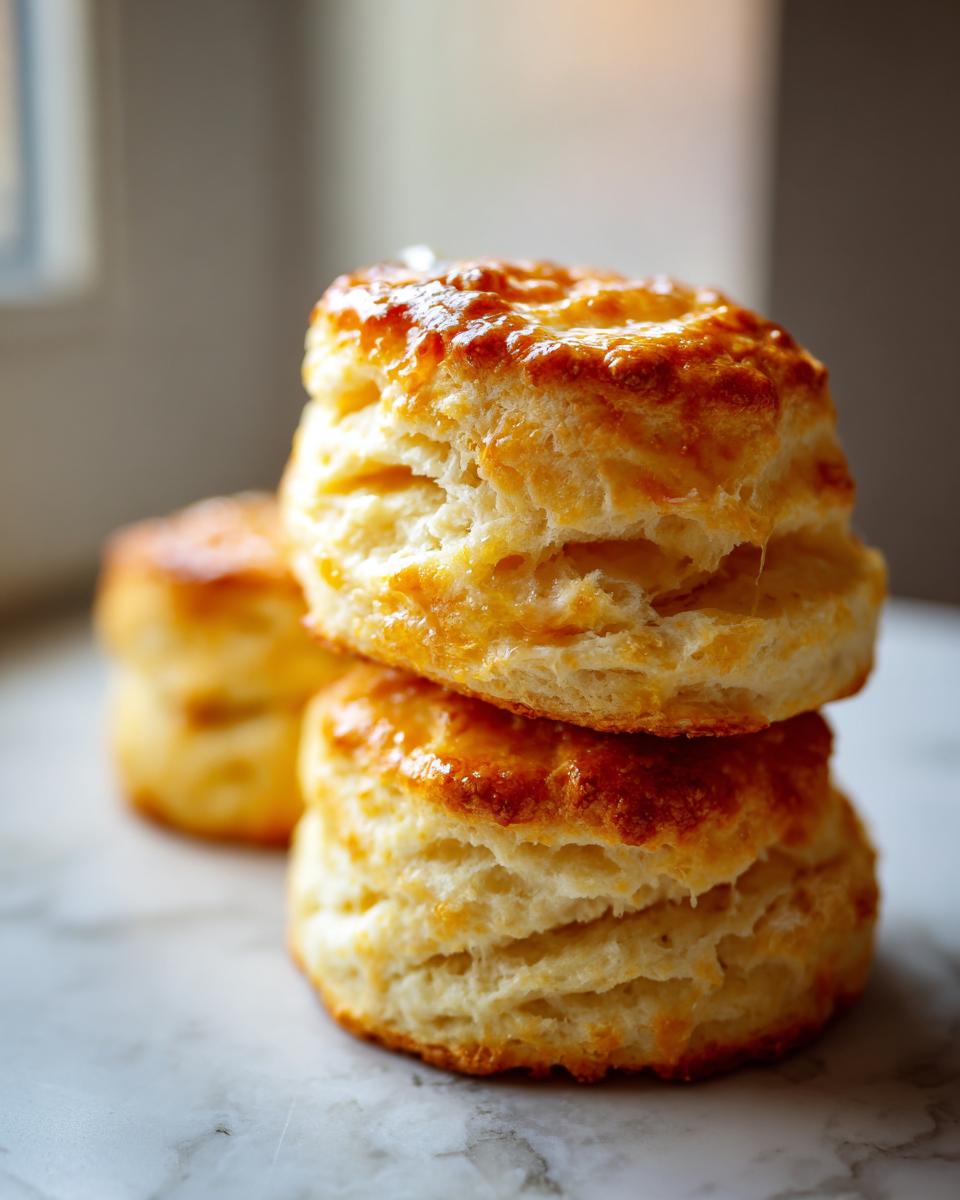
Nothing truly beats the smell of fresh bread coming out of the oven, especially when it’s something as comforting as a tall, tender biscuit. For me, that aroma instantly transports me back to my childhood kitchen, making food the language of love that I cherish today. If you’ve been searching for the ultimate recipe to master that elusive fluffiness, you’ve found it. I’m sharing my absolute favorite recipe for Ultra Flaky Southern Buttermilk Biscuits. Forget the dry, flat discs you sometimes get—we’re making tender, melt-in-your-mouth homemade buttermilk biscuits that rise beautifully every single time. Trust me, the technique is everything!
- Why This Recipe Makes the Best Buttermilk Biscuits (Experience & Trust)
- Gathering Ingredients for Classic Buttermilk Biscuits
- Step-by-Step Tutorial for Perfect Buttermilk Biscuits
- Tips for Success with Fluffy Buttermilk Biscuits
- Make-Ahead & Storage for Your Buttermilk Biscuits
- Serving Suggestions for Southern Style Biscuits
- Variations on Your Buttermilk Biscuits Recipe
- Frequently Asked Questions About Buttermilk Biscuits
- Nutritional Estimates for Buttermilk Biscuits
Why This Recipe Makes the Best Buttermilk Biscuits (Experience & Trust)
If you’ve tried making biscuits before with disappointing results—too tough, too flat—I get it! That’s why I developed this method. We are chasing that classic Southern style biscuits texture, and it comes down to a few non-negotiable steps that build reliability into your baking. These aren’t just okay biscuits; they are intentionally engineered to be the best flaky biscuits you’ve ever made.
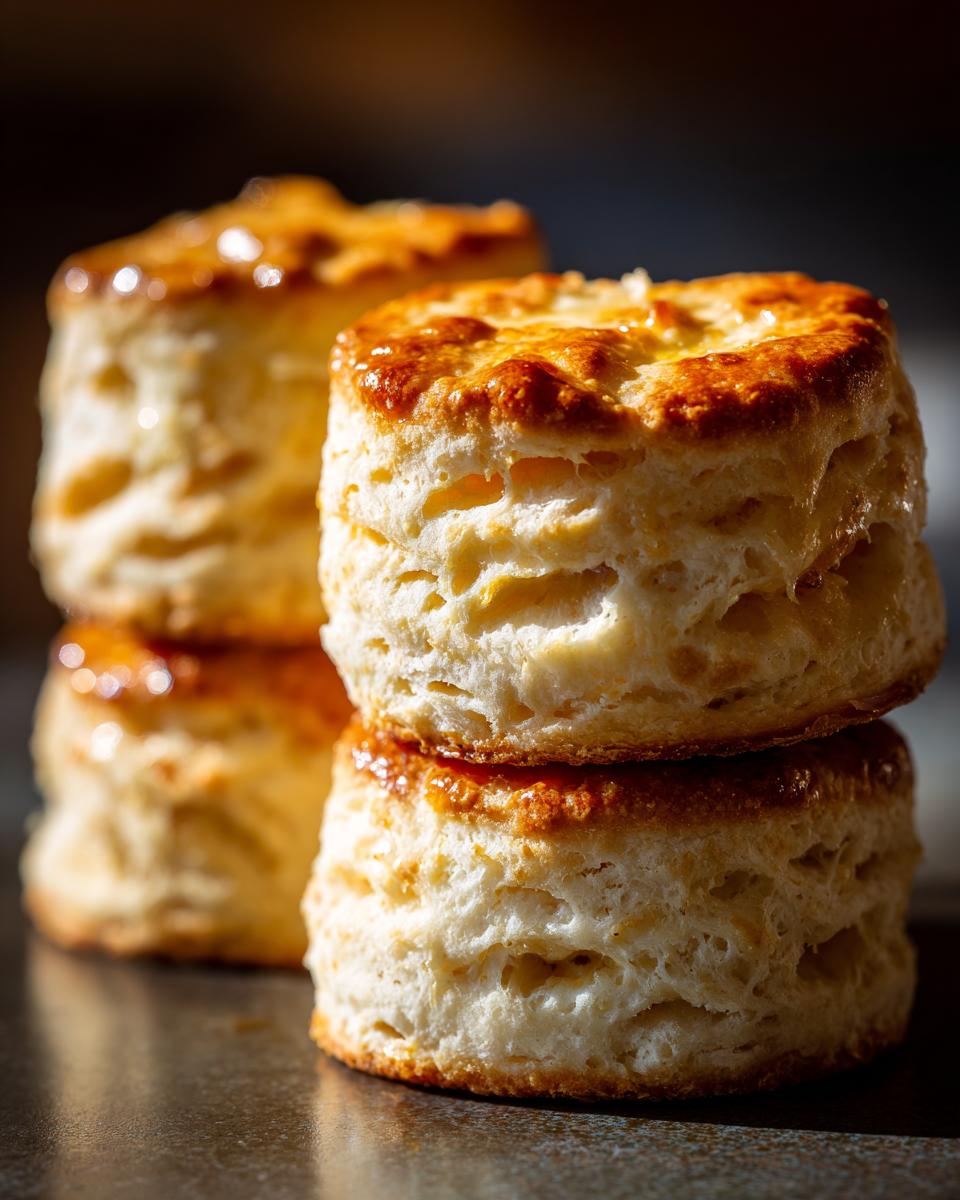
- They bake up incredibly tall, giving you those beautiful, light interiors.
- The final texture is shatteringly flaky on the outside yet tender throughout.
- They are Fluffy Buttermilk Biscuits that genuinely melt in your mouth.
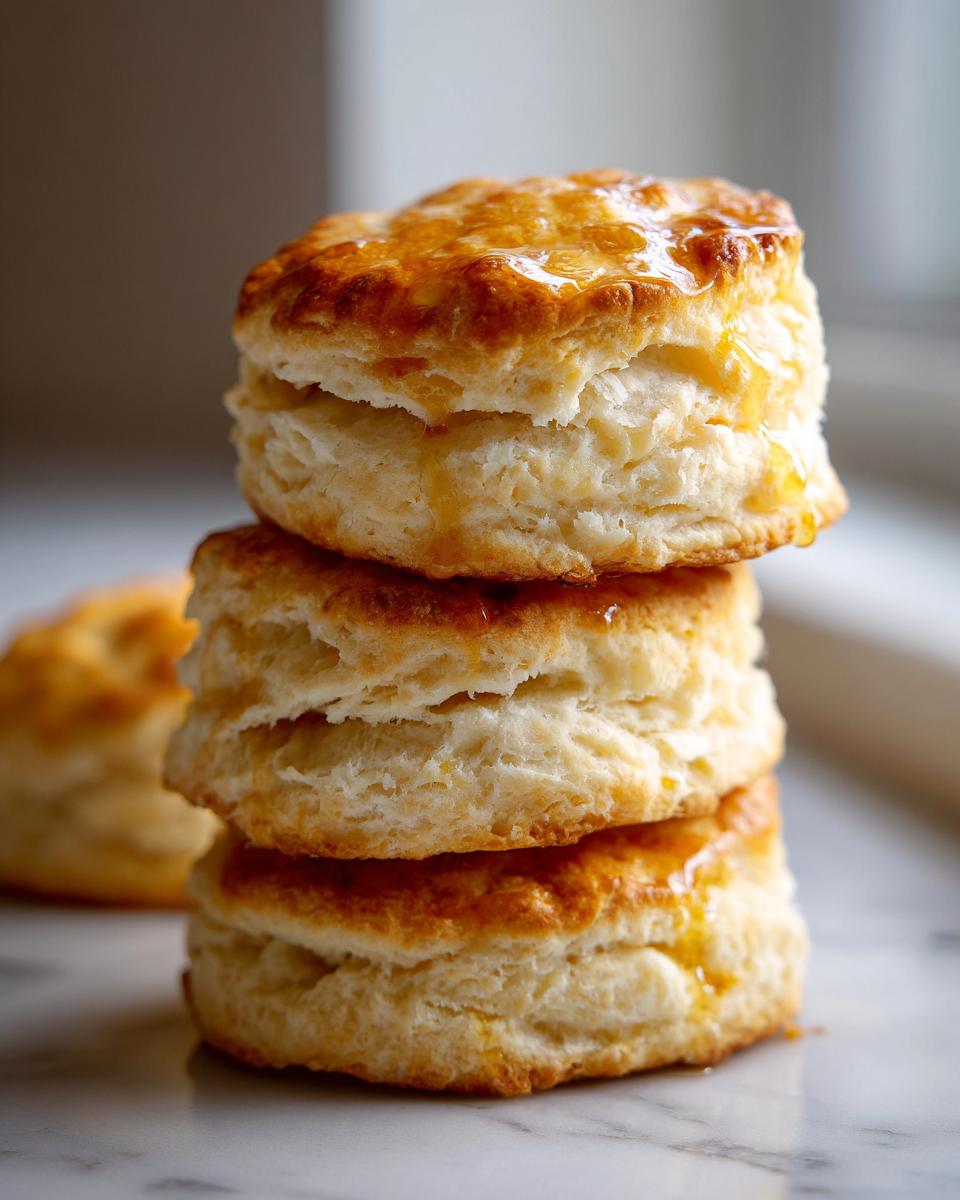
Achieving Ultimate Flaky Layers
The secret to those vertical rises isn’t magic; it’s layering! By folding the dough over itself a few times, we create little pockets of butter throughout. When those cold butter pieces hit the hot oven, they create steam, which pushes the dough layers apart. That’s how we get those stunning, separated layers in our buttermilk biscuits.
The Secret to Tender Homemade Biscuits
My biggest rule? Be gentle! Overmixing is the enemy of tenderness. Once you add the buttermilk, you only want to stir until everything *just* comes together. Seeing a little shagginess in the dough is exactly what you want. Stop mixing the second you can form a rough mass; that hesitation ensures you end up with tender homemade biscuits, not hockey pucks!
Gathering Ingredients for Classic Buttermilk Biscuits
Okay, here’s the short version: these buttermilk biscuits rely on simple ingredients, but their preparation is where the real excitement happens. You can’t fake the texture we’re aiming for, so pay close attention to the temperature of these items!
- 2 cups all-purpose flour
- 1 tablespoon baking powder
- 1 teaspoon salt
- 1 teaspoon sugar
- 6 tablespoons cold unsalted butter, cut into small cubes
- 3/4 cup cold buttermilk
- 2 tablespoons melted butter, for brushing
Seriously, keep that butter and buttermilk chilled to the bone. This setup is crucial if you want those gorgeous layers we talked about earlier. You can whip up some lovely cinnamon butter to serve alongside them once they’re done!
Step-by-Step Tutorial for Perfect Buttermilk Biscuits
Alright, let’s get baking! I know instructions can sometimes feel stiff, but think of this as your friendly guide to achieving the fluffiest rise imaginable. We’re going to walk through this together, just like I do it every weekend. If you follow these steps closely, you’ll have a real winner on your hands, perfect for serving alongside some of my favorite buttermilk cornbread!
Preparation and Cutting in the Butter for Buttermilk Biscuits
First things first! Turn that oven up to 425 degrees Fahrenheit right away so it gets nice and hot. While it’s heating up, grab a baking sheet and line it with parchment paper. Now for the butter—remember how I said it needs to be icy cold? Perfect. Toss your flour, baking powder, salt, and sugar into a big bowl and give them a quick whisk.
Next, it’s time to work in that cold butter. I use a pastry blender for this, but your fingertips work too! You want to work quickly so the butter doesn’t warm up. Keep cutting and tossing until the mixture looks like coarse meal, with some butter pieces still visible—think the size of small peas. Those pea-sized pieces are your layer insulators!
The Folding Method: Creating Flaky Buttermilk Biscuits
This part is what takes us from good biscuits to incredible, fluffy ones. Pour that cold buttermilk in all at once and stir gently with a fork until it’s *just* incorporated. Seriously, stop when it looks shaggy—it shouldn’t look like smooth dough yet! Turn this mess out onto a lightly floured surface.
Gently pat it into a rectangle, about 3/4 inch thick. Now, fold it into thirds, like you’re folding a business letter. Turn the dough 90 degrees and repeat the patting and folding two more times. This is the crucial part of our Step By Step Biscuit Tutorial; these folds laminate the dough, creating dozens of layers. After about three rounds of folding, pat it out one last time to about an inch thick.
Baking Your Golden Brown Buttermilk Biscuits
Time to cut! Use a 2-inch biscuit cutter, and press straight down. Do not twist! Twisting seals those edges we worked so hard to build up, and they won’t rise as high. Place the cut rounds close together on your sheet if you like softer sides, or further apart if you want crispier edges.
Brush the tops lightly with melted butter. Pop them into that hot oven for about 12 to 15 minutes. You’re looking for a gorgeous, golden brown biscuits color. As soon as they come out—and I mean *the second* they hit the counter—brush them again with any leftover melted butter. That locks in flavor and shine. Serve them warm, straight away!
Tips for Success with Fluffy Buttermilk Biscuits
Baking those perfect, sky-high buttermilk biscuits really comes down to temperature control and treating the dough right. I’ve learned these little secrets over the years, and they make a huge difference between a good biscuit and a spectacular one. Keep these notes handy for your next batch of tender homemade biscuits!
- The number one rule: Keep Everything Cold! Your butter needs to be rock solid, and the buttermilk should be straight from the back of the fridge. If the butter starts getting soft while you’re cutting it in, just pop the bowl into the freezer for five minutes. Cold fat equals flaky steam pockets.
- When you cut the rounds out, press straight down and lift straight up. Don’t saw or twist the cutter at all. Twisting seals those layers, and we want them open and airy, ready for slathering with some butter or jam!
- Don’t worry if the dough looks rough after mixing. It’s supposed to be shaggy! Overworking it develops gluten, and gluten gives you tough biscuits instead of the soft, fluffy ones everyone craves.
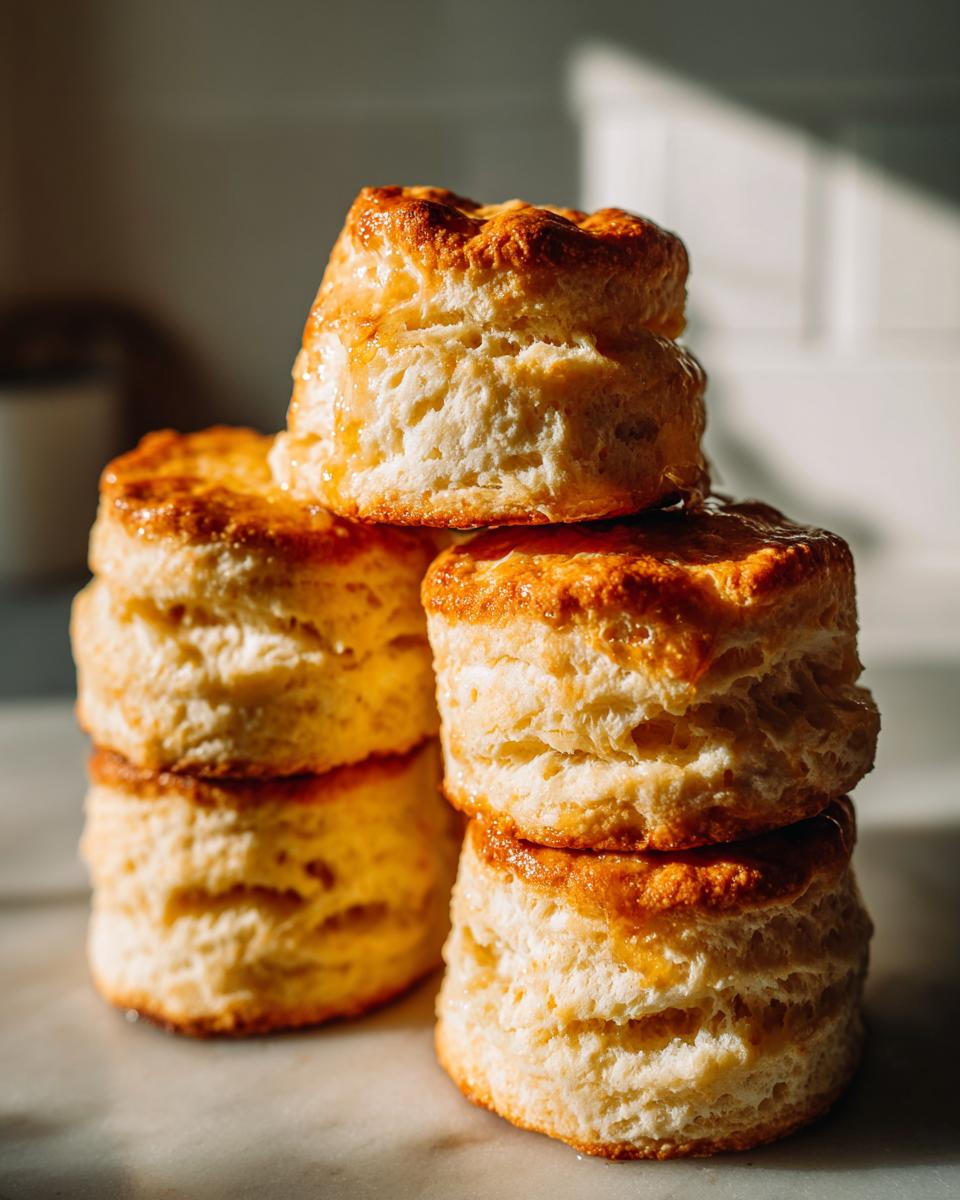
- For the tallest rise, place your cut biscuits right next to each other on the baking sheet. When they touch, they push each other upwards in the oven rather than spreading out sideways.
Make-Ahead & Storage for Your Buttermilk Biscuits
I know that sometimes life just doesn’t allow for fresh-baked perfection right when you want it, especially on a hectic Tuesday morning. But guess what? These buttermilk biscuits are fantastic for making ahead! This is why the recipe is perfect for weekend baking projects.
You can totally get ahead without sacrificing that amazing flakiness. After you cut out your rounds (but before you brush them with butter!), lay them out on your parchment-lined sheet. Then, cover the whole thing tightly with plastic wrap. Stick that pan right into the refrigerator for up to four hours. They chill out, and the butter stays perfectly cold, ready for baking whenever you are.
If you need them even further out, you can freeze the unbaked, cut biscuits! Just arrange them on a tray, pop it in the freezer until they are solid—this takes maybe an hour or so—then transfer them into a freezer bag. When you’re ready to bake, take out as many as you need, preheat the oven, and bake them straight from frozen. You’ll just need to add about 3 to 5 extra minutes to the baking time. They’ll still come out golden and fluffy!
Once they are baked, if you have miraculously any leftovers, store them in an airtight container at room temperature for about two days. They dry out fast, though, so I rarely get past day one. To refresh them, just pop them on a baking sheet for just three or four minutes in a 350°F oven. It brings back all that lovely buttery flavor. If you’re looking for something hearty to eat with them later in the week, try using them to scoop up some of my leftover turkey pot pie filling!
Serving Suggestions for Southern Style Biscuits
These Southern style biscuits are truly built for comfort, which means they deserve the best accompaniments. If you’re making a big batch, you need to plan those toppings! I always think about what I’m serving them with when I decide how close to space them on the baking sheet—closer together for softer sides perfect for gravy, or farther apart for crisper edges that hold up to jam.
For a classic Sunday morning feast, they are non-negotiable alongside rich, savory sausage gravy. That combination is pure gold, and trust me, these biscuits will soak up every drop. If you need a great gravy recipe, you can check out my one for Salisbury Steak gravy; it works just as well and is so easy to scale up for a crowd.
But let’s not forget the sweet side either! There’s nothing like splitting one of these warm, flaky beauties and slathering it with:
- Simple peach or strawberry jam.
- A thick layer of real whipped butter.
- My favorite: homemade honey butter! The slightly salty biscuit with the sweet, creamy butter is just heavenly.
Honestly, even if you just want a quick snack while they are still warm, a little drizzle of maple syrup or a swipe of marmalade makes these the ideal quick breakfast biscuits. They pair wonderfully with everything!
Variations on Your Buttermilk Biscuits Recipe
I love that this base recipe for buttermilk biscuits is so solid. It’s the kind of foundation you can riff on once you’ve mastered the folding technique. You never want to stray too far from the cold butter and the gentle mixing, but adding a little something extra can turn breakfast into a truly special occasion. These are simple swaps that keep things easy, so you maintain that *easy buttermilk biscuit recipe* status.
If you’re anything like me, sometimes you just want something a little more savory for dinner, especially if you’re serving them alongside a hearty stew or chili. Try these quick additions:
- Cheesy Herb Biscuits: After you finish the second fold in the dough (before the final pat-out), sprinkle in about 1/2 cup of finely shredded sharp cheddar cheese and maybe a teaspoon of dried chives or thyme. Fold the dough gently one last time and proceed with cutting. The cheese melts beautifully and gives you these incredible, savory bursts.
- A Little Spice Kick: For a hint of warmth that stands up well to gravy, stir in about 1/2 teaspoon of cayenne pepper with your dry ingredients. It doesn’t make them truly spicy, but it adds a lovely warmth on the back end.
If you’re looking for something sweeter, although I usually keep the savory angle for buttery melt in your mouth biscuits, you could try adding a tablespoon of finely minced crystallized ginger to the dry mix. It gives a lovely brightness that cuts through the richness.
For something a bit different that still feels very Southern, you could try swapping out 1/2 cup of the plain flour for my sweet potato biscuit puree. That makes them slightly sweeter and unbelievably moist, though it requires adjusting the buttermilk slightly. But for everyday serving, just stick to cheese or herbs—you can’t go wrong!
Frequently Asked Questions About Buttermilk Biscuits
I know you might have a few lingering questions after tackling this recipe, especially if you’re trying to achieve that perfect, tall lift. That’s totally normal! Mastering these buttermilk biscuits is all about confidence, and clearing up these small details helps build that. Here are the things I get asked the most about making truly fluffy buttermilk biscuits.
Can I substitute the buttermilk in this buttermilk biscuits recipe?
That’s a common sticking point, isn’t it? Look, if you absolutely must, you can make a substitute. Mix 3/4 cup of regular milk (whole milk is best!) with one tablespoon of white vinegar or lemon juice. Let that sit on the counter for about five minutes until it curdles slightly. That gives you homemade ‘soured’ milk, which works okay! However, I have to be honest with you: for the richest flavor and the best interaction with the leavening agents, nothing beats real, cold buttermilk. It really helps create those tender homemade biscuits we are aiming for.
What is the best way to cut biscuits for maximum height?
This is probably my top tip for ensuring you get those spectacular, tall sides! The key is friction—or rather, the lack thereof. You need a sharp, straight-sided cutter. Once you dip your cutter in flour, press it down firmly and straight into the dough. Pull it straight up. Do not twist it! Twisting seals the edges of the dough where the layers meet, stopping them from separating and rising upward. If you can’t twist, they can’t seal when they bake. That’s the trick to getting that bakery-style height!
If you don’t have a cutter, you can gently cut squares with a knife, but the round shape seems to help them rise more uniformly. If you use a knife, just make sure you cut straight down, no sawing motion allowed!
I promise, once you master the ‘cut-don’t-twist’ method, you’ll wonder why you ever struggled with flat biscuits! If you’re looking for more quick baking ideas after mastering these, you might enjoy my quick and easy pizza bagels recipe!
Nutritional Estimates for Buttermilk Biscuits
Now, nobody is making these buttermilk biscuits because they are counting every calorie—they are built for comfort and pure culinary joy! But I know some of you are curious, so I ran the recipe through a few checkers to give you a general idea of what one of these flaky beauties contains.
Remember, this is just an estimate. Your exact brand of flour or the amount of butter you brush on top can really shift these numbers. This info is based on making exactly 8 medium-sized biscuits as the recipe directs.
- Serving Size: 1 biscuit
- Calories: About 220
- Fat: Around 12 grams (mostly from that wonderful butter!)
- Carbohydrates: Roughly 25 grams
- Protein: About 4 grams
- Sugar: Very low, about 1 gram
- Sodium: Around 350 mg
Enjoy them knowing you made something incredible from scratch! These are classic comfort food baking at its absolute best. Don’t sweat the small stuff; just slather on some jam and enjoy the warmth!
PrintUltra Flaky Southern Buttermilk Biscuits: The Perfect Make-Ahead Comfort Recipe
Make tender, flaky Southern buttermilk biscuits that rise tall and melt in your mouth. This recipe uses simple ingredients to create classic comfort food perfect for breakfast or dinner.
- Prep Time: 20 min
- Cook Time: 15 min
- Total Time: 35 min
- Yield: 8 servings 1x
- Category: Breakfast
- Method: Baking
- Cuisine: American
- Diet: Vegetarian
Ingredients
- 2 cups all-purpose flour
- 1 tablespoon baking powder
- 1 teaspoon salt
- 1 teaspoon sugar
- 6 tablespoons cold unsalted butter, cut into small cubes
- 3/4 cup cold buttermilk
- 2 tablespoons melted butter, for brushing
Instructions
- Preheat your oven to 425 degrees Fahrenheit. Line a baking sheet with parchment paper.
- In a large bowl, whisk together the flour, baking powder, salt, and sugar.
- Cut the cold butter into the dry ingredients using a pastry blender or your fingertips until the mixture resembles coarse crumbs with some pea-sized pieces of butter remaining.
- Pour in the cold buttermilk all at once. Stir gently with a fork until just combined. Do not overmix; the dough will be shaggy.
- Turn the dough out onto a lightly floured surface. Gently pat the dough into a rectangle about 3/4 inch thick.
- Fold the dough into thirds, like a letter. Turn the dough 90 degrees and gently pat it down again to about 3/4 inch thickness. Repeat this folding and turning process two more times to create layers.
- Pat or roll the dough to a final thickness of about 1 inch. Use a 2-inch biscuit cutter to cut out rounds. Press the cutter straight down without twisting to keep the biscuits tall.
- Place the biscuit rounds close together on the prepared baking sheet for softer sides, or further apart for crispier sides.
- Brush the tops lightly with the melted butter.
- Bake for 12 to 15 minutes, or until the biscuits are golden brown on top.
- Remove from the oven and brush the tops again with any remaining melted butter immediately after baking. Serve warm.
Notes
- Keep your butter and buttermilk very cold. This is key for achieving flaky layers.
- For the tallest biscuits, do not twist the biscuit cutter when cutting the dough.
- You can prepare the dough ahead of time, cut the biscuits, place them on the sheet, cover, and chill for up to 4 hours before baking.
Nutrition
- Serving Size: 1 biscuit
- Calories: 220
- Sugar: 1
- Sodium: 350
- Fat: 12
- Saturated Fat: 7
- Unsaturated Fat: 5
- Trans Fat: 0
- Carbohydrates: 25
- Fiber: 1
- Protein: 4
- Cholesterol: 25