
Oh, summer days! There’s just something about the heat that makes me crave those big, colorful, happy desserts we used to get at the soda fountain. But let’s be real, who wants to turn on the oven when the air conditioning is working overtime? That’s exactly why I rely on this incredible banana split cake. Believe me, this isn’t some complicated baked monstrosity; this is the real deal—the no-bake, perfectly layered icebox version that tastes exactly like the sundae you remember. It’s one of those foundational recipes here at DelishCraze that just speaks to my soul as a home cook who values connection over complication.
- Why This No-Bake Banana Split Cake is Your New Favorite Summer Dessert
- Gathering Ingredients for Your Perfect Banana Split Cake
- Step-by-Step Assembly: Making the No Oven Recipes Banana Split Cake
- Tips for the Best Banana Split Cake Experience
- Serving Suggestions for Your Retro Dessert Recipes Banana Split Cake
- Storage and Reheating Instructions for Your Chilled Banana Split Cake
- Frequently Asked Questions About Banana Split Cake
- Estimated Nutritional Information for Banana Split Cake
- Share Your Homemade Banana Split Cake Creations
Why This No-Bake Banana Split Cake is Your New Favorite Summer Dessert
Honestly, when I’m juggling family life and trying to keep things pleasant during the summer heat, this banana split cake is my hero. We are focusing entirely on the no-bake version here because, for me, convenience is key for great results. This isn’t just any other no bake dessert; it’s robust enough to travel beautifully, making it one of my go-to potluck desserts.
You don’t need any specialized equipment, and the best part is that it *has* to be made ahead of time. When you’re hosting, or rushing out to a barbecue, the last thing you need is a dessert that demands last-minute attention. This cake gets better overnight! It truly solidifies its place as one of the best summer desserts you can make.
The Appeal of a Chilled Layered Dessert Recipes
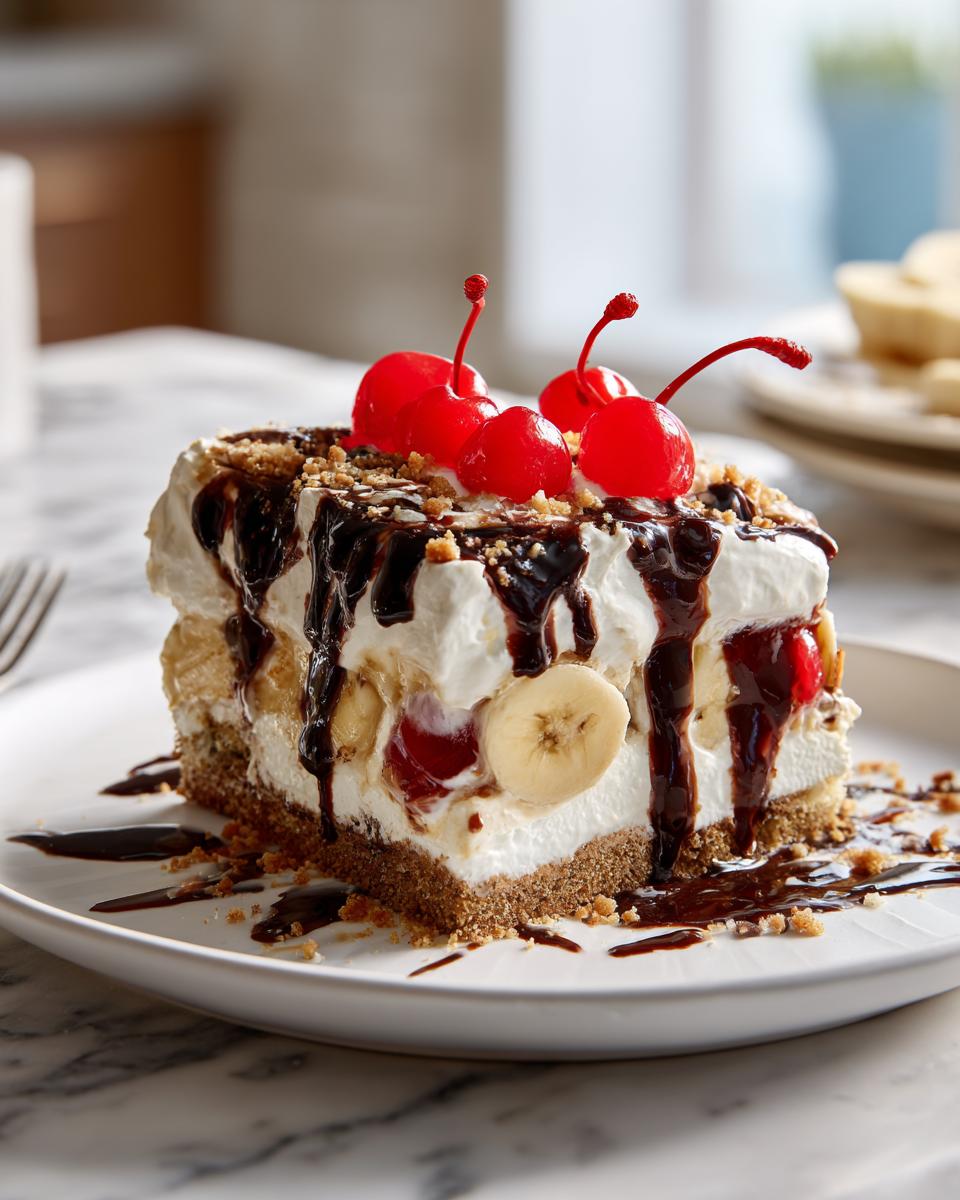
The structure of this cake reminds me so much of a classic icebox cake—cold, creamy, and totally refreshing. When you cut into those defined layers, you get that perfect textural contrast between the crunchy crust, the silky filling, and the soft fruit. It’s so much more satisfying than something warm when it’s blazing hot outside. If peanut butter bars are your go-to for easy make-aheads, you’ll find this peanut butter bar recipe has a similar vibe, but with way more fruit goodness!
Gathering Ingredients for Your Perfect Banana Split Cake
Okay, gathering the ingredients might sound boring, but trust me, this is where we ensure this banana split cake sets up perfectly. Since this is a chilled dessert, we worry more about water content than baking soda reacting! Speaking of crusts, if you ever need a quick base, check out my favorite graham cracker crust recipe. It’s the same idea here for our base!
Essential Components for the Creamy Banana Split Cake Filling
For that dreamy middle layer, the temperature of your ingredients matters immensely. You absolutely must have softened cream cheese—no rocks allowed! That smooth base combines that cream cheese with powdered sugar and vanilla extract. Then, we lighten it all up by gently folding in your whipped topping, which needs to be thawed completely but still cold. This gentle technique keeps the air in there, giving us that light cream cheese dessert texture.
Fruit and Topping Clarity for the Layered Dessert Recipes
Now for the fun stuff! You’ll need two large bananas, and they have to be sliced, not chunked, to give us even coverage. Next up is the pineapple. Listen closely: use canned crushed pineapple, but you must well drain it. Seriously, squeeze out every drop you can! Soggy pineapple means a watery cake, and we want a firm refrigerator cake structure. If you like a little crunch in your layered dessert recipes, throw in those optional pecans. Then, keep the chocolate syrup and those bright maraschino cherries handy for the very end!
Step-by-Step Assembly: Making the No Oven Recipes Banana Split Cake
Alright, time to layer up! Since we aren’t dealing with any heat, assembly is where the magic really happens for this banana split cake. Don’t rush the chilling time—that’s what turns this pile of ingredients into a sliceable masterpiece. If you’re looking for a quick topping idea later on, I have an amazing chocolate dip recipe you could adapt for extra drizzle!
Preparing the Graham Cracker Crust Recipes Base
First things first: we need that sturdy base. Mix up your graham cracker crumbs, the melted butter, and just a tiny pinch of salt until it looks like wet sand. Press that mixture firmly into the bottom of your 9×13 dish. I mean *firmly*! Once it’s packed down nicely, here’s the trick: pop that whole dish into the freezer. We want it nice and chilled so it doesn’t fight us when we press the creamy layer on top later. This step is key for a firm banana split cake foundation.
Creating the Cream Cheese Dessert Layer
While that crust chills, get your mixer out for the creamy layer. Beat that softened cream cheese first until it’s totally smooth, and slowly beat in your powdered sugar and vanilla. It should look perfectly cohesive. Now, take about half of your thawed whipped topping and *gently* fold it in with a spatula. Don’t use the mixer here! We are trying to keep all those tiny air bubbles we just beat into the cream cheese. Overmixing means a dense banana split cake, and we want fluffy dreams!
Layering Fruit and Chilling the Banana Split Cake
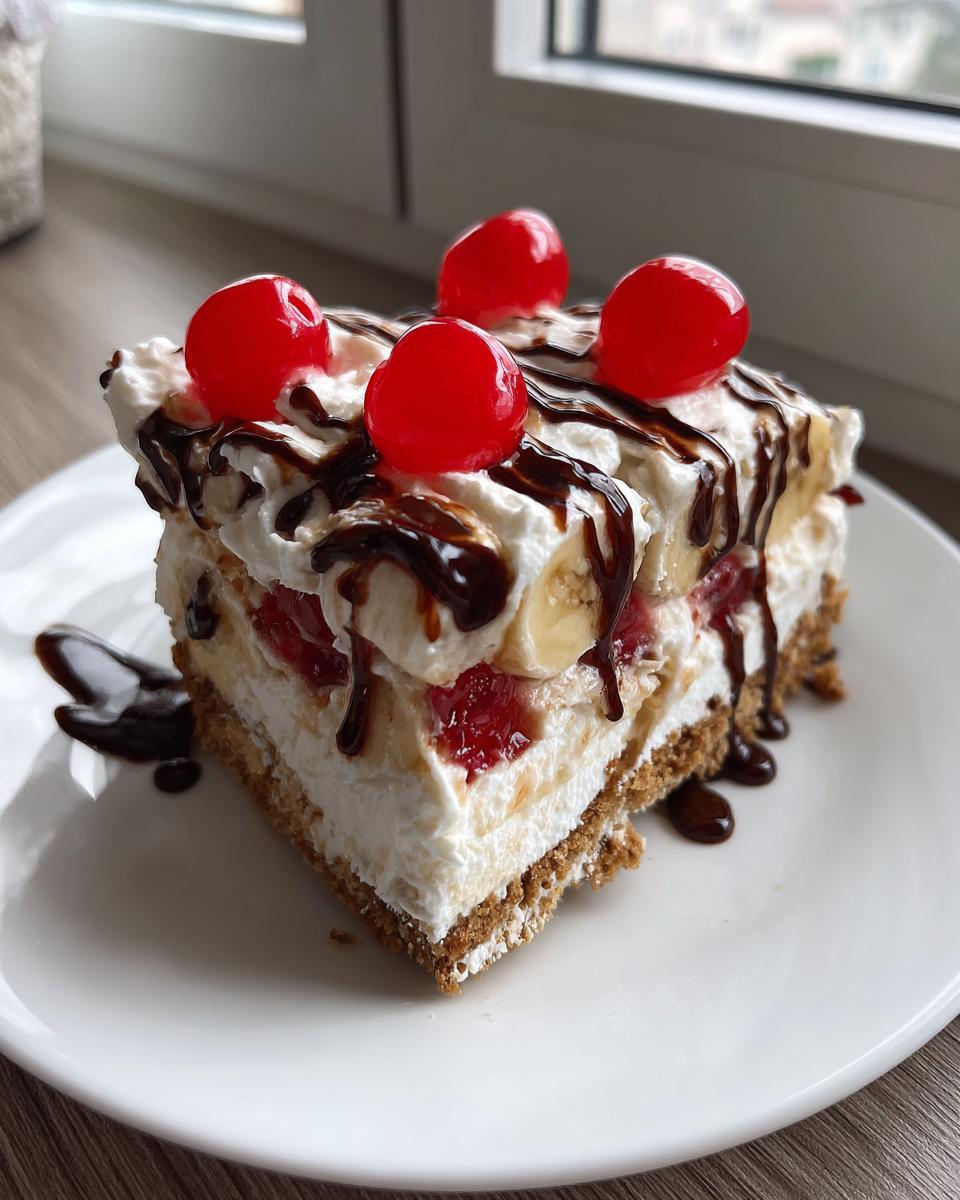
Time for the layers! Take your dish out of the freezer and spread that lovely cream cheese mixture evenly over the crust. Then, arrange your banana slices right on top. Sprinkle that well-drained pineapple over everything, and maybe those optional nuts. Now, spread the remaining whipped topping over the whole thing. Cover it up tight, and this is the most important part: Chill it! You need at least four solid hours for this icebox cake to set up properly. Honestly, if you can wait overnight, it’s even better. Don’t even think about cutting it early!
Tips for the Best Banana Split Cake Experience
Now that you’ve got the assembly down, let me share the little secrets I learned through trial and, well, a little watery error! Making a successful banana split cake really comes down to controlling moisture. It’s the biggest difference between a stellar, sliceable banana fruit dessert and something sad that weeps all over your plate.
Expert Tips for Perfecting Your Banana Fruit Dessert
Remember how I harped about draining the pineapple? You really need to press that stuff hard—I mean, use a few paper towels and really squeeze! If you don’t, you’ll end up with a soupy cream layer, and that just breaks my heart every time. Also, if you want to boost that creamy center even more, ditching the powdered sugar listed sometimes and using a small box of instant vanilla pudding mix folded into the cream cheese is a game-changer for structure and flavor in this banana split cake. If you love bananas, you might also adore these ultimate fluffy banana pancakes on a weekend morning!
Making This Banana Split Cake Ahead of Time
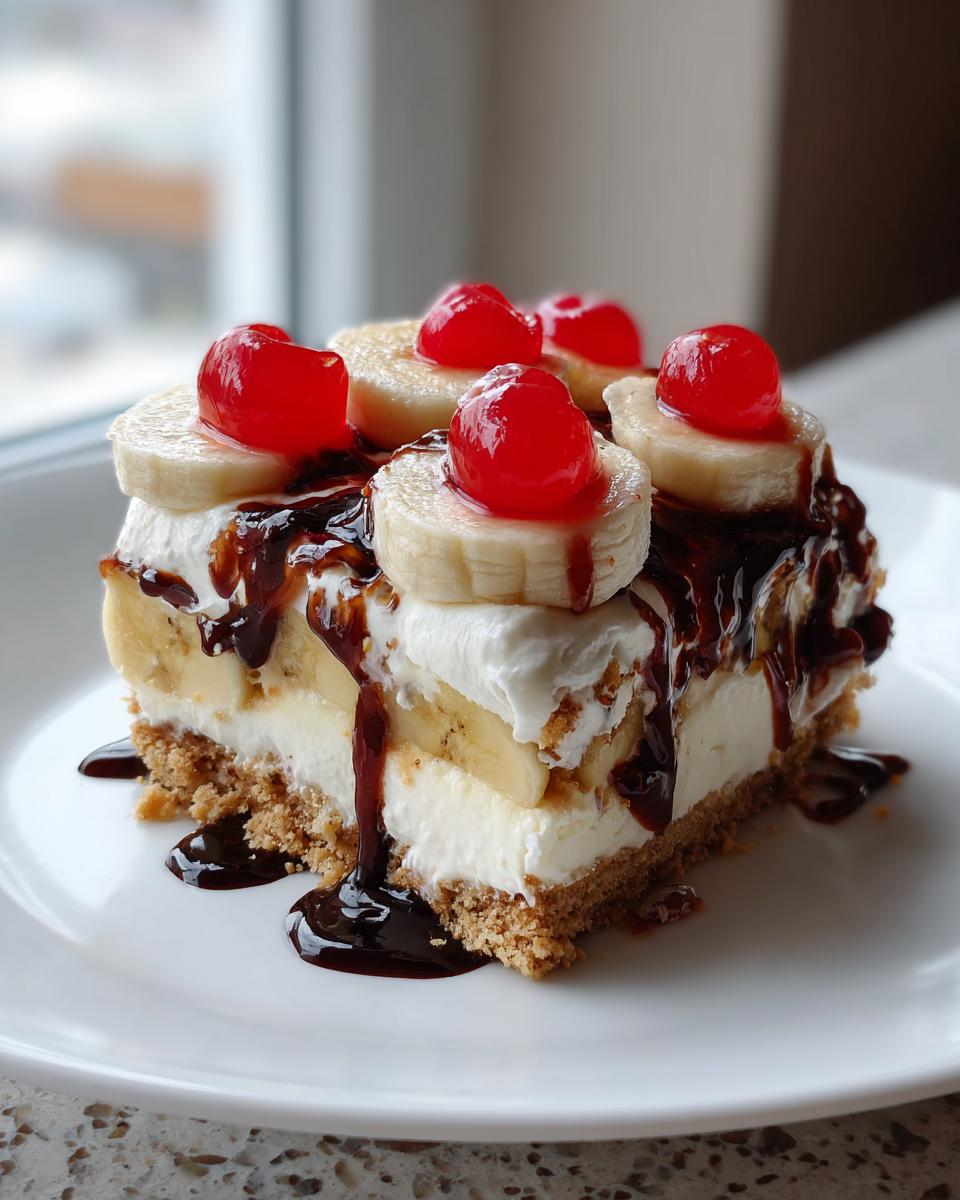
This is the greatest part of having an easy chilled dessert on hand: it’s meant to be made ahead! Seriously, plan on it being in the fridge for at least six hours, but if you can manage it, let it hang out overnight. When this banana split cake chills for that long, the graham cracker crust softens just enough to blend with the cream cheese layer beautifully, yet it still holds its shape when sliced neatly. It becomes this fantastic, nearly uniform, chilled treat—way better than when you cut it right after four hours!
Serving Suggestions for Your Retro Dessert Recipes Banana Split Cake
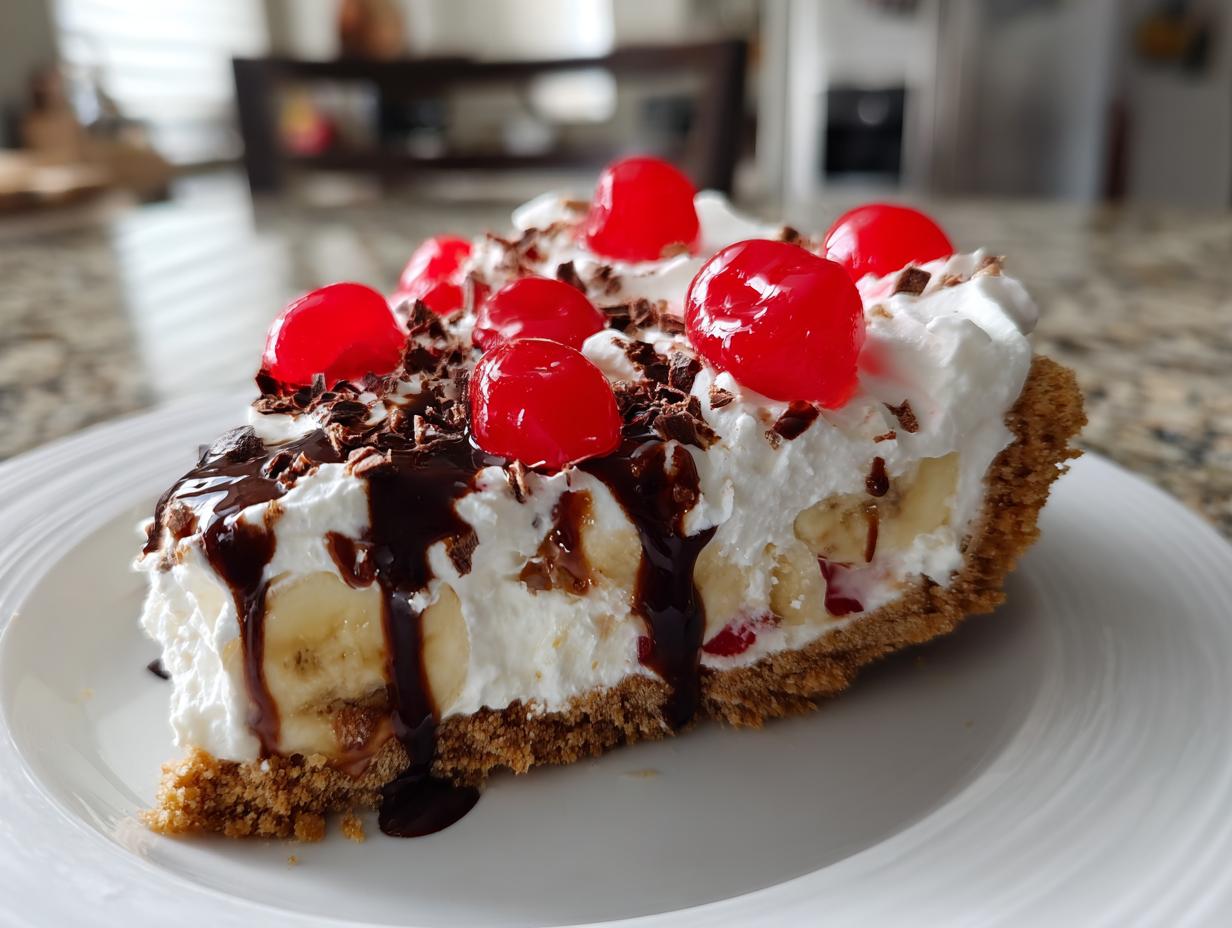
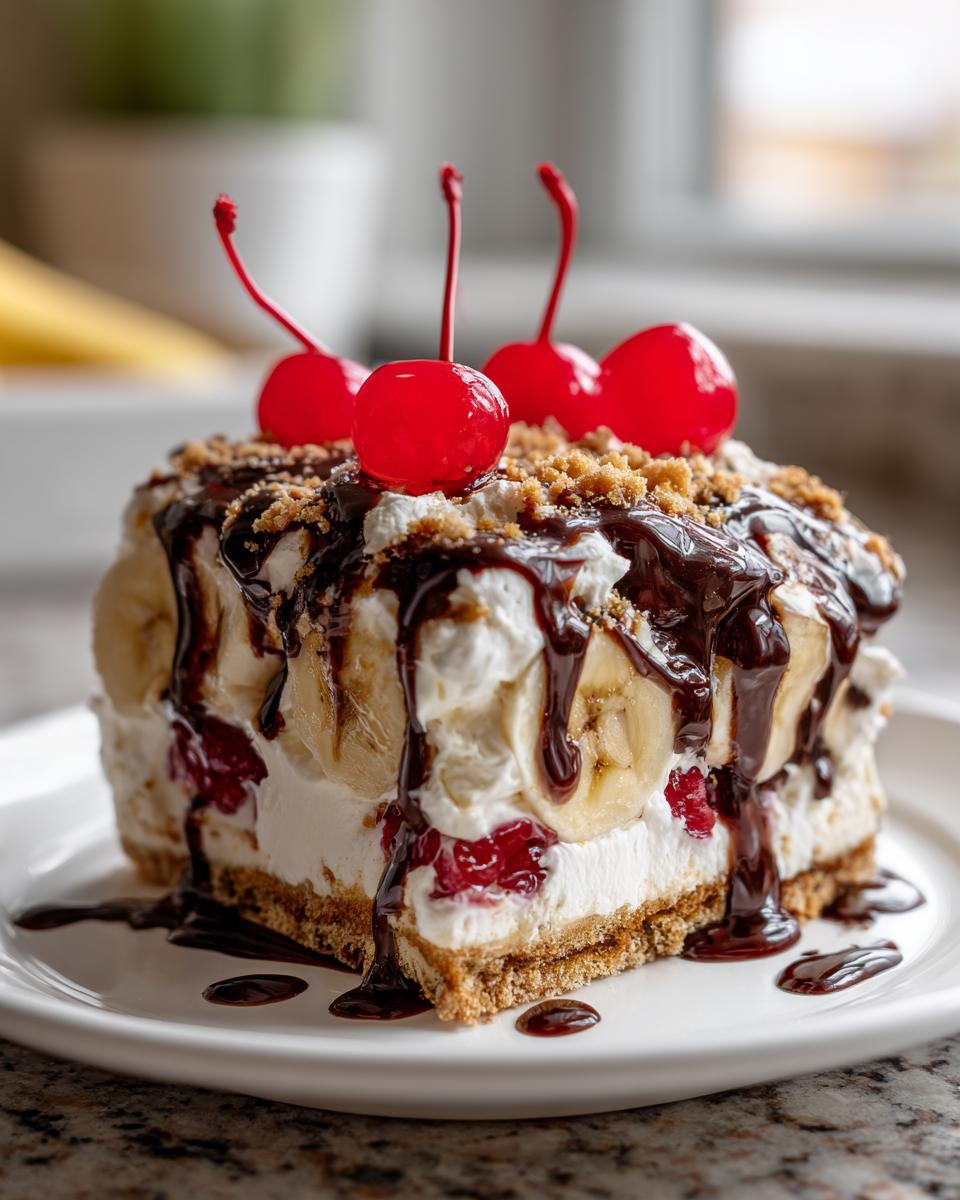
Okay, the hard part—the chilling—is done! Now it’s time to make this unbelievably easy banana split cake look as good as it tastes. Because it’s such a retro dessert recipe, I love going all-in on that classic sundae presentation. You absolutely must add the final touches before walking it out to admire it. That generous drizzle of chocolate syrup right before serving makes everything feel special, doesn’t it? And don’t you dare forget those bright red maraschino cherries!
Since this is already such a rich, creamy dessert, you don’t need much else on the side. If you want to offer something to balance the sweetness, maybe grab some of my recipe for easy whipped hot chocolate for the folks who want another sweet treat, or just cut big slices and let folks enjoy the pure, chilled glory of this icebox cake!
Storage and Reheating Instructions for Your Chilled Banana Split Cake
This is the part where I have to give you the very serious, non-negotiable advice for leftovers, even though I doubt you’ll have any! Since this beautiful banana split cake relies on the texture of the whipped topping and the freshness of the fruit, we treat leftovers a little differently than a baked good. First off, forget reheating—this cake is meant to be eaten cold, straight from the fridge. If you tried to warm it up, you’d just end up with a sugary puddle, and nobody wants that sad sight!
The main thing you need to worry about for storage is keeping that fluffy top looking nice. Right after you slice it (or once everyone is done eating!), cover the dish tightly. I usually use plastic wrap, making sure it doesn’t actually touch the topping too much, or I might press it down gently if I have to. This prevents the topping from absorbing any weird fridge smells or, worse, drying out and getting crusty.
Because we used fresh bananas, the quality really starts to dip after about 48 hours, tops. This banana split cake is definitely best enjoyed within that two-day window. If you know you won’t finish it that fast, the best trick is to leave the bananas off! Bake or make your crust and cream layers, chill them, and then only top it with the very last bit of whipped topping, the chocolate drizzle, and the cherries right before you plan on serving the remaining slices. That way, you keep the best quality longer!
Frequently Asked Questions About Banana Split Cake
I get so many questions about this wonderful banana split cake recipe! It’s one of those desserts that people either grew up making or are just discovering, so I tried to answer the most common things below. If you’ve ever tried a dump cake recipe before and want something a little more structured but just as easy, you’re in the right place!
Can I use fresh whipped cream instead of Cool Whip in this banana split cake?
You absolutely can! I know some people just prefer the flavor of real cream, and I get that. But here’s my expert take: stabilized whipped topping—like the store-bought cool whip dessert kind—has stabilizers in it that really help this towering layered dessert recipes structure hold up in the fridge for longer. If you whip your own heavy cream, you need to add a bit of powdered sugar and maybe a tiny splash of vanilla to help it hold its shape. Just know that homemade whipped cream might weep a little bit sooner, and that could affect the layers of your banana split cake after about 24 hours.
What if I want to use strawberries? How does that change the banana split cake?
Oh, strawberries are a fantastic idea! That just makes it even more summery, right? Strawberries are a fantastic addition to this banana split cake. The trick, though, is to treat them exactly like we treat the pineapple. You need to slice them thinly and, this is crucial if you want that perfect texture, let them sit on a paper towel for a little while to drain off excess juice. We want concentrated fruit flavor, not extra water soaking into that lovely cream cheese layer!
How long can I keep the banana split cake in the refrigerator?
Because we are dealing with fresh bananas in this chilled dessert, they are the limiting factor. Bananas oxidize really quickly, even when they are covered up. If you want that bright, beautiful presentation, you should plan to eat this cake within 2 days, maximum. If you are making it for a big party Sunday and think you might have leftovers into Tuesday, here’s my smart trick: assemble everything *except* the bananas, the chocolate drizzle, and the cherries. Chill those first few layers, and only slice and add the bananas right before you cover it to set for the night. You can always serve the toppings buffet-style so people can go back for seconds the next day!
If you are looking for something that stores even better, you might want to check out my recipe for classic apple crisp—it keeps for ages!
Estimated Nutritional Information for Banana Split Cake
Now, I know when we’re making a glorious, nostalgic treat like this banana split cake, we aren’t exactly stopping to tally calories, right? We are celebrating! But for those of you who like to keep track—or just want to know what you’re getting into—I took the time to run the numbers based on standard ingredient measurements and 12 generous slices. Remember, these figures are just estimates based on the standard calculations for one slice of this amazing banana split cake.
- Serving Size: 1 slice
- Calories: 350
- Sugar: 28g
- Sodium: 210mg
- Fat: 20g
- Saturated Fat: 10g
- Carbohydrates: 42g
- Protein: 4g
See? Deliciousness comes with a side of indulgence, and that is perfectly fine when it comes to a special occasion icebox cake like this! Enjoy every bite!
Share Your Homemade Banana Split Cake Creations
I truly hope you loved putting this banana split cake together as much as I love sharing it with you! This recipe is all about bringing joy and sunshine into your kitchen, and seeing what you come up with truly makes my day.
Please, don’t be shy! If you made this no bake dessert for a summer party or just for a Tuesday night treat, I want to see it! Snap a picture of your gorgeous layers—especially those mandatory cherries on top—and tag me on social media, or just drop a comment right down below.
Rate this recipe and let me know what you thought! Did you add strawberries? Did you let it chill overnight? Knowing how you tweaked this classic just inspires my next batch of layered dessert recipes. For those of you looking for another fun, easy bake while this cake chills, you have to check out my chocolate brownie cookies recipe—another crowd-pleaser for your next gathering!
Happy baking (or, well, chilling)! I can’t wait to hear how much your family loved this refrigerator cake!
PrintEasy No-Bake Banana Split Cake

Create a refreshing, layered dessert that captures the classic banana split flavors without turning on your oven. This chilled icebox cake is perfect for summer parties and make-ahead meals.
- Prep Time: 25 min
- Cook Time: 0 min
- Total Time: 4 hr 25 min
- Yield: 12 servings 1x
- Category: Dessert
- Method: No-Bake/Chilling
- Cuisine: American
- Diet: Vegetarian
Ingredients
- 1 1/2 cups graham cracker crumbs
- 1/2 cup unsalted butter, melted
- 1/4 teaspoon salt
- 8 ounces cream cheese, softened
- 1 cup powdered sugar
- 1 teaspoon vanilla extract
- 1 large container (12 ounces) frozen whipped topping, thawed (like Cool Whip)
- 2 large bananas, sliced
- 1 (8 ounce) can crushed pineapple, well drained
- 1/2 cup chopped pecans or walnuts (optional)
- 1/4 cup chocolate syrup
- Maraschino cherries for topping
Instructions
- Prepare the crust: Mix graham cracker crumbs, melted butter, and salt in a medium bowl until combined. Press the mixture firmly into the bottom of a 9×13 inch baking dish. Place the dish in the freezer while you prepare the filling.
- Make the cream cheese layer: In a large bowl, beat the softened cream cheese, powdered sugar, and vanilla extract with an electric mixer until the mixture is smooth and creamy.
- Fold in the whipped topping: Gently fold half of the thawed whipped topping into the cream cheese mixture until just combined. Spread this mixture evenly over the chilled graham cracker crust.
- Add fruit layers: Arrange the sliced bananas over the cream cheese layer. Sprinkle the well-drained crushed pineapple evenly over the bananas. If using nuts, sprinkle them over the pineapple layer.
- Top the cake: Spread the remaining half of the whipped topping over the fruit layers. Cover the dish tightly with plastic wrap.
- Chill the cake: Refrigerate the banana split cake for at least 4 hours, or preferably overnight, to allow it to set completely.
- Garnish and serve: Before serving, drizzle the top generously with chocolate syrup and place maraschino cherries on top for decoration. Slice and serve cold.
Notes
- Make sure the crushed pineapple is very well drained to prevent the cake from becoming watery. Press out excess liquid with a paper towel if needed.
- This is a fantastic make ahead dessert; it tastes best when chilled for 6 hours or more.
- For an extra layer of flavor, you can use a banana pudding mix combined with the cream cheese layer instead of just powdered sugar.
Nutrition
- Serving Size: 1 slice
- Calories: 350
- Sugar: 28
- Sodium: 210
- Fat: 20
- Saturated Fat: 10
- Unsaturated Fat: 10
- Trans Fat: 0
- Carbohydrates: 42
- Fiber: 1
- Protein: 4
- Cholesterol: 40