
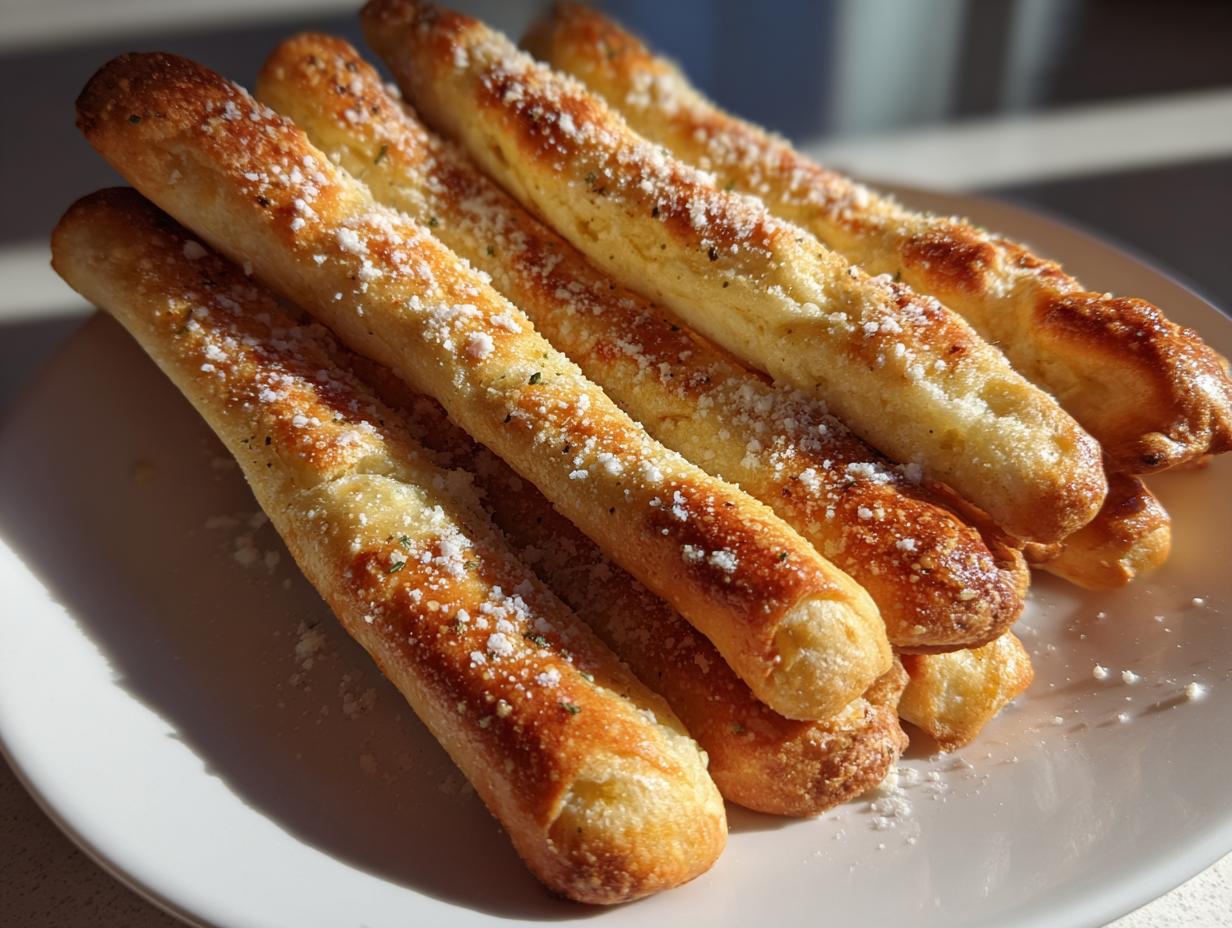
Oh, I completely get it. There are those restaurant favorites you just crave, and for me, nothing hits the spot quite like being served those impossibly soft, warm breadsticks fresh from the basket. Getting that texture right at home felt like chasing a ghost for years, but trust me, we’ve cracked the code! This Copycat recipe delivers those buttery, garlicky breadsticks perfectly—fluffy dough and that signature topping in under 90 minutes. When I started DelishCraze, it was all about bringing back that feeling of comfort from my childhood kitchen in Portland, and nothing says comfort quite like perfect homemade breadsticks. Forget stiff or dry versions; these are pure, pillowy satisfaction!
- Why You Will Love These Copycat Restaurant Breadsticks
- Ingredients for the Ultimate Soft Homemade Breadsticks
- Step-by-Step Instructions for Perfect Breadsticks
- Tips for Achieving Fluffy Breadsticks Every Time
- Serving Suggestions for Your Homemade Breadsticks
- Storage and Reheating Your Buttery Breadsticks
- Frequently Asked Questions About Making Breadsticks
- Sharing Your Delicious Breadsticks Creations
Why You Will Love These Copycat Restaurant Breadsticks
Honestly, these breadsticks are my go-to when I need something fast that feels completely indulgent. They hit all the right notes without spending hours letting the dough chill or rise multiple times. You get that incredible, soft texture and massive burst of garlic butter flavor in just over an hour total. I promise you, these are better than waiting in line for a table!
- They are genuinely fluffy breadsticks—light and tender, not dense like a dinner roll.
- That addictive, savory garlic butter topping is applied generously, right when they come out of the oven!
- The whole process, from start to serving, is usually under 90 minutes. That’s impressively fast for yeast bread.
You can check out my recipe for those amazing soft fluffy buttery dinner rolls, too, if you want more ideas for quick sides, but these homemade breadsticks are truly special when you’re craving that specific restaurant taste.
Ingredients for the Ultimate Soft Homemade Breadsticks
Okay, you know I’m all about transparency here at DelishCraze, and when it comes to something that needs to be *exactly* right—like these breadsticks—precision matters! We need the yeast happy, and we need the butter ready for that glorious post-bake bath. Don’t sweat the measurements; just follow my list exactly, and you’ll see why these come out so incredibly soft and fluffy every single time. We keep the ingredients simple, so you probably have everything right in your pantry already!
Dough Ingredients
- 1 cup warm water (make sure it’s between 105–115°F—too hot kills the yeast, too cold makes it sleep!)
- 2 1/4 teaspoons active dry yeast
- 1 tablespoon granulated sugar
- 3 cups all-purpose flour, plus more for dusting the surface
- 1 teaspoon salt
- 2 tablespoons unsalted butter, melted, plus 4 tablespoons reserved for brushing the tops later
- 1/2 cup water, warm (this is for the brush step right before baking, not the dough!)
Garlic Butter Topping for Breadsticks
This is where the magic happens, and we stick to garlic powder because that’s what gives us that specific *restaurant* vibe everyone loves. No fresh minced garlic muddling up the smooth coating here!
- 1/2 cup unsalted butter, melted (this is separate from the butter used in creating the dough)
- 2 teaspoons garlic powder
- 1/2 cup grated Parmesan cheese
Step-by-Step Instructions for Perfect Breadsticks
I know yeast can feel intimidating, but I promise, we are keeping this simple! We’ll have you eating these incredible homemade breadsticks in about 77 minutes total time, and most of that is just waiting for the dough to get happy. The trick to these impossibly soft breadsticks is definitely in the technique, especially brushing them with water before they bake and drowning them in garlic butter right after. Ready to get this quick yeast bread going?
Activating the Yeast and Mixing the Dough
First things first, we need to wake up that yeast! Grab a small bowl, mix your warm water (remember, 105–115°F, just warm to the touch, not hot!), sugar, and yeast. You have to let it sit for about five to ten minutes. If you see foam, congratulations, your yeast is alive and ready to work! While that’s happening, mix your flour and salt in a bigger bowl. Once foamy, pour the yeast mixture and the first bit of melted butter into your dry stuff. Mix it until you have a shaggy dough ball.
Now, get ready to knead! You need to work that dough for a solid five to seven minutes, either by hand on a floured surface or using your stand mixer dough hook. We’re looking for a smooth, elastic texture that feels springy when you poke it.
The Rise and Shaping of Your Breadsticks
Pop that smooth dough into an oiled bowl—give it a quick roll so it’s coated—and cover it up. Find a nice warm spot in your kitchen and let it rest for 45 to 60 minutes. Seriously, let it double in size; that’s what gives us those amazing fluffy breadsticks!
While it’s rising, go ahead and preheat your oven to 400°F (200°C) and line a big baking sheet with parchment paper. That parchment is a lifesaver, trust me. Once doubled, gently punch it down. Now, divide that dough into 12 even pieces. Roll each piece by hand until it looks like a long, thin strip—aim for about 10 inches long and an inch wide. Lay them out on the sheet, giving them just a little space to breathe.
Before they go in, brush the tops lightly with that reserved 1/2 cup of warm water—this weird step is essential for maximum softness!
Baking and Applying the Signature Garlic Butter Topping
Bake those gorgeous strips for about 10 to 12 minutes until they are just turning light gold. While they are baking, quickly whip up your buttery bath: melt the final 1/2 cup of butter with the garlic powder over low heat until nicely combined.
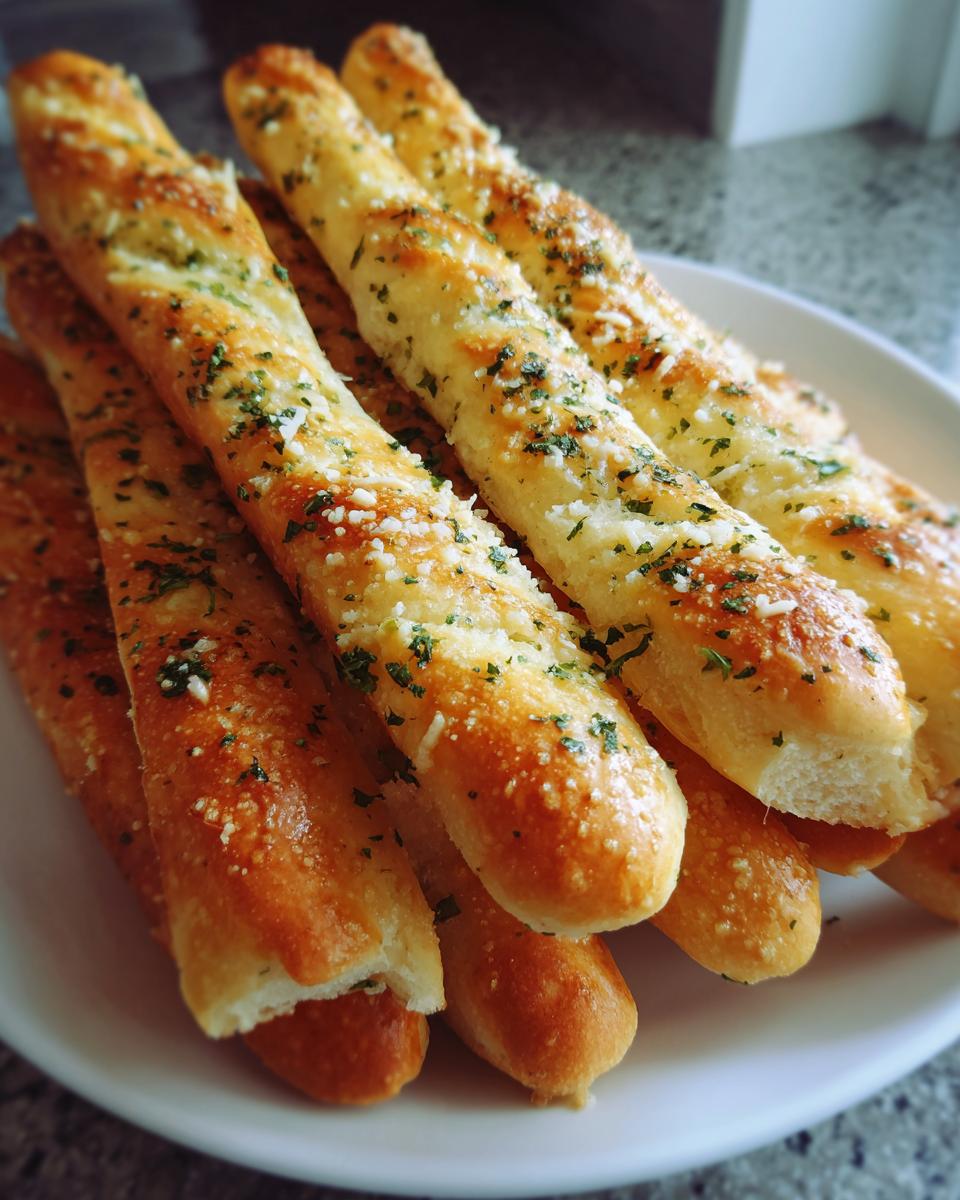
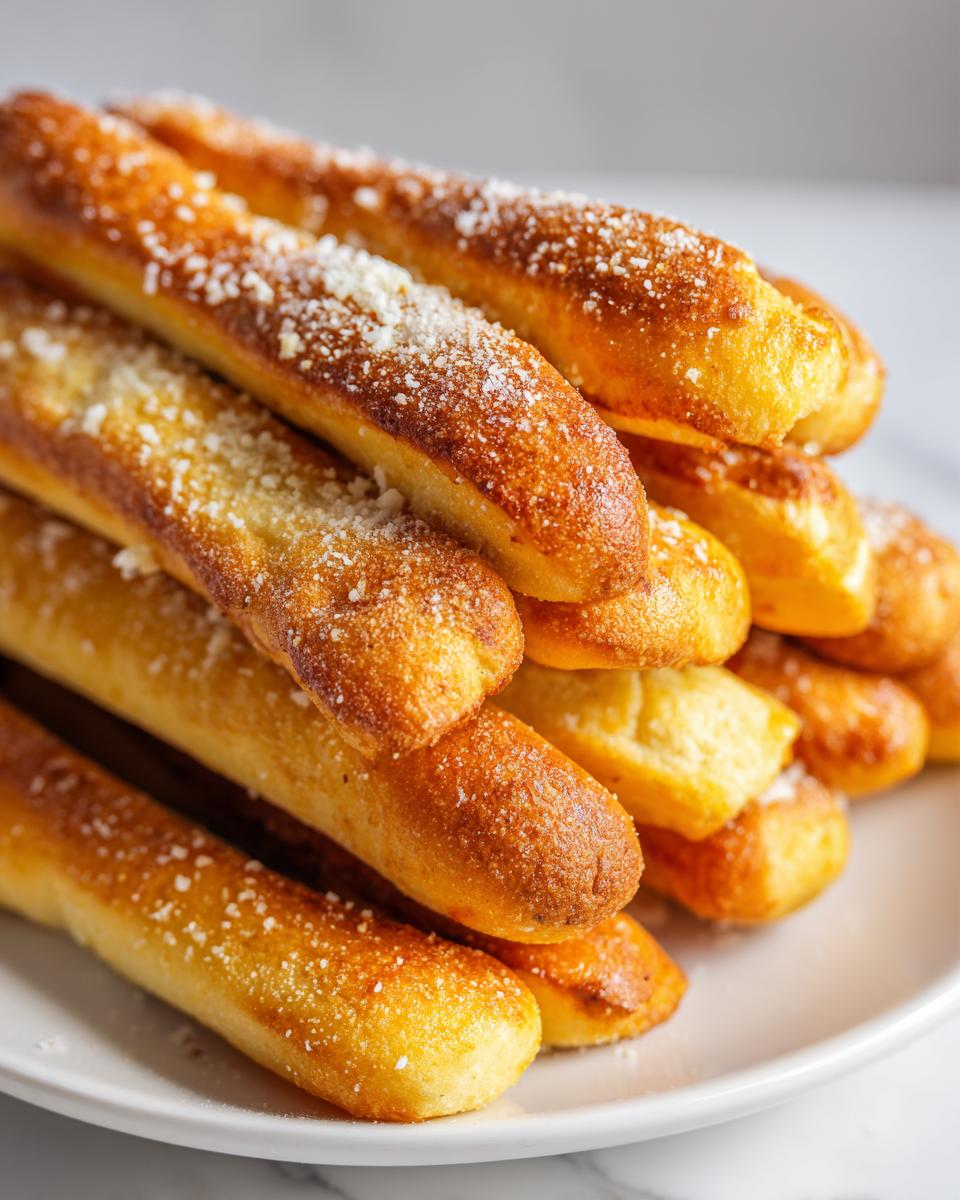
As soon as the breadsticks come out of the oven, get out your brush! You need to slather them generously with that garlic butter while they are still screaming hot. And here’s the final touch that seals the deal: immediately sprinkle that grated Parmesan cheese all over the butter. Serve them warm, and you won’t have any left!
Tips for Achieving Fluffy Breadsticks Every Time
Getting that restaurant-quality soft texture isn’t just luck; it’s about a few key moments in the process. Since these breadsticks are meant to be pillowy, we have to make sure we don’t dry them out anywhere along the way. If you follow the baking instructions, you’re already 90% there. But here are my little secrets to guarantee you get that melt-in-your-mouth result, especially if they cool down a bit before you eat them.
Ingredient Adjustments for Soft Breadsticks
Remember that water temperature when you activated the yeast? If your water was even a little too hot, it can prevent a full rise later, leading to denser homemade breadsticks. Also, be careful when measuring flour; spoon it into the cup and level it off, or you can end up adding way too much flour, which is the number one enemy of soft bread. If you happen to be using instant yeast instead of active dry, you can skip the whole 10-minute foaming stage. Just dump the instant yeast right in with the flour and salt—easy peezy!
Variations: Making Cheesy Breadsticks
While the classic is amazing, sometimes you just need that gooey factor! This is super easy to pivot into cheesy breadsticks. Right after you brush them with the garlic butter and *before* the Parmesan goes on, sprinkle about 1/4 cup of shredded mozzarella cheese right over the top. The cheese melts beautifully into the butter, creating an extra layer of indulgence. Honestly, this works so well if you’re serving them alongside a big bowl of pasta, just like they do at the big chain restaurants.
And here’s a big tip that someone shared with me: once these buttery breadsticks come out of the oven and you’ve brushed them with butter, immediately throw a clean kitchen towel completely over the baking sheet. Let them sit under that towel for five minutes. It traps all that steam and keeps them incredibly soft for serving, even if you had to wait a minute or two before digging in! For more inspiration on easy yeast doughs, check out the tips over at The Stay at Home Chef.
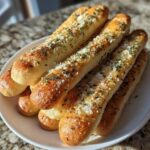
Serving Suggestions for Your Homemade Breadsticks
What’s better than a basket of fresh, warm breadsticks? Having something amazing to dip them in, of course! Because these are so buttery and garlicky, they are the perfect companion for almost any hearty Italian-American meal. Seriously, they elevate weeknight dinners instantly.
They are glorious alongside a big bowl of creamy potato cheddar soup, or you can use them to soak up every last bit of sauce from a slow-cooked meal like my best homemade lasagna. You can also just serve them simply with a side of warmed marinara sauce for dipping. Honestly, if you’re looking for a super quick dinner side that tastes like you spent all day baking, these are your ticket!
Storage and Reheating Your Buttery Breadsticks
Okay, this is the hard part: resisting eating all 12 breadsticks in one sitting! If you do manage to have leftovers (which I doubt!), keep them soft! You absolutely must store them in an airtight container once they are completely cooled down. Putting them away warm traps moisture in the wrong way and makes them gummy, which is the opposite of what we want for these fluffy breadsticks.
When you’re ready for round two, the microwave works in a pinch—just zap them for about 10 to 15 seconds. Be careful, though; microwaves can make bread tough fast! For the absolute best results that bring back that just-baked magic, slip them onto a baking sheet right into a 350°F oven for about five minutes. That little blast of dry heat revives the texture perfectly. They won’t last long, but that’s exactly how it should be!
Frequently Asked Questions About Making Breadsticks
I’ve been baking forever, and I always get asked the same things when people first try this recipe for those amazing copycat breadsticks. Since we are aiming for that super soft breadsticks result, a few steps are important to get right. Here are the common questions I hear most often about making this easy breadstick recipe amazing!
Can I make these breadsticks without a stand mixer?
Absolutely! If you don’t have a big mixer, that’s totally fine—my grandmother never had one, and her dinner rolls were legendary! The dough hook just makes your arm stronger, that’s all. You can mix everything by hand, but you absolutely must commit to kneading it for the full five to seven minutes until it’s smooth and elastic. Don’t skimp on that kneading time, or your fluffy breadsticks might end up a little dense!
How long do these soft breadsticks stay fresh?
Because these are so soft and rich with butter, they are truly best eaten the day you make them. I mean, who can blame anyone? But if you must store them, they will stay nicely soft for about two days if kept in an airtight container at room temperature. After day two, they start getting a little chewier. Pop them in the oven for five minutes to wake the butter up, and they’re almost as good as new!
What if I want crunchy Italian breadsticks instead?
Oh, that’s a totally different ballgame! This recipe is engineered specifically for maximum softness and fluffiness—we use a slightly higher fat content and that water brush step to keep the steam in. If you’re looking for those thin, crispy Italian breadsticks, sometimes called Grissini, you need a much leaner dough with less fat and you’d bake them longer at a lower temperature until they are completely dried out. Keep this recipe for comfort food only!
Sharing Your Delicious Breadsticks Creations
I truly hope you loved wrapping up your family meal with these buttery breadsticks! They are truly my favorite appetizer to share. If you give this copycat recipe a whirl, please come back and let me know how they turned out! Drop a rating below—I always aim for five stars, naturally—and share your favorite thing to dip them into. Your feedback helps me keep creating the simple, delicious recipes you need!
PrintCopycat Olive Garden Breadsticks: Soft, Buttery, and Garlicky
Make the soft, fluffy, and buttery breadsticks you love from your favorite restaurant right in your kitchen. This easy recipe delivers that signature garlic butter finish.
- Prep Time: 20 min
- Cook Time: 12 min
- Total Time: 77 min
- Yield: 12 breadsticks 1x
- Category: Appetizer
- Method: Baking
- Cuisine: American
- Diet: Vegetarian
Ingredients
- 1 cup warm water (105-115°F)
- 2 1/4 teaspoons active dry yeast
- 1 tablespoon granulated sugar
- 3 cups all-purpose flour, plus more for dusting
- 1 teaspoon salt
- 2 tablespoons unsalted butter, melted, plus 4 tablespoons for topping
- 1/2 cup water, warm (for brushing)
- 1/2 cup unsalted butter, melted (for topping)
- 2 teaspoons garlic powder
- 1/2 cup grated Parmesan cheese
Instructions
- Combine the warm water, yeast, and sugar in a small bowl. Let it sit for 5 to 10 minutes until foamy. This activates the yeast.
- In a large bowl or the bowl of a stand mixer, whisk together the flour and salt.
- Pour the yeast mixture and 2 tablespoons of melted butter into the dry ingredients. Mix until a shaggy dough forms.
- Knead the dough on a lightly floured surface or with a dough hook for 5 to 7 minutes until the dough is smooth and elastic.
- Place the dough in a lightly oiled bowl, turning to coat. Cover the bowl with plastic wrap or a clean kitchen towel. Let the dough rise in a warm place for 45 to 60 minutes, or until it doubles in size.
- Preheat your oven to 400°F (200°C). Line a large baking sheet with parchment paper.
- Gently punch down the risen dough. Divide the dough into 12 equal pieces. Roll each piece into a long, thin strip, about 10 inches long and 1 inch wide, to form your breadsticks. Place them on the prepared baking sheet, leaving a small space between them.
- Brush the tops of the breadsticks lightly with the 1/2 cup of warm water. This helps keep them soft.
- Bake for 10 to 12 minutes, or until they are lightly golden brown.
- While the breadsticks bake, prepare the garlic butter topping: In a small saucepan, melt the remaining 1/2 cup of butter over low heat. Stir in the garlic powder.
- As soon as the breadsticks come out of the oven, brush them generously with the garlic butter mixture.
- Immediately sprinkle the grated Parmesan cheese evenly over the buttered breadsticks.
- Serve the homemade breadsticks warm as a quick dinner side or appetizer.
Notes
- For extra soft breadsticks, cover the baked breadsticks with a clean kitchen towel immediately after brushing with garlic butter to trap the steam.
- If you prefer cheesy breadsticks, add 1/4 cup of shredded mozzarella cheese along with the Parmesan during the final topping step.
- You can use instant yeast if you prefer; skip the proofing step and add it directly to the flour mixture.
Nutrition
- Serving Size: 1 breadstick
- Calories: 180
- Sugar: 1
- Sodium: 250
- Fat: 8
- Saturated Fat: 4
- Unsaturated Fat: 4
- Trans Fat: 0
- Carbohydrates: 23
- Fiber: 1
- Protein: 4
- Cholesterol: 15