
Oh, the smell of fresh breakfast bread hitting the hot skillet on a slow morning—there’s nothing quite like it! If you’ve ever dreamed of achieving those perfectly porous insides that soak up melted butter like a sponge, you’re in the right place. Making homemade english muffins shouldn’t feel like a complicated chore, and trust me, they are so much better than anything you grab in a plastic bag at the store. This recipe is exactly what Olivia Rosewood poured her heart into: reliable, straightforward American cooking that guarantees success, giving you that signature, fluffy texture with all the classic ‘nooks and crannies’ every single time! We believe in food that connects us, which is why you can read more about our philosophy over on the About Us page.
- Why This is the Best Homemade English Muffins Recipe (Better Than Store Bought)
- Ingredients for Perfect Homemade English Muffins
- Step-by-Step Guide: How to Make Homemade English Muffins From Scratch
- Pro Tips for Achieving Classic English Muffin Nooks and Crannies
- Ingredient Notes and Substitutions for Homemade English Muffins
- Serving Suggestions for Your Homemade English Muffins
- Storage and Reheating Instructions for Homemade English Muffins
- Frequently Asked Questions About Making English Muffins
- Share Your Weekend Baking Projects
- Share Your Weekend Baking Projects
Why This is the Best Homemade English Muffins Recipe (Better Than Store Bought)
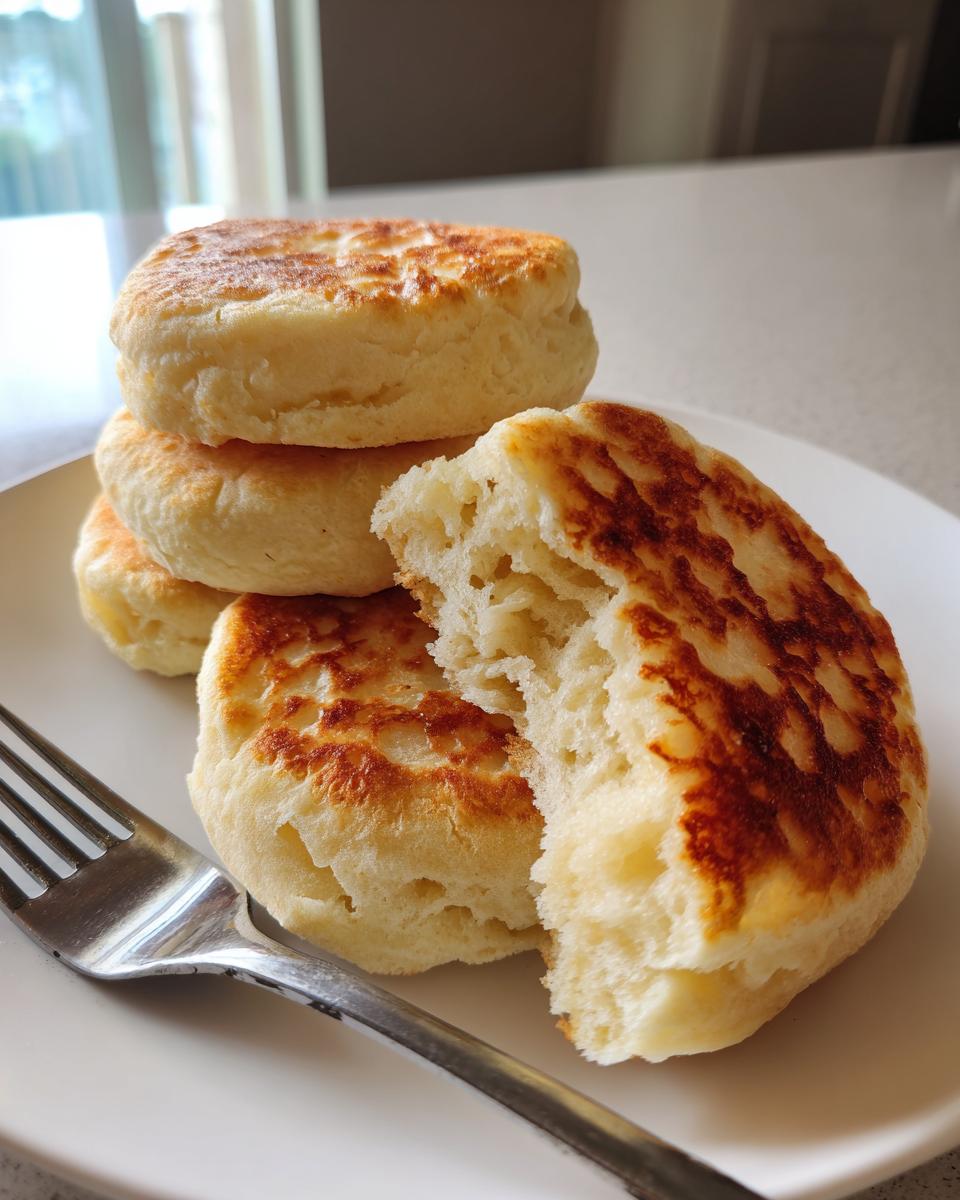
Seriously, ditch those squishy, flavorless things from the grocery store! The minute you taste these homemade english muffins, you’ll never go back. That’s the honest truth. My favorite part about this particular recipe is that it manages to deliver that perfect texture—soft and incredibly fluffy english muffins on the inside while getting just a whisper of crispness on the outside when toasted.
The real magic here is how easy it is to get bakery quality results. We are using a no knead english muffins method, remember? That means way less fuss than traditional bread baking. You simply mix it up, let the dough do the hard work, and the result is always something miles better than store bought muffins. We save time without sacrificing any of that deep, comforting flavor you only get from baking english muffins from scratch. If you’re looking for something fast for a weeknight, check out my quick-easy-weeknight-dinners recipes!
Ingredients for Perfect Homemade English Muffins
Gathering your ingredients for homemade english muffins is straightforward; we aren’t dealing with a huge grocery list here, which I love! For this easy English muffins recipe, you’ll need standard pantry staples, but pay close attention to the wet ingredients.
Make sure your milk is just right—that’s my number one tip for success! You want it warm, around 105-115°F. If it’s too cool, the yeast just sits there sulking, and if it’s too hot, well, you kill it dead! A little experimentation here ensures a beautiful rise. See? It’s all about paying attention to the little details we learned from bakers like Olivia when creating these simple from scratch baking classics.
Here is exactly what you need to gather up:
- 2 cups all-purpose flour
- 2 tablespoons white sugar
- 1 teaspoon salt
- 1 packet (2 1/4 teaspoons) active dry yeast
- 1 cup warm milk (about 105-115°F)
- 1/4 cup water, warm
- 2 tablespoons unsalted butter, melted
- Extra flour or cornmeal for dusting
Step-by-Step Guide: How to Make Homemade English Muffins From Scratch
Okay, here is where we turn simple ingredients into breakfast magic! Learning exactly how to make English muffins at home is easier than you think, especially because this is a genuinely lazy baker’s dream: we use a no knead english muffins approach. That’s right, minimal effort for maximum reward. We want to be gentle with this dough; tearing up the gluten structure too much is the quickest way to say goodbye to those beautiful internal tunnels!
Mixing and First Rise for Your Homemade English Muffins
First, you just put everything dry in a big bowl and whisk it around lightly—the flour, sugar, and salt. In a separate container, wake up your yeast in that warm water until it gets foamy. Then, mix in your warm milk and melted butter, and pour that whole wet mixture into your dry ingredients bowl. Now, mix it with a sturdy spoon until it just comes together into a messy, shaggy dough. Stop mixing right there! Seriously, do not knead this! Cover the whole thing up tight and let it chill out in a warm spot for about an hour to an hour and a half, or until it looks puffy and doubled over itself.
Cutting and Resting the Dough Rounds
Once it has risen beautifully, gently turn that soft mound out onto your work surface. I like to use a little extra flour or cornmeal here just to keep things from sticking. Now, you just pat it down gently to about 3/4 inch thickness—aim for evenness! Use a three-inch cutter—a glass rim works great if that’s all you have—and start cutting out your rounds. Don’t panic about those scraps; just gather them up, press them back into a small disk, and cut out the rest. Place those beautiful raw rounds on parchment paper and let them rest, covered loosely, for just 30 minutes before they hit the heat. This second rest is important!
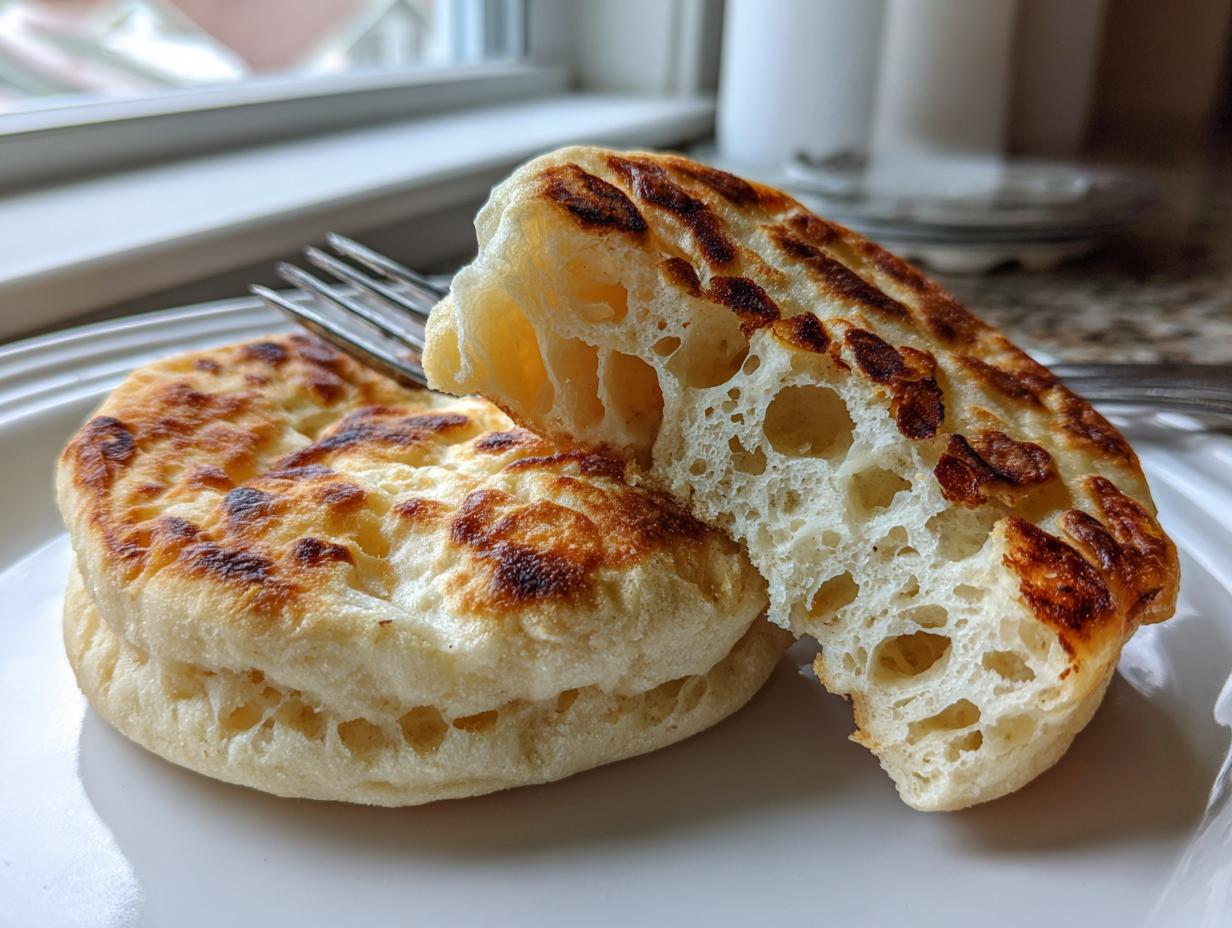
The Secret to English Muffin Nooks and Crannies: Skillet Cooking
This is the big reveal on how to get those perfect English Muffin Nooks and Crannies! You must use a dry cast-iron skillet or griddle—no butter or oil needed in the pan! Heat it over medium-low heat. If your pan is too hot, they’ll burn on the outside before the inside even cooks, resulting in a hockey puck, not a muffin. Cook them slow and steady for about eight to ten minutes on the first side until they are just pale golden. Flip them carefully and repeat. That low, gentle cooking makes all the difference in creating those beautiful air pockets inside!
If you want to see how I get similar fluffy results in my sourdough discard rolls, take a peek at that recipe too!
Pro Tips for Achieving Classic English Muffin Nooks and Crannies
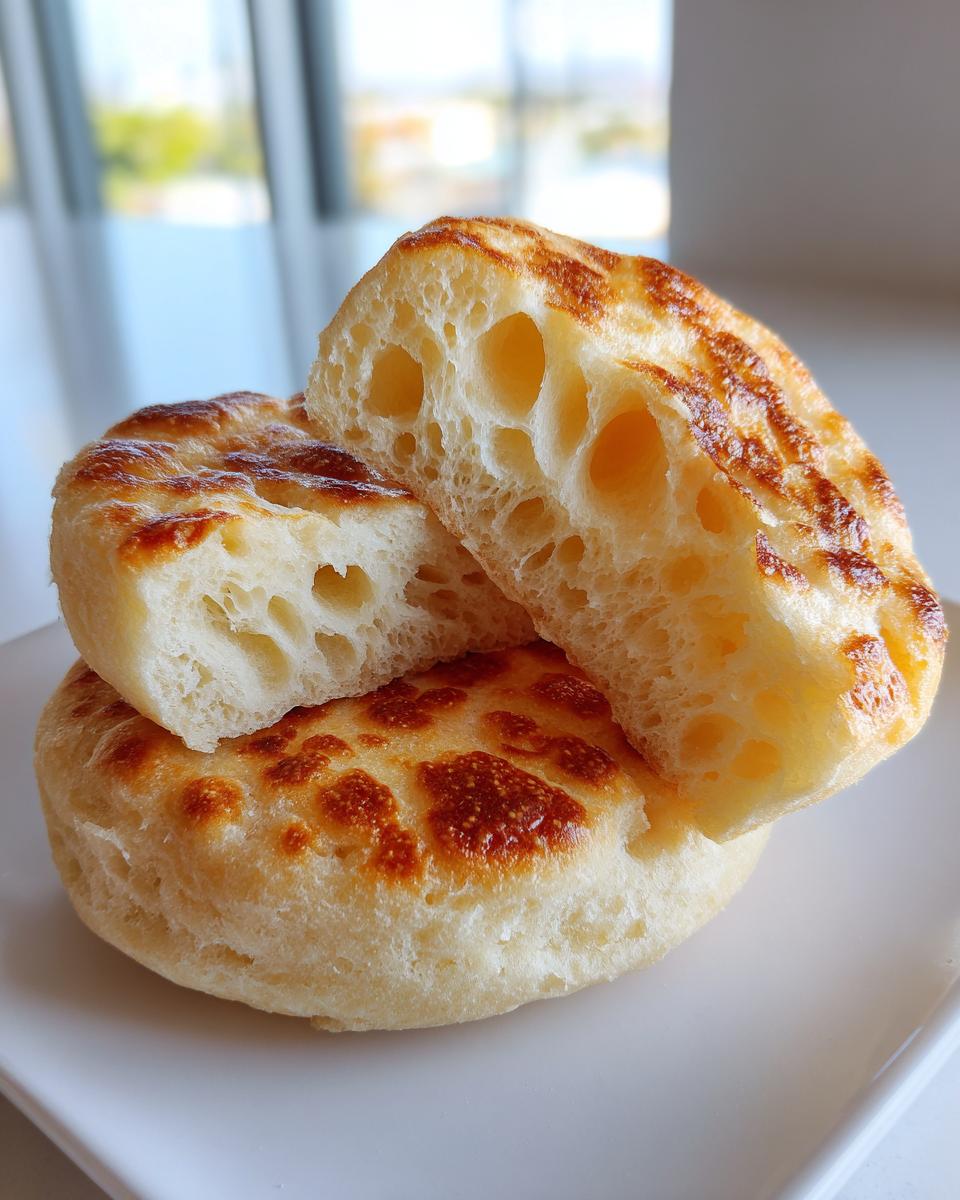
So, you followed the steps, but maybe your muffins came out a little too dense? Don’t sweat it! That’s why we talk about these things. The key to unlocking those famous English Muffin Nooks and Crannies is keeping that heat seriously low during cooking. If you rush it, the outside seals before the inside can adequately steam and stretch—that stretching is what creates the holes!
Also, I have a strict rule: never, ever use a knife to open them once they’re cooled. A knife cuts straight across, sealing off all those lovely air pockets you worked so hard for. You *must* use a fork to gently pierce the sides and split them open. It feels weird, I know, but trust me, it ruptures the internal structure just right, exposing heaven inside. For topping ideas after you split them, you’ve got to try my 4-ingredient garlic butter spread!
Ingredient Notes and Substitutions for Homemade English Muffins
When making your homemade english muffins, the ingredients list is short, so every item counts for the final texture. If you are out of regular milk, you can absolutely use whole milk or even a rich, unsweetened dairy alternative like soy or oat milk. Just make sure whatever you use is warm!
Regarding the yeast, if you only have instant yeast on hand instead of active dry, you can skip dissolving it in water first. Just whisk the instant yeast right in with your flour, sugar, and salt. Since this is a from scratch baking recipe, using the right yeast guarantees a great rise!
Serving Suggestions for Your Homemade English Muffins
Now that you have made what I think are the best english muffin recipe results ever, how should you eat them? That’s the fun part! Of course, they are heavenly split open, toasted until golden, and slathered with salted butter that melts right into those nooks. Jam or honey is wonderful too!

But honestly, these homemade english muffins shine when you transform them into incredible breakfast sandwiches. Think bacon, a perfectly fried egg, and some melted cheddar—it’s one of my favorite homemade breakfast ideas. You can even use them to sop up the sauce from a leftover slice of my tater tot breakfast casserole!
Storage and Reheating Instructions for Homemade English Muffins
Once your perfect batch of homemade english muffins cools down, you need to store them right to keep that texture locked in! Don’t put them in the fridge if you can help it; that makes them stale fast. I keep mine in an airtight container right on the counter for up to three days. They taste best the day you make them, but day two is great too!
When it’s time to eat them? You have to toast them! Tearing them open with a fork before tossing them into the toaster is the only way to bring all those glorious pockets back to life. The warmth is essential for a truly amazing breakfast experience.
Frequently Asked Questions About Making English Muffins
I know you might have a few lingering worries now that you see how simple the process for the best english muffin recipe is. Bread baking always brings up questions, especially when we are trying to master that coveted texture. Let’s tackle the most common ones so you feel totally confident tackling this weekend baking project!
Can I use a griddle instead of a skillet for these Easy English Muffins?
Absolutely, you can! I love my cast-iron skillet because it holds heat so evenly, but a large electric griddle works just fine too for these easy english muffins. The most important thing is consistency. If you use a griddle, make sure the temperature setting is uniform across the entire cooking surface. If one spot is hotter than the others, you’ll get some muffins that are pale and some that are instantly dark brown. Remember, we want slow and steady cooking for those fluffy english muffins!
Why are my English Muffins not getting any nooks and crannies?
Oh, honey, this is the million-dollar question! It almost always comes down to two things: either you rushed the cooking process, or your dough didn’t have enough power in its first rise. If you cook them too hot and fast, you just steam the outside shut, sealing in a dense interior. Secondly, make sure you let that dough double in size during that first rise. Those air bubbles need time to develop before they are gently shaped. Low heat, full rise—that’s the secret handshake for achieving spectacular English Muffin Nooks and Crannies.
Can I use bread flour instead of all-purpose flour in this recipe?
You technically can, but I really advise sticking to the all-purpose flour specified for this Homemade English Muffins Recipe. Bread flour has higher protein, which means it develops more gluten. If you swap it in, you’re going to get a much chewier, tougher muffin, kind of like a bagel texture. We are aiming for soft, pillowy goodness that’s easy to split, so that lower-protein AP flour is what keeps them perfectly soft and tender.
If you’re looking for other fun, simple things to bake up after mastering these, check out my collection of easy sweet snacks recipes collection!
Share Your Weekend Baking Projects
I am so excited for you to try these! Seriously, once you break into one of these beauties fresh from the skillet, you’ll be hooked on making homemade english muffins forever. If you love this recipe, please give it a rating down below! I’d love to see your results from these weekend baking projects—tag me in your photos!
If you didn’t want to wait for the skillet, you can see how others have made delicious homemade english muffins using slightly different approaches, though I promise sticking to my no-knead method gets the job done!
Share Your Weekend Baking Projects
I am so excited for you to try these! Seriously, once you break into one of these beauties fresh from the skillet, you’ll be hooked on making homemade english muffins forever. If you love this recipe, please give it a rating down below! I’d love to see your results from these weekend baking projects—tag me in your photos!
If you didn’t want to wait for the skillet, you can see how others have made delicious homemade english muffins using slightly different approaches, though I promise sticking to my no-knead method gets the job done! For more weekend inspiration, check out my pumpkin pancakes recipe next!
PrintEasy Homemade English Muffins with Classic Nooks and Crannies
Make soft, fluffy homemade English muffins from scratch using this simple, no-knead recipe. These are better than store-bought and perfect for breakfast sandwiches or toasting.
- Prep Time: 20 min
- Cook Time: 20 min
- Total Time: 2 hours 30 min
- Yield: 10 muffins 1x
- Category: Breakfast
- Method: Skillet Cooking
- Cuisine: American
- Diet: Vegetarian
Ingredients
- 2 cups all-purpose flour
- 2 tablespoons white sugar
- 1 teaspoon salt
- 1 packet (2 1/4 teaspoons) active dry yeast
- 1 cup warm milk (about 105-115°F)
- 1/4 cup water, warm
- 2 tablespoons unsalted butter, melted
- Extra flour or cornmeal for dusting
Instructions
- In a large bowl, whisk together the flour, sugar, and salt.
- In a separate bowl, dissolve the yeast in the warm water and let it sit for 5 minutes until foamy.
- Add the warm milk and melted butter to the yeast mixture.
- Pour the wet ingredients into the dry ingredients. Mix with a spoon until just combined into a shaggy dough. Do not overmix; this is a no-knead recipe.
- Cover the bowl with plastic wrap and let the dough rise in a warm place for 1 to 1.5 hours, or until doubled in size.
- Gently turn the dough out onto a surface lightly dusted with flour or cornmeal. Pat the dough out to about 3/4 inch thickness.
- Use a 3-inch round cutter (or a glass rim) to cut out the muffins. Gather the scraps, gently re-pat, and cut out the remaining pieces.
- Place the cut rounds on a baking sheet lined with parchment paper, lightly dusted with cornmeal. Cover loosely and let them rest for 30 minutes.
- Heat a large, dry cast-iron skillet or griddle over medium-low heat.
- Cook the muffins for 8 to 10 minutes per side. You are looking for a pale golden color, not dark brown. The low, slow cooking creates the signature texture.
- Remove the muffins from the skillet and let them cool slightly on a wire rack.
- To achieve the ‘nooks and crannies,’ split the muffins open using a fork, not a knife. Toast them before serving.
Notes
- For best results and maximum nooks and crannies, cook the muffins slowly over medium-low heat. Rushing the cooking process will result in a dense interior.
- Serve immediately toasted with butter and jam, or use them to build your favorite breakfast sandwiches.
- Store cooled, un-toasted muffins in an airtight container at room temperature for up to 3 days.
Nutrition
- Serving Size: 1 muffin
- Calories: 180
- Sugar: 3
- Sodium: 280
- Fat: 4
- Saturated Fat: 2
- Unsaturated Fat: 2
- Trans Fat: 0
- Carbohydrates: 31
- Fiber: 1
- Protein: 6
- Cholesterol: 15