

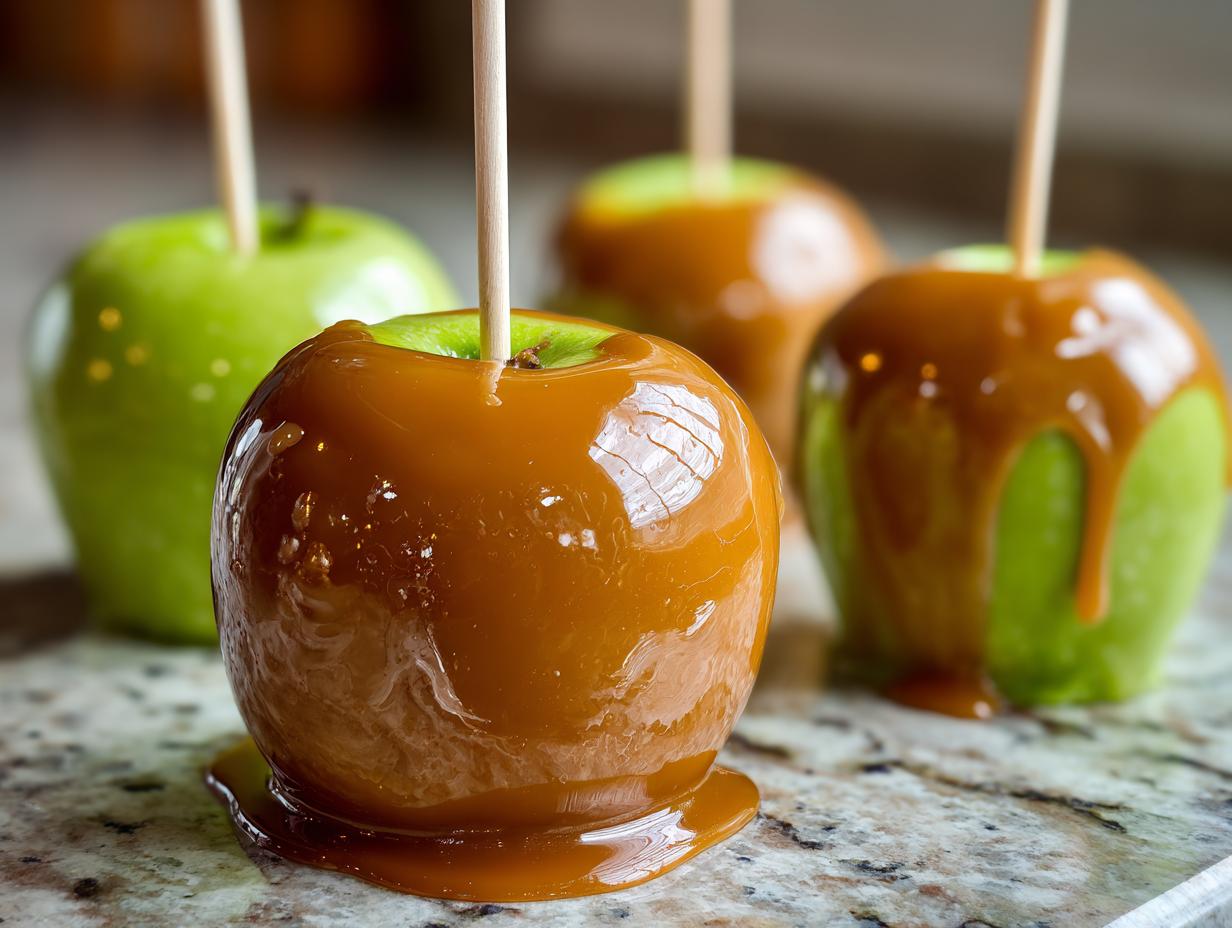
Now that the air is getting crisp and we’re finally reaching for our cozy sweaters, it’s time for my absolute favorite fall indulgence: the homemade caramel apple! Forget those hard, waxy things from the fairgrounds. I spent ages perfecting this recipe so you never have to worry about sticky messes or caramel sliding right off. Seriously, this is the best caramel apple recipe because I promise it’s foolproof and delivers that perfect, slightly chewy coating that just clings to the apple. Olivia Rosewood built DelishCraze around making classic American treats simple, and this caramel apple project proves just how achievable gourmet flavors can be right on your own stovetop. Get ready for the sweetest autumn adventure!
- Why This Is the Best Caramel Apple Recipe for Beginners
- Ingredients for Your Classic Caramel Apple
- Step-by-Step Instructions for Perfect Caramel Apple Dipping
- Gourmet Caramel Apple Topping Ideas and Variations
- Expert Tips for Making Party Favorite Caramel Apples
- Storage and Reheating for Your Homemade Caramel Apple
- Frequently Asked Questions About Caramel Apple Success
- Estimated Nutritional Data for a Classic Caramel Apple
- Share Your Perfect Caramel Apple Creations
Why This Is the Best Caramel Apple Recipe for Beginners
Making your own caramel apples shouldn’t feel like a high-stakes science experiment. That’s why I developed this version specifically as the easy homemade caramel apple guide everyone needs when the leaves start turning. If you’ve been scared off before, don’t be! I’ve taken all the guesswork out so you can focus on the fun part—the toppings!
- It uses simple, shelf-stable ingredients you probably already have.
- We hit the exact temperature needed for that satisfying chew.
- It’s fast enough to make a batch for a last-minute party treat.
- You get beautiful, professional-looking caramel apples without needing any fancy equipment beyond a basic candy thermometer.
It’s all about trust in the process; once you nail the temperature, you’ll be hooked. You can check out my favorite apple crumb cake recipe too, but sometimes you just need that big, sticky caramel bite!
Achieving the Perfect No-Slide Caramel Coating
The number one terror of the homemade caramel world is the dreaded slide show, where all your hard work melts into a puddle on the parchment paper. We squash that fear here! This recipe is specifically engineered for no-slide caramel apples. It all comes down to two key moments: ensuring the apples are bone-dry before dipping, and letting that hot caramel cool down for exactly five minutes right after it hits 245 degrees. That little rest firms up the structure just enough so it grips the apple perfectly as it sets.
Texture Secrets: Gooey Caramel Apples Every Time
Nobody wants brittle, hard candy coating, right? We are aiming for that glorious, chewy texture that makes your jaw happy. The secret to those gooey caramel apples is actually in the dairy content! That can of sweetened condensed milk we use brings richness and prevents crystallization, keeping the caramel soft and bendable. Combine that with the corn syrup, which keeps things delightfully smooth, and you end up with that dreamy, chewy sauce that is impossible to resist.
Ingredients for Your Classic Caramel Apple
Okay, gathering supplies is almost as fun as the eating part, right? For these absolutely perfect, from-scratch caramel apples, you need to be precise with your ingredients; they matter a ton when you’re making candy. Don’t try to cheat on the corn syrup or condensed milk—that’s what guarantees that amazing chewiness! Here is exactly what you need to grab from the pantry and the store for a batch that yields about six beauties:
- 6 large, firm apples, like Granny Smith or Honeycrisp (we love that tartness!)
- 6 wooden or sturdy lollipop sticks—nothing flimsy here!
- 1 cup (which is 2 full sticks!) unsalted butter
- 2 cups light brown sugar, and you must pack it down well
- 1 cup light corn syrup (this is non-negotiable for texture!)
- 1 (14 ounce) can sweetened condensed milk
- 1 teaspoon vanilla extract
- 1/2 teaspoon salt
- Optional Toppings: Think chopped nuts, mini chocolate chips, or crushed pretzels—get creative!
Apple Selection and Preparation
This step is where so many people go wrong, and it’s the secret to how to make caramel apples stick! You can’t just grab any apple from the fruit bowl. You need apples that can stand up to the hot caramel without breaking down or turning mushy. I always go for crisp, tart varieties. Granny Smiths are famous because they are naturally tart, which cuts through the amazing sweetness of the caramel, and they hold their shape beautifully. Honeycrisps work wonderfully too!
But here’s the real insider tip: you have to remove any residual wax from the apple skin. Wax repels sugar, which means your beautiful caramel coating will just slide right off. So, here is what you need to do:
- First, wash those apples really well under warm running water. Give them a good scrub!
- Then, I like to give them a quick dip—just literally dunk them for five seconds—into a pot of near-boiling water. Don’t leave them in, just a quick dip!
- Immediately take them out and dry them off meticulously with paper towels. Let them air dry for about 15 minutes just to be absolutely sure there is zero moisture left. They must be completely dry and cool.
If the apples are slightly tacky and dry after that prep, your caramel will adhere like glue. Trust me on the drying process; it’s the foundation for success!
Step-by-Step Instructions for Perfect Caramel Apple Dipping
Now that everything is prepped—apples dry, goodies nearby—it’s time to focus on making that incredible, perfect caramel coating. This entire process moves fast once the caramel starts cooking, so having everything set up beforehand is essential! We’re using a candy thermometer here because being off by even a few degrees can mean the difference between chewy bliss and a hard shell. Don’t worry, making candy from scratch is way easier than you think when you follow these exact steps for your caramel apple creation. If you are interested in other gooey recipes, you should definitely check out my English toffee recipe!
Caramel Cooking: Hitting the Right Temperature
Grab your heavy saucepan and toss in the butter, brown sugar, corn syrup, and the condensed milk. Get that over medium heat and stir until everything is liquid and smooth. Once it hits that first boil, stop stirring completely! You need to let the magic happen untouched. Pop in that candy thermometer; we are aiming squarely for 245 degrees Fahrenheit. That specific temperature locks in the perfect stage that yields that soft, chewy texture we love. If you go past 250°F, you risk getting a hard, brittle coating, so watch that gauge like a hawk!
Dipping and Setting Your Caramel Apple
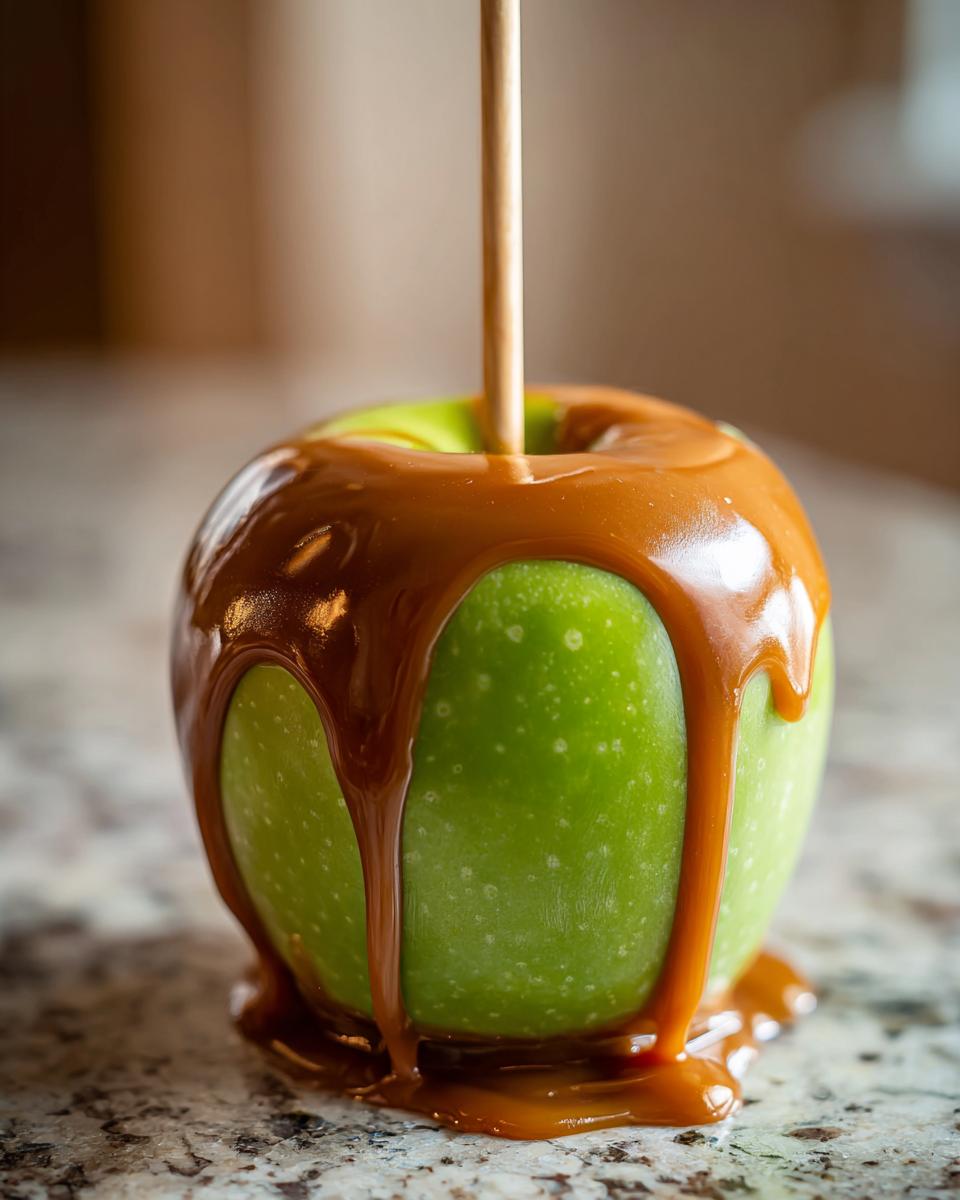
Once you hit 245°F, yank that pan right off the burner! Stir in your vanilla and salt—yes, even a little salt makes the caramel taste richer. Now for the most important caramel apple dipping tip: let that steaming hot caramel cool down for a full five minutes on the counter. I know you want to dive right in, but this slight cool-down is what keeps the coating from sliding off the wax-free apples later! After the five minutes, tilt the pan, dip your apple slowly, making sure you coat it all the way around, and lift straight up. Let the excess drip back in before quickly adding any nuts or toppings before placing it gently on your prepared parchment paper.
Gourmet Caramel Apple Topping Ideas and Variations
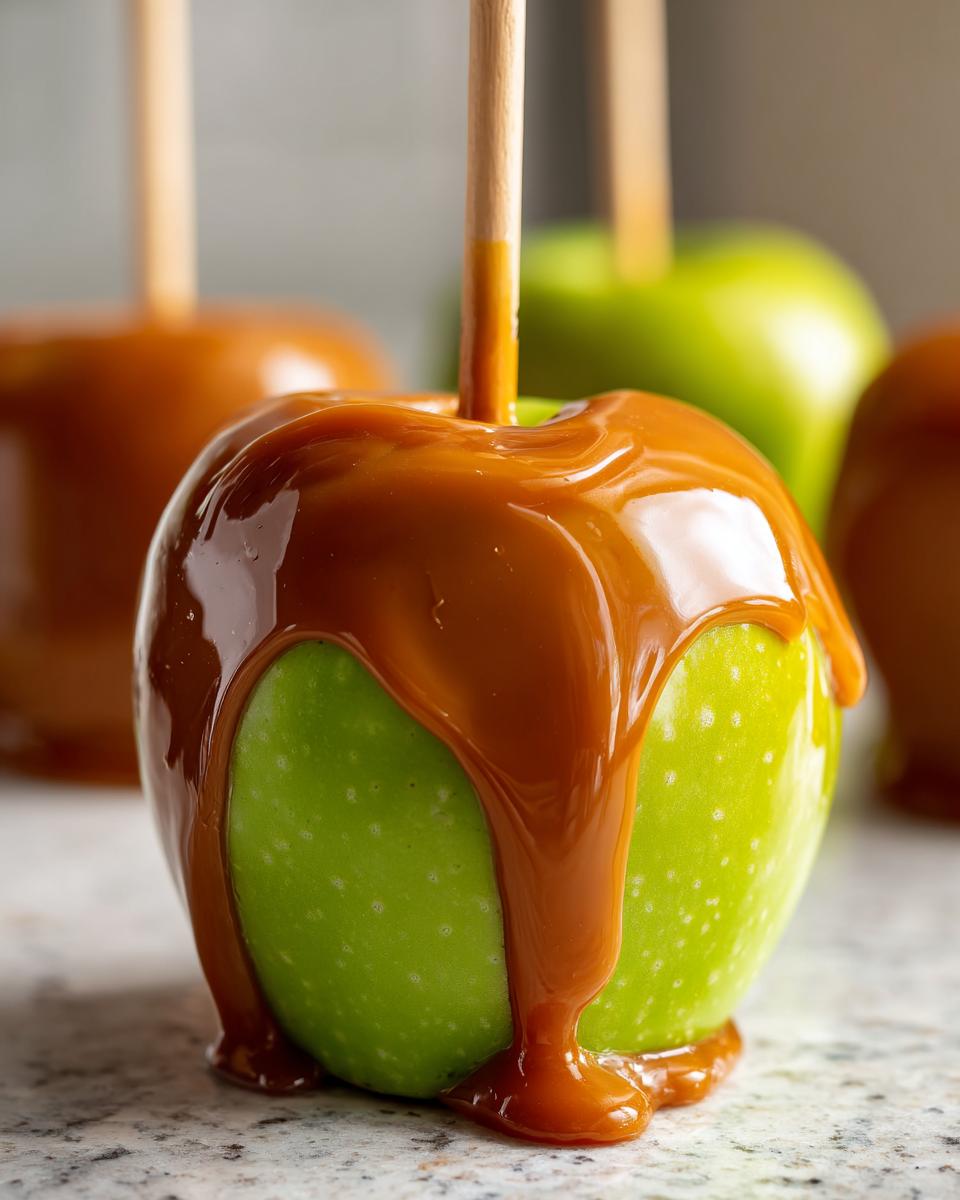
Okay, once your beautiful caramel apple coating is set enough to hold toppings—but still slightly sticky—that’s when the real fun begins! This is where you turn a classic treat into a showstopper for your next gathering. Honestly, if you’re making them from scratch, you might as well go gourmet, right? Just make sure you have your bowls of goodies ready to go immediately after dipping so everything adheres before the caramel sets hard. If you love that salty-sweet combo, you absolutely need to check out my white chocolate pretzel bark recipe too—it has that similar vibe!
We already tossed in the basics like chopped nuts or pretzels, but you can really get creative here. Think about crunchy textures against that creamy coating. Mini M&Ms look fantastic, and crushed graham crackers make an unexpected but delicious base!
Chocolate Caramel Apples
If you ask me, you haven’t lived until you’ve made chocolate caramel apples. This is a total game-changer! After the caramel has fully set—and I mean completely firm—it’s time for the drizzle. Melt down some good quality semi-sweet, milk, or even white chocolate chips. I always add just a tiny splash of coconut oil or a half teaspoon of shortening to that melted chocolate. It sounds weird, but that little bit of extra fat helps thin the chocolate so it drizzles nicely off the fork rather than globbing on in heavy clumps.
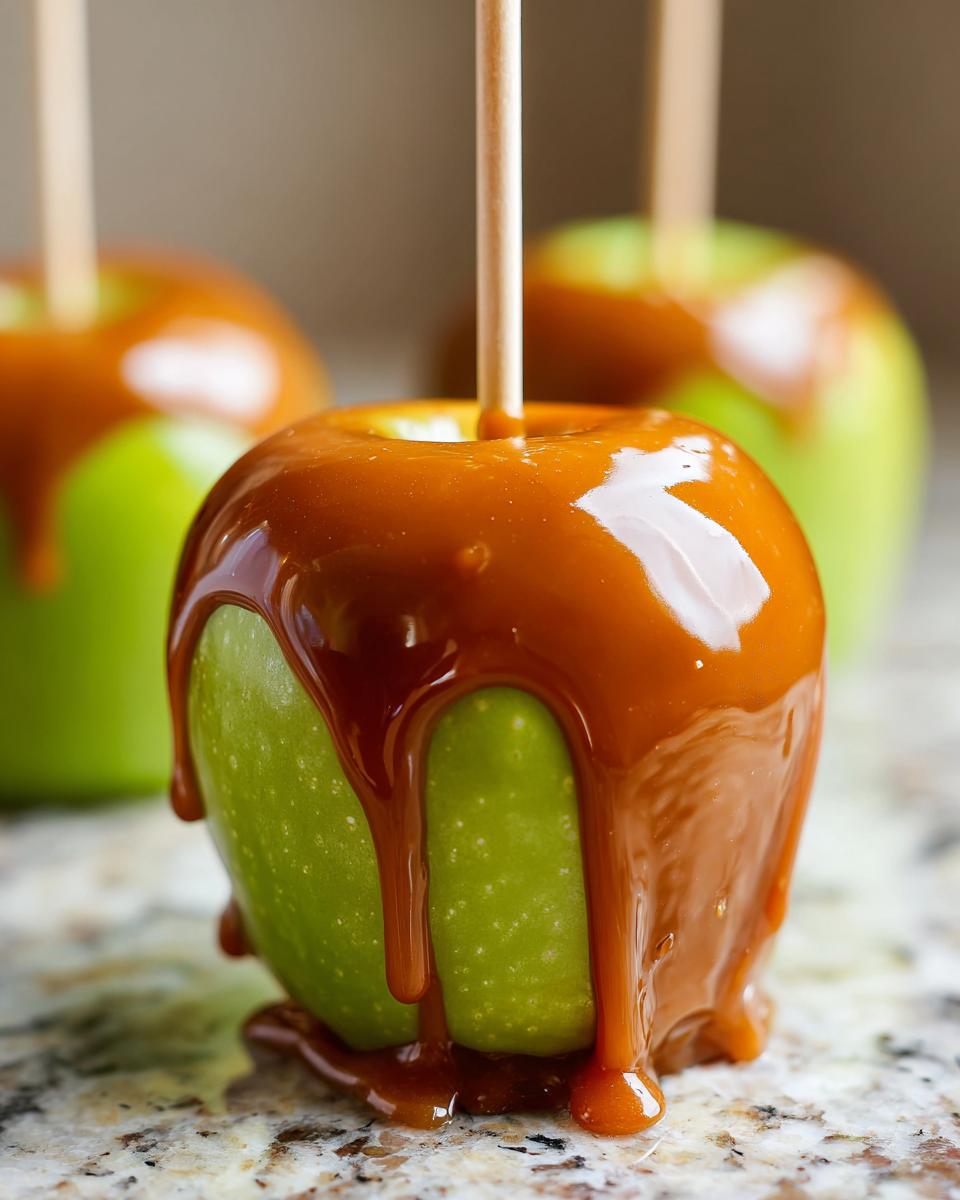
Use a fork or a whisk to drizzle that shiny chocolate back and forth across the fully set caramel layer. You can do zigzags, stripes, or even dip the whole apple halfway into the chocolate for a truly indulgent look. Let that chocolate set up, and wow—you have a gourmet masterpiece!
Making Easy Caramel Apple Slices or Bites
Truthfully? Sometimes I just don’t have the patience for sticking sticks in apples and waiting for them to set perfectly upright. If you need a fast, less messy caramel apple slice situation, this is your fix! It’s a great way to serve fall apple desserts when you’re having a crowd.
For this variation, skip the popsicle sticks entirely! Cut your firm apples into thick wedges—about an inch thick—and immediately dry those cut surfaces really well. That exposed inner flesh can be tricky, so dry the cut sides gently. Then, instead of dipping the whole thing, use a small stainless steel fork or even a fancy dipping tool to quickly coat just one side of the apple wedge in the warm caramel. Lay them flat on the parchment paper. Because they are laid down, they won’t slide off or run down the side like a full apple might. They set up so fast, and they are perfect little caramel apple bites!
Expert Tips for Making Party Favorite Caramel Apples
We’ve nailed the chewiness and the stickiness, but when you’re making party favorite caramel apples for a big crowd, a couple of extra checks can save you stress. Since these are such iconic fall apple desserts, I want yours to be flawless! Remember when I mentioned letting the caramel cool for five minutes after it hits 245°F? That’s crucial, but for a very large batch, you might need to let it rest closer to seven minutes before you even dip the first apple. That slight extra time helps stabilize that thick coating.
Another thing—if you’re planning ahead, don’t wrap them tightly in plastic until the caramel and any toppings are completely set, like rock solid. If you trap any residual heat or steam, you invite sogginess, and nobody wants a soft apple under that crunchy coating!
Oh, and if you end up with leftover caramel sauce (lucky you!), pour it over a sheet pan of parchment paper, sprinkle with a little sea salt, let it cool, and break it up later for amazing instant brittle. You can also find some great ideas on making amazing presentations over on my Thanksgiving snack platter post that might give you some serving inspiration. If you want another perspective on making things easy at home, check out this detailed guide on easy homemade caramel apples!
Storage and Reheating for Your Homemade Caramel Apple
So, you made a massive batch of these glorious, chewy treats, and now you need to know where to stash them! Don’t even *think* about tossing these beauties in the fridge right away. Cold air changes the caramel texture dramatically, making it hard, stiff, and frankly, far less chewy than we worked so hard to achieve. The goal is to preserve that perfect, chewy caramel sauce recipe quality we nailed on the stovetop.
For the best eating experience, these homemade treats should really be eaten the day you make them. I know, I know, that’s usually not practical! But if you must store them, room temperature is the friendly choice.
Optimal Room Temperature Storage
Keep them wrapped individually in cellophane or plastic wrap—again, make sure they are completely set before wrapping!—and store them in a cool, dark place. Think of a pantry or a cool cupboard away from any heat sources like the stove or sunny windows. Stored like this, they usually stay wonderfully soft and chewy for about three to four days. If your house is super warm or humid, though, you might notice they get a little sticky sooner, so keep an eye out!
What to Do if You Must Refrigerate
I only resort to the fridge if my kitchen is sweltering hot, or if I need to keep them longer than four days. If you put them in the refrigerator, you’ll notice the caramel shrinks slightly and hardens up quite a bit. It’s not ruined, though! Never serve them straight from the cold!
The key to reviving that chewy texture is careful warming. Take the wrapped apples out about two hours before you plan to eat them and let them sit on the counter to come back up to room temperature slowly. This slowly softens the caramel again. Never microwave them; you’ll just end up with a burnt-sugar mess that melts right onto your plate!
Freezing for Long-Term Stashing
Yes, you can totally freeze them! Wrap each one tightly in plastic wrap, and then nestle them into an airtight container or a sturdy freezer bag. They’re good in the freezer for up to two months. Just like with the fridge, you need patience when taking them out. Thaw them in the refrigerator overnight first, and then move them to the counter for a good couple of hours. It takes time, but it’s worth it to save these for a holiday gathering months away!
Frequently Asked Questions About Caramel Apple Success
I know you’ve got questions! When you’re moving from store-bought to making these delicious from scratch caramel apples, sometimes the nuances can be tricky. Don’t worry about a thing! I’ve gathered the most common things folks ask me when they’re trying to nail that perfect texture and coating. We want your results to be as amazing as mine! If you love exploring quick treats, make sure you take a peek at my easy sweet snacks recipes collection.
Why is my caramel sliding off the caramel apple?
Oh, that sad, melting cascade! This is the absolute number one problem people run into, and 99% of the time, it comes down to one thing: wax. Remember how we talked about scrubbing and dipping the apples? That’s because the natural wax coating apples get at the store repels moisture and, worse, repels hot caramel. Even if you think they are clean, if you skip the hot water dip or skip drying them completely—and I mean completely—the caramel won’t adhere right. The caramel needs a dry, slightly porous surface to grab onto. So yes, preparation is non-negotiable for a sturdy caramel apple!
Can I use a different type of sugar for this caramel apple recipe?
Hee hee, in my kitchen, the answer is usually no! For this specific recipe to give you that fantastic chewy texture, you really need light brown sugar. White granulated sugar cooks differently and tends to crystallize more easily, which leads to a hard, breakable shell instead of the soft coating we want for our gooey caramel apples. That molasses in the brown sugar is essential for moisture retention and that deep, rich flavor. Stick to the recipe here, and you’ll get the guaranteed best results for these classic autumn treats.
Estimated Nutritional Data for a Classic Caramel Apple
I always feel a little guilty looking at these numbers, but hey, it’s once a year, right? When you’re making these incredible treats from scratch, you are loading them up with real butter, rich sugar, and that lovely condensed milk. So, yes, these are decadent, but they are so satisfying!
Keep in mind that this information is just an estimate based on the ingredients listed in the recipe, especially since the size of your apples can vary wildly. Think of this as a guide for savoring your delicious, chewy masterpiece!
- Serving Size: 1 apple
- Calories: 650
- Fat: 30g
- Saturated Fat: 18g
- Carbohydrates: 98g
- Sugar: 95g
- Protein: 4g
- Sodium: 180mg
Because we are using real dairy and whole ingredients, the fat content is definitely higher than a store-bought version, but I guarantee the flavor payoff you get from proper butter and sugar is completely worth it. Enjoy every single bite responsibly!
Share Your Perfect Caramel Apple Creations
Okay, that’s it! You have successfully mastered the art of the easy homemade caramel apple. I am so excited for you to take that first glorious, chewy bite. Honestly, watching someone bite into one of these for the first time is one of my favorite things.
Now, I need you to come back here and tell me how it went! Did you go wild with the toppings? Which apples did you choose? Did you manage to get that perfect, non-sliding coating on the first try? Please, please leave a comment down below and share your successes—or even any minor fails, because we all learn along the way!
If you snap a picture of your beautiful gourmet caramel apples (especially if you added that chocolate drizzle!), tag me on social media. I absolutely love seeing your creations come to life! It makes me so proud to know I helped make your kitchen a little sweeter this fall. And hey, if you still have apples lying around and need another amazing use, you have to try my cinnamon roll cookies—they’re dangerously good!
Print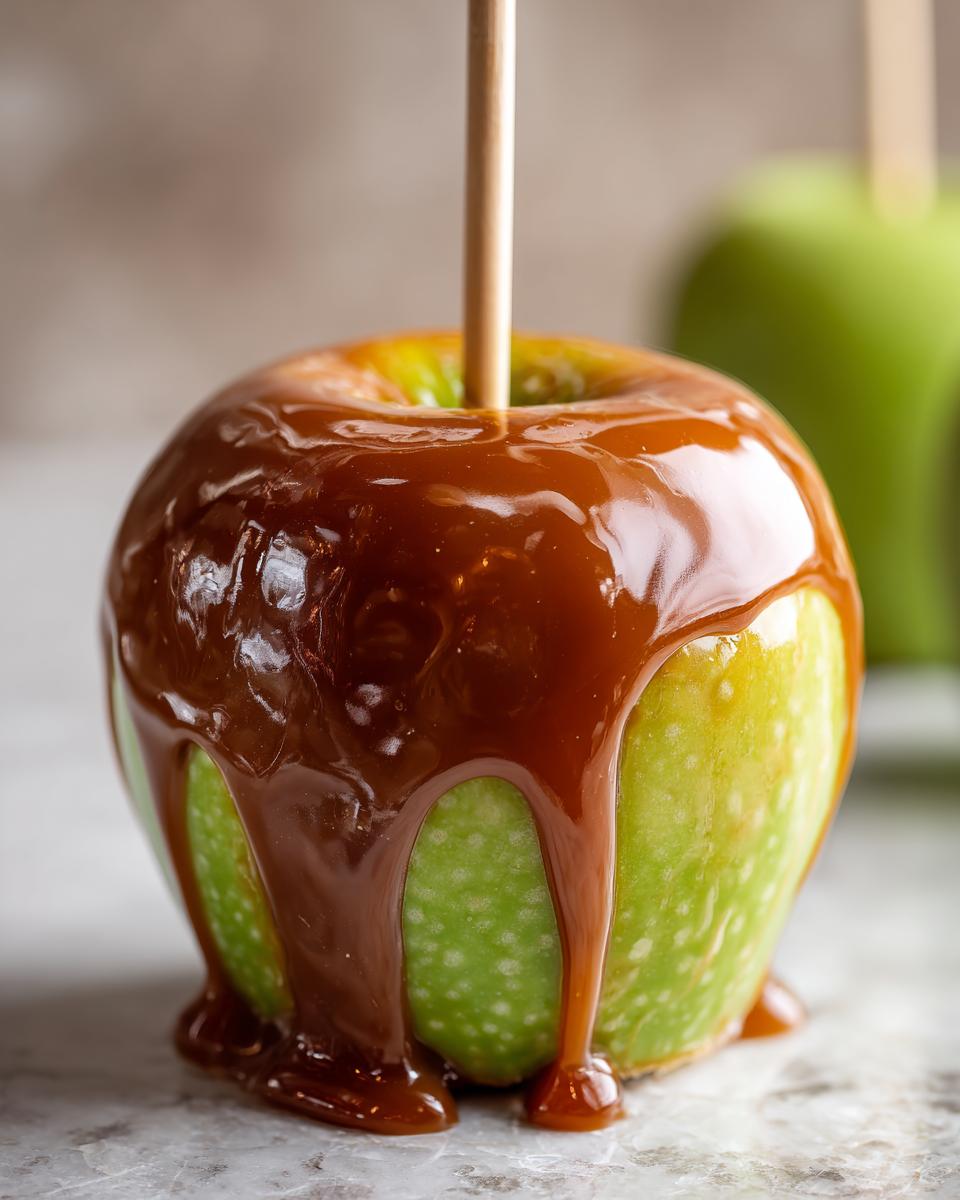
The Best Homemade Caramel Apples: Foolproof Recipe for Chewy Coating

Make classic caramel apples that are easier than you think. This recipe delivers a rich, chewy caramel that sticks perfectly to crisp apples, making it ideal for fall parties or gifting.
- Prep Time: 20 min
- Cook Time: 20 min
- Total Time: 1 hour 40 min
- Yield: 6 servings 1x
- Category: Dessert
- Method: Stovetop Cooking
- Cuisine: American
- Diet: Vegetarian
Ingredients
- 6 large, firm apples (like Granny Smith or Honeycrisp)
- 6 wooden or sturdy lollipop sticks
- 1 cup (2 sticks) unsalted butter
- 2 cups light brown sugar, packed
- 1 cup light corn syrup
- 1 (14 ounce) can sweetened condensed milk
- 1 teaspoon vanilla extract
- 1/2 teaspoon salt
- Optional Toppings: Chopped nuts, mini chocolate chips, crushed pretzels
Instructions
- Prepare the apples: Wash the apples thoroughly. Remove the stems. Insert one wooden stick firmly into the core of each apple.
- Prepare the dipping station: Line a baking sheet with parchment paper or a silicone mat. Set out your optional toppings in shallow bowls nearby.
- Make the caramel: In a heavy-bottomed saucepan, combine the butter, brown sugar, corn syrup, and sweetened condensed milk.
- Cook the mixture: Heat the mixture over medium heat, stirring constantly until the butter melts and the sugar dissolves.
- Boil the caramel: Stop stirring once the mixture boils. Insert a candy thermometer. Allow the mixture to boil undisturbed until it reaches 245 degrees Fahrenheit (firm ball stage). This usually takes 10 to 15 minutes.
- Remove from heat: Immediately remove the saucepan from the heat. Stir in the vanilla extract and salt. Let the caramel cool for 5 minutes before dipping. This cooling step helps prevent sliding.
- Dip the apples: Tilt the saucepan slightly. Dip one apple into the caramel, rotating it to coat completely. Lift the apple out, allowing excess caramel to drip off back into the pan.
- Add toppings: If using toppings, immediately dip or sprinkle them onto the caramel coating before it sets.
- Set the apples: Place the coated apples on the prepared baking sheet. Let them cool and set completely at room temperature for at least 1 hour before serving or wrapping.
Notes
- For the best stick, dry the apples completely after washing. You can wipe them with a paper towel or briefly dip them in a bowl of warm water and then dry them well.
- If your caramel seems too thin after cooling for 5 minutes, return it to low heat and cook until it reaches 248 degrees Fahrenheit for a slightly firmer coating.
- For chocolate caramel apples, melt 1 cup of semi-sweet chocolate chips with 1 teaspoon of coconut oil. Drizzle over the set caramel layer.
- If you want caramel apple slices instead, cut the apples into thick wedges, skip inserting sticks, and dip the slices using a fork or dipping tool.
Nutrition
- Serving Size: 1 apple
- Calories: 650
- Sugar: 95
- Sodium: 180
- Fat: 30
- Saturated Fat: 18
- Unsaturated Fat: 12
- Trans Fat: 0
- Carbohydrates: 98
- Fiber: 3
- Protein: 4
- Cholesterol: 75