
You know those days when the world is just rushing by too fast, and you need a little bit of pure, creamy comfort right now? I totally get it. After years of trying to balance life, I learned that the best treats are the ones that are both deeply satisfying *and* ridiculously fast. That’s why I’m obsessed with ditching the sugary store mixes for this unbelievably quick and healthy homemade chocolate milk. Seriously, all you need is cocoa powder, and you’re looking at a wholesome beverage in about two minutes flat. For me, reclaiming simple moments like making a great cup of milk is exactly what DelishCraze is all about—making delicious moments accessible, even when you’re juggling a million things, like when I first started my family. We believe that food should slow things down, and this chocolate milk definitely helps do that!
- Why This Homemade Chocolate Milk Recipe is the Best Chocolate Milk Ever
- Ingredients for Your Homemade Chocolate Milk Recipe
- Mastering the Chocolate Milk with Cocoa Powder Technique
- Tips for the Healthiest Chocolate Milk Variations
- Storage and Making Ahead for Your Chocolate Milk
- Frequently Asked Questions About Chocolate Milk
- Nutritional Estimates for This Healthy Chocolate Milk
- Share Your Quick Chocolate Drink Creations
Why This Homemade Chocolate Milk Recipe is the Best Chocolate Milk Ever
I’ve tried every store-bought carton and frankly, they just don’t hit the spot when you want that real, deep chocolate flavor. This homemade version is miles better because we are actively controlling the core components. This isn’t just another drink; it’s a customizable, deeply satisfying glass of comfort that beats the boxed stuff every single time!
Quick Chocolate Drink Ready in Two Minutes
If you’re dealing with a sudden craving or need a fast **Milk Recipes for Kids** request filled instantly, this is your answer. We are talking about a total time of two minutes. That’s less time than it takes to find your car keys! Seriously, this Quick Chocolate Drink is pure magic when time is tight. It beats waiting for syrup to slowly dissolve, too.
Achieving Less Sugar Milk Recipes Control
My favorite part about using cocoa is that it forces you to manage the sweetness. Store-bought versions are usually loaded with high-fructose corn syrup, but here you decide! Whether you grab maple syrup or just a tiny bit of white sugar, you control the profile. This is how you make truly satisfying Less Sugar Milk Recipes that still taste incredible.
Creamy Milk Drinks Texture Using Cocoa Powder
Trust me on this: natural cocoa powder gives you a richer mouthfeel than those dusty chocolate milk mixes. It blends into this wonderfully thick, Creamy Milk Drinks texture. If you want to go all out, stir in a tiny splash of heavy cream at the end—it makes this one of the most decadent milk treats you’ll ever have. You’ll never go back to the thin, watery stuff once you try it this way!
We put so much care into making sure this recipe is straightforward, quick, and uses ingredients you already have knocking around. Check out how simple it is when you see the full ingredient list, but for now, just know this is going to be your new go-to whenever you need a dose of pure, unadulterated chocolate milk perfection.
Ingredients for Your Homemade Chocolate Milk Recipe
Okay, let’s get down to business and pull out what we need. The beauty of this Homemade Chocolate Milk Recipe is that it seriously only requires a handful of things. I love that I rarely have to make a special trip to the store just for this treat. You’ll notice I specifically call for unsweetened cocoa powder—that’s key! Don’t reach for the sweetened baking cocoa mix; we are controlling the sweetness ourselves.
These are the exact measurements I use for one perfect glass. Feel free to double or triple this if you’re serving the family!
- 1 cup plain Milk (This works with dairy, or if you prefer, use oat milk or almond milk—your choice!)
- 2 tablespoons Unsweetened Cocoa Powder (Make sure it’s the deep, dark kind for the best flavor!)
- 1 to 2 tablespoons Maple Syrup or Granulated Sugar (This is where you taste-test! Start with one tablespoon, honestly.)
- 1/4 teaspoon Vanilla Extract (This is totally optional, but wow, it really wakes up the chocolate flavor.)
- A tiny Pinch of Salt (Seriously, don’t skip this! It sounds weird, but salt is the secret ingredient that makes chocolate taste *more* chocolatey.)
See? So simple! We’ve got the foundation for a rich, flavorful drink without any weird stabilizers or preservatives found in the ready-made stuff. Grab your serving glass, and let’s move on to the mixing—trust me, the technique here is what stops us from having weird cocoa clumps floating around!
Mastering the Chocolate Milk with Cocoa Powder Technique
Alright, this part is super important, so listen up! If you just dump the cocoa powder and sugar into a cup full of cold milk, what happens? Lumps! Gloopy little balls of dry chocolate mix hanging out at the bottom. We absolutely do not want that mess. This is where we employ the secret technique to make the best chocolate milk ever. It saves so much frustration, which is why I always preach about prepping things right the first time.
Creating the Smooth Cocoa Paste Base
The absolute key to flawless, lump-free chocolate milk is making a thick paste first. Take your dry ingredients—the cocoa, your sweetener, and that pinch of salt—and dump them into a small bowl, or even right into your serving glass if you’re rushing. Then, and this is crucial, add just ONE tablespoon of your cold milk. You need to stir that little bit together vigorously, like you mean it, until it turns into a smooth, dark, almost brownie-batter-like paste. It should be thick, but totally uniform. This method works for so much more than just drinks; it seals in flavor, kind of like how I prep my Dutch oven before making certain spreads. When you get this paste right, the rest of the mixing takes literally three seconds!
Serving Suggestions for Refreshing Cold Milk Beverages
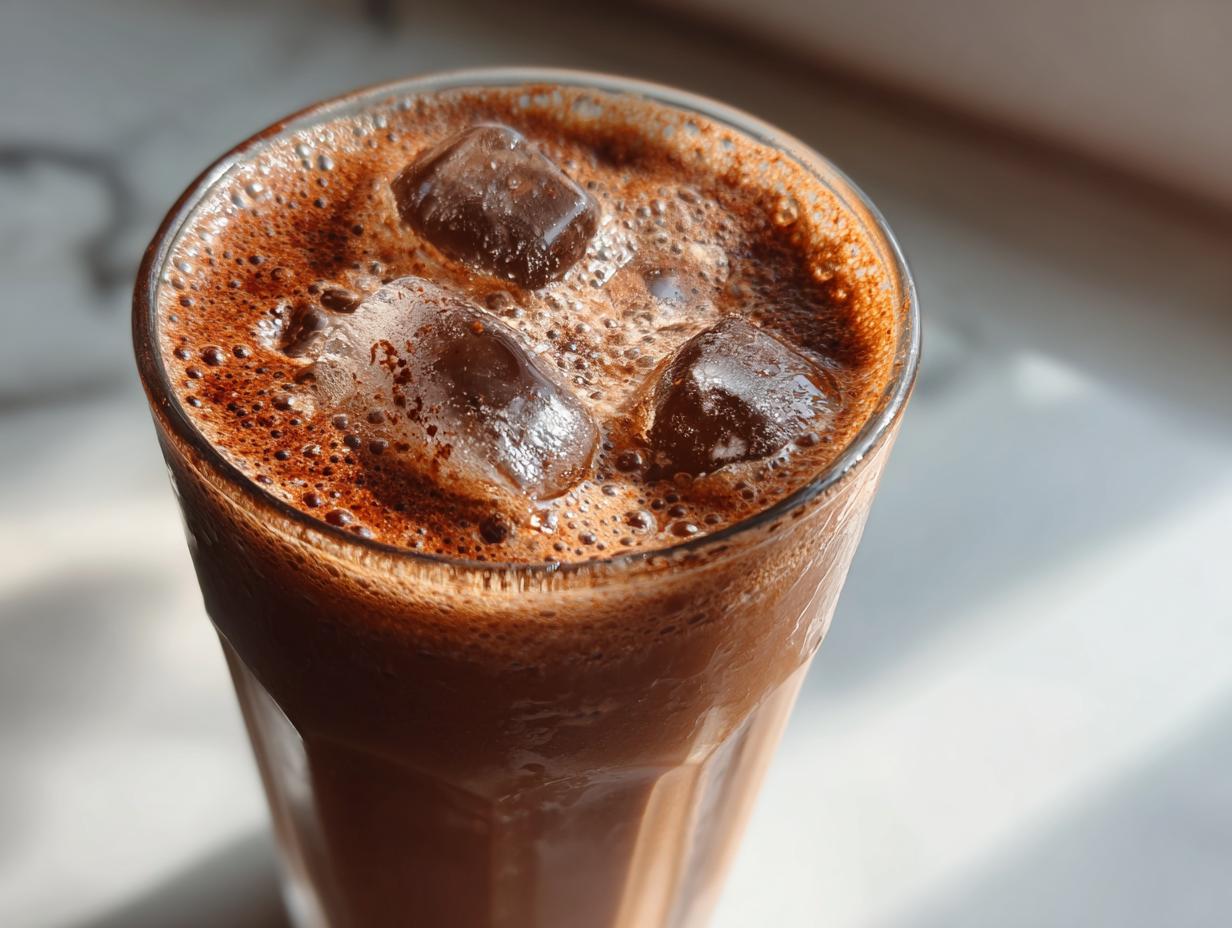
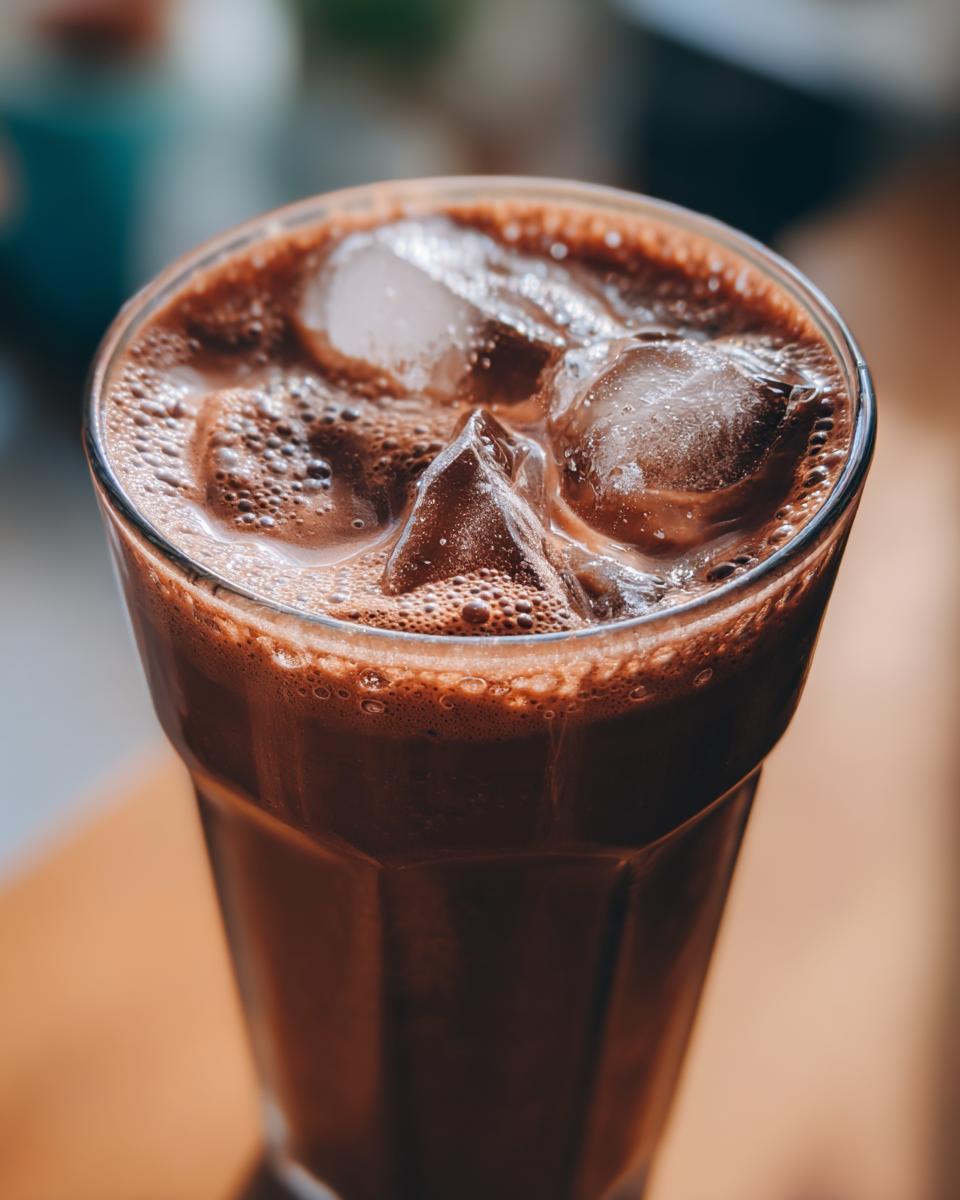
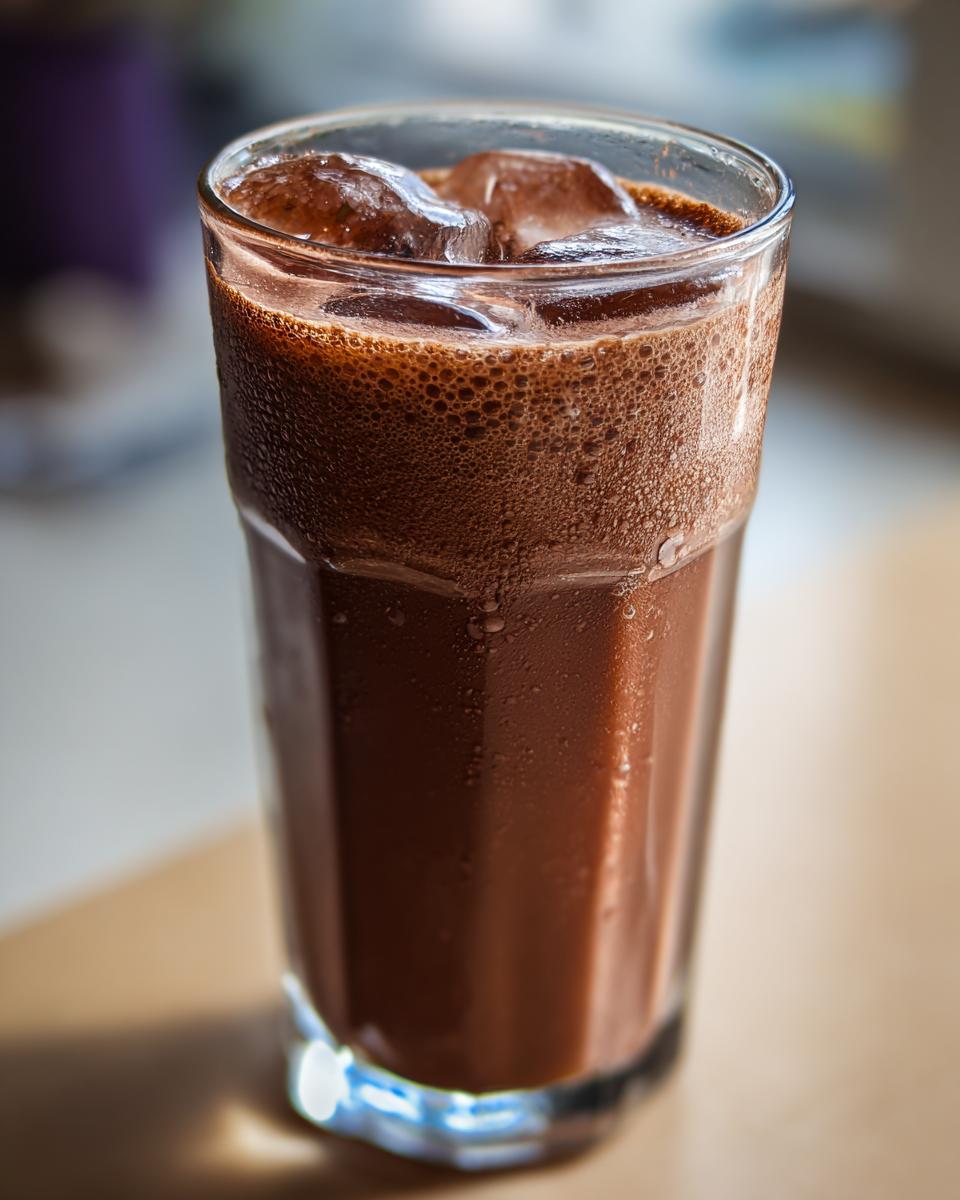
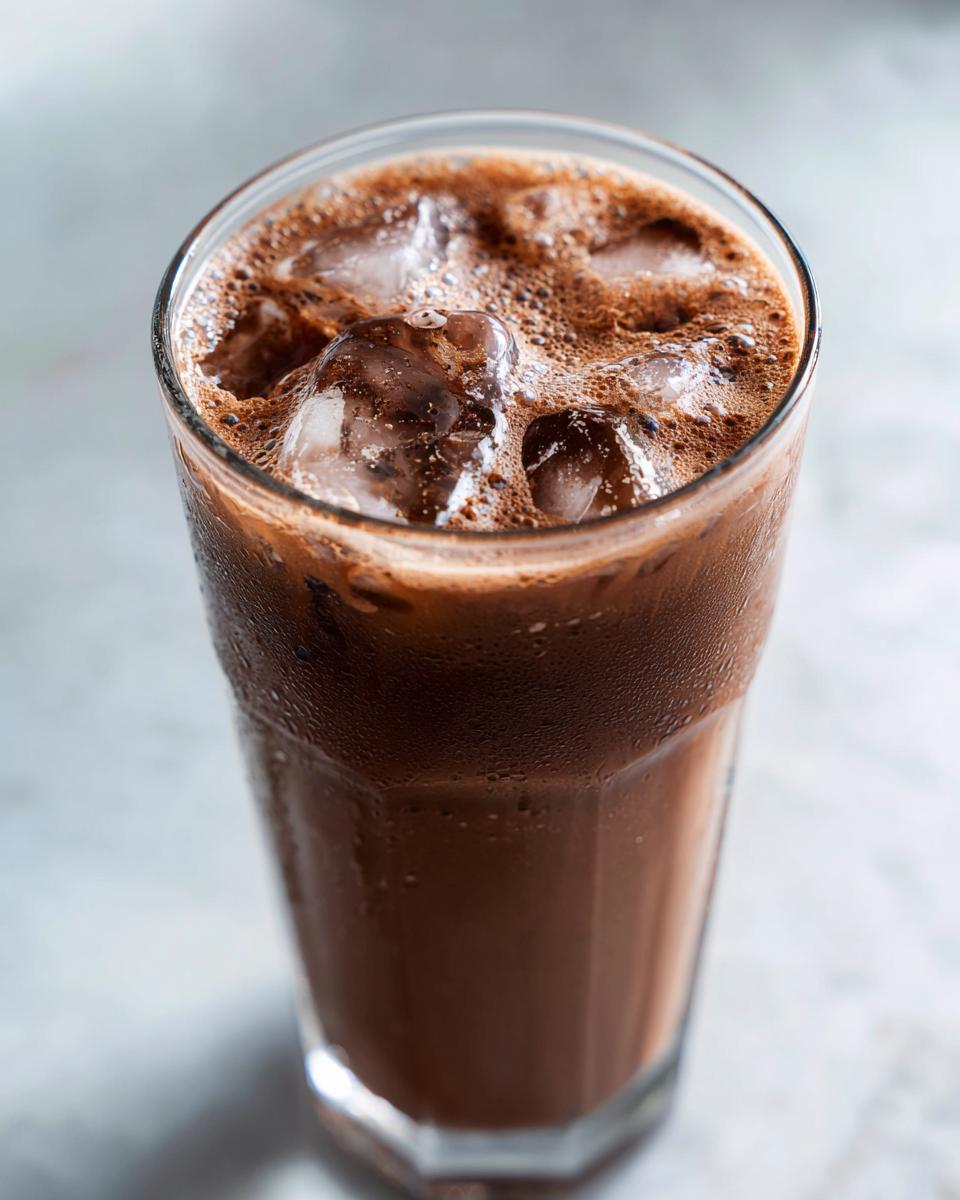
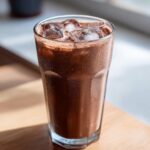
Once that beautiful chocolate paste is smooth, then you pour in the rest of the milk, add your vanilla if you’re using it, and give it one last good whisk. Taste it! If you need more sweetness, this is the time to adjust. For the ultimate refreshment, you have to pour this over ice. There is nothing better for a hot afternoon than a glass of perfectly blended, Refreshing Cold Milk Beverage.
If you want it extra creamy—like a real reward—try blending the finished drink with a handful of ice cubes for about 10 seconds. It creates a super decadent, almost thick shake texture!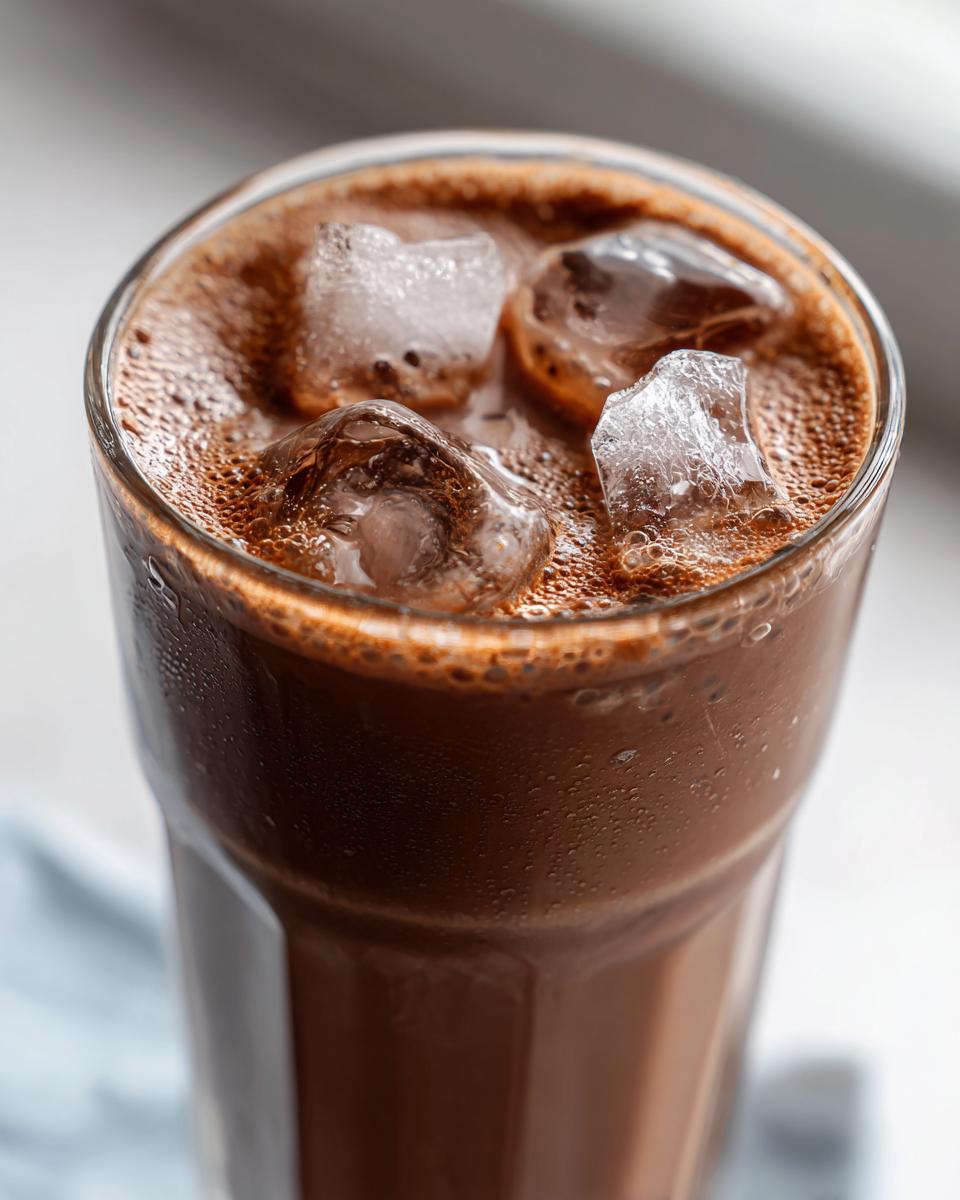
Tips for the Healthiest Chocolate Milk Variations
We’ve nailed the speed, but since we are aiming for the healthiest chocolate milk, there are a couple of ways we can tweak this base recipe so it works for busy weeks or when we need an extra special treat. I always keep my main ingredients handy, but switching up the milk choice or prepping a big batch of the dry powder is a game-changer for quick workdays. It really lets you make this comforting chocolate milk exactly how you want it, whether that means keeping the sugar super low or aiming for luxury!
How to Make Chocolate Milk Powder Mix for Later
If you want immediate gratification every day, you have to prepare a big batch of the dry ingredients. This is my go-to method for winter when I crave a warm drink, or when the kids are asking for something quick after school. To make a big stash of your Make Chocolate Milk Powder Mix, simply combine one cup of your cocoa powder, one cup of sugar (or less, if you prefer!), and ¼ teaspoon of salt in a container. Whisk it really well before sealing it up tight.
When you’re ready for a drink, just scoop about three tablespoons of that mix into your glass, add that tiny bit of milk to make the paste, and then top it off! It’s such a satisfying way to keep this delightful beverage on hand.
Making This a Decadent Milk Treat
Sometimes, you don’t want refreshing; sometimes, you want something that feels like an indulgence. If that’s the mood, forget serving it plain over ice. Instead, use this recipe to make a truly Decadent Milk Treat by using the blending tip I mentioned earlier! After you mix everything together, dump the finished liquid into a blender with about half a cup of ice—just enough to make it thick.
Blend it until it looks thick, cold, and wonderfully frothy. It turns into something closer to a milkshake but sticks to the same simple ingredients. If you’re interested in other ways to boost protein in a sweet snack, you should definitely check out my notes on high-protein cookie dough sometime! Either way you go—simple and cold or thick and blended—this recipe is versatile.
For more great drink ideas, take a look at my roundup of other ways to remix your milk!
Storage and Making Ahead for Your Chocolate Milk
Since this really is the best chocolate milk ever when it’s mixed right at that two-minute mark, I always suggest making it to drink immediately. Freshness really equals flavor here, you know?
But hey, life happens, right? If you mix up a glass and realize you can’t finish it all, don’t stress too much! You can totally store leftovers, but there’s a catch. Because we used real cocoa powder instead of those dissolved syrup brands, the cocoa tends to settle at the bottom if it sits too long.
If you have extra, just pour it into an airtight container or sealed jar and pop it right into the fridge. You can safely keep it for a day or maybe two, tops. Just remember, when you go to drink that leftover glass, you absolutely have to shake it up really, really hard—like, shake it like you mean it! Seriously, shake it until you see those bubbles. It might not be as perfectly smooth as when it was first made, but it’s still a wonderful, creamy treat.
Now, if you want to make things ahead without worrying about settling, remember that dry mix we talked about for batch prepping? That powder stash is the way to go! Keep that sealed container of cocoa and sugar mix in the pantry—it lasts for weeks, maybe even months, as long as it stays dry. That way, when you need a quick drink, you bypass the whole ‘making the paste’ step, and you are halfway to deliciousness in seconds.
Frequently Asked Questions About Chocolate Milk
I know that when you’re trying a new Homemade Chocolate Milk Recipe, you always have a few nagging questions floating around. Especially when you’re trying to keep things healthier or looking for a way to please picky eaters! Don’t worry, I’ve answered the top things I always hear about making this from scratch. These answers should give you confidence to whip up a perfect glass every time.
Can I use non-dairy milk for this chocolate milk recipe?
Oh, absolutely! This recipe is super flexible, which is one of the things I love about it. You can use almond, soy, oat, or even cashew milk. For the absolute creamiest texture though—because we are aiming for one of those rich, Creamy Milk Drinks—I honestly think oat milk is your best friend. It naturally has a bit more body and fat content, so it blends beautifully with the cocoa powder. Soy milk is a close second! Just make sure your non-dairy milk is one you enjoy drinking plain, because its flavor will come through.
What is the best way to make chocolate milk for kids?
When I’m making this for my little ones, I switch two things up immediately, focusing on those Milk Recipes for Kids guidelines we stick to. First, I use maple syrup instead of sugar; it’s natural, and I just feel better about it. Second, and most importantly, I go easy on the sweetener. I use just one teaspoon instead of the full tablespoon to start. They get plenty of sweetness from other snacks, so this keeps their Less Sugar Milk Recipes profile in check. You can always add more after they taste it! If you need more ideas for simple kid snacks, check out my 5-minute turkey roll-ups on a busy day.
How do I make a chocolate syrup homemade version?
That is a fantastic question! While this recipe skips making a syrup for speed, you can definitely do that if you prefer. If you want a thicker, almost classic syrup base for your chocolate milk, you just need a little bit of heat. You would mix your cocoa powder and sugar with just a small amount of water (instead of milk) in a tiny saucepan. Heat it gently, stirring constantly until it dissolves completely—it should look glossy and thick. Let that cool down fully before you use it in your glass! Once it’s chilled, you have a fantastic Chocolate Syrup Homemade base you only need 1-2 tablespoons of per glass. For more inspiration on simple drinks, peek at my favorites here.
Nutritional Estimates for This Healthy Chocolate Milk
I always get asked about the nutrition side of things, especially since we’re aiming for a better option here, right? When you ditch the stuff from the big cartons, you take back control of what you’re consuming!
I ran the numbers for you based on the recipe I shared, using 1 cup of standard whole dairy milk and just one tablespoon of maple syrup as the sweetener. Now, take these numbers with a grain of salt—they are just estimates, and your final count will change wildly depending on whether you use skim milk, whole milk, or a plant-based alternative like oat milk. But this gives you a really good baseline for what you’re drinking!
- Serving Size: 1 cup
- Calories: About 180
- Sugar: Around 20g (Note: Most of this comes from the milk itself and the 1 tbsp of maple syrup, which is way less than some mixes!)
- Fat: 5g
- Saturated Fat: 3g
- Unsaturated Fat: 2g
- Trans Fat: 0g
- Carbohydrates: 30g
- Fiber: 3g
- Protein: 8g
- Cholesterol: 15mg
See? You are getting a solid 8 grams of protein, which is awesome for a quick drink! It feels good knowing exactly what’s going into such a simple glass of comfort. It proves that you don’t have to raid the pantry for twelve ingredients to make something truly worthwhile.
Share Your Quick Chocolate Drink Creations
And just like that, we’ve wrapped up the quickest, most satisfying cup of chocolate milk you’ll ever make at home! I truly hope you tried the trick of making that little cocoa paste first—it makes all the difference between a drink and a disaster, right?
Now, I absolutely live for hearing how these simple recipes fit into your busy lives. Did you make this as a quick afternoon treat or maybe as a toddler friendly drink? Did you manage to keep the sugar really low, or did you go a little wild and added a splash of cream?
I would be so thrilled if you gave this recipe a try and then came back to tell me how it went! Please, please leave a rating—five stars if this was the amazing comfort drink you needed today. Your feedback helps other folks know that simple, homemade goodness is possible, even on the craziest Tuesdays. You can drop all your thoughts and rating right down in the comments below. And if you are looking for other speedy sips, swing by my collection of easy drink recipes!
Happy sipping, everyone!
PrintQuick and Healthy Homemade Chocolate Milk with Cocoa Powder
Make rich, creamy chocolate milk at home using simple ingredients like cocoa powder. This recipe offers a healthier alternative to store-bought mixes and is ready in minutes.
- Prep Time: 2 min
- Cook Time: 0 min
- Total Time: 2 min
- Yield: 1 serving 1x
- Category: Beverage
- Method: Stirring
- Cuisine: American
- Diet: Vegetarian
Ingredients
- 1 cup Milk (dairy or non-dairy)
- 2 tablespoons Unsweetened Cocoa Powder
- 1 to 2 tablespoons Maple Syrup or Granulated Sugar (adjust to taste)
- 1/4 teaspoon Vanilla Extract (optional)
- Pinch of Salt (optional, enhances flavor)
Instructions
- Combine the cocoa powder, sweetener, and salt (if using) in a small bowl or directly in your serving glass.
- Add one tablespoon of the milk to the dry ingredients and stir vigorously until a smooth, thick paste forms. This prevents lumps.
- Pour in the remaining milk and the vanilla extract (if using).
- Stir or whisk well until completely combined and smooth.
- Taste the chocolate milk and add more sweetener if you prefer it sweeter.
- Serve immediately over ice for a refreshing cold milk beverage.
Notes
- For a creamier texture, use whole milk or add 1 tablespoon of heavy cream.
- To make a batch of chocolate milk powder mix for later, combine 1 cup cocoa powder, 1 cup sugar, and 1/4 teaspoon salt. Store dry mix in an airtight container. Use 3 tablespoons of mix per 1 cup of milk.
- If you want a decadent milk treat, blend the finished milk with a few ice cubes for a thicker consistency.
Nutrition
- Serving Size: 1 cup
- Calories: 180
- Sugar: 20
- Sodium: 50
- Fat: 5
- Saturated Fat: 3
- Unsaturated Fat: 2
- Trans Fat: 0
- Carbohydrates: 30
- Fiber: 3
- Protein: 8
- Cholesterol: 15