

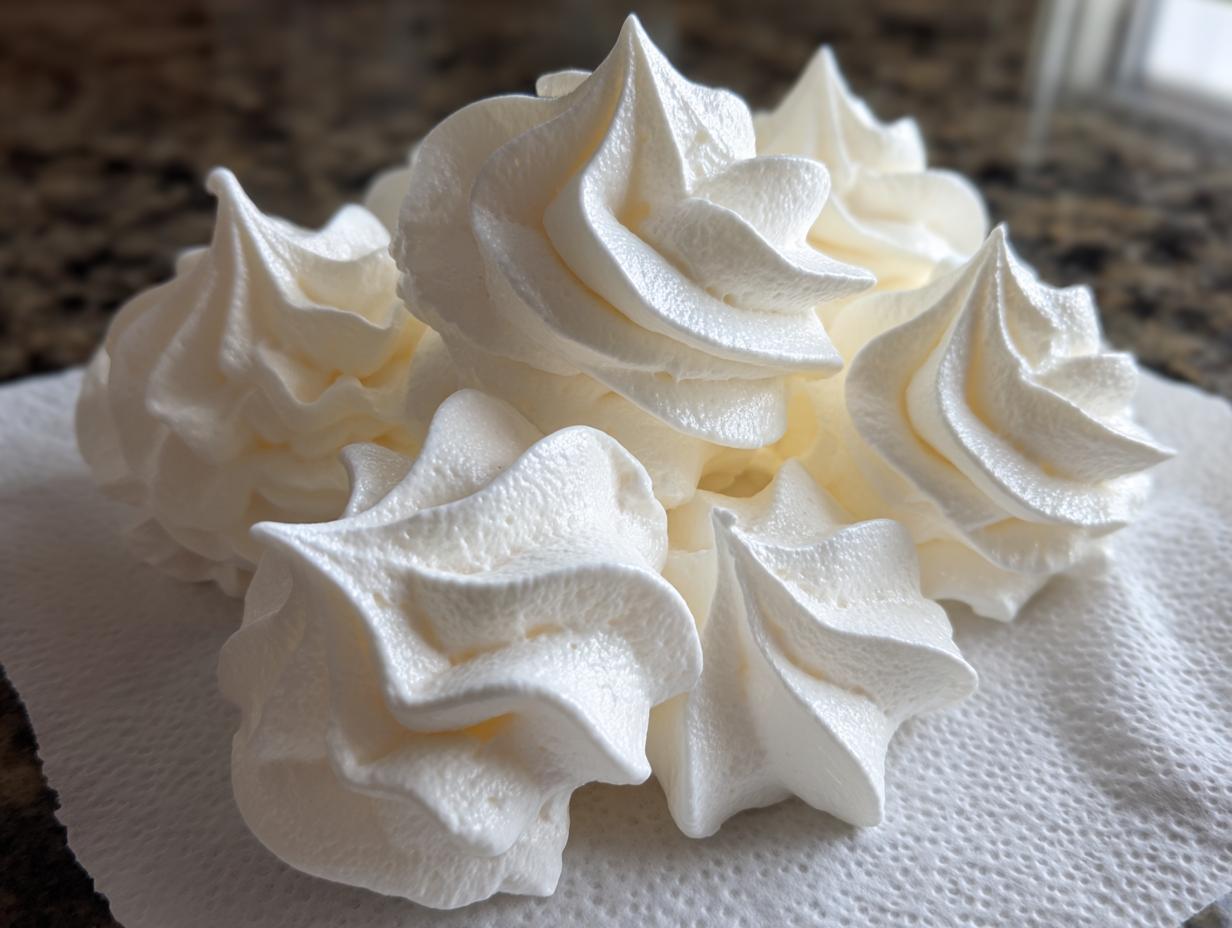
If you’ve ever wanted to create something that looks incredibly fancy but is surprisingly simple, then you are in the right spot! Honestly, there’s nothing quite like watching simple egg whites transform into billowy clouds of sweetness. I am absolutely thrilled to share what I call The Ultimate Guide to Classic, Easy Meringue Cookies. These little gems—these perfect meringue cookies—are light, airy, and just melt away when you eat them. When I started cooking again, I needed desserts that felt special for my family but didn’t take all day. These were always the answer. They feel like pure magic captured in a bite, and trust me, watching them bake low and slow is incredibly satisfying!
- Why This is the Best Meringue Cookies Recipe Ever
- Ingredients for Your Homemade Meringue Treats
- How to Prepare Easy Meringue Cookies: Step-by-Step
- Tips for No Fail Meringue Cookies Success
- Decorating Meringue Cookies for Holidays
- Storing Your Airy Dessert Cookies
- Frequently Asked Questions About Meringue Cookies
- Estimated Nutritional Data for Meringue Cookies
- Share Your Homemade Meringue Treats
Why This is the Best Meringue Cookies Recipe Ever
I know, I know—every recipe claims to be the best, but hear me out on these light and airy confections. Once you nail the technique, you’ll never look back. These aren’t just cookies; they are delicate clouds of sweet perfection that truly feel unattainable, until now!
- They dry out to become the most satisfying Light and Crispy Meringues imaginable.
- The texture is pure bliss; they honestly Melt in Your Mouth Cookies style.
- It’s a reliable method I’ve tested over and over to ensure success.
Achieving Perfectly Light and Crispy Meringues
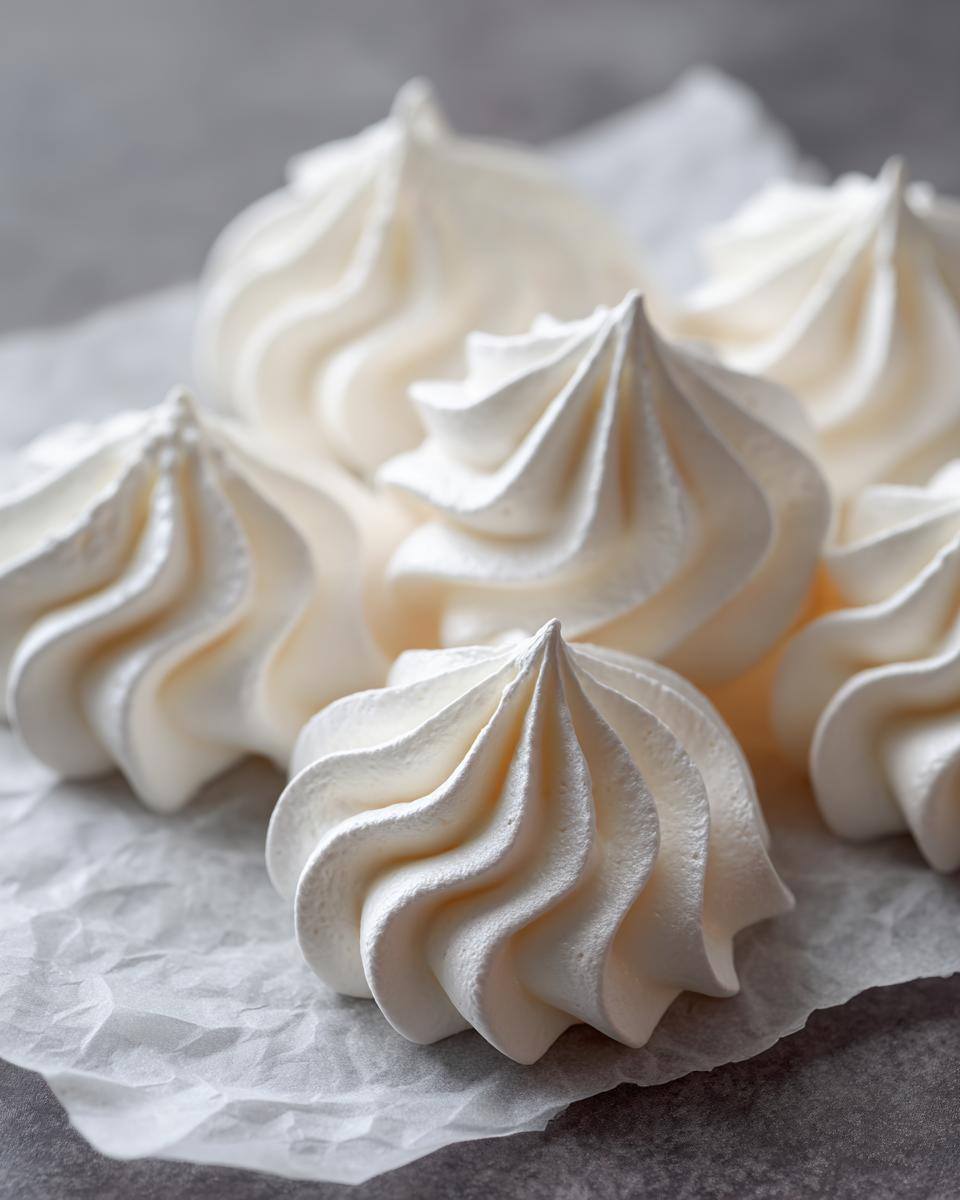
The secret to that airy dessert cookies texture isn’t about high heat; it’s the opposite! We use a very low oven temperature—that slow, gentle heat acts more like a dehydrator than an oven. This way, we bake out all the moisture without ever letting the edges turn sad and brown. It takes time, but zero active work from you!
Simple 3 Ingredient Cookies Foundation
While my full recipe calls for a couple of helpers like vanilla and cream of tartar to really stabilize things, the true core ingredients are just three things: egg whites, sugar, and time. That’s why I call them my Simple 3 Ingredient Cookies foundation in my mind. It’s truly the technique that elevates these few items into something magnificent.
Ingredients for Your Homemade Meringue Treats
You only need a few things for these delicate wonders, but precision here is everything, folks. When you are working with egg whites, they need to be perfectly clean and at the right temperature, or they just won’t whip up into that glorious foam we need. Don’t even think about using cold eggs straight from the fridge—they won’t cooperate!
For these amazing meringue cookies, you’ll need:
- 4 large egg whites, AND they must be at room temperature. I usually take mine out an hour before I plan to start.
- 1 cup granulated sugar. This is what gives them structure and sweetness, so measure it carefully!
- 1/2 teaspoon cream of tartar. This is the secret stabilizer that keeps your peaks strong. Don’t skip it!
- 1 teaspoon vanilla extract. Just for that little background warmth.
- Pinch of salt. Even in sweet baking, salt plays a vital role in rounding out the flavor.
That’s truly it for the basic recipe! See? It’s so straightforward. Just make sure that bowl you use is spotless—any trace of grease or fat will stop your meringue cookies before they even start building those beautiful, airy bubbles.
How to Prepare Easy Meringue Cookies: Step-by-Step
Okay, this is where the magic happens, so grab your mixer! Because we are making the classic French Meringue Cookies, your machine bowl and whisk attachment absolutely need to be spotless. I mean, wipe them down with vinegar or lemon juice right before you start, just to be safe. Seriously, one speck of grease and your beautiful foam will collapse into weeping protein soup. Don’t let that happen to you!
First things first: fire up that oven to a super low 200°F (about 95°C) and line those baking sheets with parchment paper. This low-and-slow approach is what dries them out perfectly.
Whipping the Egg Whites for Perfect Meringue Cookies
Toss those room-temperature egg whites and the cream of tartar into your clean bowl. Start beating it on medium power until you get nice soft peaks—you know, the kind that gently flop over when you lift the whisk. Now, slowly, slowly, add that cup of sugar, just one tablespoon at a time. If you dump it all in at once, you’ll deflate the air you just worked so hard to build, and that leads to sad, loose meringue.
Keep that mixer running high until it’s stiff, glossy, and when you pull the whisk out, the peak stands straight up without wobbling. You can test it by rubbing a little bit between your fingers; if you can feel sugar granules, keep going! This process usually takes a good 8 to 10 minutes straight. Stir in the vanilla and salt right at the end.
Piping and Baking Your Meringue Cookie Shapes
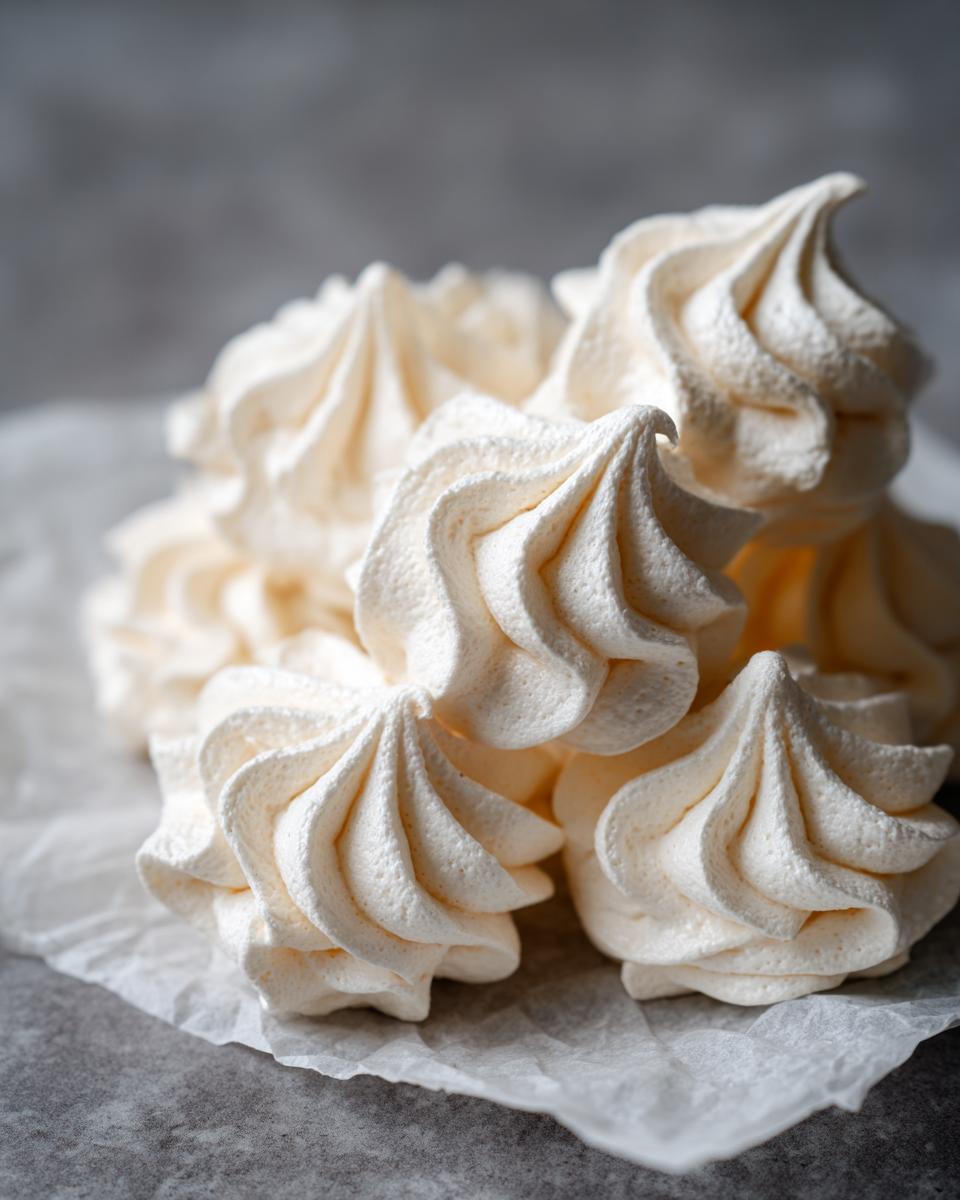
Load that glorious, stiff meringue into a piping bag fitted with a star tip—I love the texture that a wide star tip gives these Homemade Meringue Treats. Pipe little kisses or swirls onto your prepared sheets. Don’t worry about making them perfect; they are supposed to look whimsical and light!
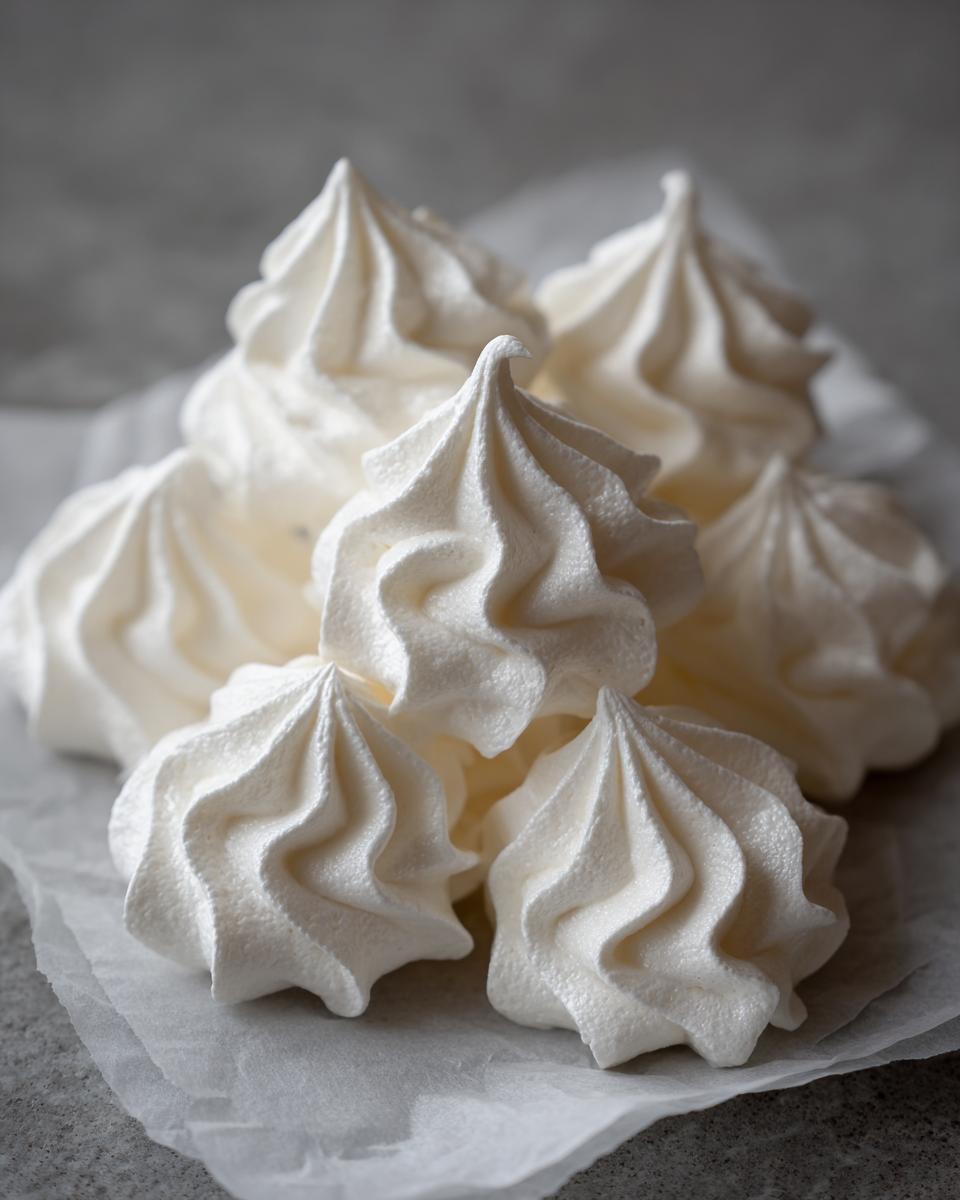
Pop them into that 200°F oven for about an hour to an hour and a half. You aren’t trying to *bake* them; you are just drying them out. The real trick, the one that saves them from cracking when you pull them out, is this: turn the oven off exactly when they look done, prop the door open with a wooden spoon, and just leave them inside until the oven is completely cool. Overnight is perfect. This slow cooling is essential for keeping your meringue cookies crisp and crack-free!
Tips for No Fail Meringue Cookies Success
I want everyone to have success with these sweet little things, so let’s talk about avoiding the common pitfalls. Meringue is temperamental, I won’t lie, but that’s part of the fun! The biggest enemy you face is humidity. If it’s raining or super misty outside, save your meringue cookies for another day, honestly. Moisture in the air makes them sticky and prevents that perfect dry-out process in the oven we need for genuinely Light and Crispy Meringues.
Also, remember what I said about the bowl? It needs to be pristine. Fat is the enemy of foam stabilization. If you think your bowl might have residual oil from washing dishes, give it a quick wipe with a lemon wedge or a paper towel dipped in white vinegar. That little bit of acid helps ensure those whites whip up like superstars.
Ingredient Notes and Substitution Guidance
Since these are so basic, every ingredient matters! The first thing to know is that this is naturally a fantastic Gluten Free Cookies Recipe, which is such a bonus for holiday trays. But you absolutely have to use granulated sugar—don’t swap it for powdered sugar or brown sugar. Granulated sugar is crystalized and helps create the stiff structure we need when beating the whites.
And while we are talking essentials? Cream of tartar is not optional here, even though it’s a small amount. It’s what keeps your meringue stable and glossy, meaning you get taller, firmer peaks that hold their shape beautifully when piped. Trust me on this one; it’s the backbone of your Basic Meringue Recipe.
Decorating Meringue Cookies for Holidays
Once you have those perfectly baked, dry, and crisp little clouds, the real fun begins—dressing them up! These meringue cookies are such a wonderful vehicle for holiday fun because they look so delicate, but they are secretly strong enough to handle a little decoration. They become those beautiful Delicate Sweet Treats that everyone admires on a platter.
If you’re making mine—the plain vanilla ones—the easiest way to jazz them up is with color or texture right before they go into the oven. Do you remember how I mentioned adding gel food coloring in the last minute of whipping? That’s perfect for creating soft pastel hues for Easter meringue desserts, or even deep reds and greens for your Christmas meringue ideas. Gel color is the best because it won’t thin out your stiff meringue.
Also, sprinkles are your best friend here! Just before you pipe them onto the pan, gently fold in some festive sprinkles. Think edible glitter or small nonpareils. They stick right into the meringue mixture, and they truly sparkle after they bake.
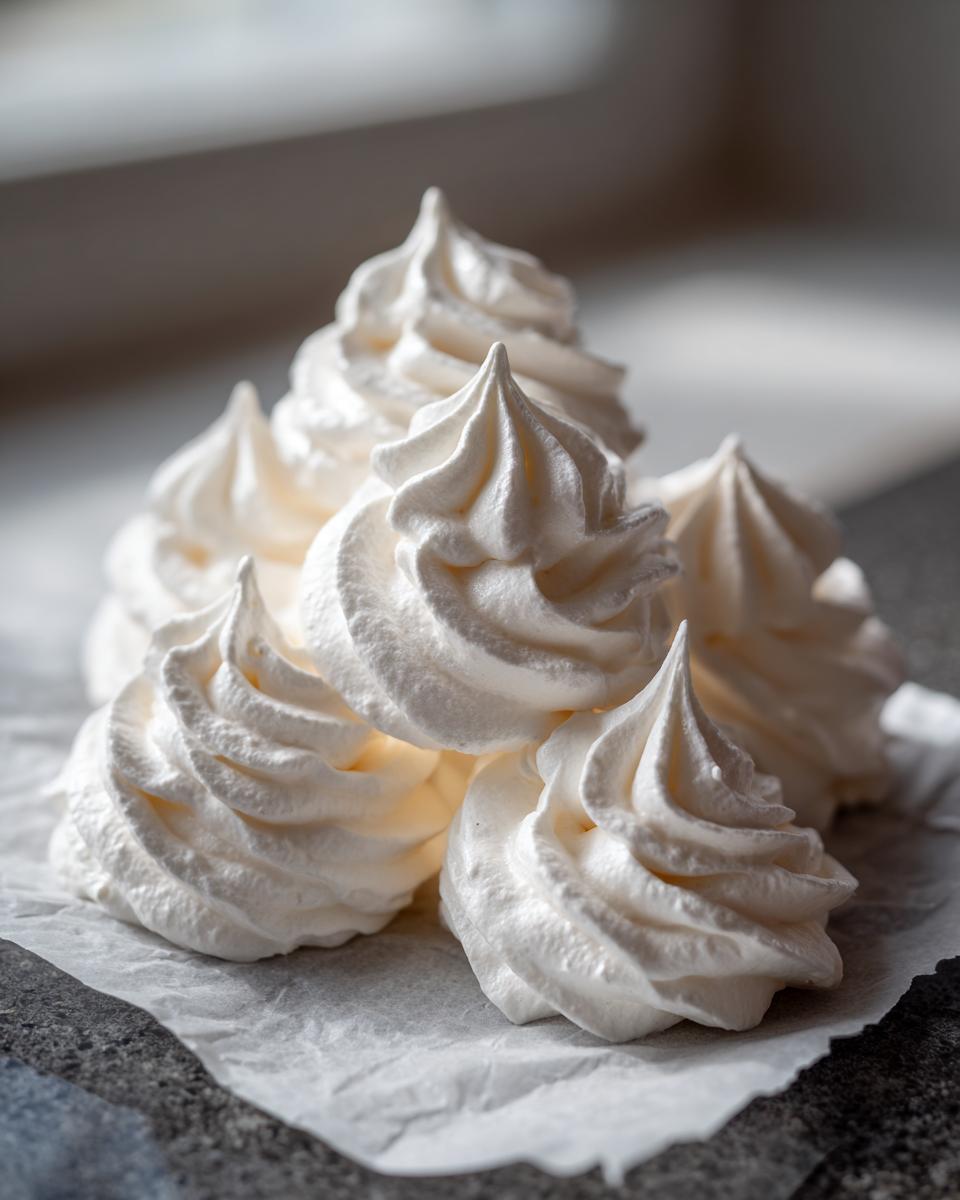
For a bit more decadence, you can drizzle them after they have completely cooled. A little bit of melted chocolate drizzled over the top adds a wonderful richness that contrasts the pure sweetness. I have a wonderful recipe for chocolate crinkle cookies, and you can borrow that same melted chocolate idea here! Once you dip the piping bag tip in the melted chocolate, just use tiny back-and-forth motions right over the cooled cookies to get an elegant, thin stripe. Or, if you’re feeling festive for Christmas, dip half the cookie in melted chocolate and then immediately roll that side in crushed candy canes—wow, instant holiday cheer! You can see how beautiful they look on a holiday tray over at Emma’s Studio if you need some visual inspiration.
These simple touches transform your basic Meringue Cookie Recipe into something truly worth showing off on any festive dessert table or giving away as homemade gifts!
Storing Your Airy Dessert Cookies
You’ve done the hard work—the low-and-slow bake, the careful cooling—so let’s make sure these delicate things last! The single biggest enemy of a perfectly crisp meringue cookie is moisture. If you leave them out on the counter in the open air, even for a few hours, they will start to get sticky, soft, and frankly, sad. We want that satisfying snap when you bite in, not a chewy marshmallow!
The rule here is strict: airtight containers only. You want to completely seal them away from kitchen humidity. Once they are completely cool, and I mean stone cold, gently place them into a container with a tight-fitting lid. Layering is usually fine, but if you have a lot, try to use multiple layers separated by a very thin sheet of wax paper, just to prevent them rattling around too much.
Keep these stored at room temperature. Do not put them in the refrigerator! The fridge is a humid swamp for meringue cookies, and they will surely get tacky. Room temperature storage is truly the way to go for preserving that melt-in-your-mouth quality.
Honestly, the best way to store your wonderful homemade meringue cookies is to just eat them all right away, but if you manage to save some, they should stay perfectly crisp for up to a week this way. If you notice they’ve softened slightly after a few days, don’t panic! Pop them back into that 200°F oven for about 15 or 20 minutes, turn the oven off, and let them cool inside again. It’s like giving them a little crispness revival!
Frequently Asked Questions About Meringue Cookies
I know it can feel like high-stakes baking when dealing with egg whites, but trust me, these Meringue Cookie Recipes are reliable once you know the crucial steps. Here are some of the questions I get asked most often about keeping these airy dessert cookies perfect!
Can I make these Meringue Cookies without a stand mixer?
Oh, absolutely you can! If you don’t have a stand mixer, grab your trusty large bowl and a good electric hand mixer. You can definitely achieve stiff, glossy peaks this way, but you need to be prepared for some serious arm work! If using a hand mixer, expect the whipping time to increase significantly, maybe 12 to 15 minutes depending on your mixer’s power. Make sure you stop and scrape down the sides frequently so everything incorporates evenly. It takes muscle, but the end result is worth it for these beautiful Homemade Meringue Treats.
Why are my Meringue Cookies weeping or sticky?
This is almost always due to one of two things, and neither is your fault—it’s the weather! First, if you live in a humid area, your meringue is sucking in moisture from the air. As I always say, on terribly muggy days, maybe just bake your sugar cookies instead! Second, if they are weeping liquid (weeping) or feel tacky on the outside after they cool, it means they were slightly underbaked or under-dried. They needed more time in that low oven to fully dry out. Always err on the side of baking longer at that super low temperature!
Can I use brown sugar instead of granulated sugar in this Meringue Cookie Recipe?
No, please don’t try to substitute brown sugar here, especially not in this Basic Meringue Recipe. Granulated sugar is vital because its sharp, hard crystals help physically cut into the egg whites during the whipping process, stabilizing them and building the strong network that holds all that air in. Brown sugar has molasses, which introduces moisture and browns far too easily. If you swap it out, you’ll end up with heavy, potentially runny meringue that won’t ever hold a proper shape or dry out correctly.
Estimated Nutritional Data for Meringue Cookies
I always look at the nutritional panel just to keep myself honest, though let’s be real—we aren’t making air for health benefits! These meringue cookies are incredibly light, as you can see from the stats below, which makes them such a wonderful treat when you want just a little bit of sweetness without a heavy dessert.
Because these treats rely mostly on egg whites and white sugar, most of the nutrition is straightforward, and they are naturally wonderful for those following a Gluten Free Cookies Recipe lifestyle. They are practically fat-free!
Here is what you can expect per cookie, based on the recipe yielding about 3 dozen:
- Serving Size: 1 cookie
- Calories: 45
- Sugar: 11g (Yes, it’s concentrated here, but so wonderfully light!)
- Fat: 0g (Zero! Can you believe it?)
- Saturated Fat: 0g
- Sodium: 5mg
- Carbohydrates: 11g
- Protein: 1g
Now, I have to give you the standard disclaimer, just because I believe in being totally transparent: these numbers are based on meticulous calculation from the ingredients. But, as we all know in home baking, if you pipe them slightly bigger than I estimate, or if your egg whites yield a slightly different count, those final numbers might shift a tiny bit. But for a super Airy Dessert Cookie with almost no fat, I think that is a pretty great trade-off!
Share Your Homemade Meringue Treats
Wow, you made it! If you followed along and ended up with a tray full of airy, crisp meringue cookies, I want to shout about it from the rooftops! Baking is such a joy, but sharing the results is what makes it truly special. I put so much heart into making sure this Meringue Cookie Recipe is foolproof for you, and seeing your success really makes my day.
Please, please, please come back and leave a rating! Five stars mean the world to me, but hearing about your experience—maybe you added a drop of peppermint extract or tried piping them into little Easter bunnies—is even better. Use the comments section below to tell me how they turned out. Did they snap perfectly? Did you manage to keep them away from the humidity monster?
And if you snapped a gorgeous photo of your finished meringue cookies—maybe they’re sitting pretty on a holiday platter or packaged up as lovely edible gifts—tag me on social media! I absolutely adore seeing my recipes come to life in your kitchens. It keeps me inspired to keep developing these simple, comforting classics here at DelishCraze. Head over to the About Page if you want to read more about how we develop these recipes for the home cook!
Thank you so much for trusting me with your oven time today. Happy baking, and I can’t wait to read all about your wonderful, delicate sweet treats!
PrintThe Ultimate Guide to Classic, Easy Meringue Cookies (Perfectly Crisp and Light)

Create light, crisp, and airy Meringue Cookies using this simple French Meringue recipe. These melt-in-your-mouth treats are naturally gluten-free and perfect for holiday trays or as delicate sweet treats.
- Prep Time: 20 min
- Cook Time: 90 min
- Total Time: 110 min
- Yield: About 3 dozen cookies 1x
- Category: Dessert
- Method: Baking
- Cuisine: American
- Diet: Gluten Free
Ingredients
- 4 large egg whites, room temperature
- 1 cup granulated sugar
- 1/2 teaspoon cream of tartar
- 1 teaspoon vanilla extract
- Pinch of salt
Instructions
- Preheat your oven to 200°F (95°C). Line two large baking sheets with parchment paper.
- In a clean, grease-free bowl of a stand mixer fitted with the whisk attachment, combine the egg whites and cream of tartar. Beat on medium speed until soft peaks form.
- Gradually add the granulated sugar, about one tablespoon at a time, while continuing to beat the mixture on high speed. Wait about 30 seconds between each addition.
- Continue beating until the meringue is stiff, glossy, and holds firm peaks. When you rub a small amount between your fingers, it should feel smooth, not gritty. This takes about 8 to 10 minutes total.
- Beat in the vanilla extract and salt until just combined.
- Transfer the meringue to a large piping bag fitted with your desired tip (a star tip works well for classic shapes).
- Pipe small mounds or desired shapes onto the prepared baking sheets. For festive shapes like trees or snowmen, use a steady hand and pipe the base shape.
- Bake for 1 to 1.5 hours, depending on the size of your cookies. The goal is to dry them out, not brown them.
- Turn off the oven, prop the door open slightly with a wooden spoon, and allow the meringue cookies to cool completely inside the oven for at least 1 hour, or until the oven is completely cool. This step helps prevent cracking.
- Once cool, gently remove the cookies. Store them in an airtight container at room temperature.
Notes
- Ensure your mixing bowl and whisk attachment are completely free of any grease or egg yolk; fat prevents the egg whites from whipping properly.
- For colored meringues, add a few drops of gel food coloring during the last minute of beating.
- If you want a slightly chewy center, reduce the baking time by 15 minutes.
- These are naturally Gluten Free Cookies Recipe favorites.
Nutrition
- Serving Size: 1 cookie
- Calories: 45
- Sugar: 11
- Sodium: 5
- Fat: 0
- Saturated Fat: 0
- Unsaturated Fat: 0
- Trans Fat: 0
- Carbohydrates: 11
- Fiber: 0
- Protein: 1
- Cholesterol: 0