
Oh, sugar cookies! I swear, there’s nothing more satisfying than taking a plain baked circle and turning it into a sparkly, beautiful little work of art. But let’s be real, getting that icing right can feel like rocket science. That’s why I’m thrilled to share what I truly believe is the ultimate, easy royal icing recipe using meringue powder. Trust me, this is the one that gives you that beautiful, firm, glossy finish every single time you decorate. Here at DelishCraze, like Olivia Rosewood always insists when sharing her passion found in our story, creating perfection shouldn’t mean making things complicated. We’re making professional-looking cookie decorating icing right here on your countertop, simply and reliably!
- Why This Is the Best Royal Icing Recipe for Beginners
- Essential Ingredients for Your Royal Icing Recipe
- How to Make Royal Icing: Step-by-Step Instructions
- Tips for Success with Your Royal Icing Recipe
- Storing Your Basic Royal Icing Recipe
- Troubleshooting Common Royal Icing Issues
- Serving Suggestions for Your Cookie Decorating Icing
- Frequently Asked Questions About This Royal Icing Recipe
- Share Your Masterpiece Royal Icing Creations
Why This Is the Best Royal Icing Recipe for Beginners
If you’ve ever been nervous about using raw egg whites in your cookie decorating icing, I totally get it! That hesitation is why this particular Easy Royal Icing recipe shines. We use meringue powder instead, which gives you amazing stability without any worry about freshness or food safety concerns. It’s the first step toward achieving those beautiful, consistent decorations seen everywhere.
This recipe guarantees the icing will dry firm—we call that Hardening Royal Icing—so you can stack your gorgeous sugar cookies without smearing all your hard work! Olivia Rosewood always emphasizes that using meringue powder is the secret to reliability for our home baking community. It just whips up cleaner and holds its structure better than fresh whites, leading to fewer frustrating batches for you.
Check out the rest of our dessert recipes for other treats that pair perfectly once you master this icing!
Achieving That Perfect Glossy Icing Recipe Finish
Want that look that seems professionally airbrushed? That brilliant sheen comes from two things: tons of powdered sugar, which is the base of any good Glossy Icing Recipe, and making sure you beat it long enough. Don’t skimp on the mixer time! When you beat it properly until it’s thick, you incorporate little air pockets that reflect light beautifully when it finally hardens.
Essential Ingredients for Your Royal Icing Recipe
Okay, making this royal icing recipe is all about measuring correctly, especially the powdered sugar, because this isn’t the time to eyeball things! We are going for smoothness here, so if you haven’t already, grab a fine sieve and sift that sugar! Trust me, the tiny extra step is worth avoiding crunchy icing later.
Here is exactly what you need to get that perfect batch ready in minutes. I’ve listed everything out for you below. Remember, the water needs to be just warm, nothing steaming hot!
- 4 tablespoons meringue powder
- 6 cups powdered sugar, sifted
- 1/2 teaspoon vanilla extract or almond extract
- 6 to 8 tablespoons warm water
Ingredient Notes and Substitutions for Meringue Powder Icing
I know some traditionalists swear by raw egg whites, but please stick with the meringue powder for this one. It’s just safer, but more importantly, it gives you the most predictable results for Meringue Powder Icing that always dries rock hard.
What if you hate almond flavor? That’s fine! I usually reach for clear vanilla extract just to keep the icing brilliantly white, but you can absolutely use regular vanilla or even a tiny drop of lemon juice if you want a bit of tang. Just make sure you are only adding that water slowly, one tablespoon at a time. That’s how you control the final thickness!
How to Make Royal Icing: Step-by-Step Instructions
Now for the magic part—the mixing! You absolutely need an electric mixer for this, whether it’s a hand mixer or the big stand mixer. Trying to beat this stiff mixture by hand is just asking for an arm workout you didn’t sign up for!
First, get everything dry—the meringue powder and the sifted powdered sugar—into your bowl, along with your extract. Remember, we are making the royal icing recipe base here, and the order matters for smoothness.
- Start on the absolute LOWEST speed. We don’t want an instant powdered sugar explosion across your kitchen; trust me on this!
- Add that warm water gradually, starting with just six tablespoons. Mix on low until it looks combined, maybe a minute or so.
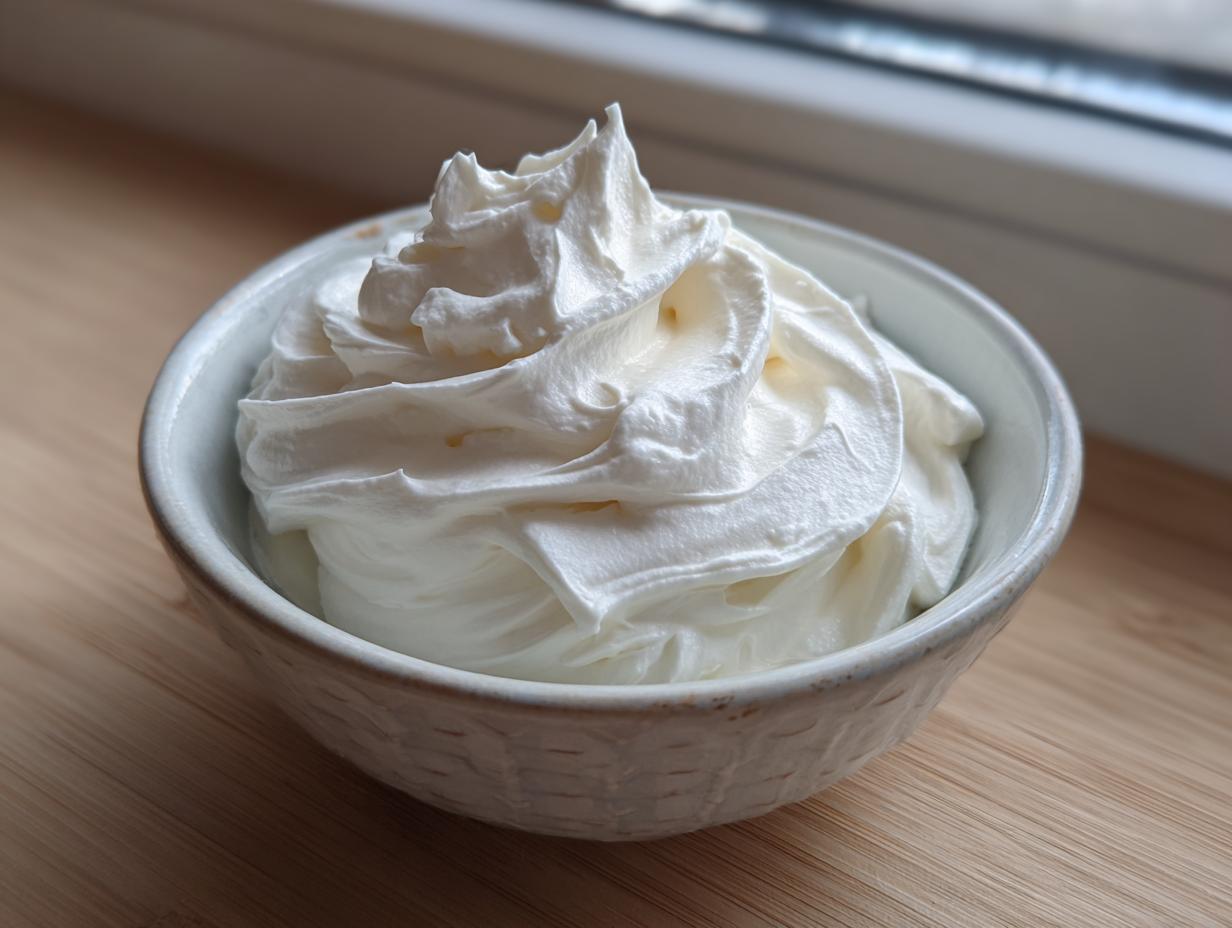
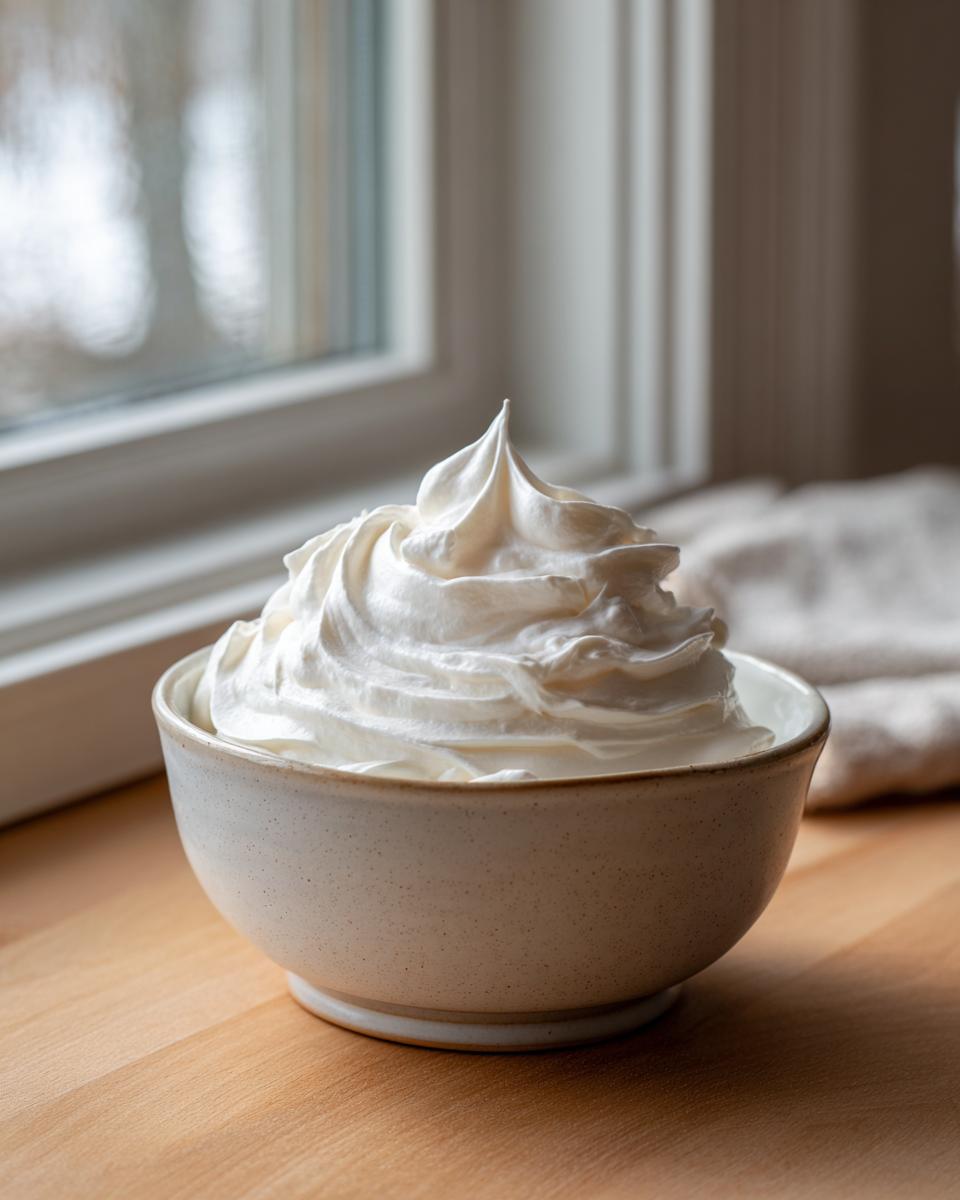
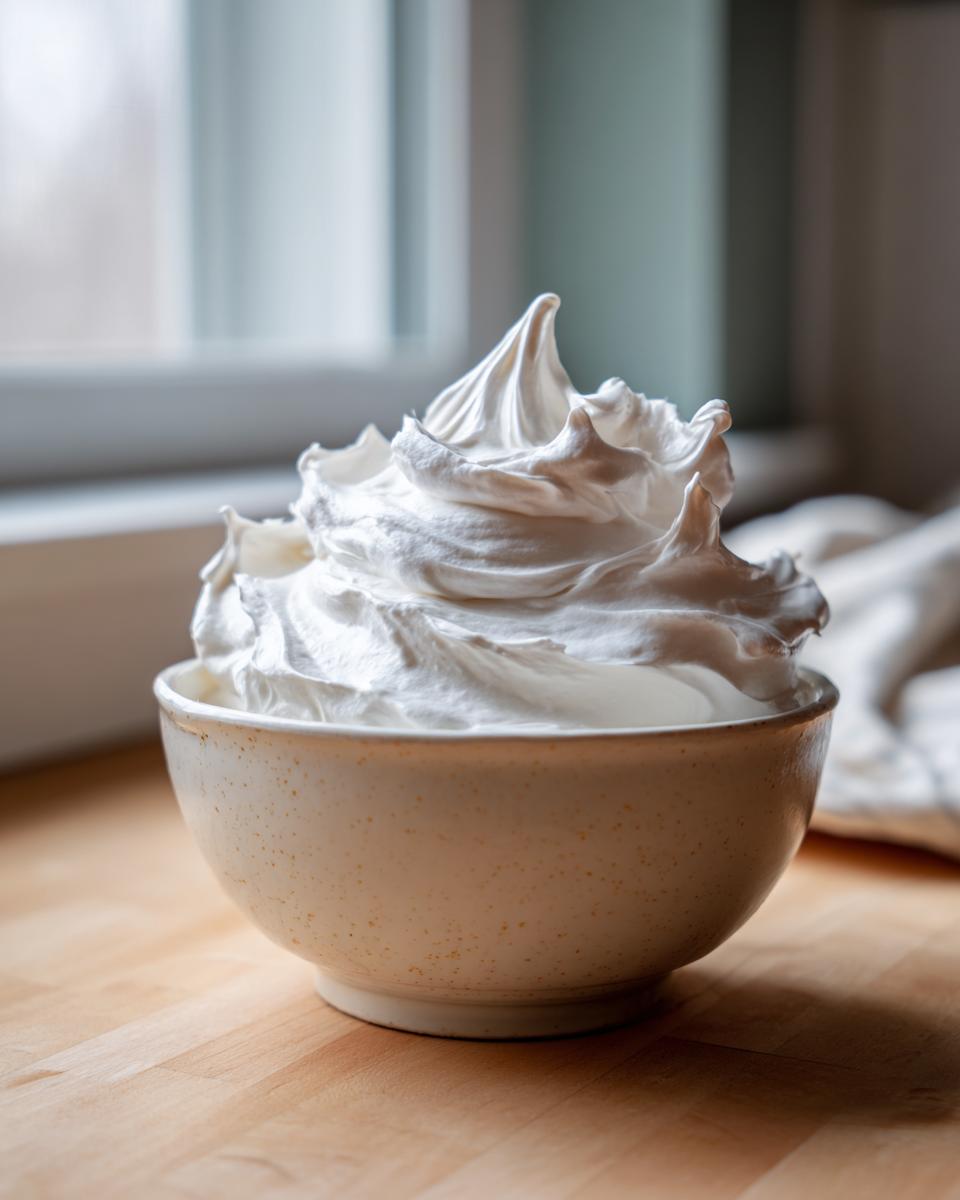
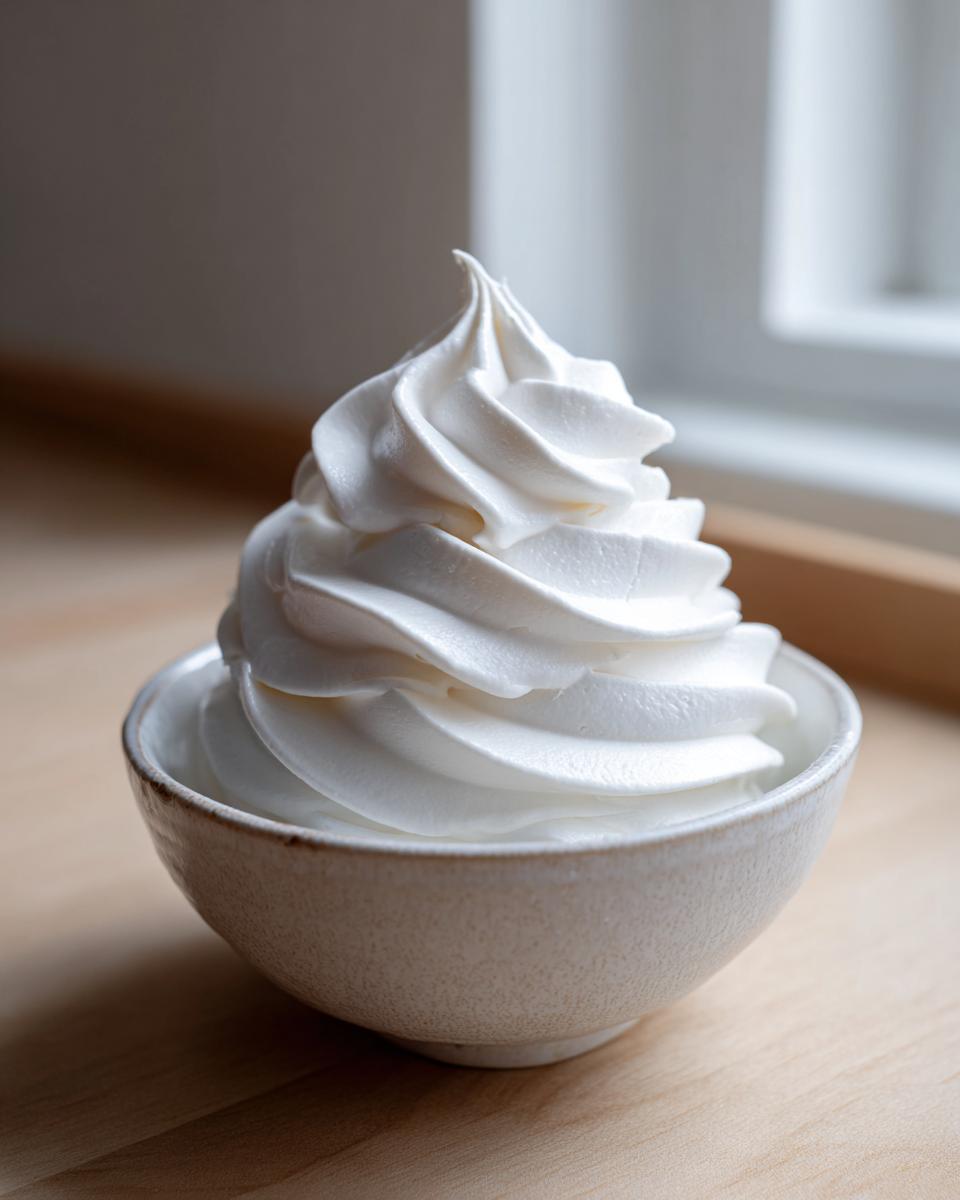
- Then, ramp that mixer up to medium-high! You need to beat this for a solid 5 to 7 minutes. Seriously, time it! This step is what creates that thick, glossy structure that holds its shape. It should look thick and hold stiff peaks when you lift the beater.
If you made quick dinner plans for later, you’re good! This only takes about 10 minutes total, which is a huge bonus for a beginner-friendly recipe!
Adjusting Consistency: Piping Icing Consistency vs. Flooding
This is the absolute trickiest part for new decorators, but once you get it, you’re golden! The icing we just mixed is probably perfect for outlining—it’s stiff, like thick toothpaste. This consistency is what you want for drawing borders on your cookies.
If you need it for filling in those outlines (flooding), you need to thin it out ever so slightly. Add water just one teaspoon at a time and gently fold it in. To test it, grab a spoon and drizzle some icing back into the bowl. If the drizzle mark disappears back into the bowl within about 10 seconds, that’s your perfect flood consistency—it’s what we call the 10-second rule for your royal icing recipe!
Tips for Success with Your Royal Icing Recipe
Once you whip up a batch of this icing, you want it to stay gorgeous until you use it! My biggest pro tip, which I picked up watching Olivia work, is covering it correctly. You must press plastic wrap directly onto the surface of any unused icing in the bowl. Seriously, no air gaps allowed! Meringue powder icing will crust over faster than you can blink if you leave it exposed, and that crusted stuff ruins your smooth texture.
If you are planning on coloring your decorations, remember this for a brilliant white look: skip the vanilla extract entirely and use clear vanilla or just drop in a tiny dot of white food coloring. It works like magic!
And when it’s time for it to dry—for truly quick Hardening Royal Icing, especially around the holidays—set up one of those small, handheld fans pointed gently toward your cooling cookies. Circulating the air speeds things up considerably so you can stack those treats! If you need more baking inspiration to go with your perfect icing, check out the amazing dessert recipes on the site!
Storing Your Basic Royal Icing Recipe
So what happens if you have too much of this amazing Basic Royal Icing Recipe? Don’t panic! This stuff is actually a superstar when it comes to sitting around waiting for you.
For any icing you aren’t using right away, slide a piece of plastic wrap directly onto the surface—I mean, touch it to the icing—and pop the container into a cool pantry or on the counter. We store it at room temperature, never the fridge, because chilling can make it weep when it comes back out.

I’ve kept a batch sealed tightly like this for almost two weeks, and it comes back to life just by stirring in a tiny drop or two of water. How great is that for planning ahead for big holiday baking projects?
Troubleshooting Common Royal Icing Issues
Even with the best recipe, sometimes things go a little sideways when you’re decorating cookies, right? Don’t toss that bowl out just yet! We can usually fix whatever went wrong with our cookie decorating icing.
If your icing feels grainy or lumpy—like there are tiny sugar bits floating around—that usually means two things: you skipped sifting your sugar (oops!) or you didn’t beat it long enough for everything to dissolve smoothly. The fix? Just beat it on high speed for another couple of minutes. If it’s truly gritty, you might need to sift a cup of fresh powdered sugar into the whole batch and mix gently again.
The other big headache is when the icing starts to crack right after it dries. That is almost always due to humidity or the icing being a little too thin. If it’s humid where you are, try rushing the drying process by using that fan trick we talked about, or just accept that things will take longer!
Serving Suggestions for Your Cookie Decorating Icing
While this icing is absolutely built to make your sugar cookies look like they came from a fancy bakery, don’t limit its talents! This stiff-yet-smooth royal icing recipe is also fantastic for sealing gingerbread houses together. It acts like super-strong sweet cement!
You can also use it for decorating small, sturdy pastries or even using the thicker pipes to add little shells or dots on top of brownies or store-bought cakes that need a little facelift. It sets hard, so it’s perfect wherever you need something robust. If you are looking for more festive projects, check out some great ideas in our holiday baking section!
Frequently Asked Questions About This Royal Icing Recipe
I know when you’re first starting out with intricate cookie decorating, you have a million little questions about what works and what doesn’t. That’s totally normal! I pulled together some of the most common things people ask me about this royal icing recipe so you can feel super confident before you even turn the mixer on.
For example, folks always ask about drying time. Since this is a Hardening Royal Icing, if you want a true, firm dry—where they are stackable—it depends! In a dry room temperature, you’re looking at 6 to 8 hours, sometimes longer for thick flood layers. But like I said before, a little fan directed over them can cut that in *half*!
And yes, you absolutely can color this meringue powder icing! Just use gel food coloring—the liquid drops will ruin your consistency. Add the color slowly right before you thin it out for flooding, and be ready to add a tiny splash of water if the gel thickens it up too much.
Need more fun baking tips? You should check out the other dessert recipes we have on the site!
Can I use this Royal Icing Recipe for Piping Flowers?
Oh, you certainly can! If you are aiming for those gorgeous little three-dimensional flowers or rosettes, you need an extra stiff mix. Think thicker than outlining consistency—you want it to hold its shape perfectly when you pipe it onto the parchment paper. The stability of this meringue-based formula is exactly what gives you the structure needed for those beautiful, detailed shapes.
Share Your Masterpiece Royal Icing Creations
Seriously, I am dying to see what you create with this foolproof royal icing recipe! When you finish decorating your beautiful sugar cookies, snap a picture and tag us! We absolutely love seeing your takes on these kitchen classics and watching you all build your own confidence.
Please come back and leave a star rating right under this recipe—it helps other home bakers know this is the reliable cookie decorating icing they need. Happy decorating, everyone!
PrintThe Ultimate Royal Icing Recipe Using Meringue Powder

Learn how to make smooth, glossy royal icing that dries firm, perfect for decorating sugar cookies. This beginner recipe uses meringue powder for stability.
- Prep Time: 10 min
- Cook Time: 0 min
- Total Time: 10 min
- Yield: Covers about 3 dozen medium cookies 1x
- Category: Dessert Decoration
- Method: Mixing
- Cuisine: American
- Diet: Vegetarian
Ingredients
- 4 tablespoons meringue powder
- 6 cups powdered sugar, sifted
- 1/2 teaspoon vanilla extract or almond extract
- 6 to 8 tablespoons warm water
Instructions
- In a large bowl, combine the meringue powder and powdered sugar.
- Add the vanilla or almond extract.
- Gradually add the warm water, starting with 6 tablespoons.
- Mix on low speed with an electric mixer until combined, then increase speed to medium-high.
- Beat for 5 to 7 minutes until the icing is smooth, thick, and holds stiff peaks.
- If the icing is too thick for piping, add water one teaspoon at a time until you reach your desired consistency.
- If the icing is too thin, add more sifted powdered sugar, one tablespoon at a time.
- Use immediately for outlining or flooding cookies, or cover tightly with plastic wrap pressed directly onto the surface to prevent drying.
Notes
- For outlining consistency, use less water; for flooding consistency, use more water.
- To achieve a brilliant white color, omit vanilla extract and use clear vanilla extract or a drop of white food coloring.
- Store unused icing in an airtight container at room temperature for up to two weeks.
- If you need the icing to dry faster for stacking cookies, use a fan to circulate air over the decorated items.
Nutrition
- Serving Size: 1/4 cup
- Calories: 180
- Sugar: 45g
- Sodium: 15mg
- Fat: 0g
- Saturated Fat: 0g
- Unsaturated Fat: 0g
- Trans Fat: 0g
- Carbohydrates: 45g
- Fiber: 0g
- Protein: 1g
- Cholesterol: 0mg