
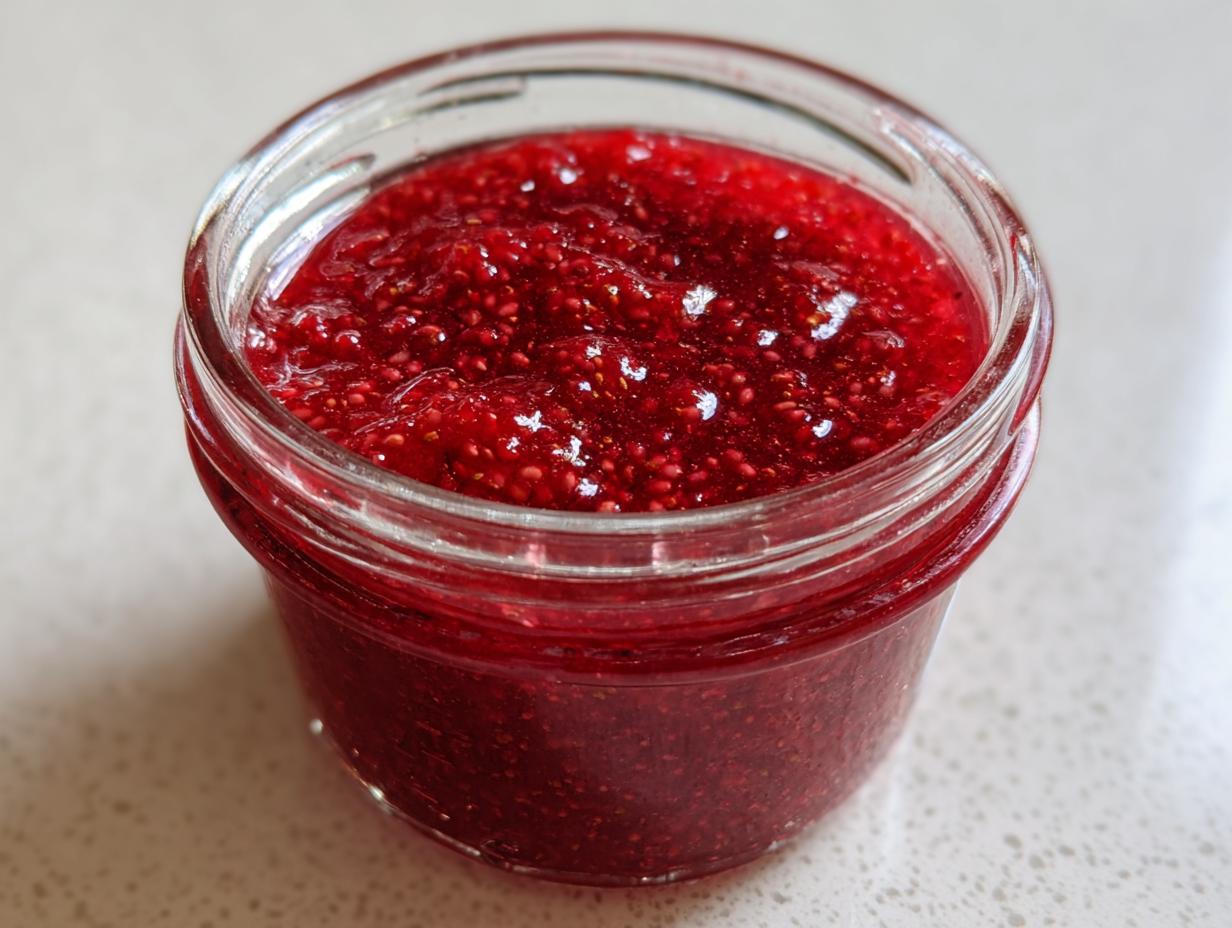
Oh, you guys! If you’re anything like me, when those first strawberries of the season hit the market, I just want to bottle up that sunshine and keep it right there in my kitchen until next spring. That’s why I am absolutely thrilled to share what I consider the very **best strawberry freezer jam recipe** you will ever try. Forget hauling out the heavy cans and water baths; this method is pure magic because it requires virtually **no canning jam instructions** whatsoever. It’s honestly the most reliable and quickest homemade fruit preserves you can make.
This recipe is the epitome of what DelishCraze is all about—delicious food that fits seamlessly into your busy life. I developed this quick, no-cook technique because I believe every home cook deserves to enjoy that burst of fresh fruit flavor without spending an entire afternoon boiling jars. You’ll be surprised how quickly you can whip up a batch; it’s so simple, it could almost fit into your routine alongside my tips for quick, easy weeknight dinners. Trust me, this is the perfect entry point if you’ve always been a little intimidated by jam making. You’re going to love how easy it is!
- Why This Strawberry Freezer Jam Captures Summer Flavor
- Ingredients for Your Easy Freezer Jam Recipes
- Step-by-Step No Canning Jam Instructions
- How to Store Homemade Jam Safely Using Your Freezer
- Serving Suggestions for Quick Breakfast Spreads
- Troubleshooting Common Freezer Jam Issues
- Variations for Seasonal Fruit Freezer Preserves
- Frequently Asked Questions About Freezer Jam
- Share Your Homemade Freezer Jam Creations
Why This Strawberry Freezer Jam Captures Summer Flavor
When you ditch the boiling water bath, something wonderful happens to your fruit. Traditional canning is intense, right? It cooks the flavor right out of those beautiful berries. But with this **fresh fruit freezer jam**, we are skipping all that heat, which means you get that bright, vibrant, almost-just-picked taste in every single spoonful.
It’s honestly my favorite way to preserve the season. Here’s why this method wins every time:
- The texture is softer and more like fresh fruit preserves than shelf-stable jelly.
- We are talking under 30 minutes total for the mixing process!
- It requires zero specialized equipment—just bowls and jars.
If you’re looking for quick ideas for breakfast spreads that taste like sunshine, this is IT.
Quick Freezer Jam Tutorial: Ready Fast
Can you believe the actual hands-on time is about 20 minutes? Seriously! We aren’t waiting for water to boil or managing complicated sterilization times. We just mix things up, pour them into containers, and they are ready for the freezer in less time than it takes to queue up a movie. This speed is why I rely on this method when the local farm stand has the best berries.
Beginner Jam Making Guide: No Cook Jam Recipe
If you’ve never made jam before, this is your moment to shine! This recipe is the ultimate **no cook jam recipe**. There’s no worrying about getting the jam mixture to exactly 220 degrees or dealing with the pressure canner lid. For this specific **freezer jam**, the pectin does all the hard work of setting the fruit up perfectly, even without the boil. It’s a super reliable method for first-timers.
Ingredients for Your Easy Freezer Jam Recipes
Okay, let’s talk about what we actually need to make this amazing batch! Because we aren’t cooking this down traditionally, the quality of your raw ingredients really shines through. For the absolute brightest flavor, you simply must source the best, ripest strawberries you can find. If your berries smell like summer, your jam will taste like summer!
Here is what you’ll need for about six half-pint jars. If you’re planning ahead for simple lunches later, I suggest doubling this batch!
- 4 cups fresh strawberries, hulled and crushed
- 7 cups granulated sugar
- 1 package (1.75 oz) powdered fruit pectin
- 1/2 teaspoon lemon juice (optional, but I highly recommend it!)
Ingredient Notes and Substitutions for Freezer Jam
This recipe absolutely calls for powdered fruit pectin because it’s the magic ingredient that lets us skip the boiling. Pectin builds that essential structure without needing hours of cooking time, which is what keeps the flavor so fresh! It’s key to getting that perfect set in your **freezer jam**.
Now, I know some of you are looking for a simple pectin free jam, and I get it! If you choose to skip the pectin, you will need to cook this mixture down on the stovetop until it thickens significantly—usually boiling hard for about 10 to 15 minutes. But for this ultra-fast, no-cook method, keep that little packet of pectin handy. It makes all the difference for a reliable set.
Step-by-Step No Canning Jam Instructions
You are just minutes away from having homemade fruit preserves! Seriously, these **no canning jam instructions** make this **beginner jam making guide** a total breeze. The key here is not rushing the few resting steps; that’s where the pectin gets its super-set power. Just follow these steps, and you’ll have perfect **freezer jam** every single time.
I always put on some good music when I tackle these kinds of small projects. It makes the 20 minutes fly by! If you need a little something to nibble on while you wait for the jam to set, check out my favorite appetizers and party snacks ideas!
Preparing Containers for Perfect Freezer Jam Storage
First things first, let’s get your storage ready. This is Step 1 and it’s vital for keeping your jam safe and ready to go. You’ll need clean, freezer-safe jars or sturdy plastic containers that have tight-fitting lids. And I mean really clean, guys—make sure everything is totally dry before you start ladling in that beautiful strawberry mix. Any water clinging inside could mess up our delicate pectin set.
Activating the Pectin in Your Freezer Jam
When you are ready to mix, grab your biggest, sturdiest bowl. This is important because we are going to be stirring in quite a bit of sugar! Start by mixing your 4 cups of crushed strawberries right together with the powdered fruit pectin package. Just stir that up lightly and then let it just sit there for 5 minutes. This time lets the pectin start doing its slightly magical, absorption-like work.
After that short rest, now you stir in the 7 cups of granulated sugar until you really can’t feel any grainy bits anymore. Don’t go crazy mixing once the sugar is dissolved; aim more for combining it gently. Then, add that little splash of lemon juice if you are using it for brightness.
Here’s the other important standing time you can’t skip for your **freezer jam**: Ladle that jam mixture right into your clean containers, making sure you leave about half an inch of space at the very top—that’s called headroom, and it lets the jam expand a bit as it freezes. Wipe the rims down so they aren’t sticky, seal them up tight, and then let them sit on your counter at room temperature for a solid 30 minutes. Seriously! This final rest period ensures the pectin sets up into that perfect, glorious **freezer jam** jelly texture before they ever see the inside of the cold. You can toss them into the freezer right after that rest. If you want a quick peek at another recipe that uses a slow-cook method, check out this great blackberry one here, but remember, this strawberry one is all about speed!
How to Store Homemade Jam Safely Using Your Freezer
Once that jam has rocked out on the counter for 30 minutes, it’s time for the grand finale—the freezer! This is the part that makes this recipe so rewarding because we get all that fresh flavor without the fuss of canning. Remember how I told you to leave about half an inch of space at the top of your jars? That’s super important!
That space, that little bit of headspace, allows the jam to expand slightly as it freezes solid without cracking your jars or popping the lids off. Trust me, I learned that the hard way with a batch of peach preserves years ago when I was rushing through my dessert recipes! Wipe those rims clean one last time and seal them up tight as you can get them.
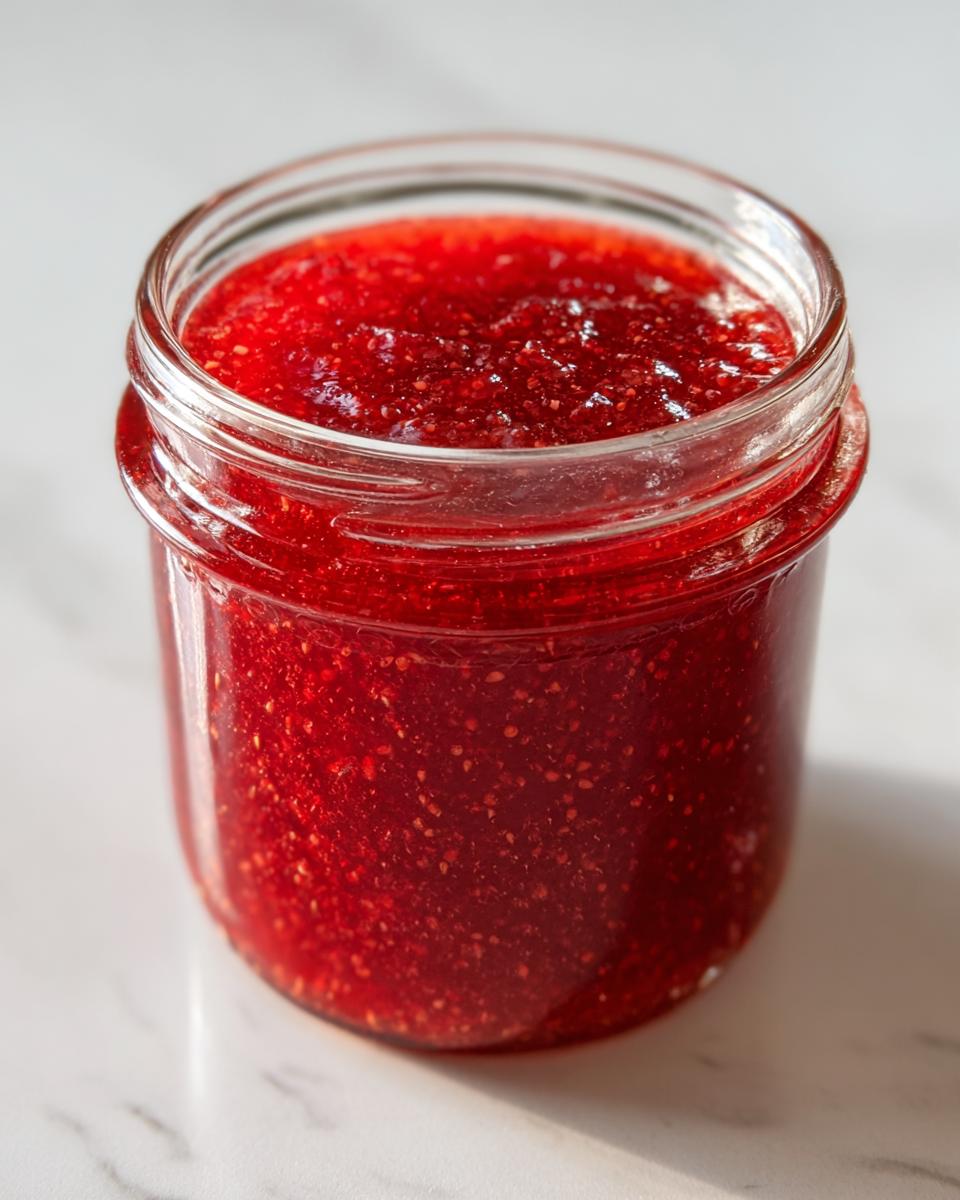
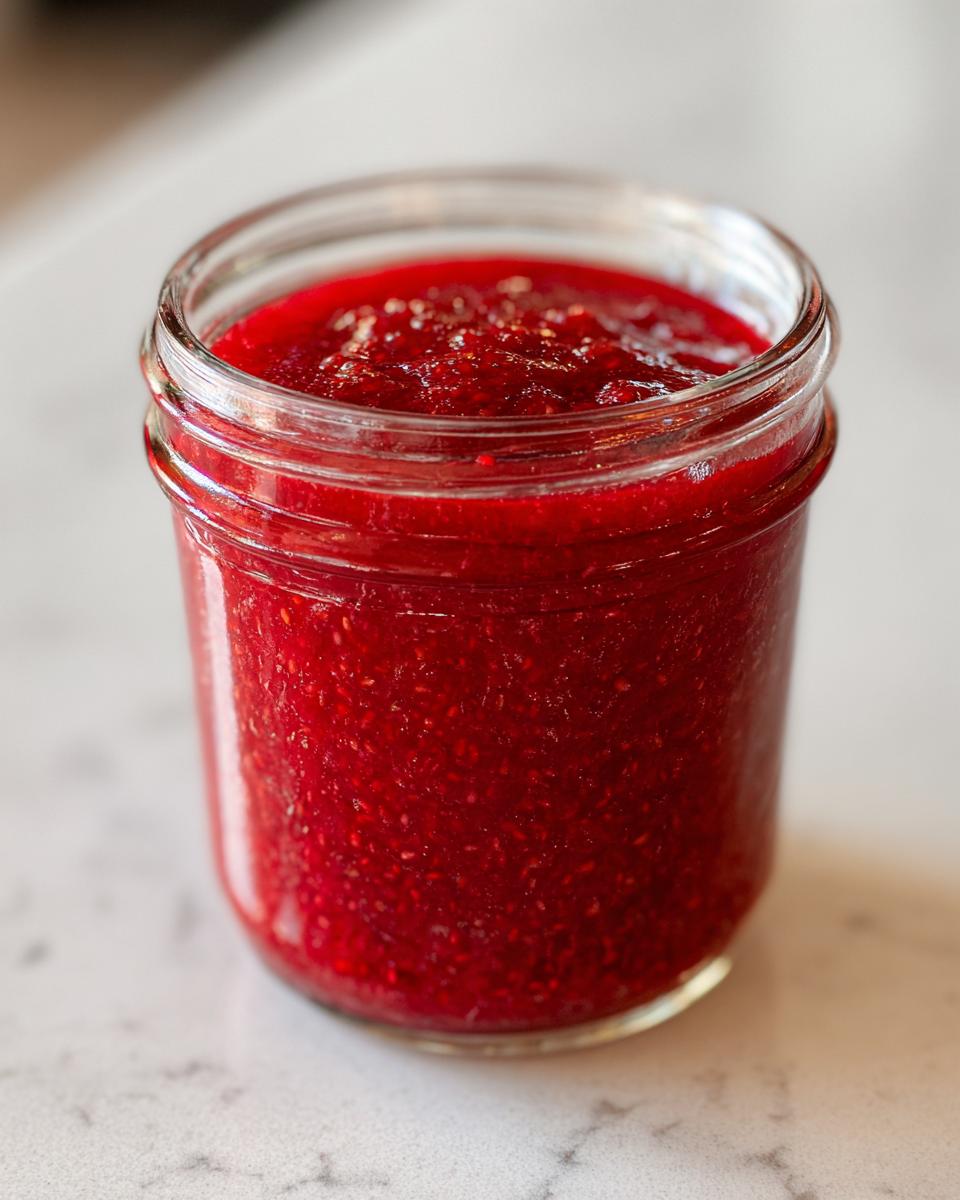
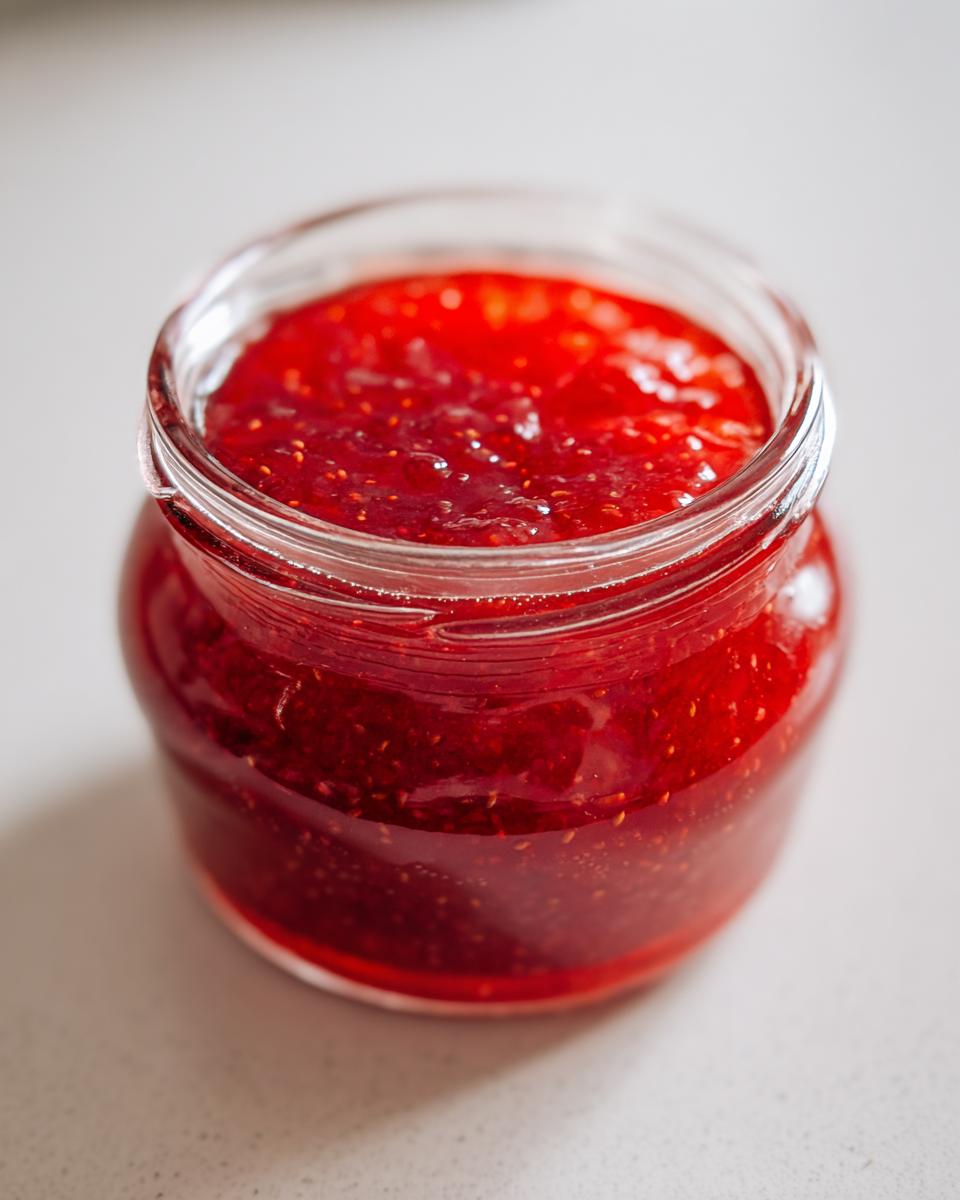
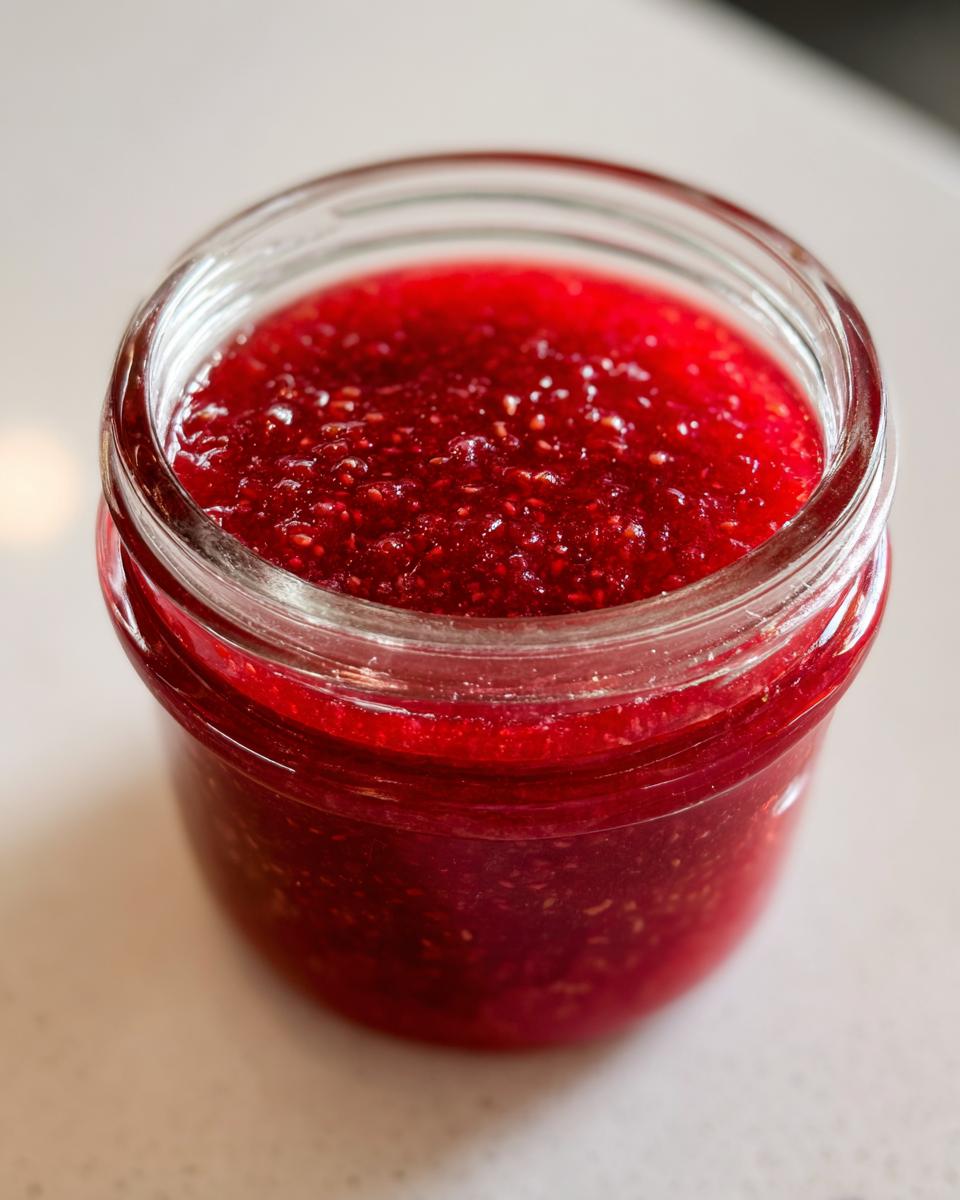
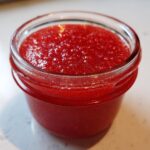
Then, you just pop them into your freezer. They need about 24 hours to get completely firm, but once they are frozen, that beautiful strawberry **freezer jam** will keep its fresh taste for almost a full year! That’s amazing preservation for something so quick to make.
Here’s my little trick for making sure I use everything up: Grab a piece of painter’s tape—it peels right off later!—and a sharpie. I always label the jar with the date and the fruit, like “Strawberry 6/15.” If you’re making different batches throughout the summer, like some of the other delicious options you can find here, knowing when you made it is a lifesaver! This **freezer jam** is the best for pulling out on a snowy morning when you need a little reminder of summer.
Serving Suggestions for Quick Breakfast Spreads
Now that you have this gorgeous, vibrant jam, we have to talk about the best ways to eat it! While spreading it thick on a piece of toasted sourdough is certainly a top-tier experience, my goal with this recipe was to create **quick breakfast spreads** that elevate everything else you eat in the morning during the busy week.
When I pull a thawed jar out of the fridge, I try to use it in fun ways that feel special without adding any extra cooking time. It’s about taking something simple, like yogurt, and making it feel gourmet!
Here are a few of my favorite ways to use this super-fresh strawberry jam:
- Dollop it generously onto plain Greek yogurt instead of buying pre-sweetened versions. It’s amazing!
- Use it as the filling layer in simple French toast roll-ups or spread between layers of my fluffy pancakes.
- Spoon it over warm biscuits or scones right out of the oven. The warmth makes the fruit flavor truly sing.
- Mix a spoonful into your oatmeal or porridge right before serving for a burst of color and natural sweetness.
Honestly, because we didn’t cook this down much, it tastes so pure; you could eat it with a spoon standing right by the fridge, and I won’t tell anyone. It’s perfect for those mornings when you need a little dose of homemade happiness fast.
Troubleshooting Common Freezer Jam Issues
Even though I try to keep things foolproof, sometimes the jam just doesn’t behave the way we want it to after freezing! Don’t panic if your beautiful strawberry mix comes out looking more like thick juice than spreadable jam. This is usually super simple to trace back to one of two spots, especially in a **no cook jam recipe** like this one.
The biggest thing to remember is that without boiling, we are relying entirely on pectin and sugar chemistry to do our thickening work. When you have issues, it almost always comes down to ingredient measurement or timing.
What if my jam didn’t set or is too runny?
If your jam is still liquidy after thawing overnight, it almost always means the pectin didn’t activate correctly. Did you let the fruit and pectin stand for the full 5 minutes before adding the sugar? That initial rest is crucial! Also, double-check that package of powdered fruit pectin. Was it the right type? Sometimes, if you accidentally used a variety intended for making jelly instead of jam, or if you used too little, it flops.
If you find yourself with a runny batch, don’t toss it! You can save it. Just take the liquidy jam, measure out the amount you have, and then mix in about half the amount of powdered pectin you used initially, stirring well. Let it sit for just 5 minutes again, stir in a tiny bit more sugar if you think it needs it for flavor balance, and then pour it back into a clean container and freeze again. It usually sets up after that second try.
Why is my jam gritty when I try it?
Grit usually means the sugar didn’t fully dissolve before we rushed it into the freezer. Remember, the sugar needs time to incorporate completely. If you can still feel distinct sugar crystals between your fingers when rubbing the mixture together *before* you jar it, it needs more mixing. Since this is a **no cook jam recipe**, the sugar won’t dissolve much once it’s frozen or even thawed slightly—it needs to dissolve while it’s still at room temperature.
If you’ve already frozen it and pulled a gritty jar out, your best bet is to thaw it completely and stir it gently over very low heat—just warm enough to dissolve the sugar, but definitely not enough to start boiling. Then cool it down slightly and refreeze. It’s a pain, but totally fixable! For future batches, just take an extra minute when stirring in that sugar.
Is it safe to eat if the fruit looks a little discolored?
Since we aren’t sterilizing jars with boiling water, we rely on the sugar content and the cold of the freezer to preserve everything. As long as you used clean, dry containers and wiped the rims properly before sealing, your **summer fruit recipes to freeze** are perfectly safe. The fruit might look a tiny bit duller than when you first crushed it, especially around the edges where it touches the container, but that’s just oxidation from contact with the air—it’s normal for **refrigerator jam recipes** and freezer versions.
If you’re ever worried about safety, try mixing up a small batch following my tips for making easy no-bake energy bites, because nobody wants to waste good fruit! If you see any mold, of course, toss it, but usually, the color change is cosmetic, not a safety issue.
Variations for Seasonal Fruit Freezer Preserves
One of the very best things about sticking to the **freezer jam** method is how wonderfully adaptable it is! While strawberry is the reigning champ in my house, you absolutely should not stop there. This technique is fantastic for capturing every single bit of seasonal goodness that comes along. Whether you have a huge haul of blackberries or you’re grabbing beautiful peaches from the farmer’s stand, you can easily swap them out and still get that amazing fresh fruit result.
This recipe is easily adaptable for anything that’s ripe and begging to be preserved. It’s one of those perfect **seasonal fruit freezer preserves** that lets your local harvest dictate your baking/making schedule. You can find some incredible ideas for blackberry twists right here!
Swapping Berries: A Little Extra Care for Peaches and Blackberries
When you switch from strawberries to other fruits, you need to pay attention to the water content, because that affects how much pectin we need. For slightly softer or juicier fruits like raspberries or blackberries, they generally measure up about the same as strawberries, so you can usually stick to the same amounts of sugar and pectin without issue—it’s true beginner jam making territory!
Peaches are slightly different. They have a bit less natural juice when crushed compared to berries, so sometimes they can be a little stiff. When I make peach **freezer jam**, I actually add about two tablespoons of bottled lemon juice, even if I skip it in the strawberry version. That extra acidity helps break down the structure a tiny bit so it stays spreadable and bright, rather than turning too hard.
Adjusting Sugar Levels for Different Fruits
You know, sugar isn’t just for sweetness here; it plays a huge role in helping the pectin set up the jam! That’s why, for almost every **freezer jam** recipe, you use a lot—it’s functional! If you decide to use a tart fruit, like tart cherries or underripe raspberries, you might find you want to bump up that granulated sugar just a tablespoon or two to balance out the tartness and ensure a nice set.
If you were making a lovely, moist fruit cake, you could get away with less sugar, but for this quick-set jam, sticking close to the recipe ratio is key. When in doubt with a new fruit, stick to the original sugar measurements, taste before you freeze, and if it’s too tart for your liking, you can always stir in a little bit of honey or corn syrup *once* the jam is thawed!
Frequently Asked Questions About Freezer Jam
Can I make this strawberry freezer jam without pectin?
That’s a great question! Since this particular method is designed as a **no cook jam recipe**, the powdered fruit pectin is what does all the heavy lifting to make it set up beautifully in the cold, almost like magic. If you skip it, you are essentially making a fresh fruit sauce rather than a spreadable jam.
Without pectin, the mixture will remain liquidy even after freezing and thawing. If you absolutely can’t use pectin, you’ll need to switch gears and cook the crushed fruit and sugar on the stovetop until it vigorously boils and reduces down quite a bit. That process concentrates the natural fruit pectin, but honestly, it takes way longer than this quick method allows!
How long does freezer jam last once thawed?
This is important for safety and quality! When you pull a jar of your delicious **freezer jam** out of the freezer to thaw overnight in the refrigerator, you’ve essentially created a really good refrigerator jam. Once thawed, I always recommend treating it like one.
Because we skipped the high-heat canning process, it doesn’t have that shelf-stable preservation power. So, once thawed, try to finish that jar within two to three weeks. That’s why I always recommend making smaller batches if you know you won’t get through a jar quickly. It’s almost always gone fast, but it’s good to know the timeline!
What is the difference between this and refrigerator jam recipes?
This is where people get a little mixed up sometimes! The main difference between this strawberry **freezer jam** and traditional **refrigerator jam recipes** boils down entirely to storage and, usually, the method of setting.
Refrigerator jam is meant to be eaten within three to four weeks while stored in the fridge—no freezer required. Sometimes, refrigerator jam recipes involve a quick simmer on the stove, but many are also no-cook like this one. The real selling point for *freezer* jam is the longevity; we get that fresh taste for nearly a year tucked away in the deep freeze! If you only plan on eating jam within a month, the refrigerator version is fine, but if you want to stock up on refrigerator jam recipes that last longer, the freezer is your best friend.
Share Your Homemade Freezer Jam Creations
Now that you have your perfectly preserved taste of summer nestled in your freezer, I have one last request! I genuinely want to see what you all create. When you are whipping up a batch for your next gathering, please snap a picture and tag me! Seeing your beautiful jars lined up reminds me that these simple, reliable recipes truly connect us.
Did this quick method convince you that making homemade fruit preserves doesn’t have to be complicated? Let me know how it worked for you! Please head back to the top of the page and give this Easy Strawberry Freezer Jam recipe a rating—your feedback helps other cooks feel confident trying it out.
And if you loved this recipe and want to share the joy, spread the word! Maybe you’re gifting jars to a neighbor or bringing a thawed batch to brunch. If you enjoyed learning the secrets to this easy, no-cook jam, I highly encourage you to check out the tutorial from Lina for another great perspective on strawberry freezer jam. Happy preserving, friends!
PrintEasy Strawberry Freezer Jam (No Canning Needed)
Make homemade strawberry jam in under 30 minutes. This no-cook freezer jam captures the fresh flavor of summer berries and requires no special canning equipment.
- Prep Time: 20 min
- Cook Time: 0 min
- Total Time: 20 min
- Yield: About 6 half-pint jars 1x
- Category: Preserves
- Method: No Cook
- Cuisine: American
- Diet: Vegetarian
Ingredients
- 4 cups fresh strawberries, hulled and crushed
- 7 cups granulated sugar
- 1 package (1.75 oz) powdered fruit pectin
- 1/2 teaspoon lemon juice (optional, for brightness)
Instructions
- Prepare your freezer containers. You need clean, freezer-safe jars or plastic containers with lids. Ensure they are dry.
- In a large bowl, mix the crushed strawberries and the powdered fruit pectin thoroughly. Let this mixture stand for 5 minutes.
- Stir in the granulated sugar until it is completely dissolved. Do not overmix once the sugar is incorporated; just stir until the sugar disappears.
- Stir in the lemon juice, if using.
- Ladle the jam mixture into your prepared freezer containers, leaving about 1/2 inch of headspace at the top of each container.
- Wipe the rims clean and seal the containers tightly.
- Let the jam sit at room temperature for about 30 minutes to allow the pectin to activate.
- Place the containers in the freezer. The jam will be ready to eat once fully frozen, usually within 24 hours.
Notes
- This jam keeps well in the freezer for up to one year.
- For a pectin-free option, you can increase the sugar slightly and cook the mixture down, but this recipe is designed for quick, no-cook setting.
- If you want a smoother texture, pulse the strawberries briefly in a food processor instead of crushing by hand.
- Thaw jam in the refrigerator overnight before serving.
Nutrition
- Serving Size: 2 tablespoons
- Calories: 90
- Sugar: 23g
- Sodium: 0mg
- Fat: 0g
- Saturated Fat: 0g
- Unsaturated Fat: 0g
- Trans Fat: 0g
- Carbohydrates: 23g
- Fiber: 1g
- Protein: 0g
- Cholesterol: 0mg