
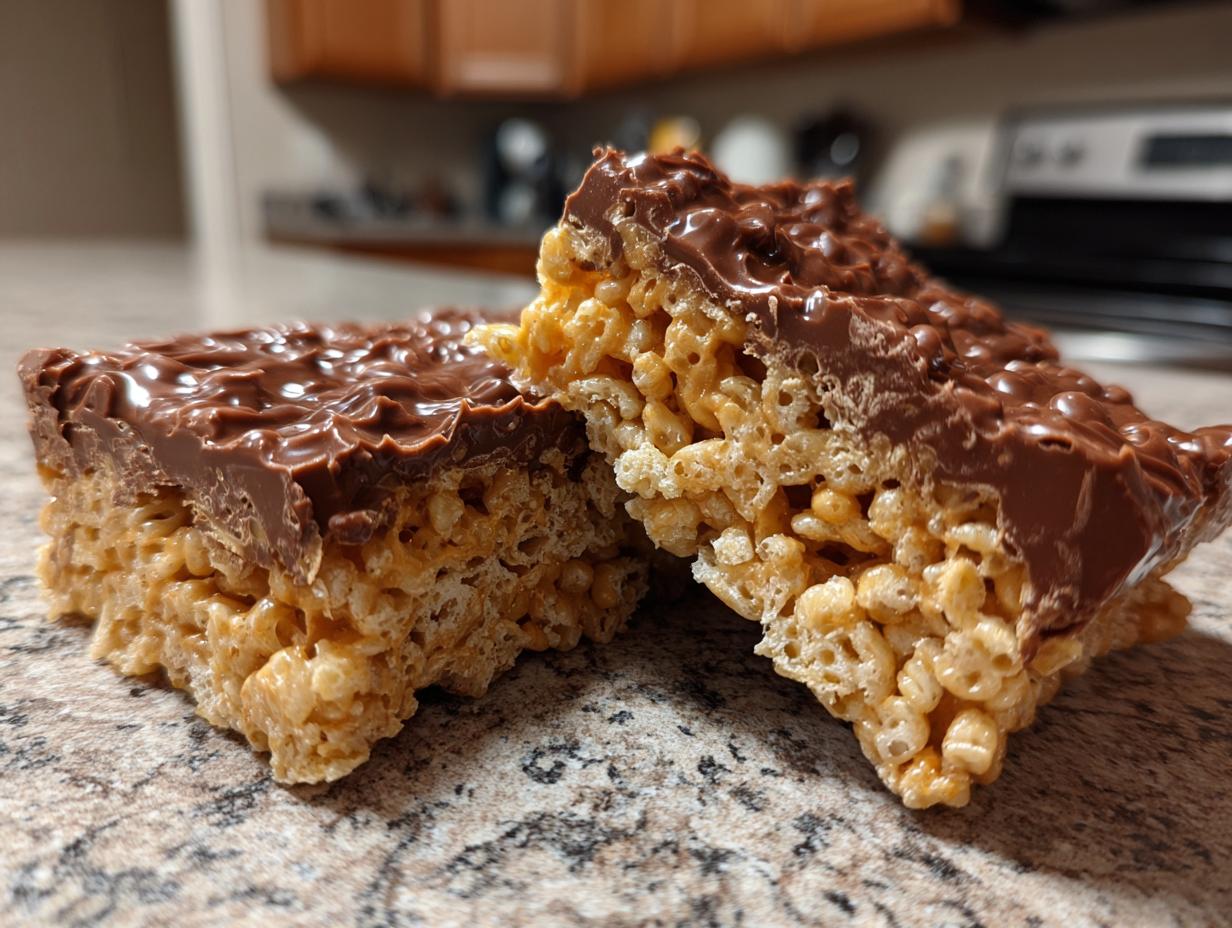
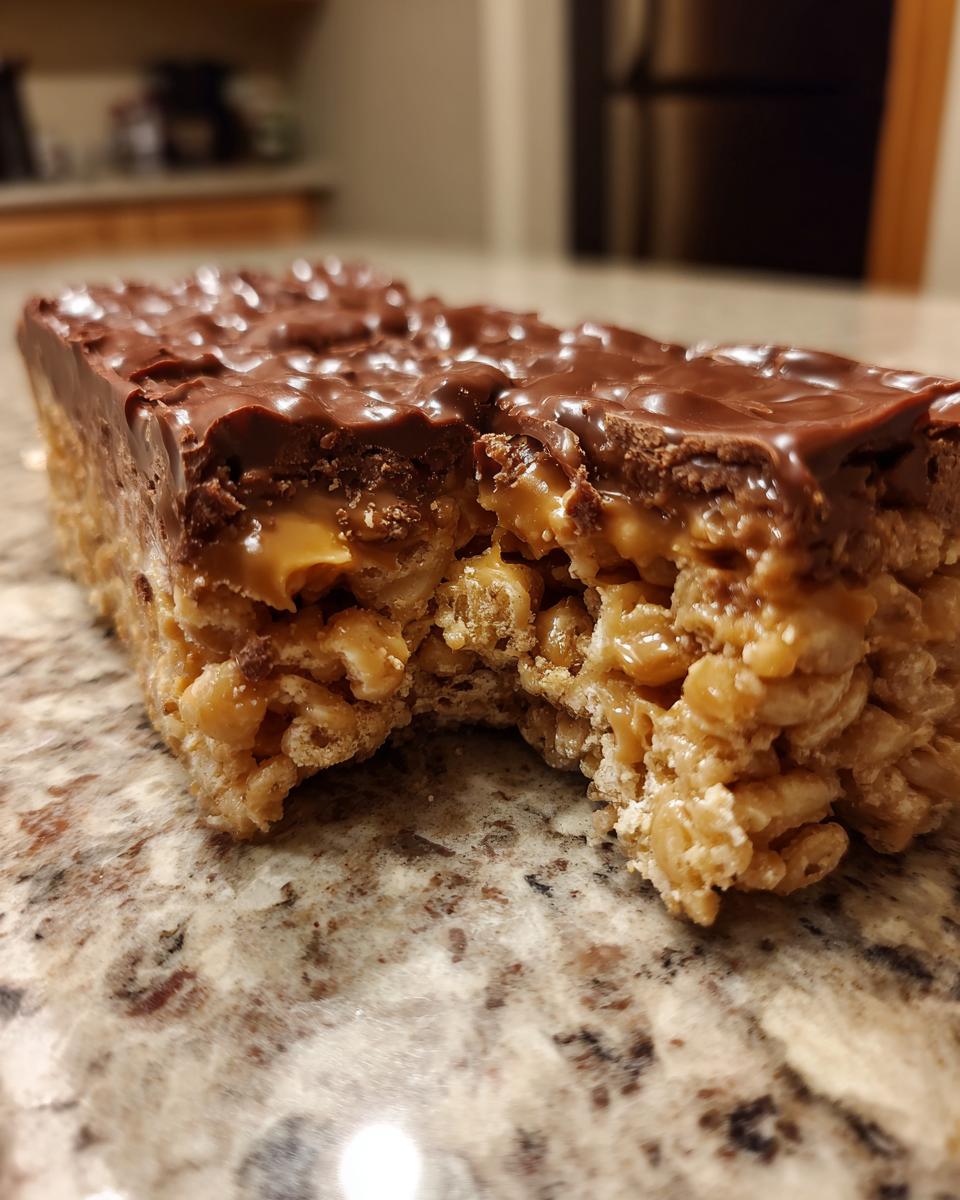
There’s just something about a nostalgic, no-bake treat that instantly transports you back to childhood simplicity, isn’t there? When life gets hectic, I find such deep satisfaction in whipping up something quick that tastes like pure comfort. That’s exactly why I perfected these peanut butter rice krispie treats. Forget those dry, crumbly versions you find everywhere else—we are chasing gooey perfection here! My goal with DelishCraze is to make home cooking joyful again, and these squares, topped with an optional rich chocolate swirl, deliver maximum flavor with zero oven time. If you also love easy, no-fuss snacks, you should definitely check out my guide on classic chocolate peanut butter no-bake cookies too. Trust me, once you try this ultimate, chewy version, you’ll never go back to the basics.
- Why This is the Best Peanut Butter Rice Krispie Treats Recipe
- Gathering Ingredients for Ultimate Peanut Butter Rice Krispie Treats
- Step-by-Step Instructions for Easy No Bake Peanut Butter Squares
- Tips for Perfect Chewy Rice Krispie Bars with Peanut Butter
- Variations on Classic Peanut Butter Rice Krispie Treats
- Serving Suggestions for Peanut Butter Cereal Treats Recipe
- Storage and Reheating Instructions for Peanut Butter Rice Krispie Treats
- Frequently Asked Questions About Peanut Butter Krispie Squares
- Share Your Ultimate Peanut Butter Krispie Squares
Why This is the Best Peanut Butter Rice Krispie Treats Recipe
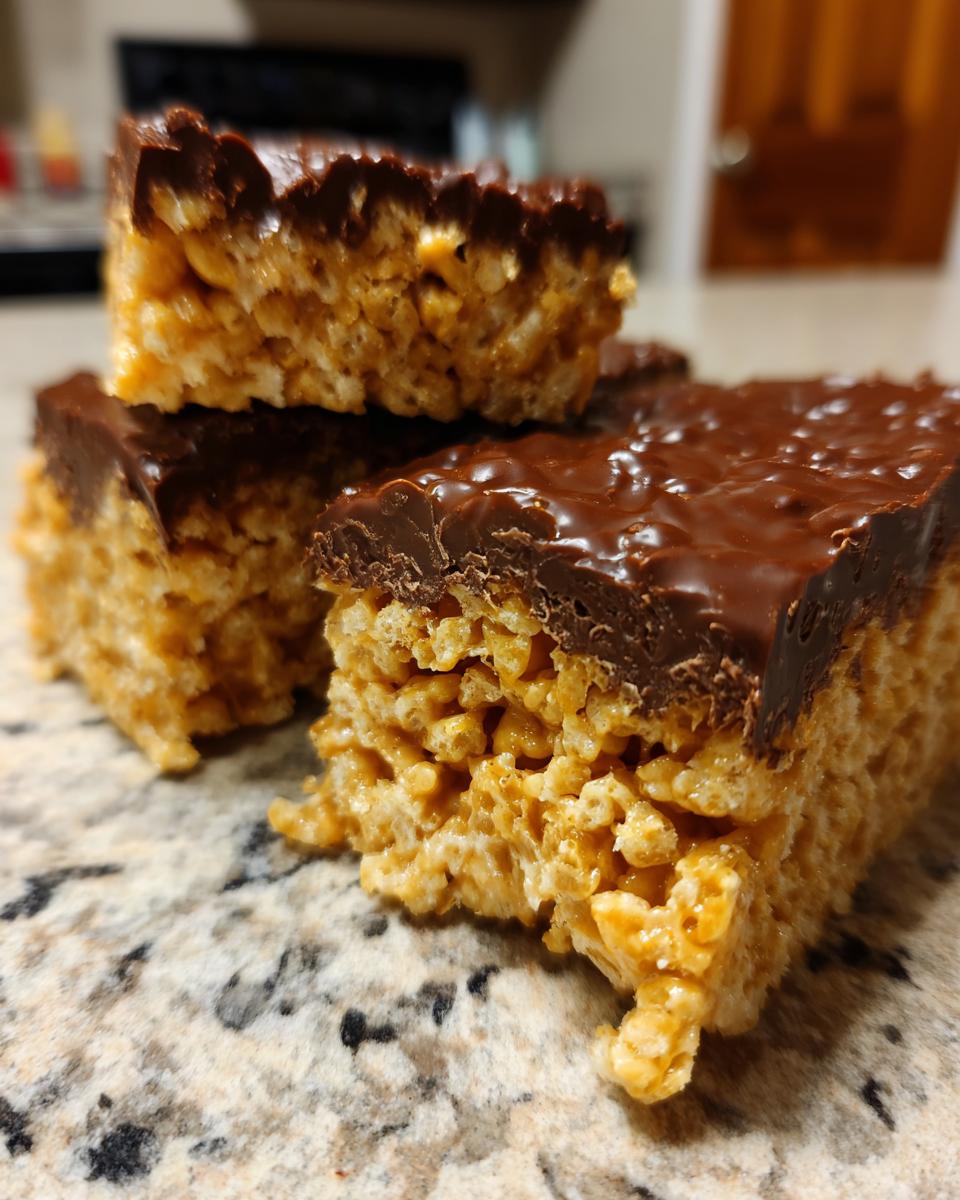
When I say these are the Best Peanut Butter Rice Krispie Treats, I truly mean it. So many recipes out there result in hard, brittle snacks, and frankly, that’s a tragedy. We are going for rich, satisfyingly gooey cereal treats here! My method, which relies heavily on the quality of the peanut butter and the heat management, ensures that every square you pull from the pan is perfectly soft and chewy. You deserve a reliable recipe that works every single time you try it, and I promise you, this Peanut Butter Cereal Treats Recipe is foolproof if you follow my lead. If you happen to love intense chocolate results, you might also want to check out my technique for the Ultimate Fudgy Brownies!
Achieving the Perfect Chewy Texture in Peanut Butter Rice Krispie Treats
The secret to keeping these bars soft isn’t just in the ingredient measurements; it’s in respecting the marshmallows. You absolutely must use fresh marshmallows. If your bag has been sitting in the pantry since last Halloween, toss it! Stale marshmallows bake up tough, and we can’t have that in our perfect treats.
Also, pay attention to how you press the mixture into the pan. Everyone wants to compact these down for neat edges, but resist that urge! If you press too firmly, you are squishing out all those lovely, gooey air pockets we just created. I just gently smooth mine out with the back of a spatula—don’t pack them in! This light touch guarantees that satisfying, pull-apart chewiness.
Gathering Ingredients for Ultimate Peanut Butter Rice Krispie Treats
Okay, let’s talk about what you need to make these Ultimate Peanut Butter Rice Krispie Treats. Because this is a no-bake recipe, those main components really shine through, so we can’t skimp on quality! You’ll need six cups of the classic crispy cereal, one whole 10-ounce bag of marshmallows (remember what I said about freshness!), half a cup of salted butter, and a full cup of creamy peanut butter. That peanut butter has to be creamy for the best blend, unless you’re feeling adventurous!
Then, we have the optional but highly encouraged layer: the topping. For that, you’ll grab one cup of semi-sweet chocolate chips and just one extra tablespoon of butter to help that chocolate melt smoothly. If you’re looking for other flavor inspirations after this, check out my oatmeal raisin cookies with brown butter—just as simple but totally different!
Ingredient Notes and Substitutions for Peanut Butter Cereal Treats Recipe
Let me give you the scoop on ingredients for these Peanut Butter Cereal Treats Recipe bars. Creamy peanut butter is my absolute go-to; it melts seamlessly into the marshmallow goo better than the chunky stuff. If you only have natural peanut butter (the kind that separates), just stir it really well beforehand, but be aware the final bars might be a touch softer. Please, please use good quality, fresh marshmallows! If they look hard or dusty, they’ll ruin the texture of your peanut butter rice krispie treats.
As for the cereal? Stick to the classic Rice Krispies. If you swap it out for something else, like corn flakes, you’re making a different bar entirely and the texture won’t be the same. We want the satisfying little pops of crispness that only the original cereal provides!
Step-by-Step Instructions for Easy No Bake Peanut Butter Squares
Alright, let’s get these Easy No Bake Peanut Butter Squares assembled! Since there’s no oven involved, the only real challenge is timing, and I’m going to walk you through every single step. Grab your largest mixing bowl and your saucepan—we move fast once the marshmallows are melted! If you need a super fast savory counterpoint to this sweetness, check out my thoughts on quick and easy pizza bagels.
First things first, get that 9×13 pan prepped. I usually line mine with parchment paper, letting the ends hang over the sides like little handles. It makes lifting the whole slab out so much easier later on. Then, measure your six cups of cereal and put them right near your stovetop, ready to go.
Preparing the Gooey Cereal Treats Base
Set your stovetop to medium-low heat—we are not rushing the melt here! Put in the half-cup of butter and let it melt completely in the saucepan. Once it’s liquid gold, toss in those marshmallows. You need to stir this constantly until it’s totally smooth, glossy, and looks like melted marshmallow lava. The absolute key moment is next: as soon as they are smooth, pull the pan OFF the heat. Seriously, take it away from the burner!
Now, quickly stir in your cup of creamy peanut butter and the vanilla until everything is unified. If you leave this on the heat, the peanut butter can seize up! Immediately pour that gorgeous peanut butter fluff over your waiting cereal and use a spatula—sprayed with a little cooking oil so it doesn’t stick—to gently fold everything together. Remember what I said? Gentle folding only, we want those air pockets!
Adding the Chocolate Peanut Butter Rice Krispie Bars Topping
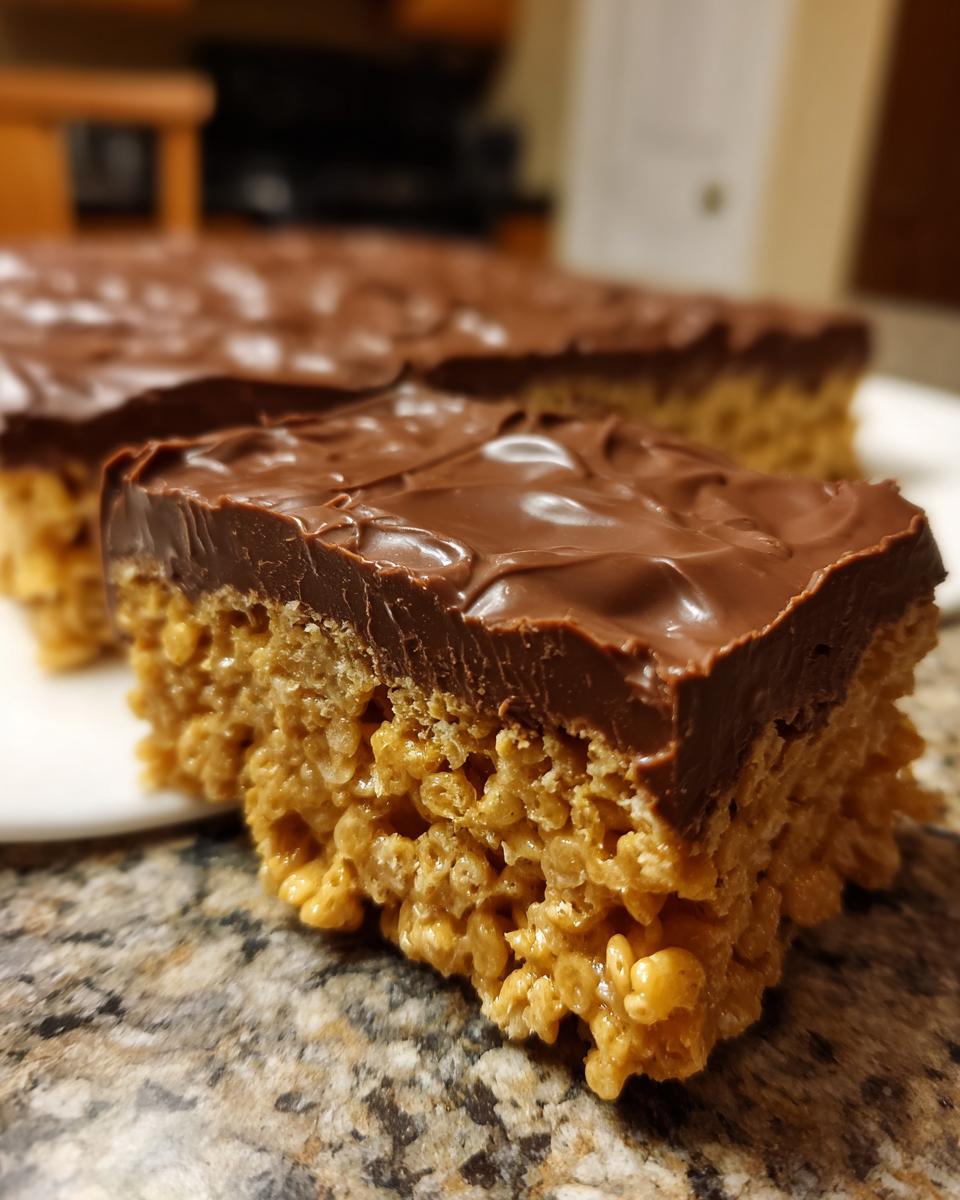
Once the mixture is evenly coated and pressed lightly into that prepared pan, it’s time for the luxury layer. Put your chocolate chips and that extra tablespoon of butter into a small bowl. Microwave this in short bursts—30 seconds at a time—stirring well in between each burst until it’s silky smooth. If you’re making the swirl variation, you could drizzle melted butterscotch chips right over this chocolate now.
Spread that luxurious chocolate topping evenly over your peanut butter base. Then, you just have to be patient! Let the bars cool completely at room temperature for at least an hour. This setting time is crucial for clean cutting and for making sure we end up with sturdy, stunning Chocolate Peanut Butter Rice Krispie Bars.
Tips for Perfect Chewy Rice Krispie Bars with Peanut Butter
Now that you’ve mastered the melt, let’s talk about the real-world magic that keeps these Chewy Rice Krispie Bars with Peanut Butter amazing for days. First up: sticking! This is the number one enemy of a clean bar. My biggest tip, which I learned the hard way after wasting a perfectly good batch, is to lightly spray your spatula with non-stick cooking spray before folding everything together, and coat your hands with a little butter when pressing it into the pan. You want the mixture to release cleanly so it doesn’t pull apart into messy strings when you cut it!
Also, remember that the marshmallows are key to the chew. Never, ever, ever let that marshmallow mixture get too hot on the stove. If it starts boiling furiously, you’re headed toward a hard candy texture, and that defeats the whole purpose! Keep it low and slow. If you’re interested in another recipe that uses butter beautifully, you have to try my soft maple cookies made with brown butter!
Variations on Classic Peanut Butter Rice Krispie Treats
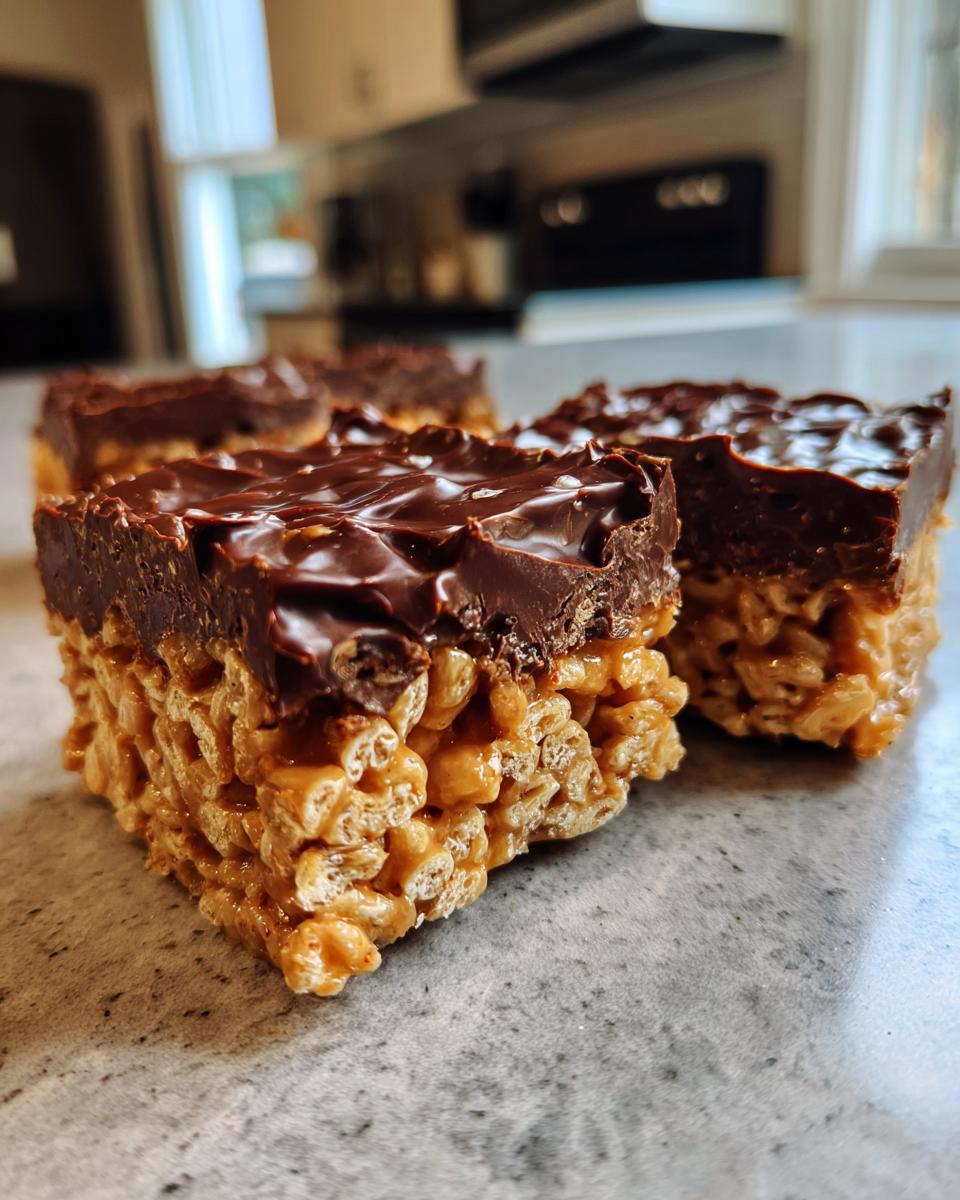
While my ultimate recipe is pure perfection on its own, I know everyone loves to tweak things! These Classic Rice Krispie Treat Variations are where you can really have some fun, especially if you’re looking to kick up the flavor profile for a party spread. We searched and saw that people are really interested in adding swirls, which brings me directly to the famous Scotcharoos. It’s such a beloved classic for a reason, and it’s so easy to pivot to that style!
On the other end, some of you are probably looking for something a little lighter, right? While true “health” isn’t totally achievable in a marshmallow bar, you can definitely use whole grain crisp cereal or reduce the amount of marshmallow slightly if you’re trying to cut back on straight sugar. We keep things simple here, but these adjustments let you tailor the treat to your needs. If you’re looking for another easy sweet snack that uses chocolate, check out my chocolate pecan pie recipe!
Making Scotcharoos Recipe Style Peanut Butter Cereal Treats
To turn these into proper Scotcharoos, we only need to make a small adjustment right at the end when we are making that luscious chocolate topping. Remember, Scotcharoos get their signature flavor from combining melted chocolate chips with melted butterscotch chips on top of that peanut butter base. So, when you melt your chocolate chips and the extra tablespoon of butter for the topping, you’ll also melt about half a cup of butterscotch chips separately, or melt about half of each together!
You’ll spread that melted chocolate layer over your cool cereal base first, just like in the main recipe. Then, while the chocolate is still wet, drizzle those melted butterscotch chips right over the top. Take a knife and gently swirl them together to create that classic, marbled look. It adds a lovely buttery, slightly caramelized flavor that pairs so well with the peanut butter. If you want another simple sweet treat that plays with salty and sweet, my peanut butter pretzel bark is a must-try!
Serving Suggestions for Peanut Butter Cereal Treats Recipe
These rich and satisfying treats are fantastic all on their own, of course, but I love finding ways to pair them up! Since they are so decadent, they pair beautifully with something bright or tart. If you are serving these at a party, try setting them next to a big bowl of fresh sliced strawberries or some tart green grapes—the fruit cuts right through the richness of the peanut butter and chocolate. They are definitely one of my top suggestions for Kid Friendly Snacks Peanut Butter needs, especially for school events because they hold up so well.
For a simple afternoon snack, a tall glass of cold milk is mandatory! If you want another easy idea for sweet snacking, you might want to bookmark my favorite list of easy sweet snacks for later. Trust me, these bars disappear fast, no matter how you serve them!
Storage and Reheating Instructions for Peanut Butter Rice Krispie Treats
The best part about these incredible No Bake Peanut Butter Desserts is how long they stay soft, provided you store them correctly! You want to keep your peanut butter rice krispie treats airtight at room temperature. Seriously, resist the urge to stick them in the fridge!
Refrigeration pulls moisture right out of the marshmallows and makes them hard and stiff almost instantly. Trust me on this one; they are best enjoyed when they are soft and pliable. If you must store them longer than three days, wrap them tightly in plastic wrap and keep them in an airtight container on the counter. If you want to reheat leftovers—maybe you made a double batch, oops!—just let them sit out for 30 minutes before serving. For another great make-ahead recipe, you can see how I handle leftovers in my leftover turkey pot pie!
Frequently Asked Questions About Peanut Butter Krispie Squares
I know when you search for the **Peanut Butter Rice Krispie Treats Recipe**, you often have specific concerns that pop up! It’s my job to make sure you feel confident before you even turn on the stove, so here are the answers to the questions I get asked most often about getting these Peanut Butter Krispie Squares just right.
Can I use natural peanut butter in this Peanut Butter Rice Krispie Treats Recipe?
That’s a tricky one! You certainly *can*, but you have to be ready for a little extra work. If you use natural peanut butter, the oil tends to separate out when you heat it up with the marshmallows, which can make your mixture look a little oily or even cause it to curdle slightly. My advice? If you must use it, make sure you stir it until it’s as integrated as possible before you take the pan off the heat. For the very best, smoothest melt for these Simple Marshmallow Cereal Bars, the standard creamy kind is always easier!
How do I stop my Simple Marshmallow Cereal Bars from getting hard?
This is the number one mistake people make with any cereal treat, and it comes down to two things! First, like I hammered home earlier—use fresh marshmallows! Stale ones are already hard. Second, and this is so important: when you are pressing the mixture into the pan, go easy on it. You are trying to spread it out, not compress it into a brick. If you press too hard, you eliminate all that wonderful airiness, and you end up with a dense, hard square that takes a marathon runner’s jaw strength to chew. Remember to grease your hands or spatula lightly, and just coax the mixture into place; don’t jam it down!
If you need other ideas for soft snacks that hold up well, I have so many great recipes, like my moist Greek yogurt banana bread!
Share Your Ultimate Peanut Butter Krispie Squares
Well, that’s it—you’ve made the absolute best, chewiest Peanut Butter Rice Krispie Treats the world has ever seen! I’m so thrilled you’re taking these rich, comforting squares into your kitchen. Now, I absolutely need to know how they turned out for you!
Please don’t be shy! Head down to the comments section below and tell me everything. Did you go with the simple chocolate topping, or did you try that decadent Scotcharoos swirl? We all learn from each other in the kitchen, so let us know if you tweaked the recipe at all! Did you add a pinch of flaky sea salt on top? That’s one of my favorite little finishes!
I always try to pop in and answer any last-minute questions you might have, so don’t hesitate to ask. And if you snap a gorgeous photo of your finished Ultimate Peanut Butter Krispie Squares, I would be tickled pink if you shared it! Tag me on social media so I can see your handiwork. If you want to learn a little more about *why* I share these simple, comforting recipes, you can always hop over to my About Page. Happy snacking, friends!
PrintUltimate Chewy Peanut Butter Rice Krispie Treats with Optional Chocolate Swirl
Make the best, richest, and chewiest Peanut Butter Rice Krispie Treats using simple ingredients. This no-bake dessert is perfect for parties or a quick sweet snack.
- Prep Time: 15 min
- Cook Time: 5 min
- Total Time: 1 hour 20 min
- Yield: 18 squares 1x
- Category: Dessert
- Method: No-Bake
- Cuisine: American
- Diet: Vegetarian
Ingredients
- 6 cups Rice Krispies cereal
- 1 (10 ounce) package marshmallows
- 1/2 cup salted butter
- 1 cup creamy peanut butter
- 1 teaspoon vanilla extract
- 1 cup semi-sweet chocolate chips (for topping)
- 1 tablespoon butter (for topping)
Instructions
- Lightly grease a 9×13 inch baking pan or line it with parchment paper, leaving an overhang for easy removal.
- Measure the Rice Krispies cereal into a large bowl and set aside.
- In a large saucepan over medium-low heat, melt the 1/2 cup of butter.
- Add the marshmallows to the melted butter. Stir constantly until the marshmallows are completely melted and smooth. Remove the pan from the heat.
- Stir in the peanut butter and vanilla extract until fully combined with the marshmallow mixture.
- Pour the marshmallow-peanut butter mixture over the cereal in the large bowl. Use a rubber spatula coated with cooking spray to gently fold the mixture until the cereal is evenly coated.
- Press the mixture evenly into the prepared baking pan. Do not press too firmly, as this can make the treats hard.
- Prepare the chocolate topping: In a small, microwave-safe bowl, combine the chocolate chips and 1 tablespoon of butter. Microwave in 30-second intervals, stirring between each, until smooth.
- Spread the melted chocolate evenly over the top of the cereal mixture. If you want a swirl, drizzle melted butterscotch chips over the chocolate before setting.
- Let the treats cool completely at room temperature for about 1 hour before cutting into squares.
Notes
- For the chewiest bars, use fresh marshmallows. Stale marshmallows result in harder treats.
- If you prefer a richer flavor, use natural creamy peanut butter.
- To prevent sticking while pressing the mixture into the pan, lightly grease your hands or the spatula with butter or cooking spray.
Nutrition
- Serving Size: 1 square
- Calories: 210
- Sugar: 18g
- Sodium: 150mg
- Fat: 11g
- Saturated Fat: 4g
- Unsaturated Fat: 7g
- Trans Fat: 0g
- Carbohydrates: 27g
- Fiber: 1g
- Protein: 5g
- Cholesterol: 10mg