
Oh, friends, if you are chasing that deep, dark, utterly soul-satisfying chocolate hit, stop scrolling right now! Forget everything you thought you knew about box mixes because we are diving headfirst into what I genuinely believe are the ultimate fudgy brownies ever conceived. I’m Olivia Rosewood, and the whole point of DelishCraze is making classics simple, but these require just one little extra step that changes *everything*: browning the butter! Trust me, this step elevates these homemade brownies from good to absolutely legendary, giving you that deep, nutty flavor alongside that coveted, paper-thin, shiny top.
- Why These Ultimate Fudgy Brownies Are Your New Go-To
- Ingredients for Rich Brown Butter Brownies
- How to Prepare the Best Chocolate Brownies
- Baking and Cooling Your Brownies Perfectly
- Tips for Success with Homemade Brownies from Scratch
- Storage and Reheating Instructions for Gooey Homemade Brownies
- Serving Suggestions for These Decadent Chocolate Treats
- Frequently Asked Questions About Brownies
- Share Your Ultimate Fudgy Brownies Creations
Why These Ultimate Fudgy Brownies Are Your New Go-To
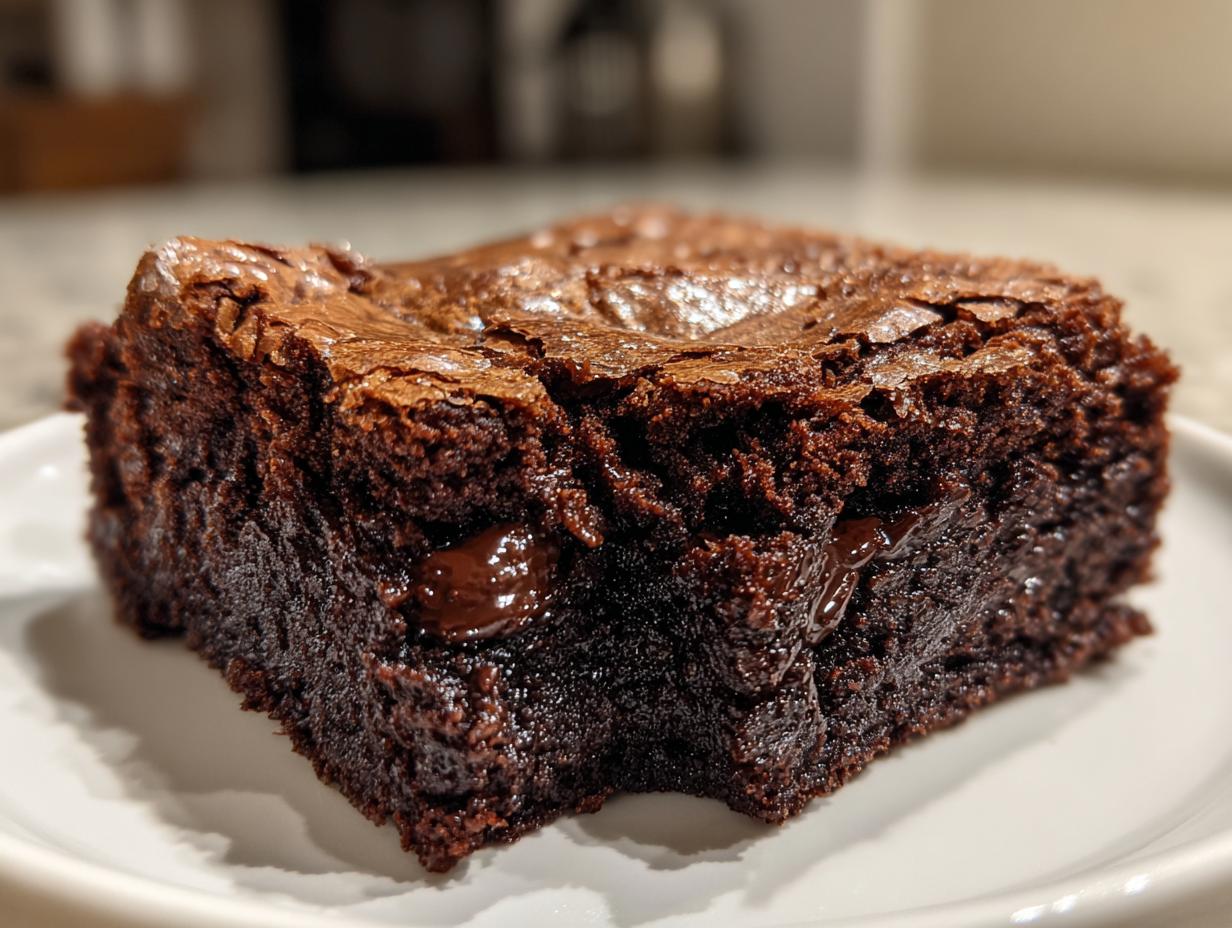
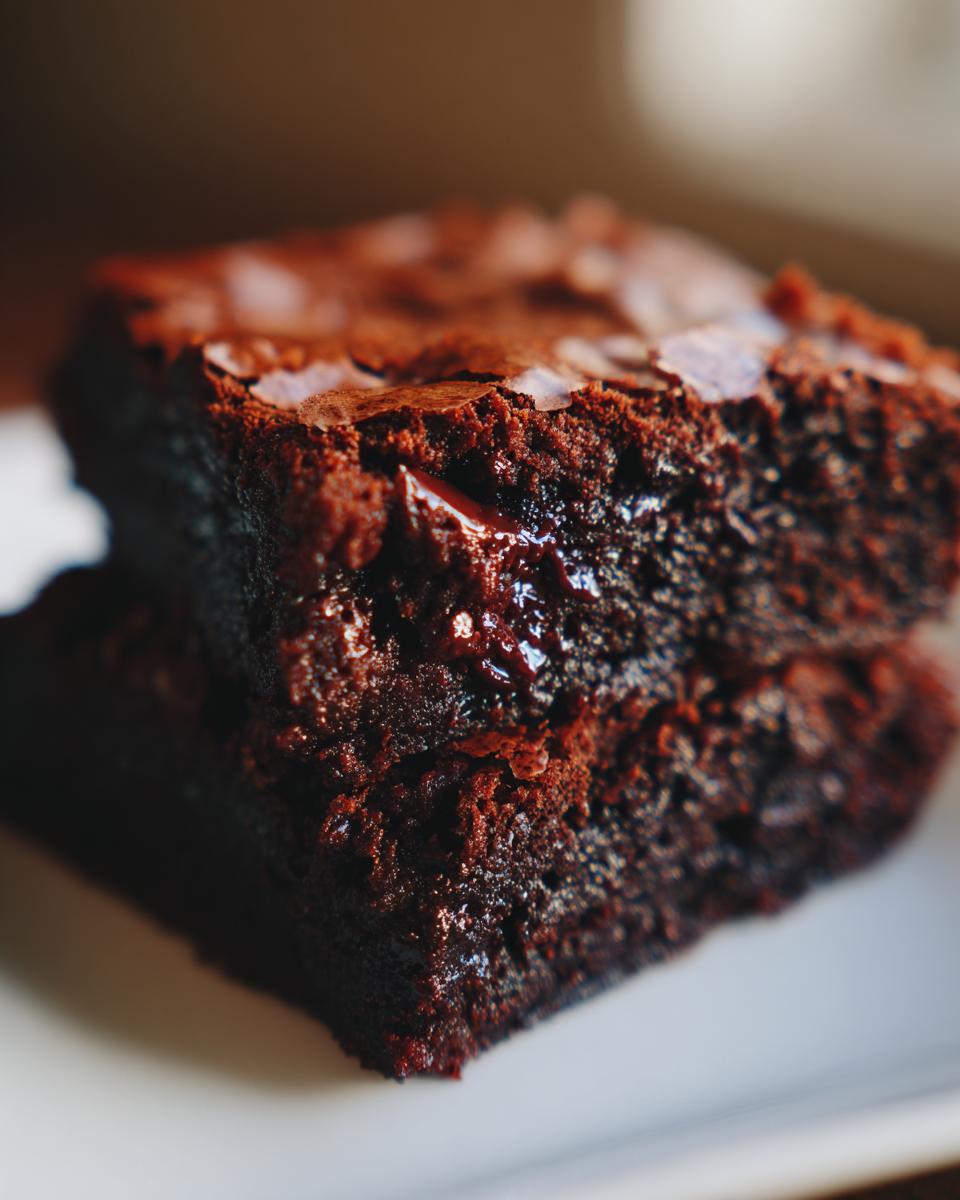
I’m obsessed with these brownies, and I know you will be too! When you’re craving something truly decadent, you can’t settle for just okay. These hit every major requirement: they are ultra-fudgy, intensely rich from that brown butter magic, and they bake up with that stunning, delicate crackly top everyone chases. I absolutely love seeing the look on folks’ faces when they try this ultimate fudgy brownies recipe!
- They deliver that melt-in-your-mouth, gooey homemade brownies texture that reminds you of a high-end bakery.
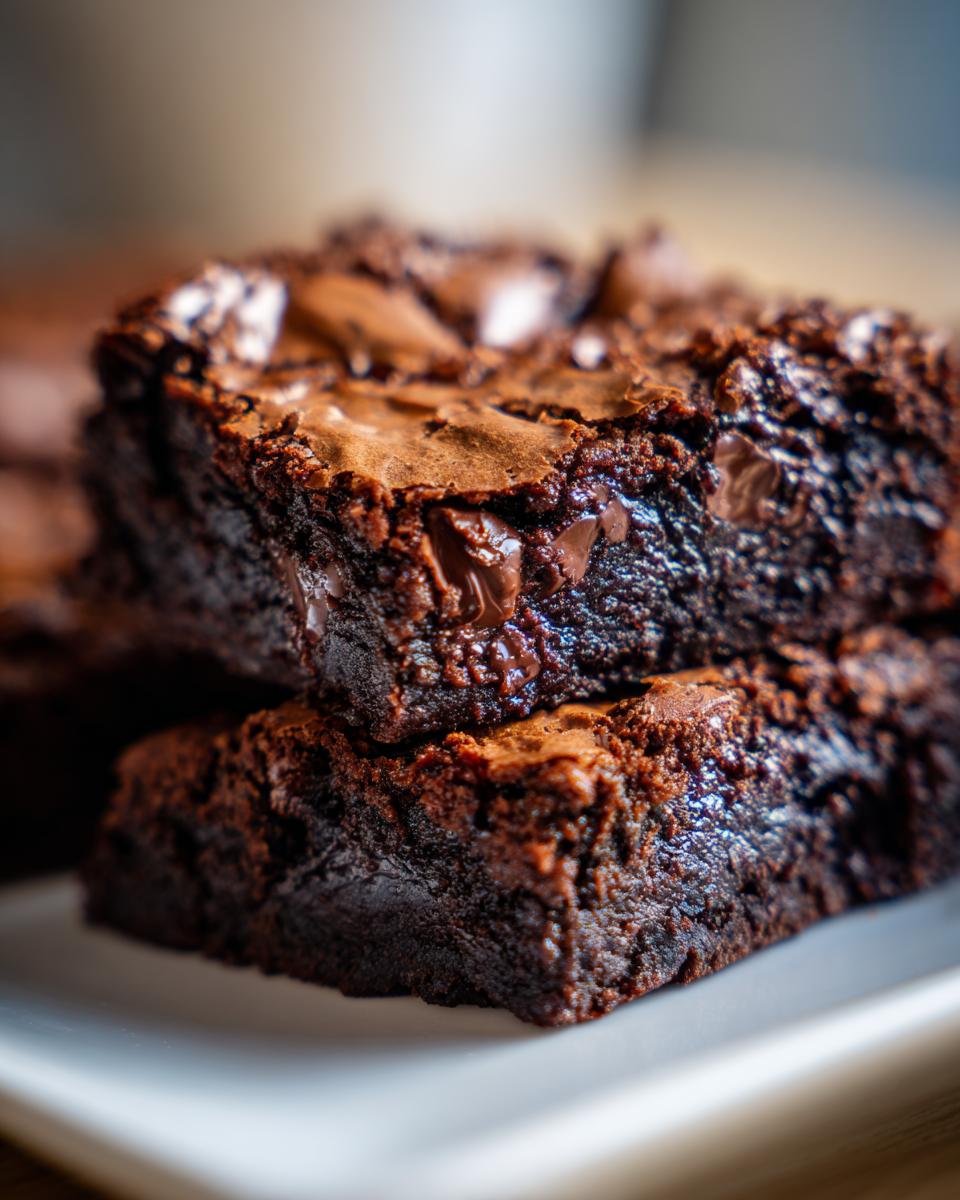
- The flavor profile is next-level because of the nutty depth brown butter brings—it’s a game-changer for any chocolate dessert.
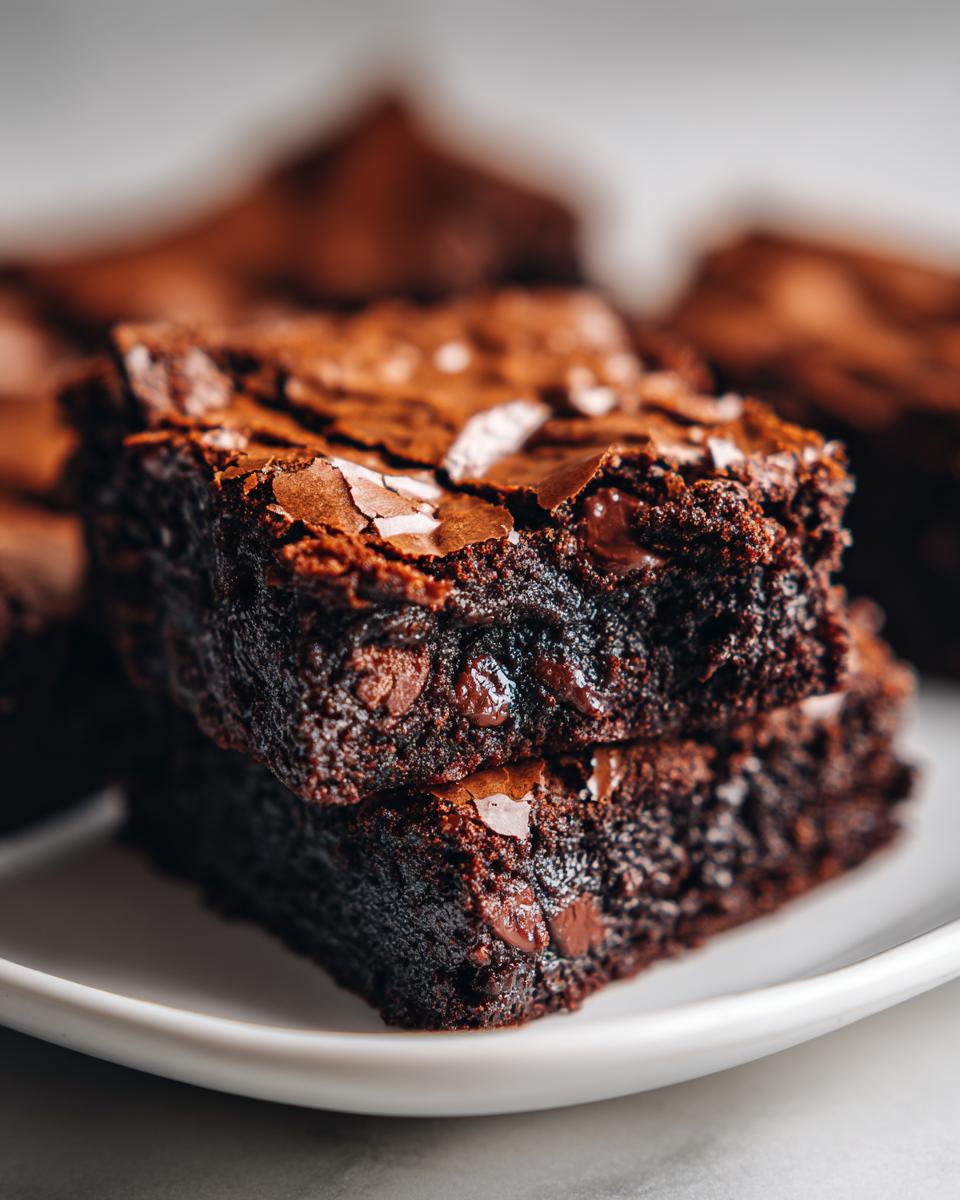
- They look gorgeous! That crackly top makes everyone think you spent hours fussing over them, but really, it’s just good technique.
Achieving the Perfect Fudgy Texture
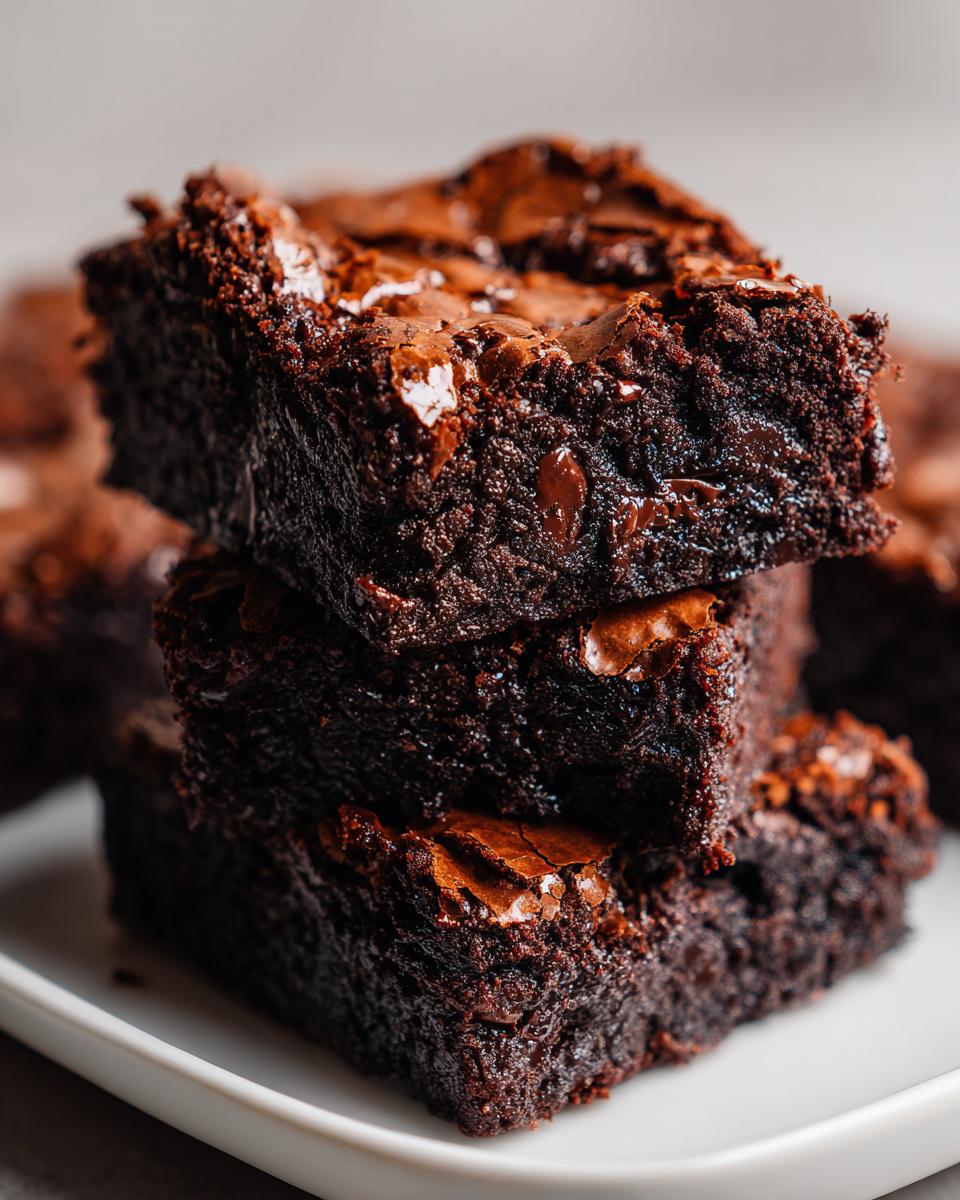
The fudgy texture happens because we use a higher ratio of fat (butter and chocolate) to flour. This recipe is designed to be dense, not cakey! Also, don’t even think about overbaking them—seriously. They need to come out looking slightly underdone because they keep setting up as they cool. That cooling time is crucial for locking in the gooey center.
The Secret to a Shiny, Crackly Top Brownies
Ah, the holy grail of brownies! That meringue-like sheen isn’t luck; it’s science mixed with a little elbow grease. When you whisk those sugars and eggs into the warm brown butter, you are whipping air into the batter and dissolving the sugar just right. That dissolved sugar rises during baking and forms that fragile, shiny shell. Just follow that initial whisking step exactly, and you’ll get that crackly top brownies finish every single time!
Ingredients for Rich Brown Butter Brownies
Okay, getting these rich brown butter brownies together is surprisingly simple once you’ve mastered the butter step. I’ve listed exactly what you need below. Remember, for baking, the quality of what you put in really matters, especially since these are so chocolate-forward!
- 1 cup (2 sticks) unsalted butter
- 1 1/4 cups granulated sugar
- 1 cup packed light brown sugar
- 4 large eggs
- 1 tablespoon vanilla extract
- 3/4 cup unsweetened cocoa powder
- 1/2 cup all-purpose flour
- 1 teaspoon salt
- 1 cup semi-sweet chocolate chips
I mentioned it before, but I’ll say it again: the butter has to be browned! Don’t skip that part or use regular melted butter. Browning the butter transforms the flavor profile of these decadent chocolate treats completely, giving them that irresistible bakery quality.
Ingredient Notes and Substitutions
While I encourage you to stick to this list for the absolute best ever brownies, I know sometimes we have to work with what we have. Brown butter is non-negotiable for the flavor depth here. It brings a toasted, nutty complexity that you just can’t fake, and it’s what pushes these into gourmet territory!
If you aren’t a fan of semi-sweet, feel free to use milk chocolate chips for a sweeter vibe, or chop up a wonderful dark chocolate bar from my favorite chocolate source if you want them extra dark. Just make sure you’re folding those chips in last—we don’t want to mess up the batter structure we worked so hard to create!
How to Prepare the Best Chocolate Brownies
Now we get to the fun part: putting it all together! This process is genuinely soothing, and if you take your time with the first couple of steps, you’ll be rewarded with the richest gooey homemade brownies you’ve ever tasted. Forget rushing; these are worth a few deliberate moments! I promise, this simple procedure is what separates the okay brownies from the truly decadent chocolate treats. Remember, we are making these from scratch, so let’s treat the recipe with respect! If you need tips on pairing this richness later, check out my pointers on making a simple moist loaf—it’s all about great texture!
Browning the Butter for Gourmet Brownies
This is where the magic usually gets scary for people, but I promise, you just need to watch it carefully. You’ll melt that full cup of butter in a light-colored pan—you need to see those little bits forming! It will foam up and then settle down. Keep stirring, and you’ll see tiny brown specks decorating the bottom, and you’ll catch this amazing nutty, toasty aroma. Stop stirring immediately when you smell that nutty scent and see those specks. Pour that liquid gold right away into your big mixing bowl so it doesn’t burn! If you miss that window, oops! You’ll have to start over, but honestly, once you smell it right, you’ll never forget it. That warm butter is the key to our deep flavor and gets these brown butter brownies shining!
Mixing and Folding for Fudgy Brownies
Once your brown butter is in the bowl, get those sugars (granulated and brown) in there! Whisk them together well. Warm butter helps dissolve the sugar, which is super important for that shiny top we love! Then, one by one, add your eggs and that vanilla, whisking well after each egg. You want that mixture to look glossy and gorgeous before you shift gears.
Next up are the dry things: cocoa powder, flour, and salt. Don’t mix these in the bowl with the electric mixer—put them in a small bowl first and just give them a quick whisk to combine. Now, switch entirely to a spatula. Gently fold those dry ingredients into your wet mixture. And I mean gently! As soon as you stop seeing streaks of flour, stop mixing! If you overmix, you develop gluten, and suddenly, your incredibly fudgy dream bar turns into a tough, cakey square. We do not want that! Fold in your chocolate chips last, just until they are evenly distributed. That’s it! Pour that gorgeous, thick batter into your prepared 9×9 pan and spread it evenly before it heads into the oven. You’re practically done with the hard part!
Baking and Cooling Your Brownies Perfectly
We are so close to that ultimate chocolate fix! Baking time is where most people accidentally ruin their perfect batter. Remember, we are aiming for gooey, fudgy brownies, not cake bars. Preheat your oven to 350°F—no cheating on the temperature! Prep that 9×9 pan with parchment paper so you have handles to lift those beautiful creations out later; that’s one of my favorite life hacks for keeping my ultimate gooey old-fashioned fudge desserts intact, too.
Slide that pan into the center rack and set your timer for 30 minutes. Now, this next part requires intuition, okay? At 30 minutes, you’re going to test them. Don’t just jab a toothpick straight into the middle. Slide it about an inch in from the edge. If the toothpick comes out clean, you’ve gone too far, and you’ve got cakey brownies! We want moist crumbs clinging to that toothpick—not wet, gloppy batter, mind you, but definite, fudgy crumbs. If you see wet batter, give them 3 to 5 more minutes and check again.
Here’s another crucial secret for that shiny top and fudgy interior: cooling! You must let these cool completely. I know, I know, sniffing warm chocolate bars right out of the oven is pure torture, but they need this time. If you try to slice them while they are warm, they will just collapse into a messy puddle—we want neat, decadent squares! Leave them in that pan on a wire rack for at least two hours, or honestly, stick them in the fridge for an hour if you can’t wait that long. Once they are totally cool, use those parchment sling handles to lift them out and slice them up. That cooling process finishes the cooking and firms up the structure, guaranteeing you get those famously rich chocolate dessert bars!
Tips for Success with Homemade Brownies from Scratch
Even with a great recipe, sometimes things go a little sideways in the kitchen—that’s just part of baking, right? But I’ve learned a few tricks over the years, especially when developing these fudgy brownies, that really guarantee success and keep that texture rich and chewy rather than dry. These tips are what moved me from liking my brownies to calling them the best ever brownies!
First, about that shine we talked about—sometimes I feel like I’ve whisked forever, and I’m still not getting the crackly top. My trick? Dust the surface lightly with about a teaspoon of extra granulated sugar right before they go into the oven. It seems silly, but that extra sugar on top has nothing else to bond with besides rising steam, which absolutely encourages that beautiful, thin crust to spread across the surface. It’s a little insurance policy for your gorgeous finish.
Secondly, never, ever use low-fat cocoa powder if you can avoid it. These are rich dessert bars, and that means they need the fat content that regular unsweetened cocoa provides. When I first tried making a lighter version years ago—I was feeling guilty about all that butter—I ended up with dusty, crumbly squares. It was a disaster! That batch went straight into the trash because it tasted nothing like the comforting, decadent chocolate treats I wanted. Stick to the full-fat cocoa for that true fudge factor.
Also, if you find yourself tempted to use a different pan, maybe a 9×13 inch pan because you want thinner brownies? Don’t do it with this recipe! This recipe is specifically balanced for the depth of a 9×9 pan to ensure that high fat-to-flour content works its magic and keeps everything moist. If you bake these in a much larger pan, the heat will distribute too quickly, and you’ll end up with dry edges before the middle even sets. Sticking to the pan size ensures we get that perfect combination of chewy edge and gooey center.
And finally, if you want to play around with gourmet brownie variations later, like adding nuts or swirls, make sure they are at room temperature, or even slightly warmed, before folding them in. Cold ingredients can sometimes shock the batter and disturb the air pockets you built up during the creaming steps. For extra flavor inspiration on nutty bakes, you have to check out these wonderful maple brown sugar cookies I developed; the flavor combos are just as warming! If you want more brown butter inspiration, check out these amazing fudgy bars I saw someone else making over at Blue Bowl Recipes.
Storage and Reheating Instructions for Gooey Homemade Brownies
One of the great things about a really dense, fudgy brownie is that, unlike a delicate cake, they actually taste even better the next day! But how you store these rich chocolate dessert bars makes all the difference in keeping them gooey. Since this recipe has such a great fat content and not a lot of egg white structure, they hold up beautifully.
For short-term storage—say, you know you’ll get through them in 3 or 4 days—keep them right on the counter. Pop them in an airtight container. I usually put down a sheet of parchment paper between layers if I’m stacking them high, just so the crackly tops don’t stick to the squares underneath. Room temperature is perfect for maintaining that perfect chewiness.
If you know you’re baking a huge batch—maybe you made these for a party or just because you needed an ultimate chocolate fix—you can absolutely freeze them! Slice them completely first. It’s so much easier to pull out one or two squares exactly when you want them that way. Wrap the stacks tightly in plastic wrap, and then slip them into a freezer-safe zip-top bag. They are good in the freezer for up to three months. They truly hold their texture well!
Restoring That Fresh-From-The-Oven Gooeyness
When you pull them out of the fridge or freezer, they’re going to be firm, which is normal and expected for rich chocolate desserts. You never want to eat a cold, hard brownie if you can help it! Reheating is simple, but you need to be gentle. We want to bring back that gooey center, not melt the whole thing into a puddle.
For one or two squares, I microwave them for just 10 to 15 seconds. You really need to watch them. A quick zap brings the butter and chocolate back to that soft, luscious state. If you are reheating a larger portion, or if they are frozen, use your oven! Wrap the desired amount in foil and warm them at about 300°F (150°C) for about 8 to 10 minutes. That gentle heat warms them through beautifully without drying out the edges. It makes them feel brand new!
If you’re looking for other no-fuss chocolate storage ideas, I have a fantastic recipe for easy Oreo fudge that stores just as perfectly. Honestly, making things ahead of time is the real secret to stress-free hosting!
Serving Suggestions for These Decadent Chocolate Treats
Okay, you’ve waited patiently, and now you have these perfect, fudgy, deep-chocolate squares sitting on your counter. How do you make them truly spectacular for company or just for yourself? It’s all about the presentation and the pairing!
Since these brown butter brownies have such a rich, complex flavor profile from all that toasted butter, they really don’t need much fuss. My absolute favorite way to serve them, especially if they are cut into neat squares, is with a scoop of high-quality vanilla bean ice cream. The cool creaminess against the intense, room-temperature chocolate is just heaven. The cold ice cream helps highlight that fudgy texture too!
If you’re serving them slightly warm (after a quick reheat, perhaps!), a simple, light dusting of powdered sugar or even a little dash of high-quality unsweetened cocoa powder goes a long way. It breaks up the dark color and adds that beautiful, professional look. I love this simple finish because it lets the texture do all the talking.
For coffee lovers, these are incredible alongside a strong black coffee or a latte. The bitterness of the coffee cuts through the sweetness perfectly. If you’re feeling a bit extra fancy, you can drizzle a tiny bit of caramel sauce over the top before serving, or even try stacking them next to a small dollop of my incredibly easy chocolate mousse. Honestly though? A plain square of this dense goodness is usually enough to satisfy any craving for decadent chocolate treats!
Frequently Asked Questions About Brownies
I know baking can sometimes bring up a few burning questions, especially when you’re aiming for perfection with something as loved as a classic brownie. Here are some of the things folks ask me most often about these fudgy brownies recipe, especially when they are trying to achieve that perfect texture!
Why are my brownies cakey instead of fudgy?
Oh, that’s the biggest heartbreak! If your homemade brownies from scratch are coming out more like cake, it almost always comes down to one of two things: too much flour, or overmixing. Remember how I stressed gently folding the dry ingredients in? Overmixing develops gluten, which is the structure you want in a cake but the enemy of a gooey brownie. Also, check your flour measurement! Did you scoop it with your measuring cup? Always spoon the flour into the cup and level it off, otherwise, you are adding way too much!
Can I make these one bowl brownies?
Well, sort of, but not quite! This specific recipe relies on browning the butter first, which requires a saucepan, and then we whisk the eggs and sugars in that bowl. It’s not exactly a pure one bowl brownies situation for the whole process, but the cleanup is still minimal—trust me! The flavor payoff from the brown butter is worth using that extra saucepan. If you are dead-set on truly one-bowl simplicity, you might want to check out the recipe for one bowl brownies, but for this particular knockout, you’ll use two vessels for that amazing depth of flavor!
How do I ensure I get the shiny, crackly top every time?
I touched on this before, but it’s worth repeating because everyone wants that bakery look! The key is the relationship between the sugar and the heat. Make sure you whisk the granulated sugar and the brown sugar vigorously into that warm brown butter and eggs for a full minute or two until everything is glossy. As the brownies bake, the sugar melts, rises to the top with steam, and then sets into that brittle, beautiful shell. Also, don’t overbake them—remember, slightly wet crumbs on the toothpick is the goal for these best chocolate brownies!
Can I substitute oil for the butter?
Please don’t! I know baking substitutions can save the day sometimes, but absolutely not with this recipe. The reason these turn out to be the ultimate fudgy brownies is specifically because of the butter—and the fact that we brown it! Browning the butter creates these beautiful, complex, nutty flavor compounds that oil simply cannot replicate. If you skip the brown butter, you lose 80% of what makes this recipe special. If you’re in a pinch for butter, you should try a simpler recipe, maybe a quick mug cake, but for these rich chocolate bars, butter is mandatory!
What if I want to add a swirl, like cream cheese swirl brownies?
That’s a fun idea for a gourmet variation! If you want to swirl in something like a cream cheese mixture or perhaps some extra melted chocolate, you need to do it right at the end, after you’ve folded in the chips. Dollop the swirl mixture right on top of the batter in the pan. Take a butter knife and gently run it back and forth through the batter only once or twice. You want distinct ribbons, not a uniformly mixed-up batter, or you’ll lose the texture contrast. If you’re looking for other interesting flavor ideas, my lemon brownies are fantastic if you want to switch up the chocolate game entirely!
Share Your Ultimate Fudgy Brownies Creations
And that’s it, my friends! You have officially mastered the ultimate fudgy brownies. Seriously, give yourself a huge pat on the back! You managed to coax deep, nutty flavor out of butter and ended up with those stunning, crackly tops. That is baker-level success right there, achieved in your own kitchen with basic ingredients!
I truly hope that these rich treats become a staple in your house, exactly like they are in mine. When you whip up a batch of these best ever brownies, I would absolutely love to hear about it! Did that brown butter aroma hit just right? Did you manage to resist cutting into them until they were fully cooled?
Please take a moment when you do make them to jump down to the rating section below and give them five stars if you loved them—it helps other bakers find these reliably delicious recipes. And if you snap a picture of your perfect squares, tag me on social media! Seeing your beautifully rich chocolate dessert bars makes my day every single time. Happy baking, and enjoy every ridiculously gooey bite!
PrintUltimate Fudgy Brown Butter Brownies with a Crackly Top
Make rich, gooey, and decadent homemade brownies from scratch. This recipe uses brown butter for deep flavor and simple steps to achieve that sought-after shiny, crackly top.
- Prep Time: 15 min
- Cook Time: 35 min
- Total Time: 50 min
- Yield: 16 servings 1x
- Category: Dessert
- Method: Baking
- Cuisine: American
- Diet: Vegetarian
Ingredients
- 1 cup (2 sticks) unsalted butter
- 1 1/4 cups granulated sugar
- 1 cup packed light brown sugar
- 4 large eggs
- 1 tablespoon vanilla extract
- 3/4 cup unsweetened cocoa powder
- 1/2 cup all-purpose flour
- 1 teaspoon salt
- 1 cup semi-sweet chocolate chips
Instructions
- Preheat your oven to 350°F (175°C). Line a 9×9 inch baking pan with parchment paper, leaving an overhang on two sides for easy removal.
- Melt the butter in a light-colored saucepan over medium heat. Continue cooking, stirring often, until the butter foams, then subsides, and brown bits form at the bottom, giving off a nutty aroma. This is brown butter. Immediately remove from heat and pour the brown butter into a large, heat-safe mixing bowl.
- Whisk the granulated sugar and brown sugar into the warm brown butter until fully combined.
- Whisk in the eggs one at a time, mixing well after each addition. Stir in the vanilla extract. The mixture should look glossy.
- In a separate small bowl, whisk together the cocoa powder, flour, and salt.
- Gently fold the dry ingredients into the wet ingredients using a spatula until just combined. Do not overmix.
- Fold in the chocolate chips.
- Pour the batter into the prepared pan and spread evenly.
- Bake for 30 to 35 minutes. For fudgy brownies, the center should still look slightly underdone when you remove it. A toothpick inserted near the edge should come out with moist crumbs attached, not wet batter.
- Let the brownies cool completely in the pan on a wire rack before lifting them out using the parchment overhang. Cut into squares.
Notes
- For the best crackly top, do not overbake the brownies. The residual heat will finish cooking them as they cool.
- Cooling completely before cutting prevents the fudgy texture from falling apart.
- You can substitute milk chocolate chips for semi-sweet if you prefer a sweeter treat.
Nutrition
- Serving Size: 1 square
- Calories: 280
- Sugar: 28
- Sodium: 120
- Fat: 17
- Saturated Fat: 10
- Unsaturated Fat: 7
- Trans Fat: 0
- Carbohydrates: 31
- Fiber: 2
- Protein: 4
- Cholesterol: 75