
Oh, tell me I’m not the only one who has stared tragically at a perfectly baked cake while the frosting melts off the side like an abandoned snow figurine? That runny, overly sweet mess is the bane of every home baker’s existence! When I set out to perfect the classic American desserts I grew up loving, fixing the consistency of cream cheese frosting was mission number one. I wanted that signature tang, sure, but I absolutely needed it to be thick enough to build swirls on a cupcake top. After what felt like a hundred attempts in my Portland kitchen, I finally nailed it. This is truly the Top Rated Cream Cheese Frosting recipe you need if you want bakery-style stability without sacrificing that wonderful, slightly tart flavor. Trust me, this 10-minute recipe is your new secret weapon.
- Why This Is The Best Ever Cream Cheese Frosting Recipe
- Ingredients for Your Homemade Cream Cheese Frosting Recipe
- How to Make Cream Cheese Frosting That Holds Its Shape
- Tips for Success with Your Tangy Cream Cheese Topping
- Versatility: Using Your Cream Cheese Frosting for Carrot Cake and More
- Make Ahead Dessert Frosting and Storage for Cream Cheese Frosting
- Flavor Variations for This Easy Pipeable Frosting
- Frequently Asked Questions About Making Cream Cheese Frosting
- Estimated Nutritional Data for Cream Cheese Frosting
Why This Is The Best Ever Cream Cheese Frosting Recipe
I get it—you want that classic flavor but you need stability. If your frosting spreads out the second you try to frost a layer cake, you’re going to be frustrated! What makes this recipe my go-to is that it delivers everything you’re looking for in under ten minutes. No cooling down bowls over ice baths here, promise!
- The perfect balance of sweet and tangy is guaranteed.
- It’s genuinely thick and stable, making it the Smooth and Creamy Frosting you can actually decorate with.
- It’s lightning fast! We are talking total prep time of about 10 minutes.
We avoid the common pitfalls by focusing on temperature and whipping time. If you look at other recipes, they often skip the final whipping stage, and that’s where all the stability goes! This reliable frosting is perfect for everything, whether you are topping a carrot cake or making a batch of homemade spice cake.
Achieving Perfect Texture: The Secret to Pipeable Cream Cheese Frosting
The real magic for getting that sturdy, pipeable texture happens right at the end. You need your butter and cream cheese to be softened enough to blend without lumps, but they must still be slightly cool. Warm fat melts too easily!
Once the sugar is mixed in, you crank the speed up high for a full two to three minutes. That whipping time is crucial; it incorporates tons of air, lightening the mixture while simultaneously building structure. It’s what transforms a soft glaze into a frosting that holds a beautiful star tip design perfectly.
Ingredients for Your Homemade Cream Cheese Frosting Recipe
Okay, before we get to the mixing madness, let’s talk about what you need. This recipe is fantastic because it relies on just a handful of everyday things, but quality really matters here, sweetie. We are making about 3 cups of frosting, which is plenty for a big layer cake or two dozen cupcakes.
- 8 ounces full-fat cream cheese, softened
- 1/2 cup (1 stick) unsalted butter, softened
- 4 cups powdered sugar, sifted
- 1 teaspoon pure vanilla extract
- 1/4 teaspoon salt
Ingredient Notes and Substitutions for Cream Cheese Frosting
This is where we build the foundation! You absolutely must use the full-fat cream cheese. Anything labeled ‘low-fat’ or ‘whipped’ has extra water, and trust me, that water makes your frosting sloppy and separates super fast. If you use salted butter by mistake, just skip adding the extra salt!
And please, sift that powdered sugar! I know it seems like an extra chore, but if you don’t, you’ll end up wrestling huge clumps into your beautiful, smooth batter. Nobody wants a lumpy, gritty topping after all that hard work!
How to Make Cream Cheese Frosting That Holds Its Shape
You won’t believe how fast this comes together—we are talking about a truly wonderful, bakery-style frosting ready in about 10 minutes flat! Since we are using an electric mixer, the steps are super straightforward, but the sequence is important, so follow along exactly. We need to build that structure slowly so it doesn’t collapse when you try to decorate your favorite cupcakes later on.
Step 1: Creaming Butter and Cream Cheese for Smooth Cream Cheese Frosting
First things first, get your softened butter and cream cheese into your mixing bowl. Run the electric mixer on medium speed and beat those two fats together until they are totally seamless and creamy. This takes about two full minutes. Make sure you stop halfway and scrape down the sides really well. We want zero cheesy pebbles in our final product!
Step 2: Adding Sugar Gradually
Now, turn your mixer down to low speed—and I mean low! We are adding the sifted powdered sugar one cup at a time. You have to be patient here and let each cup get incorporated before dumping in the next. Once the sugar is mostly mixed in, toss in your vanilla and that little pinch of salt. Mix just until you see it come together.
Step 3: Whipping for Fluffy Cake Icing Texture
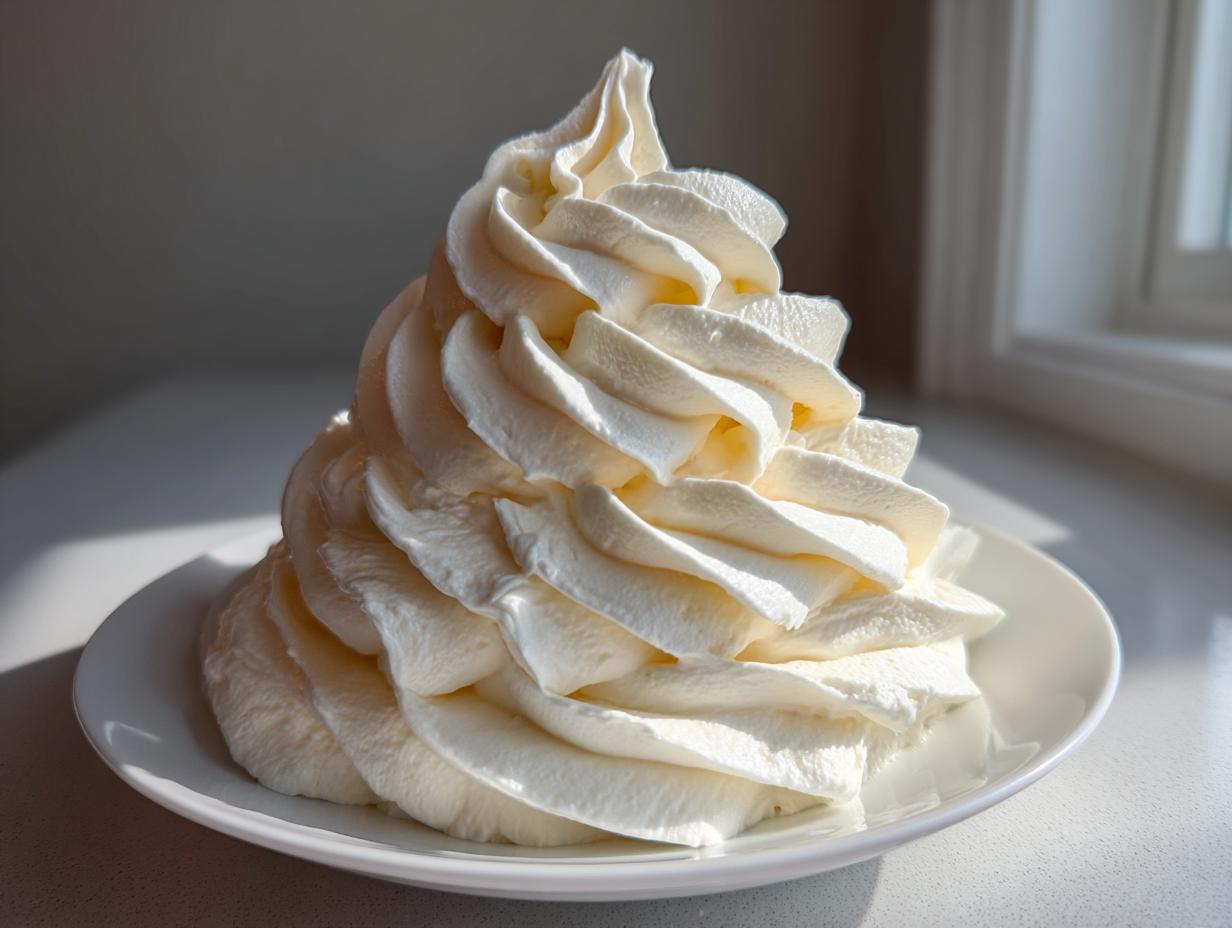
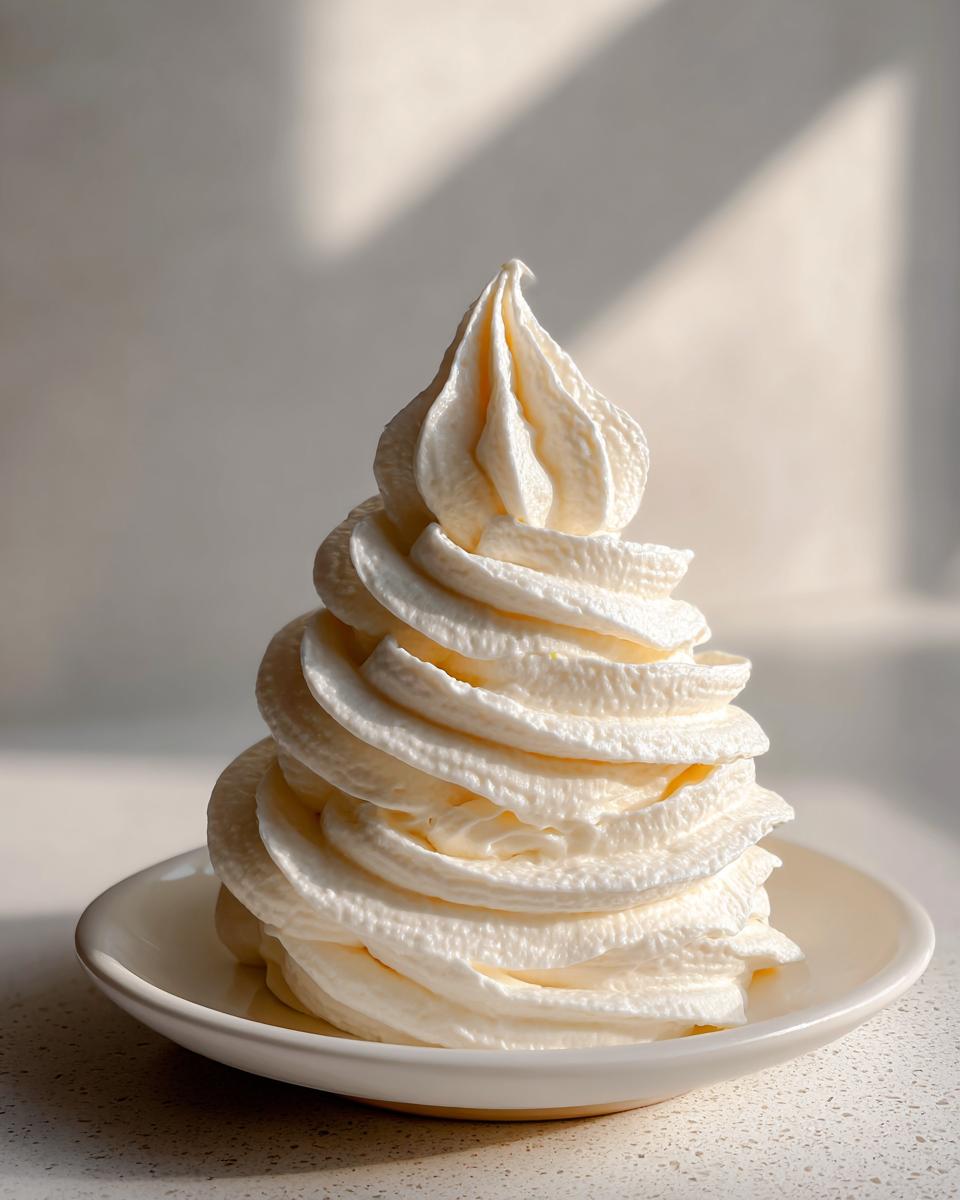
Here’s the part that separates the runny stuff from the amazing stuff! Once everything is just combined, turn the mixer up to medium-high. Let it whip hard for a solid two to three minutes. This whipping action is what incorporates the air and lightens the texture. When you see light, stiff peaks forming and the color looks fluffy, you’ve achieved that gorgeous, stable Bakery Style Frosting at Home consistency!
Tips for Success with Your Tangy Cream Cheese Topping
Listen, even when you follow every step perfectly, sometimes the humidity hangs around, or maybe your butter decided to be a little too warm—it happens to me all the time! If you end up with a frosting that looks just a touch too soft after that final high-speed whip, don’t panic! You don’t need to throw it out and start over.
The quickest fix is chilling. Seriously, pop that bowl into the refrigerator for about fifteen minutes. That little chill time lets the fats firm up just enough. When you bring it back out, give it a quick minute or two on medium speed to whip it back up into something glorious and stable. This trick is a lifesaver when working with this tangy cream cheese topping, especially if you plan on piping detailed borders.
Also, remember my rule: if you think it needs more zing, add a tiny squeeze of fresh lemon juice instead of more sugar. That extra bit of acid brightens everything up beautifully! You can always find more great tips over at Sweetly Cakes, too!
Versatility: Using Your Cream Cheese Frosting for Carrot Cake and More
One of the best things about this reliable, thick frosting is how incredibly versatile it is! Since we nailed that stability without making it overly sweet, it pairs perfectly with sharper, spicier baked goods. Naturally, it’s my absolute favorite choice for topping my homemade Carrot Cake Muffins—that creamy tang cuts through the spice so nicely. You just can’t beat classic Cream Cheese Frosting for Carrot Cake.
But don’t stop there! This is the perfect Red Velvet Cake Frosting Recipe, just like you’d get at a bakery, holding those beautiful deep-red crumbs securely. I even use it on my red velvet cookies when I want that extra richness. If you have leftover frosting (which never happens at my house!), it is divine swirled on top of warm cinnamon rolls instead of a thin glaze. Seriously, check out how folks use it on cinnamon rolls; it’s a game-changer for breakfast treats, too!
And if you’re feeling adventurous, try it on chocolate cupcakes; the slight sourness makes the dark chocolate flavor pop. It’s just so much better than basic buttercream, isn’t it?
Make Ahead Dessert Frosting and Storage for Cream Cheese Frosting
I’m busy, just like you, so naturally, I needed to know if this amazing creation could survive a trip into the fridge! The great news is yes, you absolutely can prepare this Make Ahead Dessert Frosting and keep it ready for emergencies. That’s how I always have frosting on hand! You can learn more about making frosting ahead on my general guide to make ahead dessert frosting.
Here’s the trick: put the finished frosting into an airtight container. I mean *really* airtight, you don’t want any fridge smells sneaking in. It keeps beautifully in the refrigerator for up to five days.
When you pull it out to use it, let it sit on the counter until it comes back up toward room temperature—it needs to soften slightly. Then, you have to give it a quick whip with the mixer for just a minute. Re-whipping brings back that light, fluffy texture it had straight from the mixer the first time. You’ll be surprised how fresh it tastes!
Flavor Variations for This Easy Pipeable Frosting
While the classic vanilla makes this frosting a sheer dream, sometimes you just need to spice things up, right? The base recipe is so sturdy that it handles extra flavorings like a champ. You don’t need complicated steps to make it your own.
If you want to kick up that tang even more, I highly recommend adding the zest of one whole lemon right when you add the vanilla extract. It brings this beautiful, bright zip that makes it incredible on gingerbread or spice cakes. You can find my trick for zesty glazes over here!
For a richer flavor, try whisking in a teaspoon of instant espresso powder with the vanilla. It gives a lovely coffee note perfect for chocolate cakes. And of course, a dash of cinnamon added during the final whip makes it the most gorgeous topping for homemade scones or sweet breads.
Frequently Asked Questions About Making Cream Cheese Frosting
I hear from so many folks who swear they can only perfect their baking when they get the topping right. Don’t worry, if you’ve struggled before, this FAQ should clear up any last questions you have about making this an no fail cream cheese icing!
Can I use low-fat cream cheese in this cream cheese frosting recipe?
Oh, please don’t try it! I really stress this: stick to full-fat cream cheese. The lower-fat versions have way more water content than their full-fat cousins. If you put that extra water into the frosting, it breaks down much faster. You end up with a thin, soupy mess that separates, and you certainly won’t get any nice shape for decorating.
What makes this cream cheese icing recipe so good for decorating?
It comes down to two things we talked about, really. First, the balance of butter to cream cheese is just right so it doesn’t slide off the cake. Second—and this is the big one—is that final 2-3 minutes of high-speed whipping. That final blast of air incorporates stability, turning it into the perfect Easy Pipeable Frosting that holds those sharp edges and swirls beautifully.
Need another quick answer for another recipe? I’ve got tons of quick tips, like making my 10-minute pizza bagels, over on the blog!
Estimated Nutritional Data for Cream Cheese Frosting
Food is joy, but sometimes we need to know what’s in the delicious stuff we are whipping up! I pulled the numbers based on the ingredients list for this recipe. Remember, these figures are just estimates based on serving size—which I set at about 1/4 cup, because honestly, who eats that little?
If you’re strictly counting macros, you might want to weigh your portions, but for the everyday baker, this should give you a good ballpark idea of what you’re enjoying on your cupcakes or red velvet cookies!
- Serving Size: 1/4 cup
- Calories: 350
- Total Fat: 18g (with 11g saturated)
- Carbohydrates: 48g
- Sugar: 45g
- Protein: 3g
- Cholesterol: 55mg
Since this frosting is so rich in butter and cream cheese, the fat content is where you’ll see the numbers lean, but that fat is what makes it so wonderfully creamy and huggable on the cake. Enjoy it guilt-free; you made it with love, and that counts for a lot!
PrintThe Best Ever Cream Cheese Frosting That Holds Its Shape
Create a smooth, thick, and tangy cream cheese frosting that holds its shape perfectly for piping on cakes and cupcakes. This recipe uses simple ingredients and delivers bakery-style results quickly.
- Prep Time: 10 min
- Cook Time: 0 min
- Total Time: 10 min
- Yield: About 3 cups 1x
- Category: Dessert Topping
- Method: Mixing
- Cuisine: American
- Diet: Vegetarian
Ingredients
- 8 ounces full-fat cream cheese, softened
- 1/2 cup (1 stick) unsalted butter, softened
- 4 cups powdered sugar, sifted
- 1 teaspoon pure vanilla extract
- 1/4 teaspoon salt
Instructions
- Place the softened cream cheese and softened butter into a large mixing bowl. Beat them together with an electric mixer on medium speed until the mixture is completely smooth and creamy, about 2 minutes. Scrape down the sides of the bowl.
- Reduce the mixer speed to low. Gradually add the sifted powdered sugar, one cup at a time, mixing well after each addition until just combined.
- Add the vanilla extract and salt. Increase the mixer speed to medium-high and beat for 2 to 3 minutes until the frosting is light, fluffy, and holds stiff peaks. This whipping time helps stabilize the frosting for piping.
- If the frosting seems too soft, chill it for 15 minutes before using it to frost cakes, cupcakes, or cinnamon rolls.
Notes
- For the best stability and texture, ensure your cream cheese and butter are softened but still cool to the touch, not warm or greasy.
- If you need a thicker frosting for detailed piping, add an extra 1/2 cup of powdered sugar.
- To make this frosting ahead, store it in an airtight container in the refrigerator for up to 5 days. Let it come to room temperature and re-whip briefly before using.
- This recipe is perfect for topping Red Velvet Cake or Carrot Cake.
Nutrition
- Serving Size: 1/4 cup
- Calories: 350
- Sugar: 45g
- Sodium: 85mg
- Fat: 18g
- Saturated Fat: 11g
- Unsaturated Fat: 7g
- Trans Fat: 0g
- Carbohydrates: 48g
- Fiber: 0g
- Protein: 3g
- Cholesterol: 55mg