
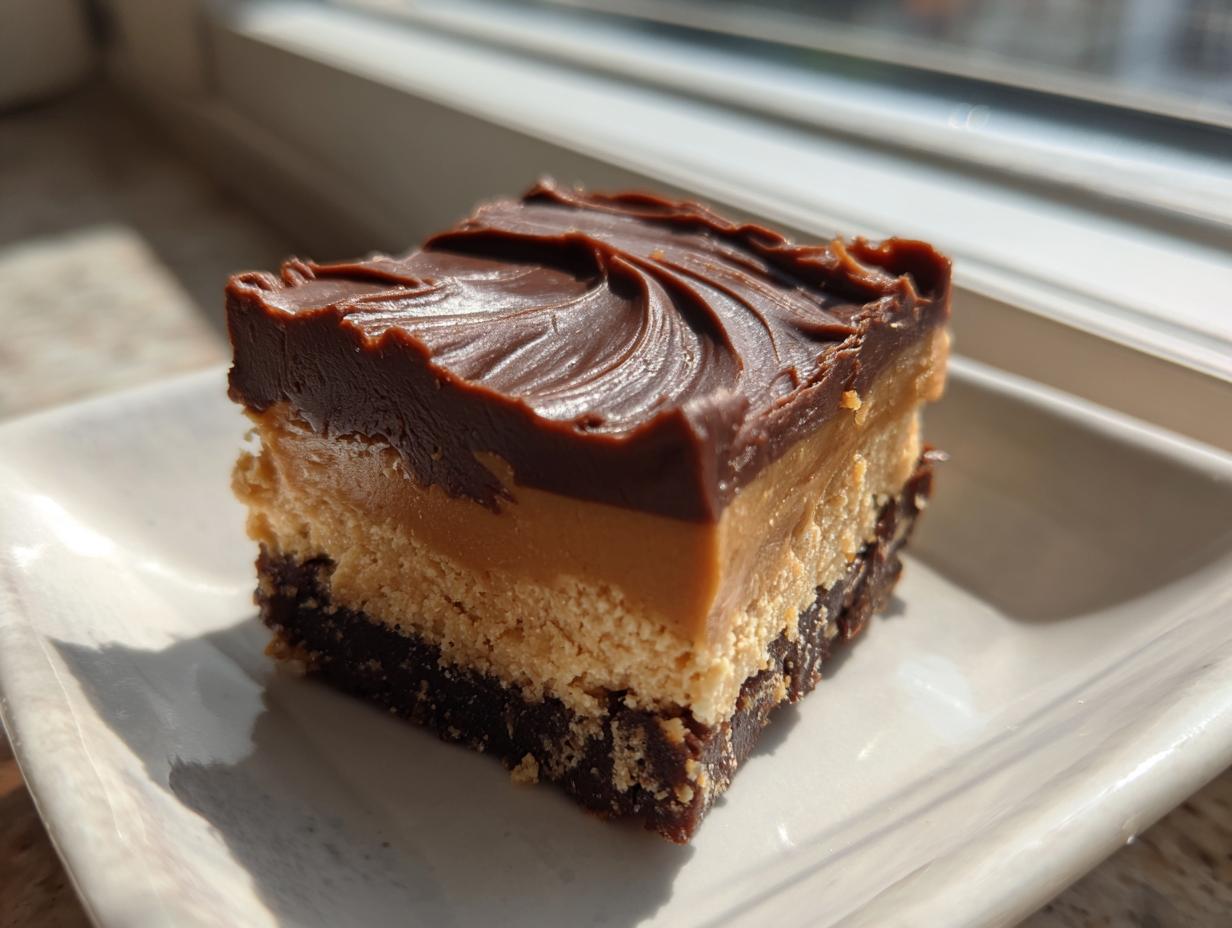
Do you ever have that sudden, fierce craving hit—the one that only rich, salty, sweet chocolate and peanut butter can fix? Me too! That’s why I’m sharing my go-to remedy: the ultimate easy, no-bake solution for decadent peanut butter bars. These aren’t just any squares; they are deep, creamy, and inspired by that wonderful, nostalgic style everyone calls the ‘Lunch Lady Bar.’ Here at DelishCraze, my goal—as Olivia Rosewood—has always been to bring you reliable, simple home cooking that doesn’t feel like a chore, and these addictive treats nail that perfectly. Trust me, you won’t even look at your oven!
- Why You Will Love These Easy Peanut Butter Bars
- Gathering Ingredients for Your Creamy Peanut Butter Treats
- Step-by-Step Instructions for No Bake Peanut Butter Bars
- Tips for Success Making Perfect Peanut Butter Bars
- Simple Dessert Recipes: Variations on Peanut Butter Bars
- Storage and Reheating Instructions for Decadent Dessert Bars
- Frequently Asked Questions About No Oven Dessert Ideas
- Estimated Nutritional Data for Classic Peanut Butter Bars
- Share Your Homemade Candy Bars Creations
Why You Will Love These Easy Peanut Butter Bars
When I say ‘easy,’ I truly mean it! These are the kind of quick sweet snacks you can pull together when company is unexpectedly on the way. Forget turning on the heat; these bars are all about speed and maximum payoff.
- Zero Oven Time: Seriously, we skip the oven entirely! This makes them fantastic for hot summer days or when you just don’t want to heat up the kitchen.
- Incredibly Fast Prep: The active mixing time is honestly less than 15 minutes. That’s everything you need to get these into the fridge to set up!
- Perfectly Creamy & Rich: We use just the right ratio of fat and powdered sugar to ensure that peanut butter layer is luxuriously smooth, not crumbly or stiff.
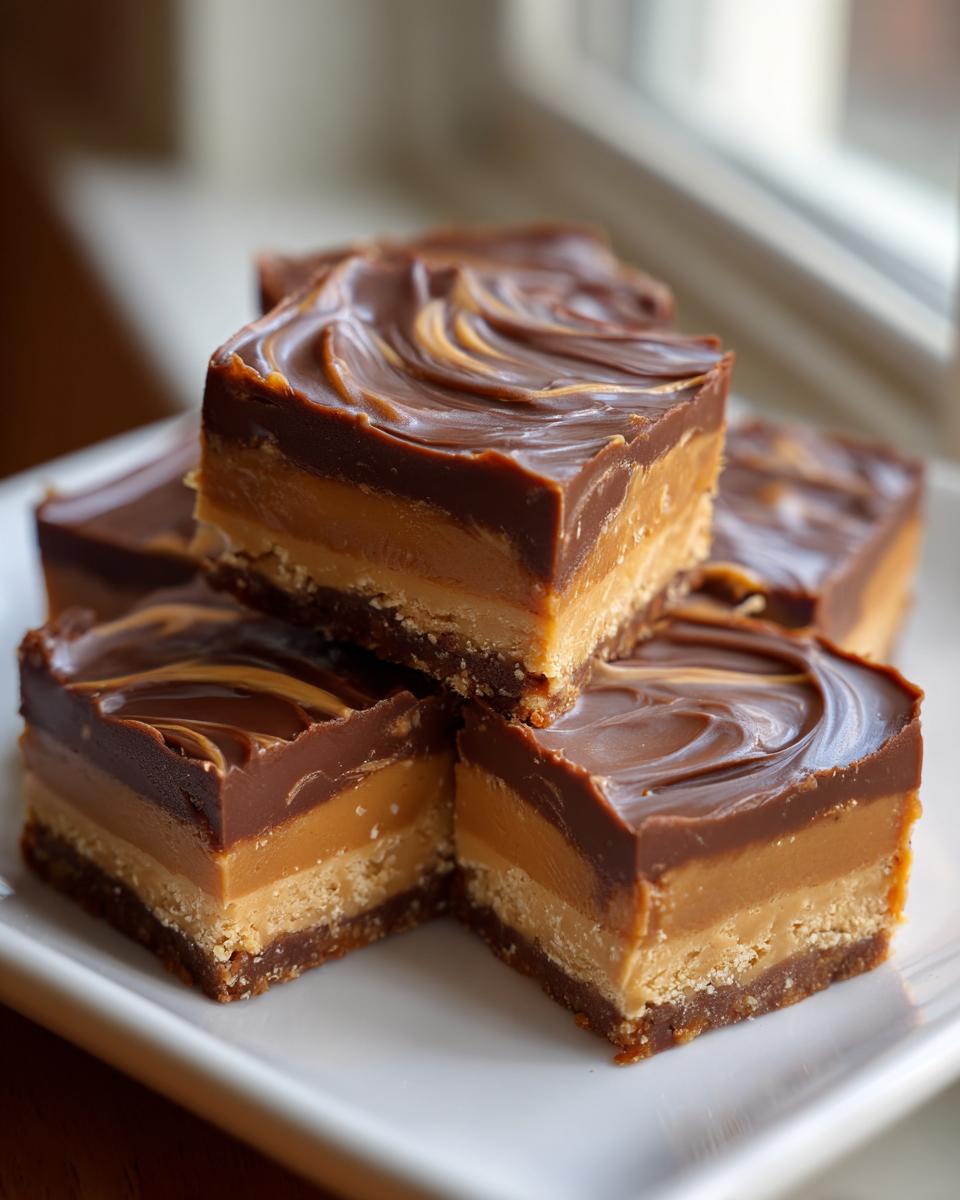
- Nostalgic Flavor Combo: If you grew up loving peanut butter and chocolate candy bars, this hits every single one of those flavor notes perfectly. They taste like homemade candy bars!
- Simple Grocery List: You probably have half these ingredients sitting in your pantry right now. Nothing fancy, just pure, comforting indulgence.
- The Ultimate Crowd-Pleaser: Whether you call them squares, treats, or classic peanut butter bars, everyone asks for this recipe. They disappear fast!
Gathering Ingredients for Your Creamy Peanut Butter Treats
Okay, let’s get the ingredients laid out. Since we aren’t baking these, the quality of what goes into the layers really matters for that amazing, set texture. Remember, these are my go-to chocolate peanut butter squares, and keeping the ingredients straightforward is key. Don’t stress about finding anything exotic; we keep it real and simple here!
Ingredients for the No Bake Peanut Butter Bars Base
This is the foundation—the part you press down nice and firm. Make sure your butter is actually melted, not just soft, for this layer to mix properly!
- 1 cup unsalted butter, melted
- 2 cups graham cracker crumbs
- 1 cup powdered sugar (that’s part one of the sugar!)
- 1 cup creamy peanut butter (make sure it’s creamy, not chunky, for the smooth texture we want)
Components for the Chocolate Peanut Butter Squares Topping
This section covers the smooth chocolate middle layer and that final top layer for the classic look. We use the rest of our wet and dry ingredients here.
- 1 cup semi-sweet chocolate chips
- The remaining 1 cup of powdered sugar (from the original 2 cups total)
- The remaining 1/4 cup of creamy peanut butter (from the original 1 cup total)
Step-by-Step Instructions for No Bake Peanut Butter Bars
This is where the magic happens, and trust me, it’s lightning fast! In about 15 minutes of active prep time, we go from pantry staples to a chilling, decadent dessert. Since we’re making these magnificent no bake dessert bars, you can put your feet up almost immediately. Let’s get these fantastic peanut butter bars put together!
Preparing the Pan and Base Layer for the peanut butter bars
First things first, a little prep work makes cleanup a breeze. You need an 8×8 inch pan. Line it completely with parchment paper, but make sure you leave a nice little overhang on two opposite sides. This overhang is your built-in handle for lifting the whole thing out later—it’s the best trick for clean bars!
Now, into your mixing bowl with the melted butter, graham cracker crumbs, 1 cup of powdered sugar, and 3/4 cup of peanut butter. Grab a sturdy spoon and mix it up until it looks like thick, uniform dough. Don’t skimp on Step 3 here: press this base layer down *really* firmly into your prepared pan. You want a solid, dense foundation for all those creamy layers coming next.
Creating the Silky Chocolate Peanut Butter Squares Layer
Time for the chocolate middle layer! This step requires a little microwave attention so you don’t scorch the chocolate—and nobody wants scorched chocolate, right?
In a separate microwave-safe bowl, toss in your chocolate chips and the remaining 1/4 cup of peanut butter. Microwave these in short, 30-second bursts. Stop and stir thoroughly after every 30 seconds. I only do this until it’s *almost* completely smooth. The residual heat will melt the last bits as you stir. This prevents the edges from overheating and getting grainy. Once it’s beautifully glossy, pour that smooth mixture right over your packed peanut butter base and spread it out to cover everything evenly.
Finishing the Top Layer of Your Classic Peanut Butter Bars
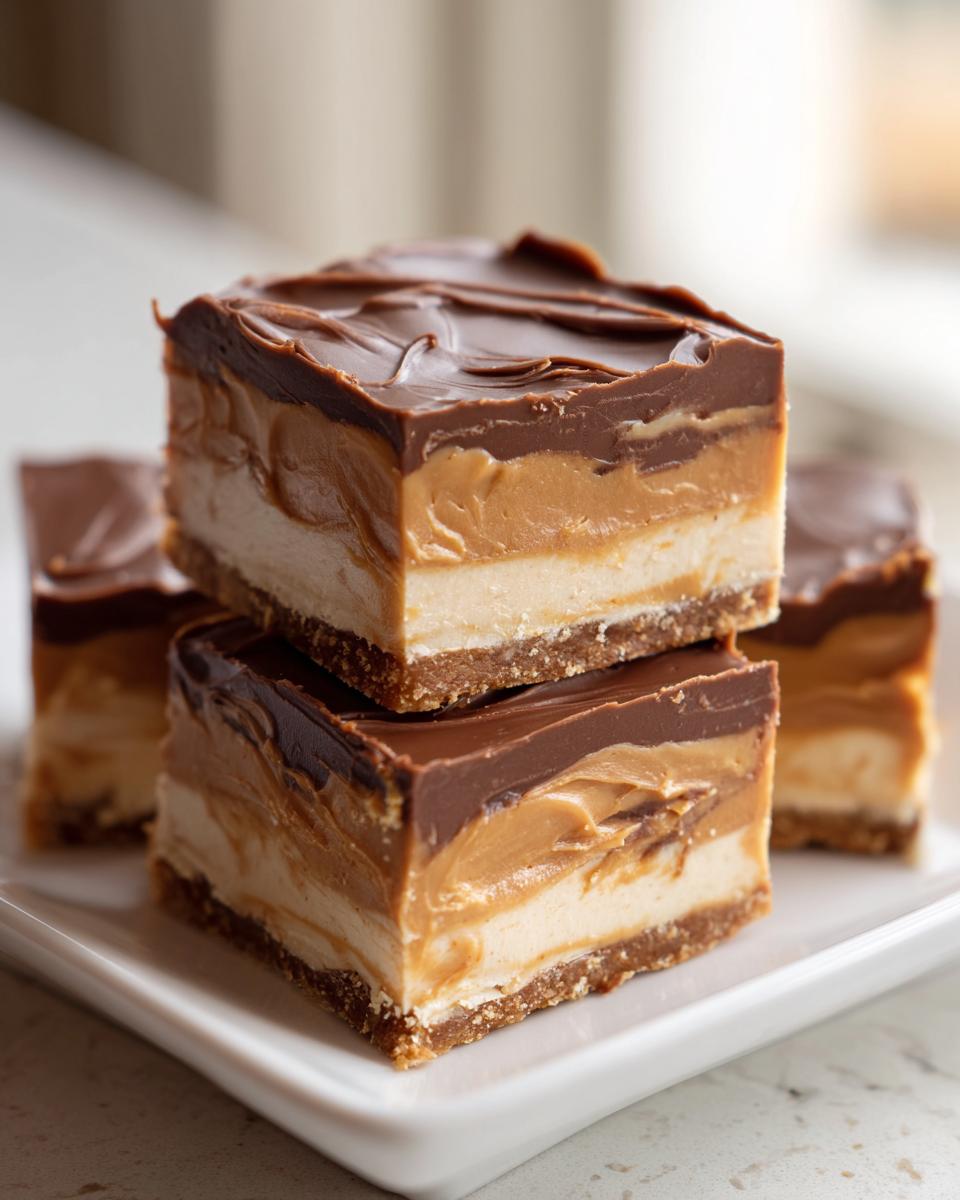
We aren’t quite done with the layers! For the top finish, you’re going to mix the very last bit of powdered sugar (1 cup) with the last bit of peanut butter (the remaining 1/4 cup). Mix this until it’s creamy—it will be thick, almost like heavy frosting.
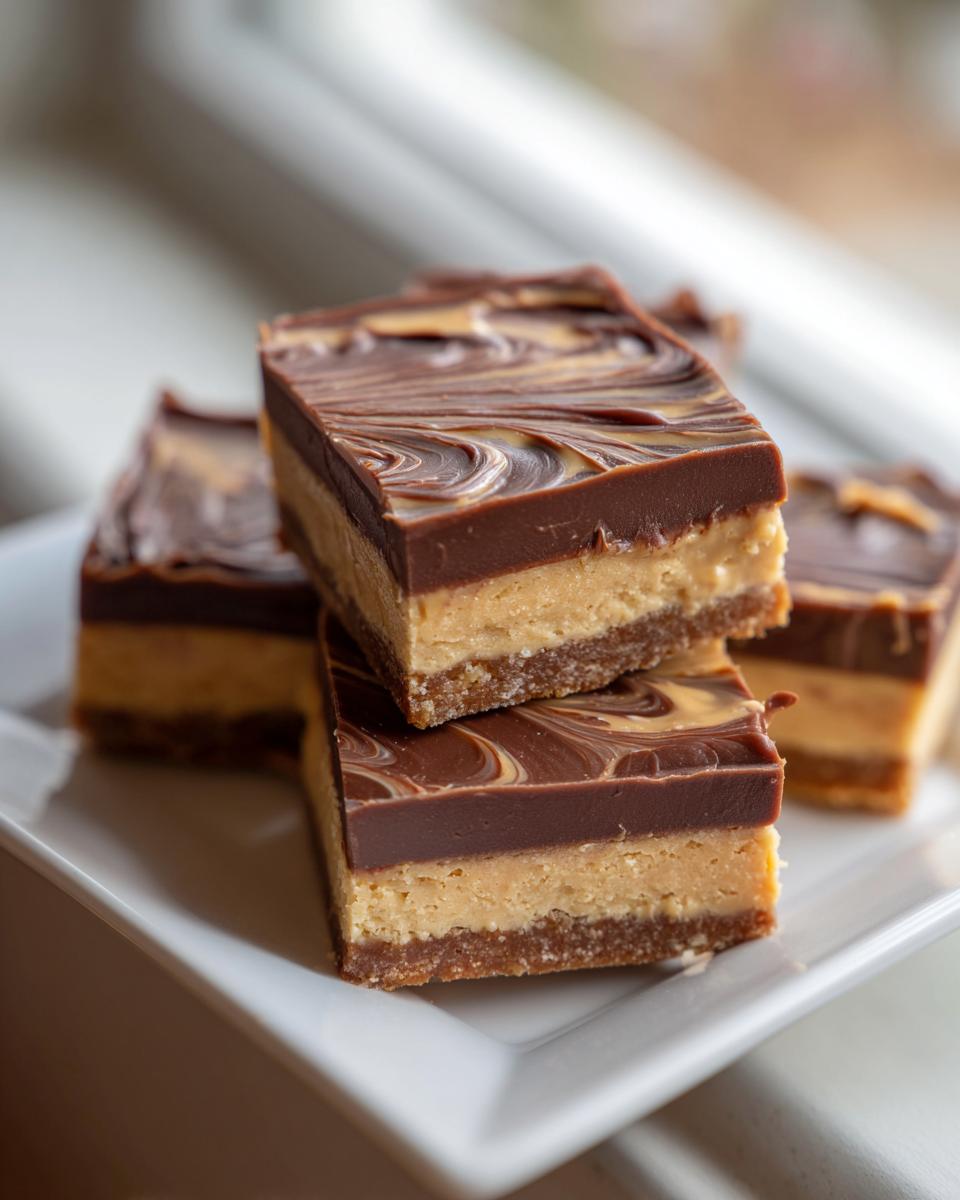
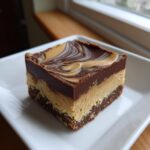
You have two options for spreading this top layer. You can spread it perfectly smooth, just like the chocolate layer, for that cleaner, classic look. Or, if you prefer a little fun contrast, just drop spoonfuls randomly over the chocolate layer and use a knife or small offset spatula to gently swirl them together. That marbled effect is so pretty! Once it looks good to you, these babies are heading into the cold. You can admire your work for about two hours in the fridge until everything is rock hard and ready to slice.
Tips for Success Making Perfect Peanut Butter Bars
Even though these are no-bake, there are still secret little moves you can make to ensure these decadent dessert bars turn out exactly how you want them—creamy, perfectly set, and rich enough to satisfy any craving.
Achieving the Best Texture in Your Peanut Butter Bars
The primary texture goal here is creamy, so let’s talk peanut butter choice. Stick to creamy peanut butter, the kind that stirs easily and isn’t oily when you open the jar. If you are trying to use natural peanut butter, I have to caution you: it often separates during the chilling process and can make your base a little grainy or oily, which defeats the whole purpose of these smooth chocolate peanut butter bars.
Also, remember that base layer? Don’t be shy about pressing it down! Use the bottom of a flat glass or a measuring cup to really pack that graham cracker mixture into the bottom of the pan. A loose base means your top layers will shift and slide when you go to cut those perfect squares.
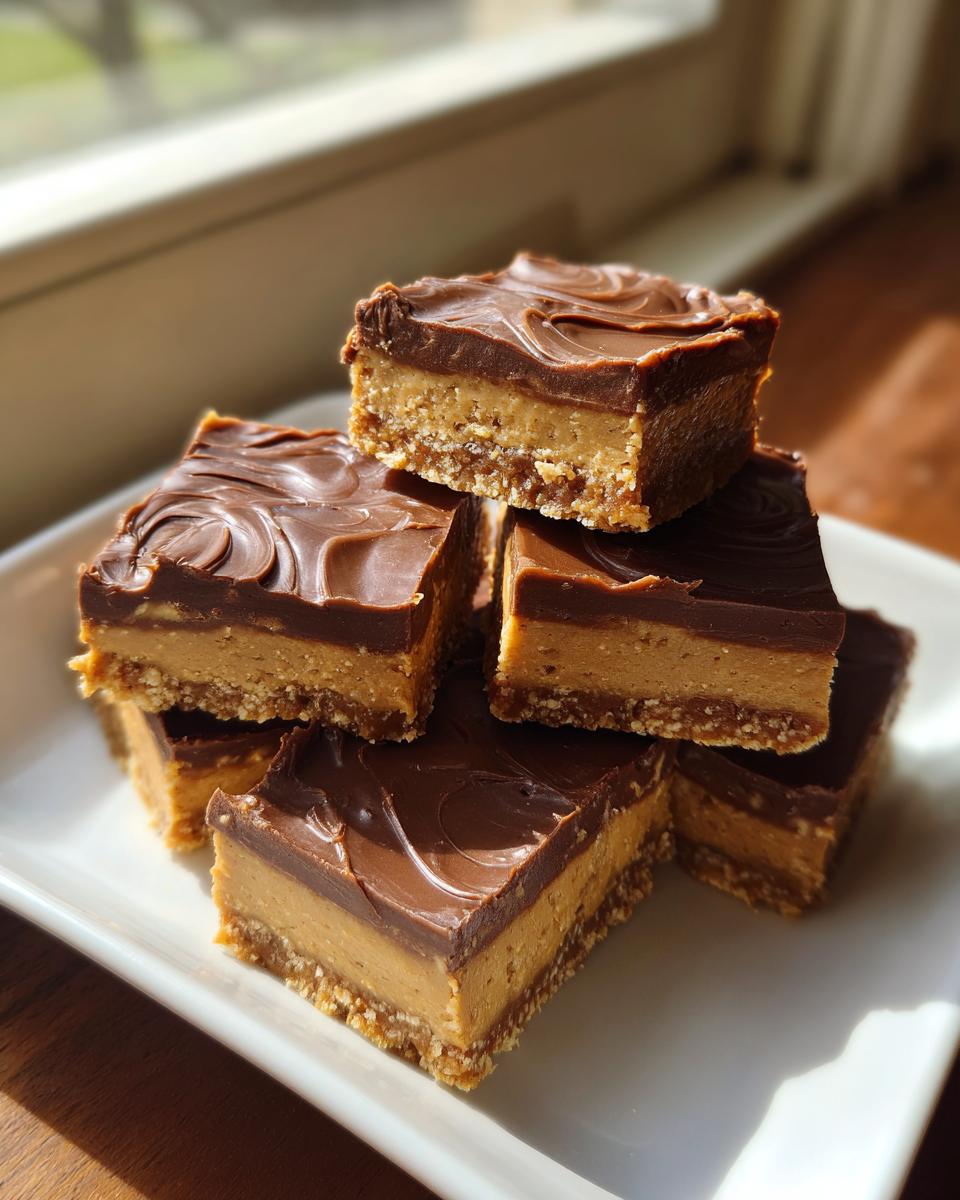
Cutting Clean Squares for Your Homemade Candy Bars
This is honestly the most crucial part for presentation! If you try to cut these too soon, you’ll end up with a messy pile of glorious crumbs, which, let’s be honest, still tastes good, but doesn’t look quite as polished.
The golden rule is patience during the chill time. You absolutely must let these set for the minimum two hours—though I rarely resist putting them in the fridge overnight if I can help it. Once they are completely firm, you use that parchment overhang! Grab the sides of the paper and gently lift the entire block of chilled bars right out onto a cutting board. Slice them cleanly with a nice sharp knife. If the knife starts sticking during cutting, just wipe the blade clean with a paper towel between cuts; it keeps everything tidier!
Simple Dessert Recipes: Variations on Peanut Butter Bars
Part of the joy of creating something like these peanut butter bars is making them entirely your own! While the classic combination of graham cracker, peanut butter, and chocolate is unbeatable, sometimes you want to switch things up a bit, especially if you’re making them again next week like I often do.
Since these rely on simple pantry staples, it’s super easy to pivot into different flavor profiles. If you’re looking for a fun twist that really leans into that ultra-sweet, candy-like vibe, you absolutely must try turning them into something inspired by Reese’s. You can find some amazing ways to do that over at Foodie Harbor, but I have a couple of easy things you can do right here at home to make these easy peanut butter bars feel brand new.
Here are a few of my favorite ways to add some flair:
- For a Crunchy Base: Instead of just graham crackers, swap out half of the crumbs for crushed vanilla wafer cookies. It gives the base a slightly different snap and sweetness that’s lovely.
- The Reese’s Inspired Bars Swap: If you’re craving that exact taste, use a mix of peanut butter chips and chocolate chips in your middle layer instead of just semi-sweet. It boosts that characteristic flavor dramatically.
- Add an Oat Factor: Want chewier peanut butter dessert squares? Mix in about 1/2 cup of quick-cooking oats to the base layer before pressing it into the pan. It adds great texture!
- A Touch of Salt: Remember my note about using saltier peanut butter? For a salty-sweet kick that elevates these homemade candy bars, sprinkle just a tiny pinch of flaky sea salt right over the chocolate topping before it sets up. It highlights the richness perfectly.
See? You don’t need complex baking skills or new equipment to keep these chocolate peanut butter squares exciting. It’s all about those little tweaks!
Storage and Reheating Instructions for Decadent Dessert Bars
The best part about making these rich treats is that they hang around, meaning you don’t have to eat them all in one sitting—though trust me, resisting is hard! Since these are packed with fat and powdered sugar and contain no eggs or dairy that needs immediate attention, they are fantastic keepers. You’ve put in the 15 minutes of active work, so you want to make sure your hard work stays delicious!
For keeping these wonderful peanut butter bars fresh, refrigeration is your best friend. The texture stays firmer, and the chocolate topping doesn’t get too soft at room temperature, which is essential for getting those clean slices later on.
Here is my simple strategy for storing them perfectly:
- Airtight Container is Key: Always store your cut squares in a rigid, airtight container. If you stack them, make sure you place a small square of wax paper or parchment paper between the layers. This stops the chocolate and the top layer from sticking to each other, especially if they get slightly cool and tacky.
- Fridge Life: These homemade candy bars should stay perfectly fresh in the refrigerator for up to a full week. Seriously, one batch can last you through a week of afternoon sweet cravings!
- Freezing for Later: If you know you won’t get through them right away, these freeze beautifully! Wrap individual squares tightly in plastic wrap, and then place them all together in a freezer-safe bag. They last great for up to two months this way.
- Thawing Made Easy: When you need a quick snack, just pull one or two out and let them sit on the counter for about 15 to 20 minutes. They defrost quickly, and you get that perfect, soft, melt-in-your-mouth texture again without turning on any appliances!
You never have an excuse for not having a chocolate peanut butter square handy now, because storing them is just as simple as making them!
Frequently Asked Questions About No Oven Dessert Ideas
I always get questions when I post these because people are so surprised at how easy they are! Since these are purely a no bake dessert, folks sometimes wonder about ingredients or the setup. I’ve collected some of the most common things I hear about making these addictive No Bake Dessert Bars. Let’s clear up any lingering doubts so you can get these delicious Quick Sweet Snacks made today!
Can I substitute the graham cracker crumbs in these peanut butter bars?
You absolutely can! Graham crackers provide a nice neutral, slightly sandy texture that works so well with the creamy filling, but if you don’t have them, don’t sweat it one bit. I’ve had great success swapping them out for crushed vanilla wafers—they usually have a bit more sugar, which is a nice treat. Or, if you have shortbread cookies lying around, crush those up! It gives the base a slightly richer, buttery background flavor. Just keep the quantity the same (2 cups) and make sure whatever you use is finely crushed before mixing in the butter!
How long do these creamy peanut butter treats need to chill?
This is where patience really pays off! The minimum chilling time I list is two hours. That gives you enough time for the base to firm up and the chocolate layer to set properly. However, if you can manage it—and this is my personal secret for the absolute cleanest cuts—let them chill overnight. If they are very firm, you avoid any squishing or sliding when you go to slice them into those perfect squares. Don’t rush the chill when you’re moments away from the finished product!
Are these peanut butter bars freezer-friendly?
Yes, they are phenomenal candidates for the freezer! This is a brilliant way to keep them fresh for longer, just like I mentioned in the storage section. If you know you won’t devour them within a week, go ahead and freeze them! I suggest cutting them into squares first, wrapping each individual one tightly in plastic wrap, and then putting those wrapped squares into a heavy-duty freezer bag. You can pull one out anytime you need a Quick Sweet Snack. They thaw out beautifully on the counter in under half an hour!
Estimated Nutritional Data for Classic Peanut Butter Bars
Now, I know we aren’t making these decadent dessert bars for health reasons, but it’s always fun to glance at what we’re enjoying! Since these are rich, they pack a delightful calorie punch, but it really depends on the brand of peanut butter and chocolate chips you use. Remember, this is just an estimate based on the recipe proportions, calculated for 16 satisfying squares.
Here is a general look at what’s in one of these wonderfully creamy peanut butter treats:
- Serving Size: 1 square (Yields 16)
- Calories: 280
- Fat: 18g
- Saturated Fat: 7g
- Unsaturated Fat: 11g
- Trans Fat: 0g
- Carbohydrates: 28g
- Fiber: 1g
- Sugar: 25g
- Protein: 6g
- Cholesterol: 15mg
Just keep in mind that if you use a high-quality, darker chocolate or a different type of peanut butter, those numbers might shift a little. But honestly, when they taste this good, worrying about the exact metrics feels a little silly, doesn’t it? Go ahead and enjoy your Classic Peanut Butter Bars!
Share Your Homemade Candy Bars Creations
Well, that’s it! We’ve made the best peanut butter bars without even touching the oven. I truly believe these are the easiest, richest, and most satisfying treats you can whip up when a craving strikes. Now that you have these incredible homemade candy bars chilling in the fridge, I want to know what you think!
Don’t be shy! Head down to the comments section right now and give me a rating. Are these the creamiest no bake dessert bars you’ve ever made? Did you stick to the classic look, or did you try one of those fun swirl variations I mentioned?
And if you snapped a picture of your perfectly set squares—maybe you’re showing them off on your favorite platter—please share it on social media and tag me! Seeing your beautiful, quick-fix desserts makes my day. Every time someone tags me enjoying one of these ridiculously easy recipes, it just reminds me why I started DelishCraze in the first place. Happy snacking, everyone!
PrintEasy No Bake Chocolate Peanut Butter Bars
Make dessert simple with these easy no bake peanut butter bars. They are creamy, rich, and require no oven time.
- Prep Time: 15 min
- Cook Time: 0 min
- Total Time: 2 hr 15 min
- Yield: 16 servings 1x
- Category: Dessert
- Method: No Bake
- Cuisine: American
- Diet: Vegetarian
Ingredients
- 1 cup unsalted butter, melted
- 2 cups graham cracker crumbs
- 2 cups powdered sugar, divided
- 1 cup creamy peanut butter, divided
- 1 cup semi-sweet chocolate chips
Instructions
- Line an 8×8 inch baking pan with parchment paper, leaving an overhang for easy removal.
- In a medium bowl, combine the melted butter, graham cracker crumbs, 1 cup of powdered sugar, and 3/4 cup of peanut butter. Mix until fully combined into a thick dough.
- Press this mixture evenly into the bottom of the prepared pan.
- In a separate microwave-safe bowl, combine the chocolate chips and the remaining 1/4 cup of peanut butter. Microwave in 30-second intervals, stirring between each, until smooth.
- Pour the chocolate mixture over the peanut butter base and spread evenly.
- In a small bowl, mix the remaining 1 cup of powdered sugar with 1/4 cup of peanut butter until smooth to create the top layer. Drop spoonfuls over the chocolate layer and gently spread or swirl for a marbled effect.
- Refrigerate for at least 2 hours, or until firm. Lift the bars out using the parchment paper overhang and cut into squares before serving.
Notes
- For a Reese’s inspired flavor, use a slightly saltier peanut butter in the base layer.
- If you prefer a cleaner top layer, skip the swirling in step 6 and spread the peanut butter mixture smoothly over the chocolate layer before chilling.
- These homemade candy bars store well in an airtight container in the refrigerator for up to one week.
Nutrition
- Serving Size: 1 square
- Calories: 280
- Sugar: 25
- Sodium: 110
- Fat: 18
- Saturated Fat: 7
- Unsaturated Fat: 11
- Trans Fat: 0
- Carbohydrates: 28
- Fiber: 1
- Protein: 6
- Cholesterol: 15