
Oh, I know that feeling. It’s 5:30 PM, everyone is starving, and you stare into the fridge realizing you have ground beef and some lonely tortillas. Traditional tacos are great, but who wants to handle all those falling-out toppings? That’s where my absolute favorite weeknight lifesaver comes in: the quick, easy weeknight dinners savior—the cheesy pocket tacos!
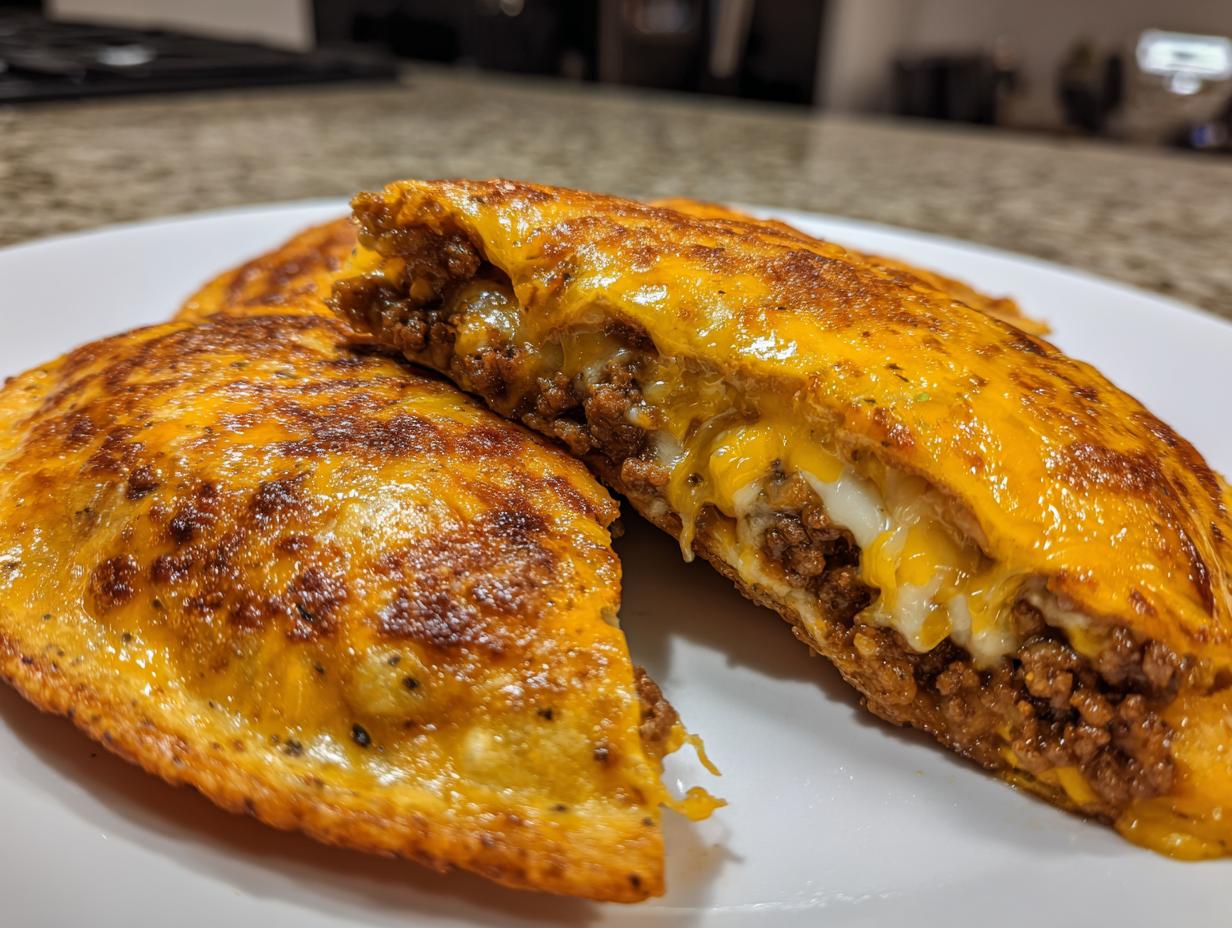
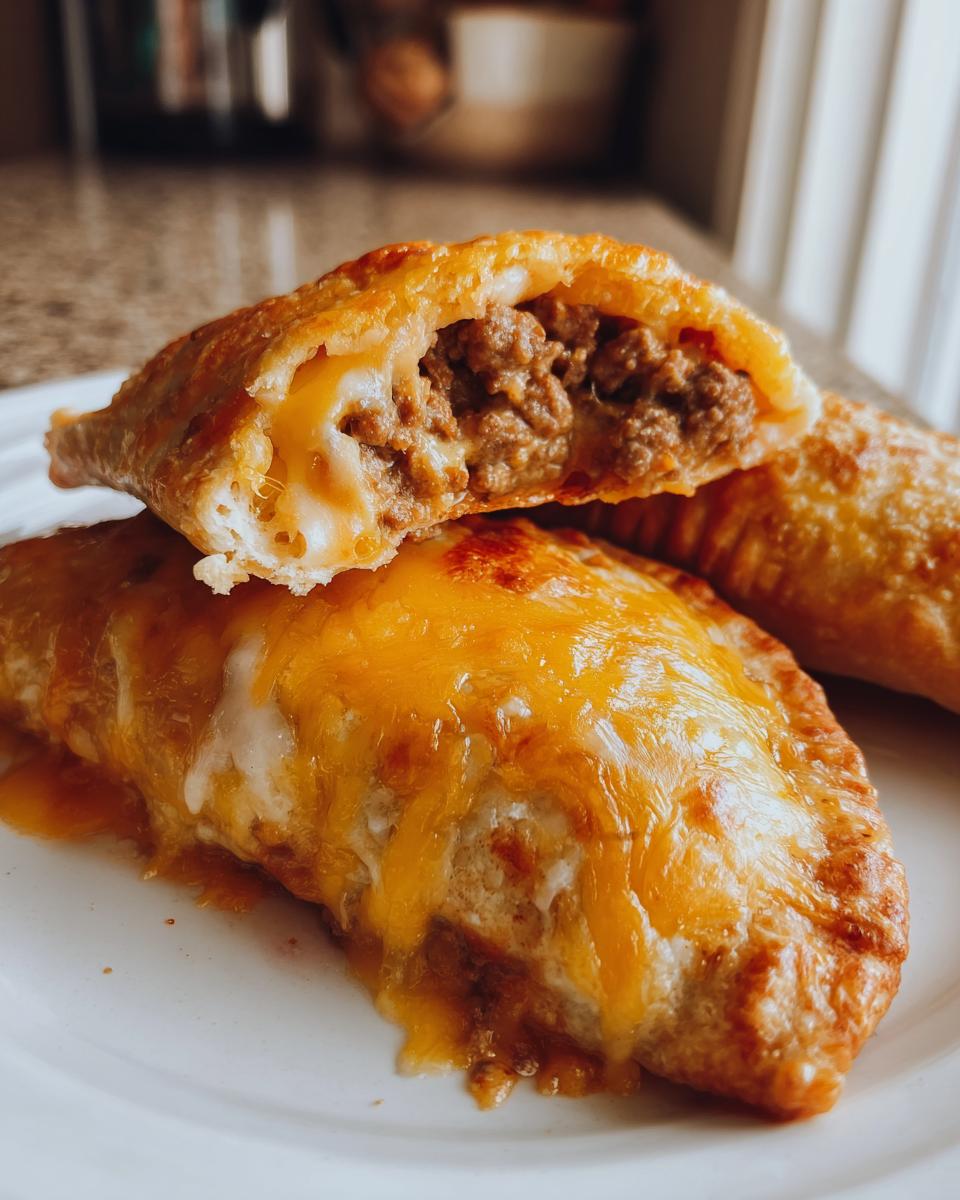
These little handheld bundles are pure magic. They deliver all the taco flavor you crave, but seal it up in a warm, crispy shell. Seriously, you get all the savory beef and molten cheese, and almost zero cleanup. Honestly, this recipe embodies exactly what DelishCraze founder Olivia Rosewood aims for: turning regular family meals into satisfying, connected moments without demanding your entire evening!
- Why These Cheesy Pocket Tacos Are Your New Favorite Supper Ideas With Tortillas
- Ingredients for Loaded Cheesy Pocket Tacos
- How to Prepare Your Ground Beef Pocket Tacos
- Achieving Crispy Cheesy Tacos: Baking or Air Frying Instructions
- Expert Tips for Perfect Cheesy Pocket Tacos
- Serving Suggestions for Your Taco Pockets Dinner Idea
- Storage and Reheating Instructions for Cheesy Pocket Tacos
- Frequently Asked Questions About Cheesy Pocket Tacos
- Estimated Nutritional Data for Cheesy Pocket Tacos
- Share Your Cheesy Pocket Tacos Creations
Why These Cheesy Pocket Tacos Are Your New Favorite Supper Ideas With Tortillas
When I tell people these are game-changers, I mean it! Taco night shouldn’t be a battle against falling lettuce and splitting shells. These cheesy pocket tacos solve everything. Trust me, once you try them, you’ll see why they jumped straight to the top of my emergency weeknight rotation. They hit all the right notes!
- They are incredibly fast—dinner is done before anyone has time to get grumpy!
- Maximum cheese factor guaranteed because it’s baked right inside.
- Total portability. Perfect for eating over the sink if you’re really rushing, or easy for tiny hands to hold. If you’re looking for great appetizers and party snacks too, these scale up easily.
Quick Weeknight Tacos Ready in 30 Minutes
Seriously, that’s the magic number. We’re talking total time, prep included. You can brown the meat, assemble them, and pop them in the oven faster than you can decide what takeout to order. These really deliver on the promise of quick weeknight tacos when you need something hearty fast.
Family Friendly Mexican Food Without the Mess
If you have little ones, you know the struggle. These hold everything tight! Folding them up and pressing the edges creates a sealed container for all that glorious, creamy filling. No more shredded cheese sliding off into the highchair tray. They are truly family friendly Mexican food that keeps things tidy.
Ingredients for Loaded Cheesy Pocket Tacos
Okay, let’s talk supplies! You don’t need a huge grocery run for this one. Most of these items are probably hanging out in your pantry already. The key to making these cheesy pocket tacos truly ‘loaded’ is the balance between the meat mix and that gorgeous, creamy, cheesy binder we create. Check out what you need:
- One tablespoon of olive oil—just for getting things started in the pan.
- One pound of good old ground beef. I usually grab 80/20 for the best flavor, but you can certainly use leaner if that’s what you prefer!
- A standard packet of taco seasoning mix (about one ounce). Easy peasy!
- Half a cup of water to help that seasoning bloom properly.
- Half a cup of salsa. This adds moisture and a little kick to the meat filling.
- Four ounces of cream cheese, and this is important—it must be softened! Get it on the counter early so it’s spreadable. This is what makes the filling so unbelievably creamy—it’s almost as good as the cream cheese center in my sausage balls, but savory!
- One cup of shredded cheddar cheese, but we need to divide this up, so keep that in mind!
- Twelve small flour tortillas. You need the small ones, maybe 6-inch sizes, so they fold over nicely into snug little pockets.
- Cooking spray, because we definitely want them golden brown and not stuck to the sheet!
Ingredient Notes and Substitutions for Cheesy Pocket Tacos
A few little secrets if you’re mixing up your own versions! First off, that cream cheese isn’t just filler; it acts like the glue that keeps the entire filling from spilling out when you bake them. It adds essential structure and that wonderful, slight tang that cuts through the richness of the beef. This is why I love these, it makes the Easy Pocket Tacos taste so much richer!
If ground beef just isn’t happening for you, don’t stress. You can use ground turkey—it cooks up the same way, though sometimes requires a splash less water. Shredded chicken, maybe from a rotisserie chicken you picked up, works brilliantly too! Just make sure whatever protein you choose is fully cooked and drained well before adding the creamy elements.
As for the tortillas, I cannot stress enough: use the smaller ones! If you use the big burrito-sized ones, you end up with a floppy, floppy mess. If you can only find the larger ones, cut them in half before warming them. We need that perfect fold over to create a tight seal, which keeps those pockets happy and contained.
How to Prepare Your Ground Beef Pocket Tacos
Alright, this is where the actual cooking starts, and it moves fast! Since we are aiming for satisfying Supper Ideas With Tortillas that don’t take forever, we want to move efficiently through building that flavorful base. Don’t rush the browning, but be quick once the mixing starts! If you love rich meat fillings, check out how I handle my one-pan beef stroganoff—it uses the same principle of building that flavor base first.
Cooking the Seasoned Filling for Cheesy Pocket Tacos
First things first: hot skillet—medium heat—and that tablespoon of olive oil. Toss in your pound of ground beef. You need to cook this until it’s beautifully browned. Once it’s done, take a moment to drain off any extra fat. Trust me on this; too much grease equals soggy pockets later, and we want crispy shell action!
Now, turn the heat back on medium-low. Sprinkle in your taco seasoning mix, stir it around so it coats everything, and pour in that half-cup of water. Bring it up to a gentle simmer. Let it cook for about five minutes, stirring occasionally, until that liquid really reduces down. Then, take the whole skillet off the heat. This step builds the depth of flavor for your Ground Beef Pocket Tacos.
Assembling and Sealing the Handheld Taco Recipe
Time for the creamy magic! In a separate bowl, take your softened cream cheese, mix it right into that hot beef along with the salsa and half of your shredded cheddar. Stir it all up until it’s glorious and homogenous. This is the hearty filling for our Handheld Taco Recipe.
Now, the tortillas! They have to be warm to fold without snapping. I usually microwave them in a stack wrapped in a damp paper towel for about 20 seconds—just enough to make them really flexible. Spoon about a quarter cup of the mixture onto the center of one warm tortilla. Fold it over into a half-moon shape. This is crucial: press those edges down hard with your fingers or the back of a fork until they are seriously sealed. You don’t want any filling attempting an escape! That firm seal is what makes these Easy Pocket Tacos work!
Achieving Crispy Cheesy Tacos: Baking or Air Frying Instructions
Okay, the exciting part! We’ve got these perfectly folded Handheld Taco Recipe bundles, and now we need to get that tortilla outside golden brown and wonderfully crispy, while making sure that cheddar melts beautifully on top. Seriously, you can choose your weapon here—the oven or the air fryer—and both are so much faster than frying them in oil. No greasy clean-up, which is always a win in my book when I’m trying to get these Quick Weeknight Tacos on the table!
Before we commit them to heat, lightly spray the outside of those sealed pockets with cooking spray. This is what helps them get that gorgeous, golden, almost fried texture without actually deep frying them. Then, right on top, sprinkle that remaining half-cup of shredded cheddar cheese over them. Give them a little blanket of cheese!
If you’re using the oven, you want it good and hot—preheated to 400°F (200°C). Lay them seam-side down on your baking sheet. Slide them in and bake them for about 8 to 10 minutes. Keep an eye on them after the 8-minute mark; you want them golden brown and the cheese bubbling happily.
Now, if you’ve got an air fryer, these become ridiculously fast. I love using my air fryer for anything that needs a quick crunch, like my homemade french fries. Set your air fryer temperature to 375°F (190°C). Place them basket in a single layer—don’t overcrowd them or they steam instead of crisp! They only need about 5 to 7 minutes in there. Just look for that nice crunch and melted cheese.
For even more air fryer magic, you can snag inspiration from other great recipes out there, like this pin on Loaded Cheesy Pocket Tacos if you want to see them in action in the basket!
Serve these Baked Taco Pockets immediately while that cheese is molten and the shell is at its crunchiest. They are definitely best hot off the sheet!
Expert Tips for Perfect Cheesy Pocket Tacos
You’ve got the recipe down, but you know what takes a great home-cooked meal and makes it *famous*? The little tricks! I’ve spent years tweaking this recipe—ever since I started making these as quick, on-the-go snacks that turned into full-blown Taco Pockets Dinner Idea requests—and I’ve learned a few things that really boost that final texture and flavor. Don’t just follow the steps; follow the intuition that makes them yours!
My first big breakthrough for these Crispy Cheesy Tacos happened when I realized chilling the filling slightly before assembly made a huge difference. If the meat mix is piping hot when you stuff the tortillas, it steams the shell from the inside out, which defeats the whole purpose of getting that beautiful crispiness later! Let that seasoned beef mixture cool down on the counter for just 10 minutes after mixing in the cheeses. It firms up everything just enough.
Also, if you’re making these for Game Day Taco Bites or a party, you can totally assemble them hours ahead of time, cover them with plastic wrap, and keep them in the fridge. Just add an extra minute or two to the cooking time since they are starting cold.
Making Your Cheesy Pocket Tacos Extra Crispy
We talked about the cooking spray, and it’s fast and effective, totally fine for a rushed Tuesday. But if you really want that next-level golden, slightly richer crust—the kind that sings when you bite into it—you need melted butter instead. Just brush a thin, even layer over the very top of the folded pockets before you sprinkle that final bit of cheddar on top.
Butter carries more flavor than spray, and it browns beautifully, especially if you’re using the broiler for just the last minute (watch them like a hawk if you do that!). If you prefer the spray, make sure you use a continuous, light mist so you don’t accidentally create little pockets of oil that stay soft. We want uniform crunch across all our Cheesy Tortilla Pockets!
I always keep a recipe for homemade toffee on hand for dessert calls, but honestly, the sheer joy of the savory browned butter crust on these tacos is a close second! You can find my recipe for easy homemade toffee if you need a sweet finish after defeating the taco craving!
Serving Suggestions for Your Taco Pockets Dinner Idea
So, you’ve pulled these beauties out of the oven or air fryer, right? They are golden, the cheese is perfectly melty, and they smell incredible. Now, what do we put next to them? While these Cheesy Pocket Tacos are honestly a whole meal just by themselves—they are hearty enough to satisfy anyone looking for a great Taco Pockets Dinner Idea—they really sing when paired with cool, fresh contrast!
I always keep a few simple toppings ready for those who like to dress up their pockets on the plate. It reminds me of how we always served sides with our big holiday meals; the main dish is great, but the sides complete the experience. If you’re looking for a really fun Tex-Mex side that is way easier than traditional cooking, you should absolutely check out my recipe for creamy taco pasta salad!
For the actual pocket toppings, keep it simple so those creamy centers still shine. Here are the essentials I always have out:
- Cool Sour Cream: A dollop right on top cuts the richness beautifully.
- Shredded Lettuce or Cabbage: For a fresh crunch that you didn’t bake into the shell.
- Diced Tomatoes or Pico de Gallo: You need that little bit of acid and freshness!
- A sprinkle of Cotija cheese if you’re feeling fancy, though the cheddar inside is doing most of the heavy lifting.
Remember, the whole point of these Handheld Taco Recipe treats is less mess, but on the plate, you can certainly stack them up high! If you’re serving these to kids, sometimes serving them “deconstructed” works too—let them dip their pockets into little bowls of salsa or guac. It brings the fun back without the risk of catastrophic filling collapse!
Storage and Reheating Instructions for Cheesy Pocket Tacos
Even though these cheesy pocket tacos disappear lightning fast in my house, sometimes I manage to sneak a couple away for lunch the next day! Knowing how to store and reheat them correctly is super important, especially if you want to maintain that awesome crust we worked so hard to achieve. Nobody wants a soggy taco pocket the next morning, right?
If you have leftovers, the trick is keeping them away from any moisture until you’re ready to eat them. Store any leftover Baked Taco Pockets in an airtight container in the refrigerator. They keep really well for about three days this way. If you’re thinking ahead for those super busy days, these are surprisingly excellent candidates for freezing—perfect for those Meal Prep Taco Pockets dreams!
When freezing, make sure they are completely cool first. Wrap each individual pocket tightly in plastic wrap, and then place them all inside a heavy-duty freezer bag. They’ll be good in the freezer for up to two months. When it comes time to eat them, just pull one out and let it thaw slightly on the counter while your oven warms up.
Now for the reheating part. Listen to me carefully: AVOID THE MICROWAVE if crispness is your goal! The microwave turns beautiful crispy shells into sad, chewy messes almost instantly. The best way to revive texture is definitely the air fryer. Pop those frozen or refrigerated pockets into the air fryer at about 350°F (175°C) for about 5 to 7 minutes. They come out golden and hot all the way through. If you don’t have one, the oven works too, but crank the heat up to 375°F (190°C) for about 10 minutes until they are heated through and smell glorious.
It’s all about texture preservation! If you’re looking for other things you can prep ahead, check out my recipe for easy make-ahead egg muffins—they save mornings, just like these taco pockets save dinner!
Frequently Asked Questions About Cheesy Pocket Tacos
I get so many questions whenever I post about these little bundles! It makes total sense, especially since everyone wants to make sure their Handheld Taco Recipe comes out perfectly sealed and crispy. Here are some of the snags people usually run into when they try to make these Cheesy Pocket Tacos Recipe for the first time. If you still have questions, feel free to reach out via my contact page!
Can I use hard taco shells instead of tortillas for these Cheesy Pocket Tacos Recipe?
Oh, honey, no, you really can’t. The whole magic of these relies on starting with soft, pliable flour tortillas. You need that flexibility so you can fold the taco in half and really press those edges down hard so they seal up into a tight little *pocket*. Hard shells will just shatter when you try to fold them over your filling. These are meant to be Crispy Cheesy Tacos on the *outside*, not brittle little shards!
What is the best cheese for Loaded Taco Pockets?
While the recipe calls for shredded cheddar because it melts beautifully and gives that classic orange color, I love experimenting here! For the absolute best cheese pull in your Loaded Taco Pockets, I often mix in half a cup of Monterey Jack with the cheddar. Jack melts silkier than cheddar does. If Taco Tuesday feels too mild, swapping half that blend for Pepper Jack gives a fantastic kick while still holding everything together beautifully.
How do I make these Cheesy Pocket Tacos vegetarian?
That’s an easy switch, and it’s just as sturdy! If you’re skipping the ground beef, you’ll want to use something with a similar texture so it binds well with the cream cheese and salsa. My favorite swap is swapping the pound of beef for two cans of thoroughly rinsed and drained black beans. Mash them up a bit right in the skillet after heating them through with the seasonings, water, and salsa. They behave just like meat crumble and make for fantastic Supper Ideas With Tortillas that are lighter but just as satisfying.
Estimated Nutritional Data for Cheesy Pocket Tacos
Since we are focused on making delicious, easy, and satisfying meals around here, I always try to keep an eye on the numbers. But, you know how it is in a home kitchen—the brands we use, how much we drain the fat, or if we add extra salsa really changes the final count! So, please take these figures as a helpful guide rather than gospel for your cheesy pocket tacos.
These numbers are based on serving up two pockets based on the recipe above, and they are a great reminder that this is comfort food, so maybe balance it out with a big salad later! If you are looking for lighter options to balance out your week, you might want to check out my ideas for healthy breakfast ideas for morning inspiration.
Here’s the breakdown of what we’re looking at per two-pocket serving:
- Serving Size: 2 pockets
- Calories: 420
- Fat: 24g (with 11g being Saturated Fat)
- Carbohydrates: 28g
- Protein: 25g
- Sugar: 3g
- Sodium: 650mg
I always try to keep sodium manageable since the taco seasoning packet can vary wildly, but if you are watching that number, using a low-sodium seasoning mix is a super easy fix! Remember, this is an estimate, and the beauty is you control the ingredients when you make these amazing Quick Weeknight Tacos at home!
Share Your Cheesy Pocket Tacos Creations
Now that you have the secrets to making the most satisfying, least-messy cheesy pocket tacos on the block, I genuinely want to see what you whip up! Cooking should always feel like a shared experience, and getting your feedback is how we make this community stronger. Honestly, knowing these save someone else’s chaotic weeknight dinner just lights me up!
If you made these, please don’t be shy—come back here and leave a quick star rating below. I read every single one! We are all trying to figure out the best, quickest ways to feed our families delicious food, so your experience helps the next person who stumbles upon this recipe feel confident trying it out. Your input actually helps other cooks out there navigate these tasty, cheesy waters.
And if you share photos on social media—which I highly encourage because these look amazing golden brown—please tag us! We absolutely adore seeing your dinner table spreads. It means the world to me, and it truly honors the spirit of joyful, simple home cooking that our founder, Olivia Rosewood, poured into starting DelishCraze. Seeing your success is the best reward!
We grow this kitchen community together, one easy, cheesy bite at a time. You can always learn more about our philosophy over on the About page, but for now, go enjoy those fabulous Handheld Taco Recipe bundles you just created!
PrintLoaded Cheesy Pocket Tacos

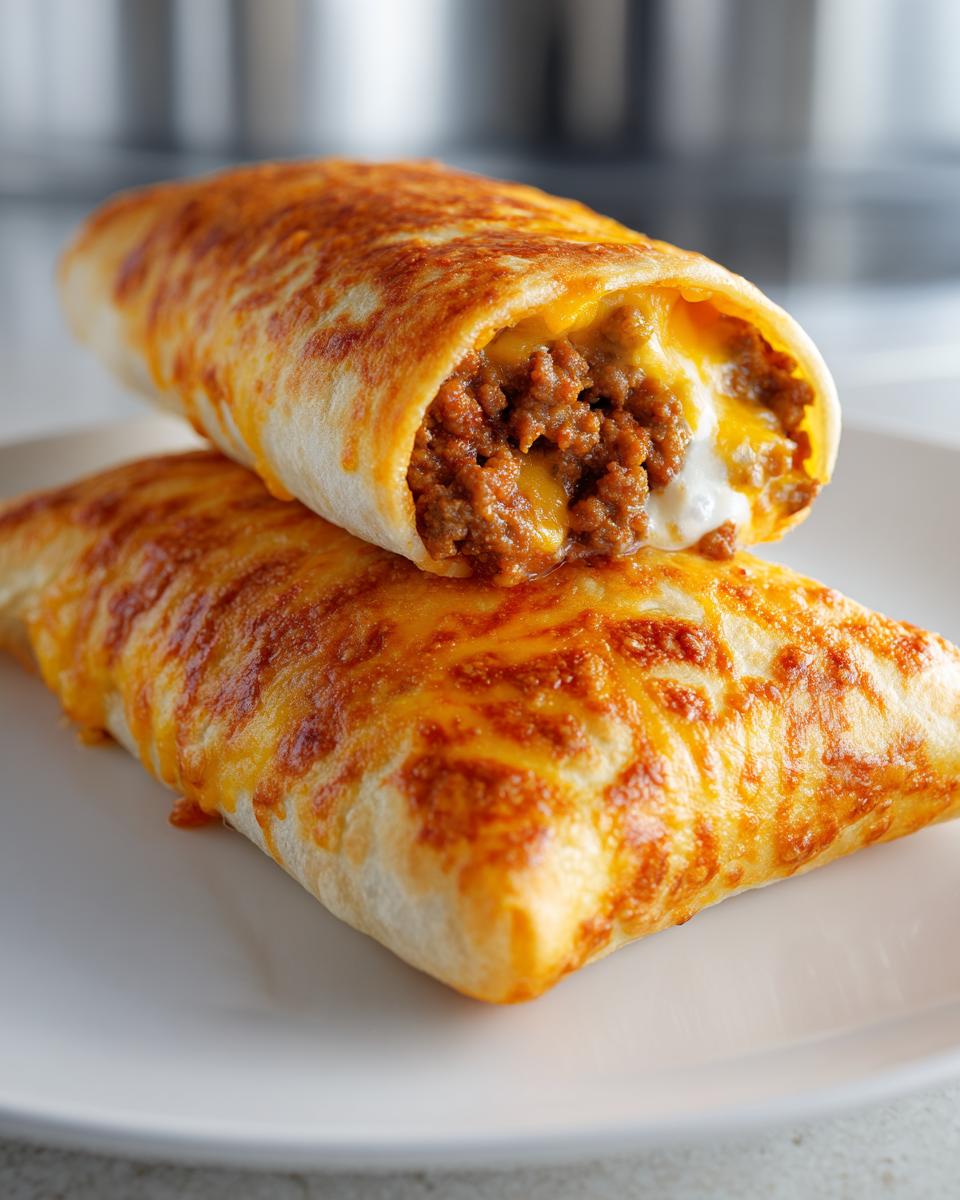
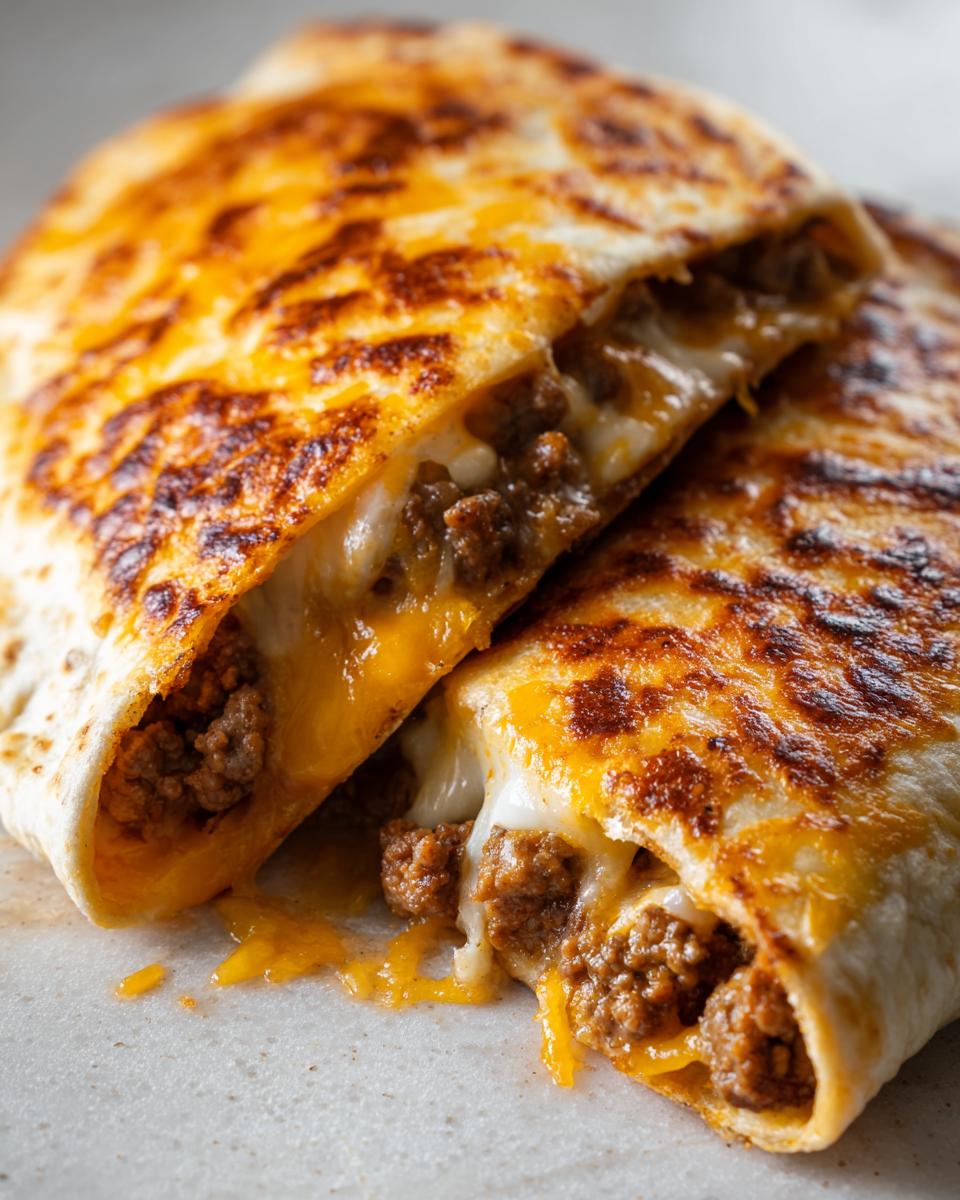
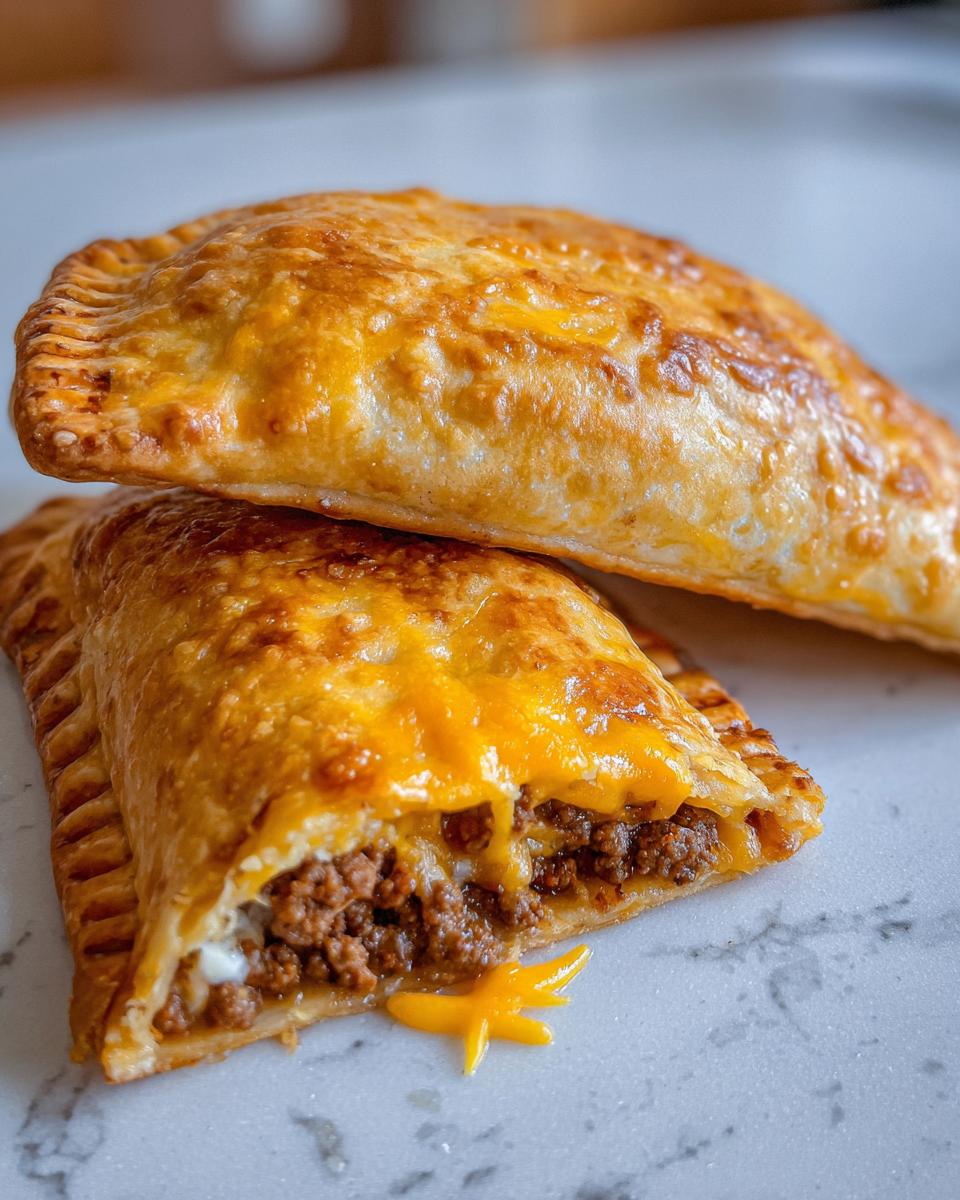
Make these loaded cheesy pocket tacos for a quick, satisfying weeknight dinner. They feature seasoned ground beef and melted cheese sealed inside crispy tortillas.
- Prep Time: 15 min
- Cook Time: 15 min
- Total Time: 30 min
- Yield: 6 servings 1x
- Category: Dinner
- Method: Baking or Air Frying
- Cuisine: Mexican-American
- Diet: Vegetarian
Ingredients
- 1 tablespoon olive oil
- 1 pound ground beef
- 1 packet (1 ounce) taco seasoning mix
- 1/2 cup water
- 1/2 cup salsa
- 4 ounces cream cheese, softened
- 1 cup shredded cheddar cheese, divided
- 12 small flour tortillas
- Cooking spray
Instructions
- Heat olive oil in a skillet over medium heat. Add ground beef and cook until browned. Drain excess fat.
- Stir in taco seasoning mix and water. Bring to a simmer and cook for 5 minutes, stirring occasionally, until liquid reduces. Remove from heat.
- In a bowl, mix the cooked beef, salsa, softened cream cheese, and 1/2 cup of the shredded cheddar cheese.
- Warm the tortillas briefly in the microwave or a dry skillet to make them pliable.
- Spoon about 1/4 cup of the beef and cheese mixture onto the center of each tortilla.
- Fold the tortilla in half to create a pocket shape. Press the edges firmly to seal.
- Lightly spray the outside of the sealed pockets with cooking spray.
- Place the pockets seam-side down on a baking sheet or in an air fryer basket. Sprinkle the tops with the remaining 1/2 cup of cheddar cheese.
- Bake at 400°F (200°C) for 8 to 10 minutes, or air fry at 375°F (190°C) for 5 to 7 minutes, until the tortillas are golden brown and the cheese is melted and bubbly.
- Serve immediately.
Notes
- For extra crispiness, you can brush the tops of the pockets with melted butter instead of using cooking spray before baking or air frying.
- You can substitute ground turkey or shredded chicken for the ground beef.
- Serve these handheld taco recipe bites with sour cream, lettuce, or diced tomatoes for topping.
Nutrition
- Serving Size: 2 pockets
- Calories: 420
- Sugar: 3
- Sodium: 650
- Fat: 24
- Saturated Fat: 11
- Unsaturated Fat: 13
- Trans Fat: 0.5
- Carbohydrates: 28
- Fiber: 2
- Protein: 25
- Cholesterol: 75