
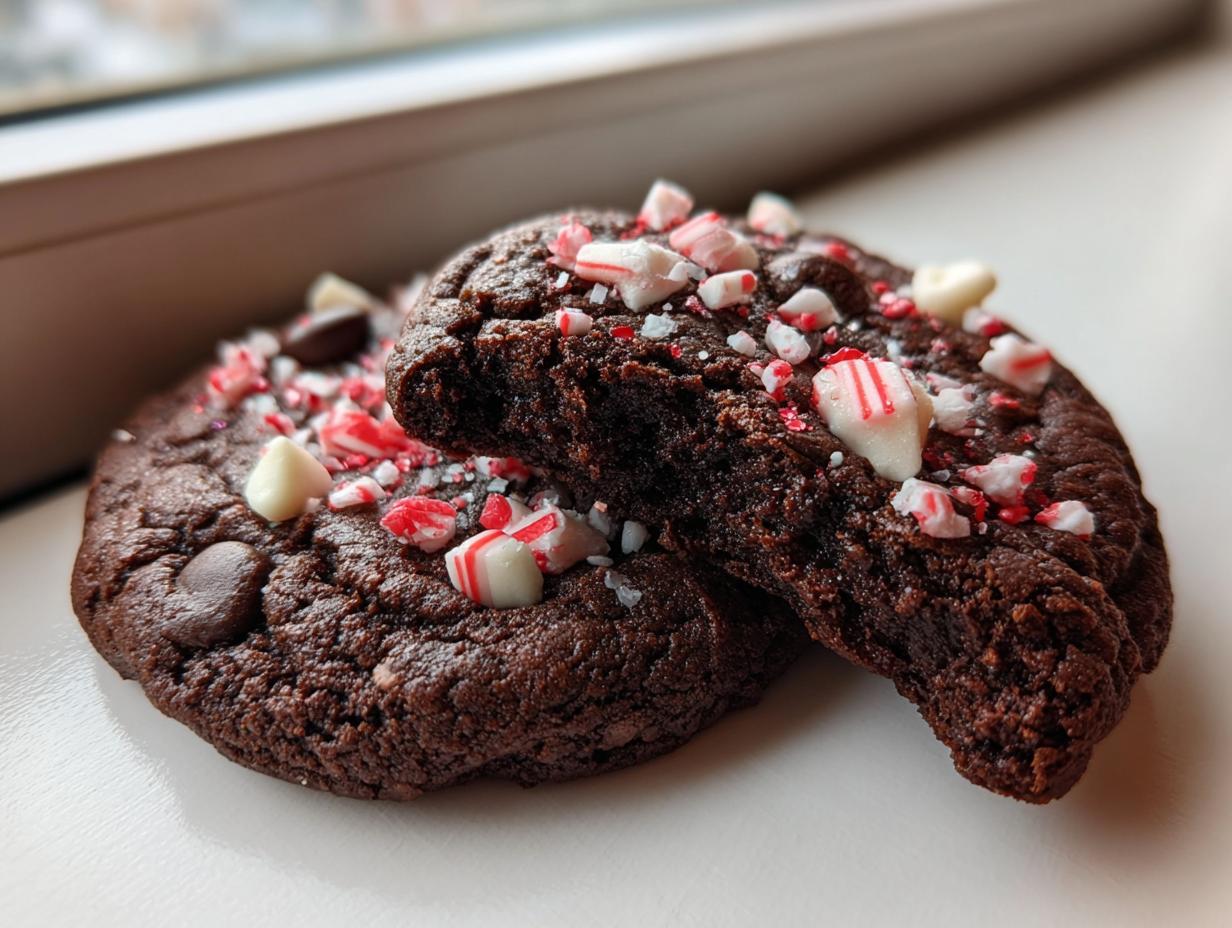
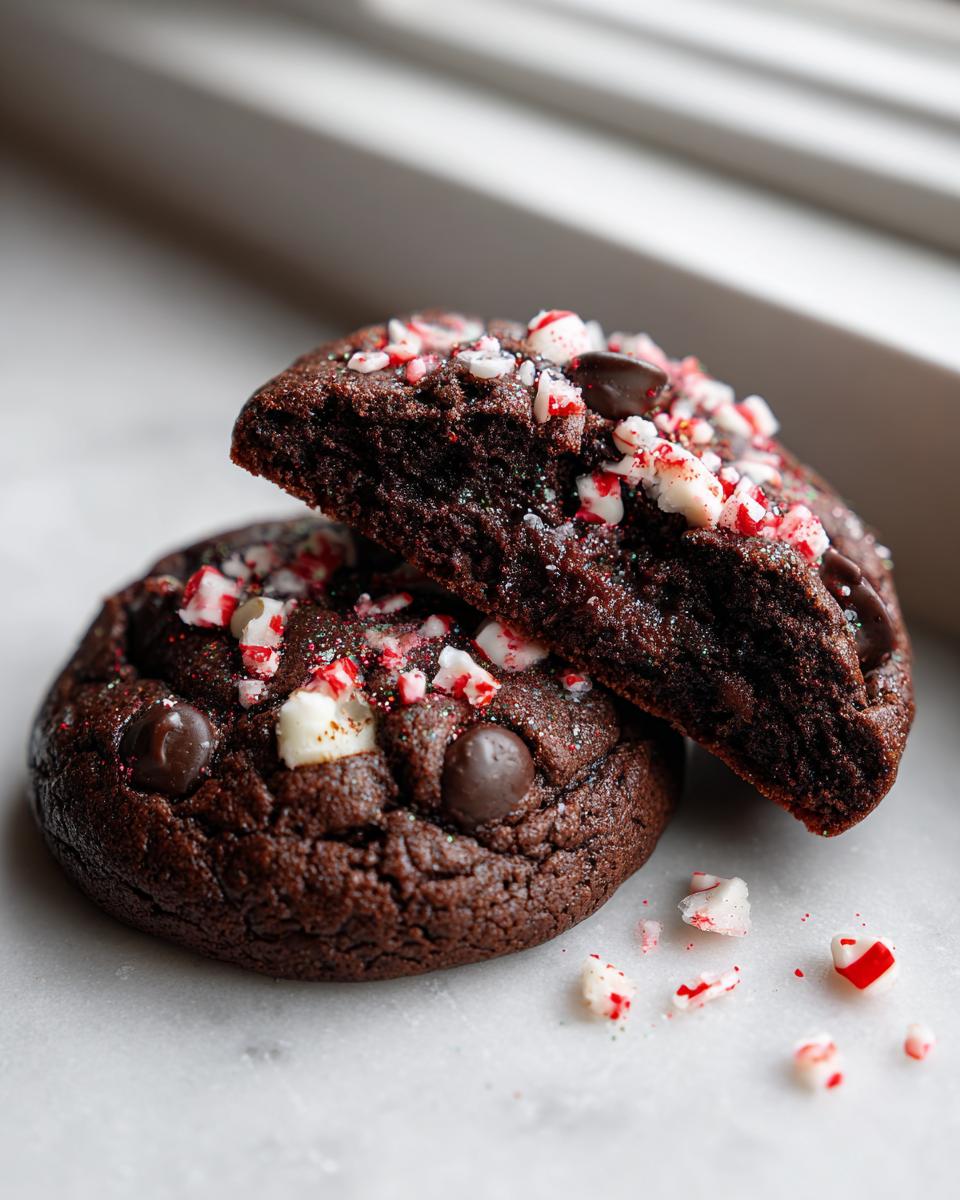
I swear, the kitchen just smells *right* when you start baking for the holidays. It’s not just about the cookies you end up with, it’s about that buzzing excitement while the oven warms up! If you’re like me, you need show-stoppers that are secretly super easy because life gets hectic. So, stop what you’re doing, because I finally perfected the ultimate recipe for chocolate peppermint cookies. These are fudgy, deeply rich—we’re talking double chocolate here!—and topped with that satisfying crunch of holiday candy canes.
When I first started baking seriously again after leaving design, I needed recipes that felt special but didn’t take all weekend. These cookies are my go-to for every cookie swap because they look incredible on the platter but come together so quickly! They really capture that nostalgic, warm feeling of classic American baking. Once you try these, they’ll instantly become part of your annual tradition. You can find more quick festive recipes, like my strawberry cranberry delight, perfect for pairing during these busy months!
- Why This Recipe Makes the Best Chocolate Peppermint Cookies
- Essential Ingredients for Rich Cocoa Cookies
- Step-by-Step Instructions for Double Chocolate Mint Cookies
- Tips for Perfect Festive Holiday Cookies
- Making Chocolate Peppermint Cookies Ahead of Time
- Serving Suggestions for Mint Chocolate Treats
- Frequently Asked Questions About Chocolate Peppermint Cookies
- Estimated Nutritional Data for Chocolate Peppermint Cookies
- Share Your Homemade Christmas Treats
Why This Recipe Makes the Best Chocolate Peppermint Cookies
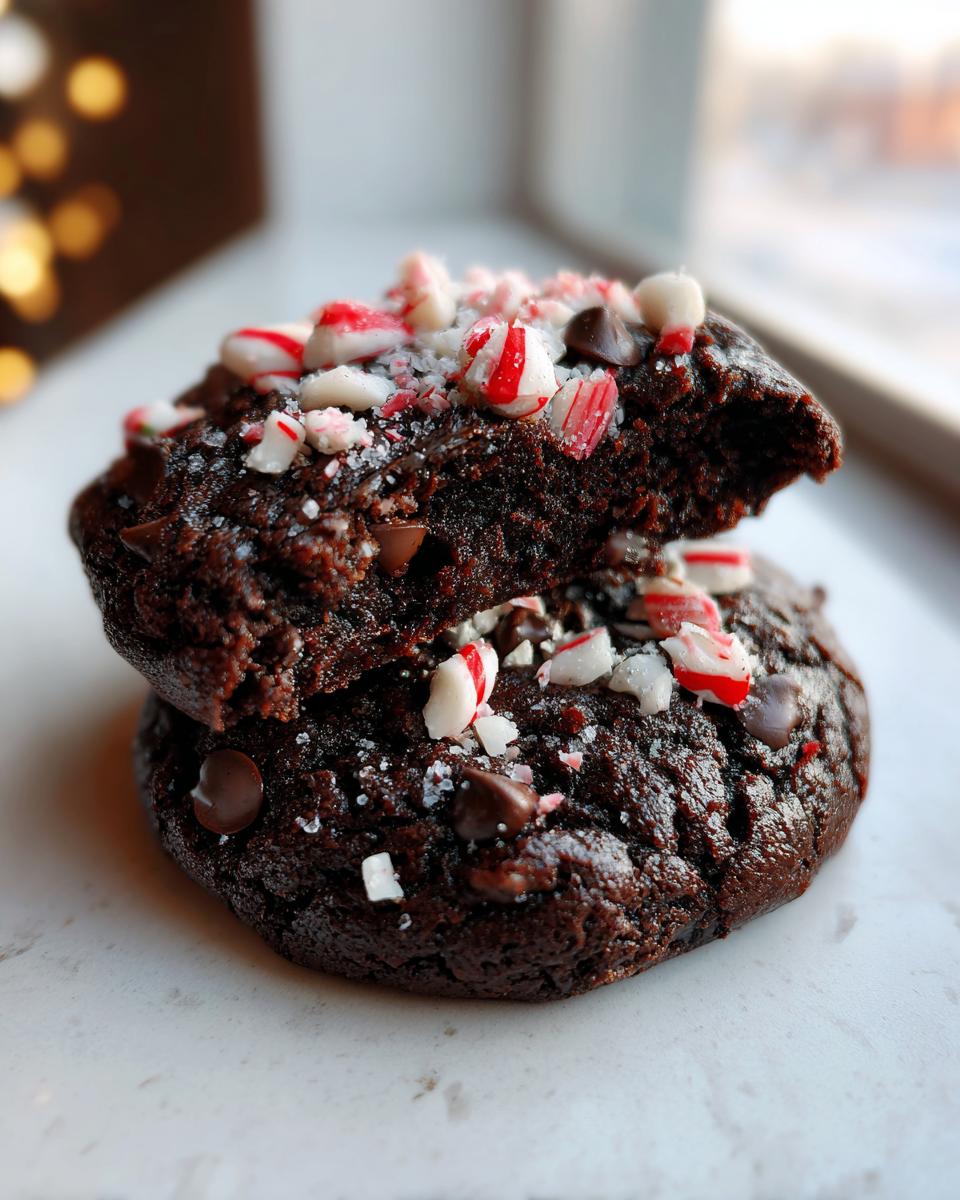
Look, I’ve tried the crispy ones, I’ve tried the cakey ones, and honestly, the only way to go for a holiday cookie that tastes like a dream is fudgy. These aren’t just cookies; they are little bites of holiday heaven! We’re nailing that deep, rich cocoa flavor because this is a true double chocolate treat. They are designed to be totally foolproof, making them the perfect addition to your busy schedule.
Achieving Fudgy Chocolate Peppermint Cookies Texture
The secret to that gorgeous, soft center you crave in these fudgy chocolate cookies isn’t just the cocoa powder; it’s how gently we mix everything once the flour goes in. We want *just* combined. Overmixing is the enemy of chewiness, trust me on this one! Keeping everything a little underbaked, as I note later, also guarantees that gooey texture that makes people beg for the recipe.
Quick Prep for Easy Peppermint Cookies
This is the part I love most, especially when I’m trying to get a massive platter ready for a cookie swap. You’re looking at maybe 15 minutes of active work, and in less than 30 minutes total, you have gorgeous, festive holiday cookies ready to impress! That speed is why these are my go-to for quick Christmas baking when time is slipping away.
If you want to see how I handle mixing dough for similar treats, check out my tips on getting my Levain-style cookies just right—it’s all about the proper creaming step!
Essential Ingredients for Rich Cocoa Cookies
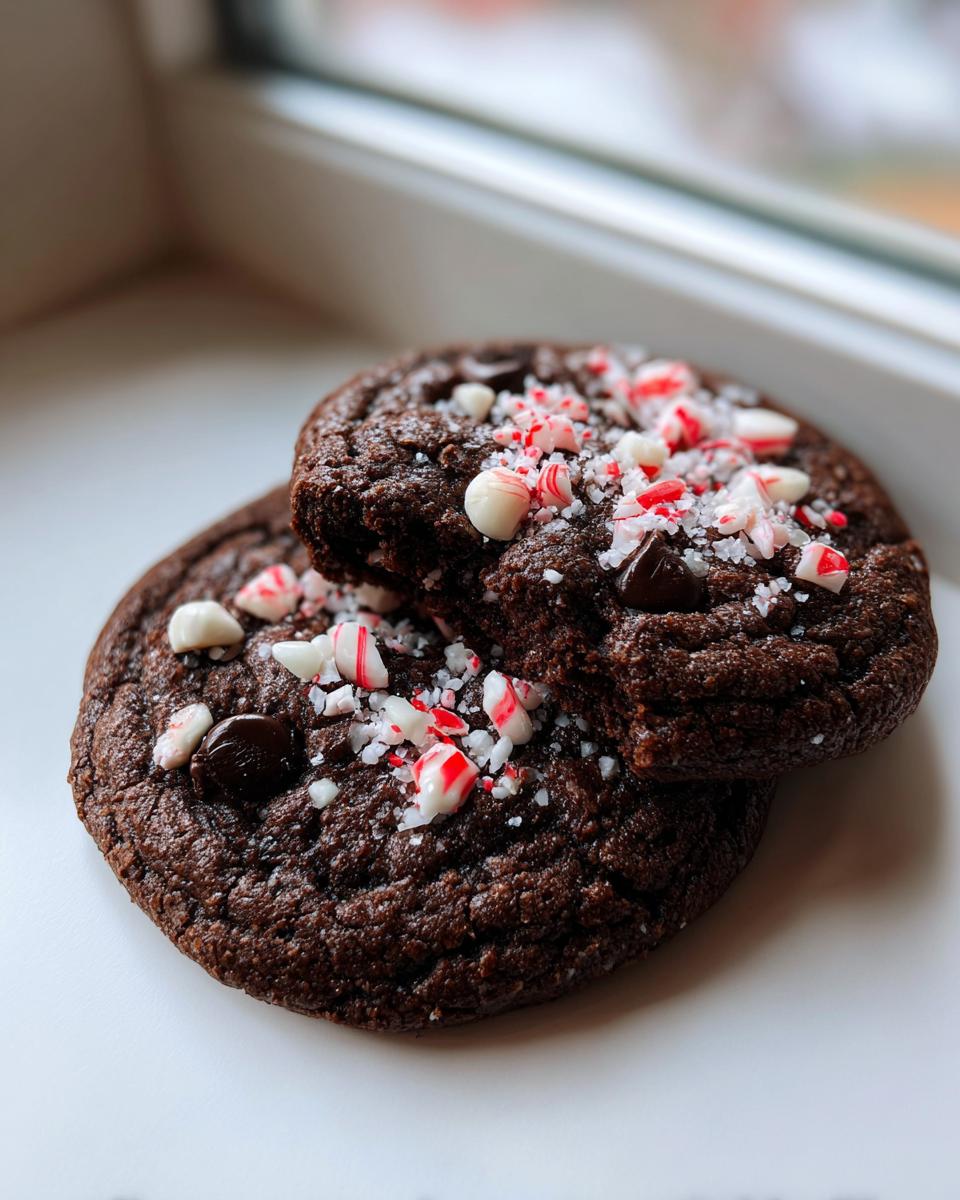
To get that perfect balance of intense chocolate and cool mint for our chocolate peppermint cookies, you absolutely need to nail the ingredient list. We are using high-quality stuff here because the flavor really pops! Don’t grab just any old cocoa; we need pure, unsweetened cocoa powder to get that deep, fudgy cookie base. And hang on to your hat—we use crushed peppermint candies not once, but twice! Once mixed right into the dough, and again sprinkled right on top while they are still hot.
Here is what you need on hand to make about two dozen of these beauties:
- 1 cup unsalted butter, softened (It has to be butter, folks, no substitutes for this richness!)
- 1 1/2 cups granulated sugar
- 2 big eggs
- 1 teaspoon vanilla extract
- 1 teaspoon peppermint extract (This is key for that cool punch!)
- 1 3/4 cups all-purpose flour
- 3/4 cup unsweetened cocoa powder
- 1 teaspoon baking soda, plus 1/2 teaspoon salt
- 1 cup semi-sweet chocolate chips
- 1/2 cup crushed peppermint candies or candy canes (for going inside the dough)
- 1/2 cup crushed peppermint candies or candy canes (for sprinkling on top!)
Ingredient Notes and Substitutions for Chocolate Peppermint Cookies
Listen up, because texture depends on a couple of these details. For the mint flavor, stick to peppermint extract rather than mint extract if you can—they are different! Peppermint gives you that recognizable candy cane zing we are aiming for in these festive holiday cookies. If you wanted to deepen that chocolate flavor even more, sometimes I swap out a quarter cup of the chocolate chips for those chopped Andes mint pieces. Wow, that really amps up the intensity!
Also, that 1 cup of chocolate chips helps keep these soft center holiday cookies wonderfully chewy. If you absolutely must, you can use dark chocolate chips, but the semi-sweet variety balances the sweetness of the candy cane topping just perfectly. Make sure your butter is actually softened, not melted; that makes a huge difference when creaming!
Step-by-Step Instructions for Double Chocolate Mint Cookies
Okay, ready to see how these become reality? The process for these chocolate peppermint cookies is fast, which is why they are such a winner when you need quick Christmas baking done. We need to move quickly once the dough is made, so make sure everything is measured out first! We are aiming for those chewy peppermint brownie cookies that just melt in your mouth.
- First things first: Get that oven heated up to 350°F (175°C). Don’t forget to line your baking sheets with parchment paper now—this saves so much cleanup stress later!
- In your big bowl, start by creaming that softened butter with the sugar. You want it looking light and fluffy before you move on.
- Next, beat in your eggs, one at a time. Then stir in both the vanilla and the peppermint extract. Smelling good already!
- In a separate bowl, whisk your dry things together: flour, cocoa powder, and salt. Keep them dry for now.
- Now, slowly add those dry ingredients into your wet mixture. Mix just until everything comes together. I mean it—stop mixing the second the flour disappears!
- Time for the payoff! Stir in your chocolate chips and that half cup of crushed peppermint candies that go *inside* the dough.
- Drop rounded tablespoons of this beautiful dough onto your prepared sheets, spreading them out by about two inches so they have room to spread.
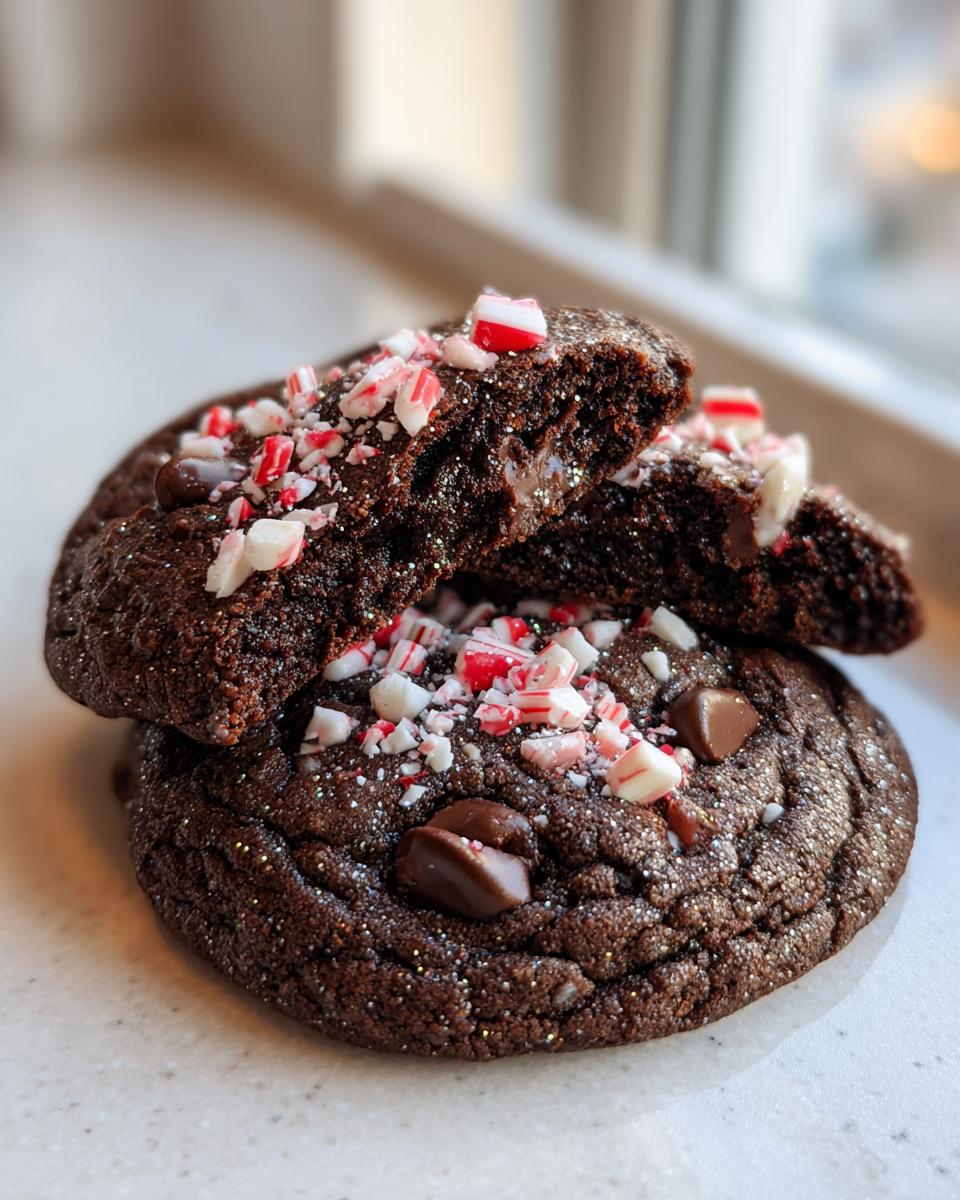
- Bake them for 9 to 11 minutes. Watch them! The edges should look set, but seriously, the centers should still look a little soft when you pull them out.
- This is crucial for the candy cane crush cookies look: Immediately after they come out, sprinkle the rest of that beautiful crushed peppermint right over the tops while it’s hot!
- Let them sit on that hot baking sheet for about five minutes—this melts the candy just slightly—before carefully moving them to a wire rack to cool completely.
Mixing the Dough for Chewy Peppermint Brownie Cookies
When you are creaming the butter and sugar, you are building the foundation for that chewy, fudgy cookie. You need air in there! Don’t rush that step. But, once you introduce the flour and cocoa mixture, you have to switch gears immediately. Overmixing the flour develops the gluten, and gluten equals tough cookies, not the soft center holiday cookies we want. Mix it until you *just* see no more white streaks, and then stop right away. Seriously, put the spatula down!
Baking and Applying the Candy Cane Crush Topping
Getting the timing right here dictates the success of your peppermint crunch cookies. They really only need 9 to 11 minutes. If you bake them until they look completely done, they will be hard by morning. We want that soft center! The second they leave the oven air, you grab that reserved crushed candy, and sprinkle it evenly across the tops. The residual heat melts it just enough to stick beautifully and gives you that amazing visual pop everyone loves on their holiday cookie trays. It’s magic, honestly!
If you are looking for another deep, dark chocolate winner for your tray, you should absolutely check out the recipe for fudgy chocolate crinkle cookies—they also bake up super fast!
Tips for Perfect Festive Holiday Cookies
Baking during the holidays can feel like a competition sometimes, right? Everyone wants their cookies to be the star of the cookie swap! Since these chocolate peppermint cookies are so rich, we have a few extra tricks up our sleeves to make sure yours are perfect every time. It’s all about little tweaks that make a huge difference in the final product.
My biggest tip for preventing these rich cocoa cookies from spreading into flat puddles is chilling the dough! After you mix everything, cover the bowl and pop it in the fridge for just 20 minutes. This firms up that butter just enough so they bake up thicker. That little cold nap is key to a soft center holiday cookie.
Also, remember how I talked about the extracts? Peppermint extract is powerful stuff, way stronger than vanilla. Always taste your dough (the safe stuff, before the eggs go in if you’re nervous!) or just start with a little less than a full teaspoon and add more if you think it needs it. It is so much easier to add mint than it is to take it away once it’s baked in! If you loved learning secrets for perfect texture, you might want to see how I get that custardy center in my french toast recipe—it’s the same principle!
Making Chocolate Peppermint Cookies Ahead of Time
Seriously, when you’re baking for the holidays, you need cookies that don’t fall apart emotionally if you make them on Tuesday for a party on Saturday! Planning ahead is the secret weapon for every host. The great news about these fudgy chocolate cookies is that they hold up incredibly well, which makes them some of the best easy cookie tray fillers you can find.
You have two options here, and both work great for getting ahead of the chaos. For the absolute best texture, I highly recommend baking them a day or two before you need them. Once they are completely cooled—and I mean stone cold, no residual warmth at all—stack them carefully (or separate layers with wax paper if you’re making a giant batch) into an airtight container. Stored this way at room temperature, these wonderful homemade Christmas treats stay soft and chewy for nearly four days!
If you’re feeling super organized and want months of lead time, you can definitely freeze the dough! Roll the dough balls just like you would normally, place them on a baking sheet, and freeze them solid. Once they are hard little hockey pucks, transfer them to heavy-duty storage bags. You don’t even need to thaw them completely; just add an extra minute or two to the baking time. It’s the perfect hack for quick Christmas baking!
If you’re looking for other great make-ahead holiday ideas, my recipe for homemade spice cake freezes beautifully too, though that’s maybe a bit too much work when you just need simple cookies!
Serving Suggestions for Mint Chocolate Treats
These chocolate peppermint cookies are so rich and minty, they seriously only need one thing to go with them: something warm! Forget complicated desserts when you have these little superstars ready to go. For the ultimate cozy winter dessert experience, I always pair them with a big mug of hot cocoa. If you want to elevate that experience even more, you have to try making my recipe for white hot chocolate—the creamy sweetness against the dark, cool mint in the cookie is just unbelievable.
They are also fantastic crumbled over a simple scoop of vanilla ice cream if you need an instant sundae. Honestly, though, when these are fresh out of the oven, they are perfect just sitting right next to a glass of cold milk. It’s classic for a reason!
Frequently Asked Questions About Chocolate Peppermint Cookies
I get a million questions about these every December, so let’s just knock out the common ones right here! I want everyone to have success making these festive holiday cookies happen, whether it is your first time tackling Christmas cookie recipes or you are a seasoned pro looking for the easiest peppermint cookies for your tray.
Can I skip the peppermint extract in these chocolate peppermint cookies?
Oh, I really wouldn’t recommend it, honey! The peppermint extract is what gives these chocolate peppermint cookies that signature cool zing that screams ‘holiday time’. If you are worried about it being too strong, start small! Maybe just use a 1/2 teaspoon instead of the full teaspoon, taste the dough (before adding eggs, of course!), and then add a tiny bit more if you feel it needs it. But skipping it entirely leaves you with a very good, but sadly, just regular double chocolate cookie, not the minty magic we are after.
How do I keep these festive holiday cookies soft?
This is my favorite secret for keeping them perfect! Remember I mentioned baking them just until the edges look set but the centers are still a little bit wobbly? That is step one. They finish cooking on the hot pan after they come out of the oven. Step two is storage: you must keep them in a truly airtight container once they are completely cool. If you pack them up while they have any warmth left, you’ll get condensation, and nobody wants soggy bottoms on their fudgy chocolate cookies!
What is the best way to crush candy canes for the topping?
You should never just toss whole candy canes into a food processor unless you want to clean sticky shards out of every crack and crevice! The best, safest way to crush them for that perfect candy cane crush cookie topping is the ‘bag and pound’ method. Toss the wrapped or unwrapped peppermint candies into a sturdy zip-top freezer bag—double bagging is smart! Lay that bag flat on your counter, and then use a rolling pin or the bottom of a heavy saucepan against it. You get perfectly sized little chunks, and all the mess stays contained in the bag!
If you’re planning a huge baking marathon, check out my guide on quick Christmas baking strategies for saving time!
Estimated Nutritional Data for Chocolate Peppermint Cookies
Okay, I know some of you are tracking things, and I want you to have all the details for these rich cocoa cookies! Since everyone’s ingredients differ slightly, remember that these are just estimates based on the standard measurements and assume one cookie per serving size. We’re keeping them simple, so here is the rundown on what you can expect from our easy peppermint cookies.
- Serving Size: 1 cookie
- Calories: About 180
- Fat: Around 10g
- Carbohydrates: Roughly 22g
- Sugar: About 18g
- Protein: 2g
Please just take these as a rough guide! They are homemade Christmas treats, after all, and a little bit of sweetness is totally worth it during the holidays. As long as you enjoy them with your favorite winter dessert recipes, that’s what truly matters!
Share Your Homemade Christmas Treats
That’s it! You’ve made the absolute best chocolate peppermint cookies for the season. Seriously, when you pull those fresh, minty, chocolatey rounds out of the oven, I want you to take a minute and just smell the air—that’s the smell of success and the start of happy holidays!
Now that you have your perfect batch of festive holiday cookies, I really, really want to know how they turned out for you! Did they get that fudgy texture you were hoping for? Did those candy cane tops look as dazzling as you pictured? Please don’t be shy—head down to the comments section right now and leave a rating and tell me all about your experience. I read every single comment when I’m setting myself up for my own big batch of quick Christmas baking!
And if you snap a picture of your beautiful platter, tag me on social media! Seeing your gorgeous, homemade Christmas treats makes all my recipe testing worth it. It helps me know which recipes truly connect with you as you make your own family traditions. If you have any trouble or need to get in touch with me directly, you can always hop over to my contact page. Happy baking, and enjoy every single bite of those rich cocoa cookies!
PrintEasy Double Chocolate Peppermint Cookies

Make these easy, fudgy double chocolate peppermint cookies for a festive holiday treat. They combine rich cocoa flavor with cool peppermint and crushed candy canes.
- Prep Time: 15 min
- Cook Time: 11 min
- Total Time: 26 min
- Yield: 24 cookies 1x
- Category: Dessert
- Method: Baking
- Cuisine: American
- Diet: Vegetarian
Ingredients
- 1 cup unsalted butter, softened
- 1 1/2 cups granulated sugar
- 2 large eggs
- 1 teaspoon vanilla extract
- 1 teaspoon peppermint extract
- 1 3/4 cups all-purpose flour
- 3/4 cup unsweetened cocoa powder
- 1 teaspoon baking soda
- 1/2 teaspoon salt
- 1 cup semi-sweet chocolate chips
- 1/2 cup crushed peppermint candies or candy canes (for dough)
- 1/2 cup crushed peppermint candies or candy canes (for topping)
Instructions
- Preheat your oven to 350°F (175°C). Line baking sheets with parchment paper.
- In a large bowl, cream together the softened butter and granulated sugar until light and fluffy.
- Beat in the eggs one at a time, then mix in the vanilla and peppermint extracts.
- In a separate bowl, whisk together the flour, cocoa powder, and salt.
- Gradually add the dry ingredients to the wet ingredients, mixing until just combined. Do not overmix.
- Stir in the chocolate chips and 1/2 cup of crushed peppermint candies.
- Drop rounded tablespoons of dough onto the prepared baking sheets, spacing them about 2 inches apart.
- Bake for 9 to 11 minutes. The edges should look set, but the centers will still look slightly soft.
- Immediately after removing the cookies from the oven, sprinkle the tops with the remaining 1/2 cup of crushed peppermint candies.
- Let the cookies cool on the baking sheets for 5 minutes before transferring them to a wire rack to cool completely.
Notes
- For a fudgier cookie, slightly underbake them by about one minute.
- You can substitute Andes mint pieces for some of the chocolate chips for extra mint flavor.
- If you do not have peppermint extract, you can use 1/4 teaspoon of mint extract, but adjust to taste.
- Store cooled cookies in an airtight container at room temperature for up to 4 days.
Nutrition
- Serving Size: 1 cookie
- Calories: 180
- Sugar: 18
- Sodium: 95
- Fat: 10
- Saturated Fat: 6
- Unsaturated Fat: 4
- Trans Fat: 0
- Carbohydrates: 22
- Fiber: 1
- Protein: 2
- Cholesterol: 30