
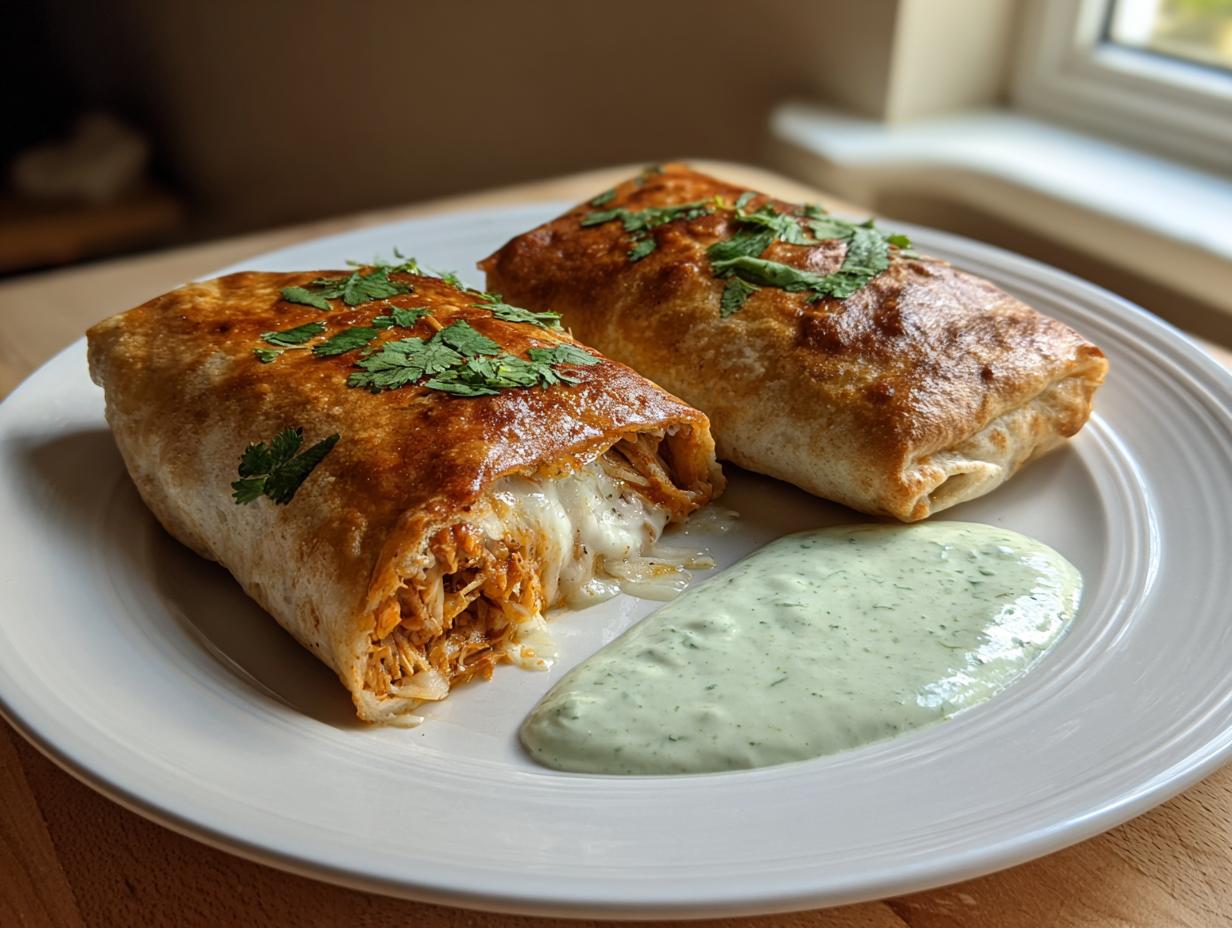
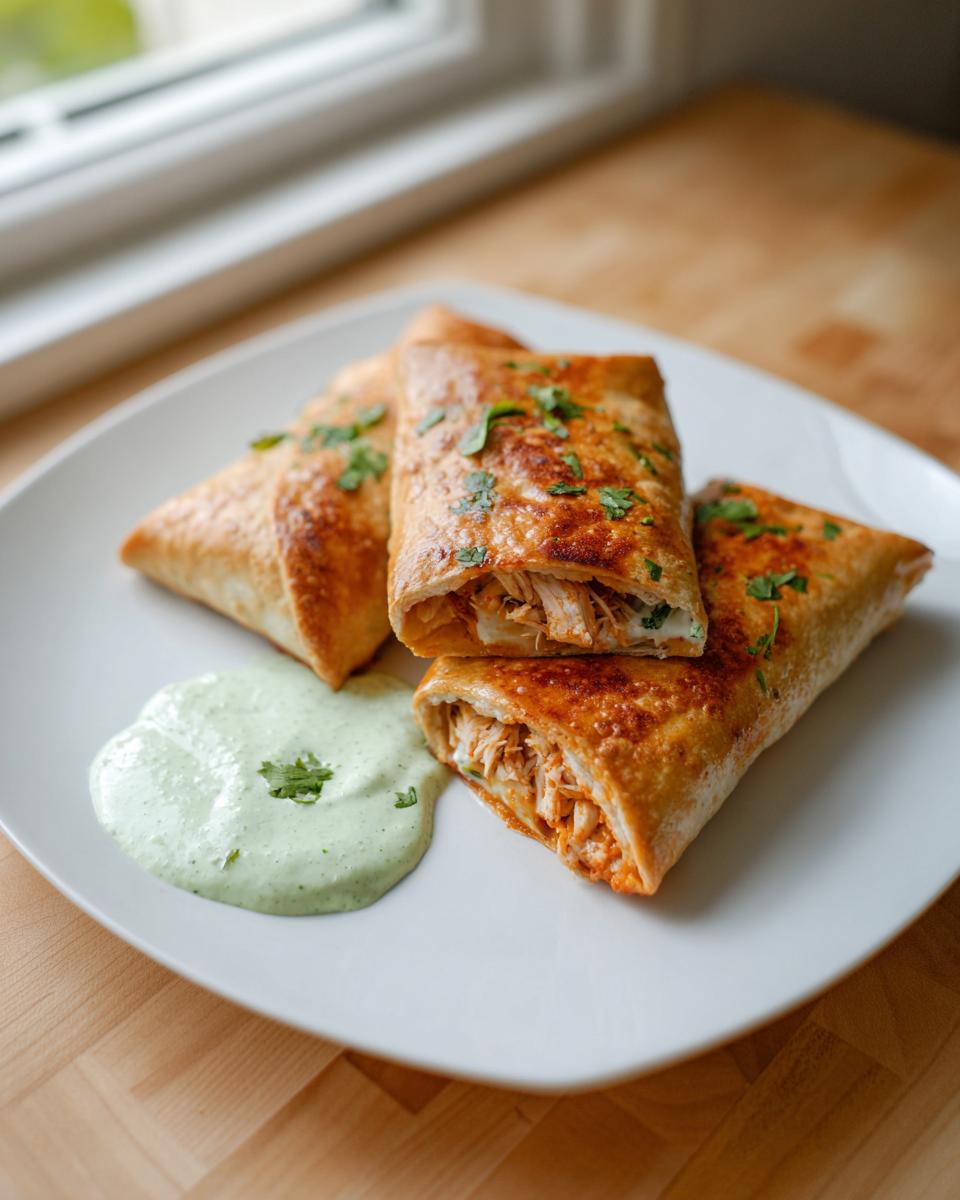
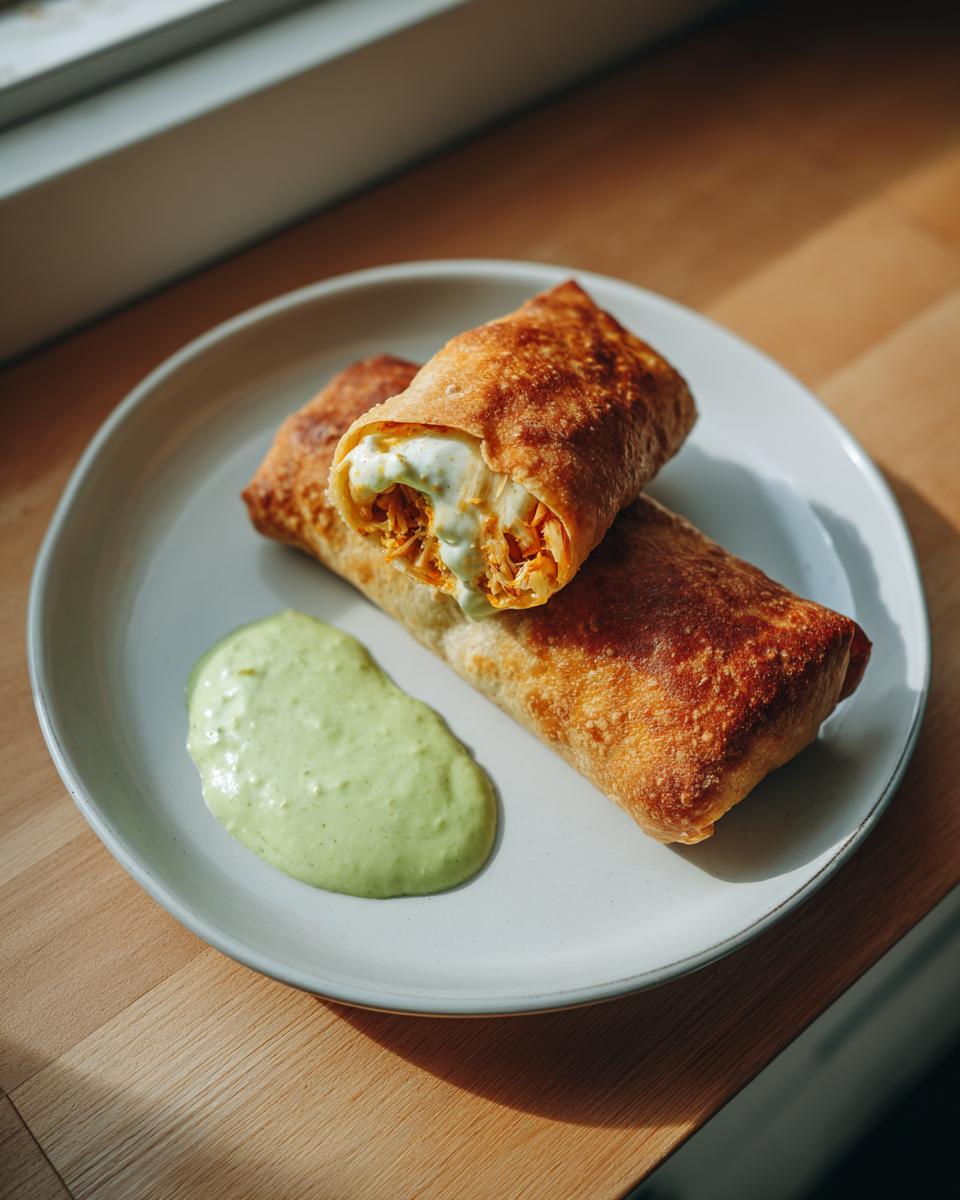
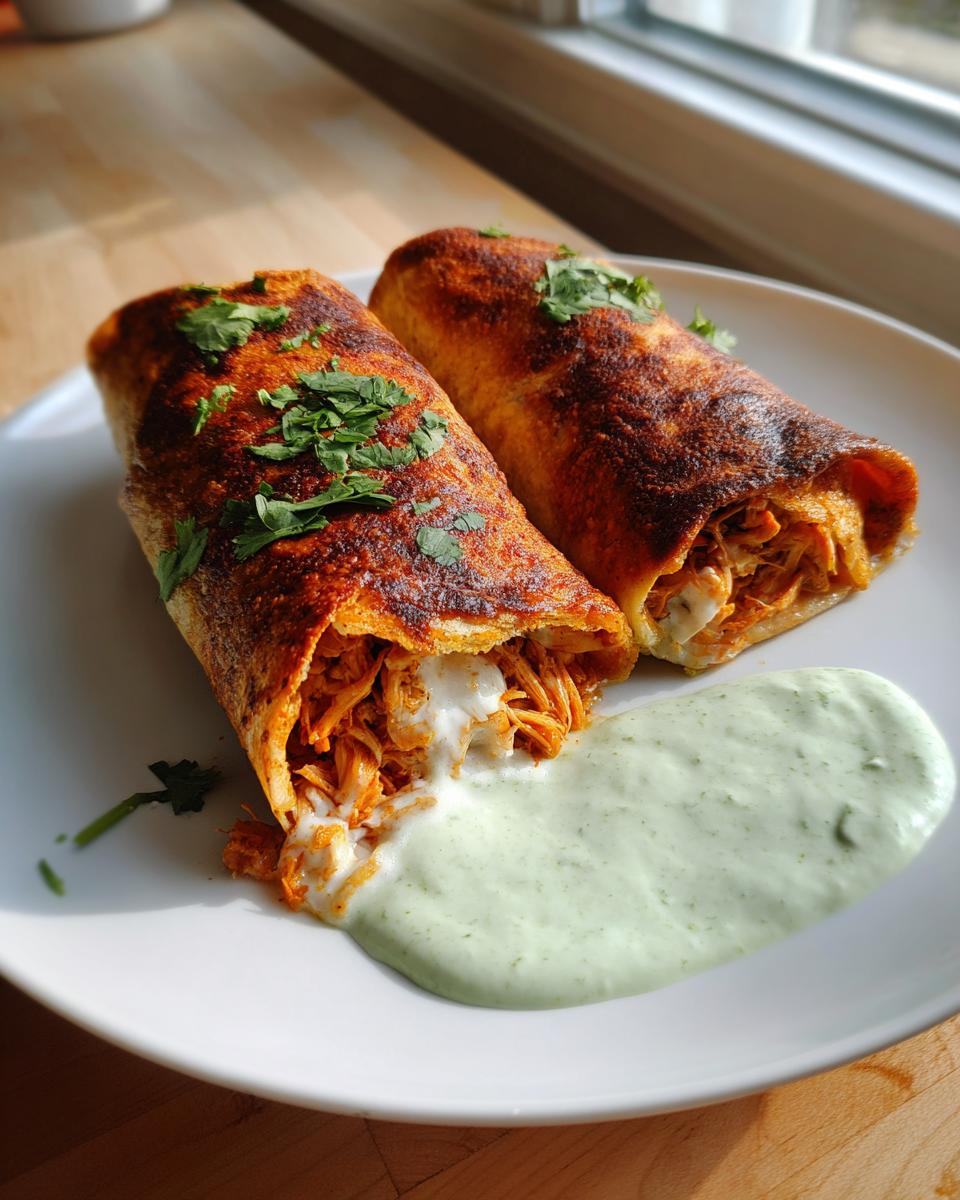
There are times when only that deep, satisfying crunch of good Tex-Mex food will do, right? But honestly, who wants the huge mess and extra grease that comes with traditional deep-fried burritos? Trust me, those cravings don’t have to derail your weeknight plans! That’s why I was so excited to nail down this version of Chimichangas—we’re talking amazing flavor and that essential crispy texture, but achieved right in the oven. I call them my Amazing 30-Minute Chicken Chimichangas. As the heart behind DelishCraze, my goal has always been to bring connection back to the table with food that’s simple and totally accessible. This recipe is the perfect example: quick, incredibly flavorful, and delightfully crispy without ever seeing a deep fryer!
- Why You Will Love These Easy Chimichangas
- Essential Ingredients for Perfect Chicken Chimichangas
- Tips for Making Crispy Chimichangas Without Frying
- Step-by-Step Instructions for Your Chicken Chimichangas Recipe
- Variations: Beef Chimichanga Recipe and Air Fryer Chimichangas
- Make-Ahead and Storage for Freezer Friendly Chimichangas
- Serving Suggestions for Your Homemade Chimichangas
- Frequently Asked Questions About Chimichangas
- Nutritional Estimate for These Baked Chimichangas
Why You Will Love These Easy Chimichangas
I truly believe this recipe hits that sweet spot busy cooks are always searching for. It’s got all the comfort food payoff without any of the fuss. You get that satisfying crunch you associate with true chimichangas, but we’re cutting way back on the oil.
- They’re genuinely fast! We’re talking filling prepped and finished in about 30 minutes, which is perfect for those quick and easy dinners when the day has been long.
- We’re baking these beauties, making them a much healthier Mexican food option compared to the deep-fried versions you find elsewhere.
- The texture is exactly what you want: golden, bubbly, and incredibly crispy on the outside.
Essential Ingredients for Perfect Chicken Chimichangas
When you’re aiming for that perfect, slightly healthier crunch, good ingredients matter. I listed everything out for you, and trust me, don’t try to skimp on the quality of the tortillas! We need medium, burrito-sized flour ones so we can get a really tight roll. For the filling, we want fully cooked, shredded chicken—leftovers from last night’s roast work perfectly here. The spices are kept simple here so the chicken and cheese really shine through.
We are using Monterey Jack cheese because it melts so beautifully and gives that gorgeous, gooey stretch inside our golden wrappers.
For the Cilantro-Lime Crema
This creamy topping is what takes these savory bites from good to restaurant-worthy! It only takes two shakes of a lamb’s tail to mix up, but the fresh lime zest really cuts through the richness of the baked tortilla. You only need a half cup of sour cream to make plenty for topping all eight servings.
- 1 tablespoon olive oil
- 1 small onion, finely chopped
- 2 cloves garlic, minced
- 2 cups cooked, shredded chicken
- 1 teaspoon chili powder
- 1/2 teaspoon cumin
- 1/4 teaspoon salt
- 1/4 teaspoon black pepper
- 1 cup shredded Monterey Jack cheese
- 8 medium flour tortillas (burrito size)
- Cooking spray
And for that bright, fresh drizzle:
- 1/2 cup sour cream
- 2 tablespoons chopped fresh cilantro
- 1 tablespoon lime juice
- Pinch of salt
Tips for Making Crispy Chimichangas Without Frying
When you skip the deep-fryer oil, you really have to convince the oven to do the heavy lifting, and that’s totally achievable! The magic here relies on two simple things: high heat and a generous application of cooking spray. We are blasting these goodies at 400°F (200°C). This high heat evaporates the moisture trapped in the tortilla quickly, forcing it to get golden and crisp.
My little trick, which I learned while trying to make healthier versions of our favorite Mexican-inspired meals, is to spray them *twice*. After you set the rolled wraps seam-side down on the baking sheet, give the tops a really serious coating of cooking spray. Don’t be shy! That fat helps conduct the oven heat right onto the surface, giving us that lovely golden shell we all crave from a perfect batch of baked chimichangas.
Step-by-Step Instructions for Your Chicken Chimichangas Recipe
Alright, let’s get rolling! Yes, I mean that literally. Since we want these to stay nicely tucked together without any filling escaping, getting the rolling technique down is key. First things first, get your oven warming up to 400°F (200°C). You want it fully heated before those wraps go in.
Start developing the flavor base by heating that olive oil in a skillet over medium heat. We just gently cook the onion until it’s softened up—about five minutes. Toss in the garlic for the last minute so it doesn’t burn; we want fragrance, not bitterness!
Now, combine those delicious aromatics with your already cooked, shredded chicken. Stir in the chili powder, cumin, salt, and pepper. Let that all heat through for just a few minutes. Once everything is hot, pull it off the heat and immediately mix in your Monterey Jack cheese until it just melts into the mix. This is the heart of our cheesy chimichangas.
To handle the rolling: Warm your tortillas first—this makes them bendy instead of tearing! Lay one flat, put about a quarter cup of the filling near one edge, fold those sides in tight, and then roll it up snugly. If you’re worried about it unrolling while you bake, a toothpick works wonders to hold it secure until it hits the oven. You’ll bake these on a lightly greased sheet, sprayed well on top, for about 15 to 20 minutes, flipping halfway until they look golden brown and crispy. Don’t forget to pull those toothpicks out before serving! While they bake, whip up the super fresh cilantro-lime rice or, wait, that’s for another time! Just mix up that crema topping, and get ready to eat!
Variations: Beef Chimichanga Recipe and Air Fryer Chimichangas
You know how much I love encouraging creativity in the kitchen! If chicken isn’t your go-to protein, thankfully these savory rolls are great with other fillings, too. If you want to switch to a classic beef chimichanga recipe, just brown your ground beef first (or use leftover shredded beef). The most important thing? You absolutely have to drain off all that excess fat before you mix in the spices and cheese. Nobody wants greasy filling inside their crisp wrapper!
Now, let’s talk about getting that crunch even faster! If you have an air fryer, you can treat these exactly like you would if you were deep-frying, but without nearly the cleanup. Set your basket to about 375°F (190°C). Spray those assembled chimichangas well, just like we did for the oven method, and pop them in batches for about 8 to 10 minutes, flipping halfway through. They get unbelievably crispy! For another great appliance trick, you can check out my recipe for air fryer chicken tenders to see how that appliance works its magic. If you want more detailed air fryer timing, you can see what the folks at Dylangranv suggest right here for crispy air fryer chimichangas.
Make-Ahead and Storage for Freezer Friendly Chimichangas
One of the things I love about this style of Tex-Mex dinner is how fantastic they are for meal prep! If you’re looking for true freezer friendly meals, these baked wraps are it. Once you’ve rolled them up tight—and made sure they are securely sealed—you need to wrap each one individually. I mean *tightly*. Use plastic wrap first, then slide them into a heavy-duty zip-top bag. This double barrier prevents freezer burn, and trust me, freezer burn ruins a crispy wrapper!
When you want to cook them straight from frozen, you don’t even need to thaw them. Just take them out of the bag, give them another quick spray with cooking spray, and pop them into your 400°F oven. I usually advise adding about 10 minutes to the baking time we use for fresh ones. If you have leftovers that just didn’t quite get eaten right away, keep them in an airtight container in the fridge for up to three days. Reheating works best in a 350°F oven or air fryer for about 5 minutes to bring that wonderful crunch right back!
Serving Suggestions for Your Homemade Chimichangas
We made these crispy chicken wraps to be part of a full Tex-Mex spread, so don’t stop at just the crema! While the cilantro-lime topping is certainly bright and tangy, you need the whole gang of accompaniments on the table.
If you’re having this for a proper Tex-Mex dinner, you absolutely must have amazing guacamole. I’ve got a go-to recipe that is just perfect for dipping right into that flaky shell. You can find my tips for making the best homemade guacamole here!

Beyond that, think about serving them alongside some warm refried beans or maybe a quick scoop of Spanish rice. A bowl of fresh salsa fresca or a side of pickled jalapeños adds that wonderful finishing zing we all look for!
Frequently Asked Questions About Chimichangas
Are these truly 30-Minute Chicken Chimichangas?
They absolutely come together in about 30 minutes, depending on how fast you work while chopping! The filling is super quick since we use pre-cooked chicken—you’re just heating it up with seasonings and cheese. The baking time is only 15 to 20 minutes. If you’re organized and warm your tortillas first, you’ll have these on the plate well within that 30-minute window. This is why this recipe is ideal for weeknight Tex Mex nights when time is tight.
Can I use canned chicken instead of shredded?
Oh, you certainly *can*, but I’ll be honest, the texture won’t be quite as satisfying. Canned chicken can sometimes be a little softer or even mushy. If you absolutely must use it for convenience, make sure you drain it extremely thoroughly! Squeeze out every bit of excess liquid before mixing it with the spices and cheese. Otherwise, you risk making your wrapper soggy, and we worked hard for that crispiness!
What is the actual difference between a chimichanga and a burrito?
That’s a great question, and the difference is all in the finish! A standard burrito is served soft, wrapped tightly, and usually smothered in sauce or sour cream. A chimichanga, historically, is a burrito that has been deep-fried until it gets golden brown and super crunchy. Since we’re baking ours, we are aiming for that crispy, fried texture, but using a much simpler technique!
Do you have any easy dessert ideas for after this dinner?
After all that wonderful savory Tex-Mex flavor, sometimes you just need something sweet that requires zero baking effort. If you’re nodding along, you must check out my recipe for easy no-bake peanut butter bars. They take about ten minutes to mix up, and they are the perfect sweet ending without turning the oven back on!
Nutritional Estimate for These Baked Chimichangas
I always get asked about the numbers, and while this isn’t a strict diet recipe, it’s helpful to see what you’re working with, especially since we skipped the deep fryer! These values are just my best estimate based on the ingredients listed above. Remember that every tweak you make—like adding more cheese or using leaner chicken—will shift these figures!
- Serving Size: 2 chimichangas
- Calories: 450
- Fat: 22g (10g Saturated)
- Carbohydrates: 40g
- Protein: 25g
- Sodium: 650mg
Keep in mind these are estimates only, factoring in the delicious cilantro-lime crema topping. Enjoy them responsibly!
PrintCrispy Baked Chicken and Cheese Chimichangas with Cilantro-Lime Crema

Make satisfying, crispy chimichangas at home using chicken and cheese, prepared by baking instead of deep-frying. This recipe includes a simple, fresh crema topping for serving.
- Prep Time: 15 min
- Cook Time: 20 min
- Total Time: 35 min
- Yield: 4 servings 1x
- Category: Dinner
- Method: Baking
- Cuisine: Tex-Mex
- Diet: Vegetarian
Ingredients
- 1 tablespoon olive oil
- 1 small onion, finely chopped
- 2 cloves garlic, minced
- 2 cups cooked, shredded chicken
- 1 teaspoon chili powder
- 1/2 teaspoon cumin
- 1/4 teaspoon salt
- 1/4 teaspoon black pepper
- 1 cup shredded Monterey Jack cheese
- 8 medium flour tortillas (burrito size)
- Cooking spray
- For the Crema: 1/2 cup sour cream, 2 tablespoons chopped fresh cilantro, 1 tablespoon lime juice, pinch of salt
Instructions
- Heat the olive oil in a skillet over medium heat. Add the onion and cook until soft, about 5 minutes. Add the garlic and cook for 1 minute more.
- Add the shredded chicken, chili powder, cumin, salt, and pepper to the skillet. Stir well and cook until heated through, about 3 minutes. Remove from heat and stir in the shredded cheese until just melted.
- Warm the tortillas slightly in the microwave or a dry skillet to make them pliable. Place about 1/4 cup of the chicken mixture near one edge of a tortilla. Fold in the sides, then tightly roll the tortilla up like a burrito. Secure with a toothpick if needed. Repeat with remaining filling and tortillas.
- Preheat your oven to 400°F (200°C). Lightly spray a baking sheet with cooking spray. Place the rolled chimichangas seam-side down on the sheet. Spray the tops generously with cooking spray to help them crisp.
- Bake for 15 to 20 minutes, flipping halfway through, until the tortillas are golden brown and crispy.
- While the chimichangas bake, prepare the crema: In a small bowl, mix the sour cream, cilantro, lime juice, and a pinch of salt until combined.
- Remove the chimichangas from the oven. Carefully remove any toothpicks before serving. Serve hot with the cilantro-lime crema.
Notes
- For freezer-friendly meals, assemble the chimichangas completely, wrap tightly in plastic wrap, and freeze. When ready to cook, bake directly from frozen, adding about 10 minutes to the baking time.
- You can substitute ground beef or shredded beef for the chicken filling. Brown the beef first, drain any fat, and then add the seasonings.
- For extra crispiness, you can use an air fryer set to 375°F (190°C) for 8-10 minutes, flipping halfway.
Nutrition
- Serving Size: 2 chimichangas
- Calories: 450
- Sugar: 3
- Sodium: 650
- Fat: 22
- Saturated Fat: 10
- Unsaturated Fat: 12
- Trans Fat: 0
- Carbohydrates: 40
- Fiber: 3
- Protein: 25
- Cholesterol: 75