
If you’re staring into the fridge at 6 PM thinking, “What on earth can I make on a Tuesday night that doesn’t taste like sadness?” – trust me, I’ve been there! That’s why I’m so excited to share this incredible **kimchi fried rice**. It’s the dish that rescued my weeknights. We’re talking bold, savory, tangy Korean flavor hitting your table in just 15 minutes. Here at DelishCraze, my goal—as Olivia Rosewood—is always to make these amazing global flavors feel simple and accessible for your everyday kitchen, and this Bokkeumbap truly delivers. If you’re looking for quick easy weeknight dinners, you just found your winner.
- Why This Easy Kimchi Fried Rice Recipe Works for You
- Essential Ingredients for Flavorful Kimchi Fried Rice
- Expert Tips for Perfect Kimchi Fried Rice Texture
- Step-by-Step Instructions for Quick Kimchi Fried Rice
- Serving Your Kimchi Fried Rice with a Fried Egg Rice Topping
- Storage and Reheating for Leftover Kimchi Fried Rice
- Common Questions About Making Bokkeumbap
- Nutritional Estimate for Your Kimchi Fried Rice Bowl
- Share Your Weeknight Korean Dinner Success
Why This Easy Kimchi Fried Rice Recipe Works for You
I know you need meals that are fast but don’t skimp on flavor, and this recipe is pure reliability. My promise to you is that this kimchi fried rice is designed for your busy life. Here’s why I think you’ll reach for this one again and again:
- It’s genuinely a 15-minute miracle. Seriously fast!
- It’s the perfect way to use up that old rice lurking in your fridge.
- You get that signature bold, spicy, and tangy Korean flavor punch every time.
- It transitions beautifully from a simple side to a satisfying Weeknight Korean Dinner centerpiece.
Essential Ingredients for Flavorful Kimchi Fried Rice
When making a flavor-packed dish like this, the ingredients are everything. We’re aiming for that savory, spicy kick, and using the right components ensures we get there without needing a million steps. Think of these items as your foundation for the best Kimchi Fried Rice Recipe you’ll ever make. Don’t even think about using fresh rice here—save that for something else!
Here’s what you need to pull together this magic:
- 2 cups cold, day-old cooked white rice (This is crucial!)
- 1 cup chopped aged kimchi
- 2 tablespoons kimchi juice
- 4 ounces bacon or pork belly, chopped (if you want that amazing smoky flavor boost!)
- 1 tablespoon neutral cooking oil
- 1/2 small onion, diced
- 2 cloves garlic, minced
- 1 tablespoon Gochujang (Korean chili paste)
- 1 teaspoon soy sauce
- 1/2 teaspoon sesame oil
- 2 large eggs (For that perfect topping, naturally.)
- 1 scallion, sliced, for garnish
- 1 teaspoon toasted sesame seeds, for garnish
I really want to stress the kimchi—you must use aged kimchi! The older and more fermented it is, the tangier it tastes, and that tang is what cuts through the richness. It gives the entire dish that authentic complexity. If you need another simple dipping sauce later, check out my recipe for easy Big Mac sauce, but for now, gather these supplies, and let’s get cooking!
Expert Tips for Perfect Kimchi Fried Rice Texture
Okay, listen up. If you want truly great Quick Korean Fried Rice and not just wet, mushy rice, you have to pay attention to texture. This is where we build authority in the kitchen, right? The absolute number one trick, and what separates a good Bokkeumbap from a takeout carton disaster, is using rice that’s already cold. I swear by day-old rice; it’s drier, firmer, and separates perfectly when it hits the hot pan. Don’t try making this with rice you just cooked—you’ll end up with something resembling sticky porridge, and trust me, nobody wants that!
Once the rice is in, forget stirring constantly! You want to press those grains down against the hot metal for a few seconds at a time. That momentary contact gives you that incredible, subtle char, that smoky flavor we call wok hei, even if you’re using a regular skillet. It’s about building heat into the grains.
Ingredient Notes and Substitutions for Your Kimchi Fried Rice
If you’re planning a vegetarian take on this recipe, don’t worry; it’s super easy to adapt. Just ditch the bacon and toss in about 1/2 cup of diced firm tofu or even some savory vegan sausage when you’re cooking the onions. That helps keep the texture interesting! Flavor-wise, Gochujang is your heat dial. If you like it fiery, add a heaping tablespoon. If you’re sensitive to spice, cut it back slightly, maybe use just a teaspoon to start, and add more at the end if you’re feeling brave!
Step-by-Step Instructions for Quick Kimchi Fried Rice
This recipe moves fast, which is why it’s perfect for those days when you just need dinner on the table before you lose the will to cook! Remember, since we’re moving quickly, have all your ingredients chopped and ready to go—I mean *mise en place*, folks! We’re aiming for maximum flavor in minimum time here. Once you start cooking, it’s a steady, continuous process until that beautiful, savory, spicy fried rice is ready to eat. It truly is a simple but effective method for making Bokkeumbap.
Preparing the Bacon and Aromatics for Your Spicy Fried Rice
If you’re using bacon or pork belly (and you absolutely should if you want that deep, savory base!), we start by cooking it in our large skillet over medium heat until it gets nice and crisp. Use a slotted spoon to scoop that amazing meat out and set it aside—we want to keep it crunchy for garnish later! Leave just about one tablespoon of that beautiful rendered fat behind for flavor. If you’re skipping meat, just add your tablespoon of neutral oil. Next, toss in your diced onion and let it soften up for about two minutes, then hit it with the minced garlic for just 30 seconds until you can smell it. Don’t let that garlic burn, or your whole batch will taste bitter!
Frying the Rice and Adding the Gochujang Fried Rice Flavor Base
Now comes the main event! Throw in your chopped kimchi and stir it around for a good three to four minutes. You want it to soften a bit and deepen in color. Now, add your cold rice. Grab your spatula and break up any big clumps—this is important! Cook that rice for three minutes, pressing it firmly against the hot surface of the pan to get those little crispy spots developing. Once the rice is hot and slightly charred, quickly stir in the kimchi juice, the fiery Gochujang, and the soy sauce. Keep stirring until that gorgeous red paste coats every single grain evenly, which takes about two full minutes. Don’t forget to check out how others make their pork belly versions, like this one Pork Belly Kimchi Fried Rice for inspiration!
Finally, take the skillet off the heat—this stops everything from overcooking! Stir in that final drizzle of sesame oil and mix in the crispy bacon pieces you saved earlier. That’s the flavor layer done!
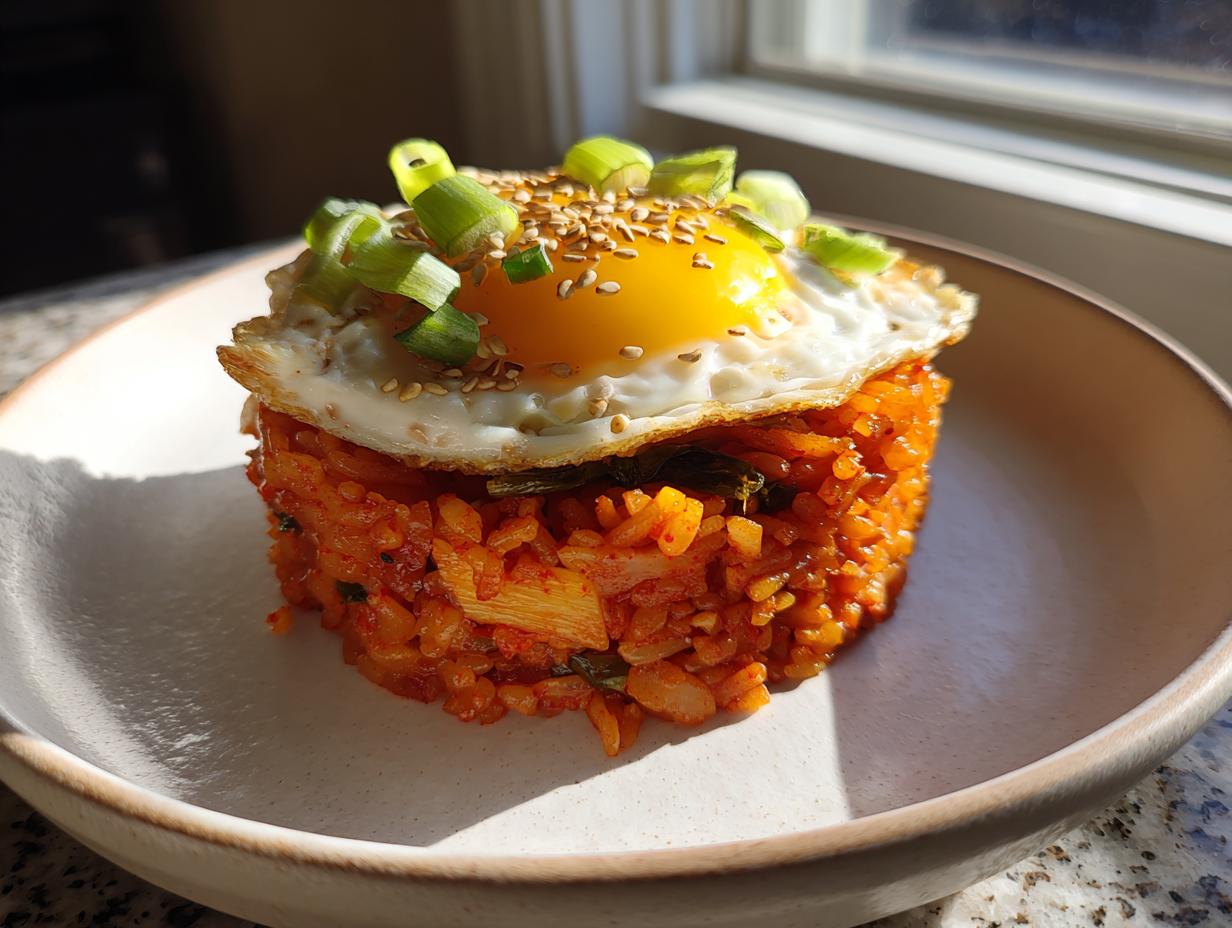
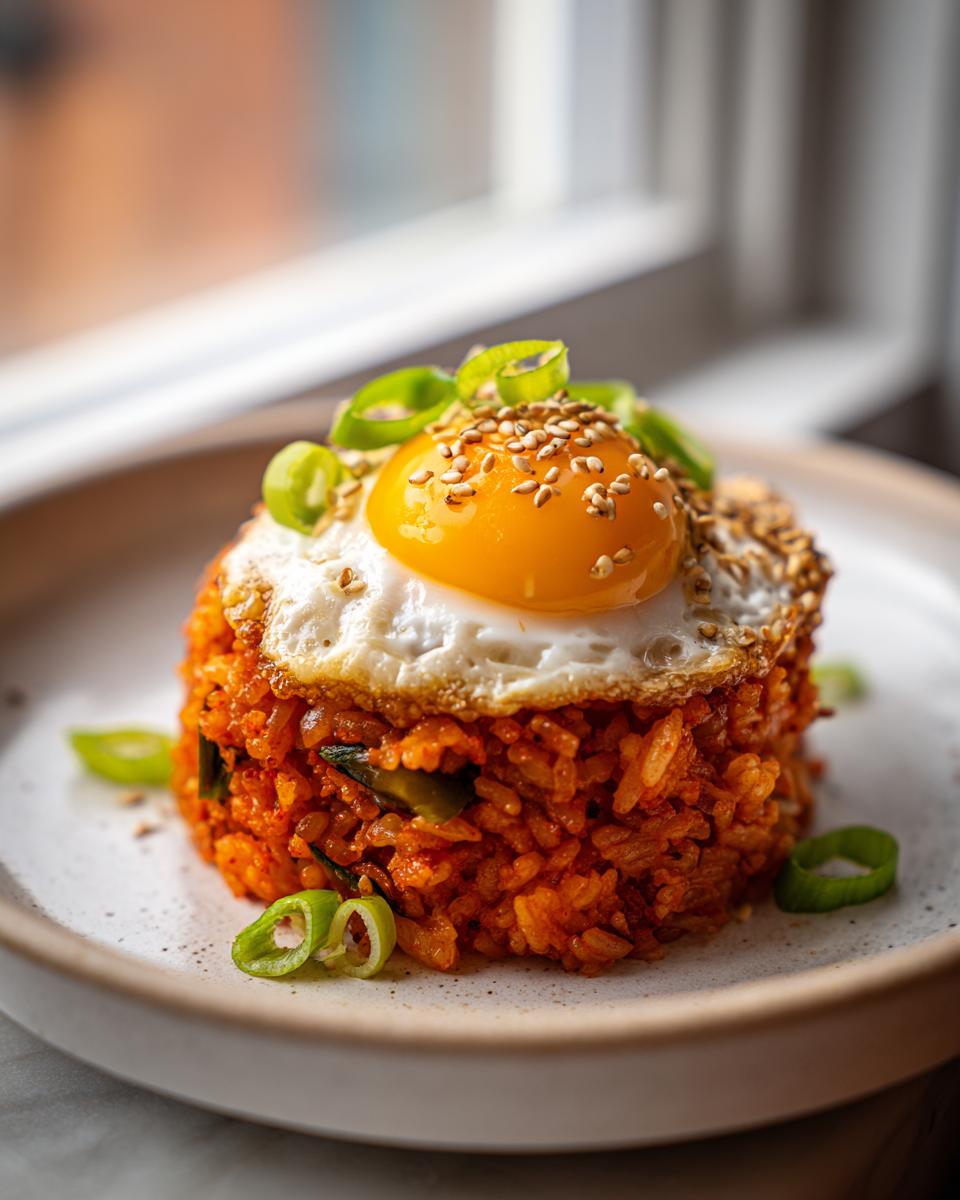
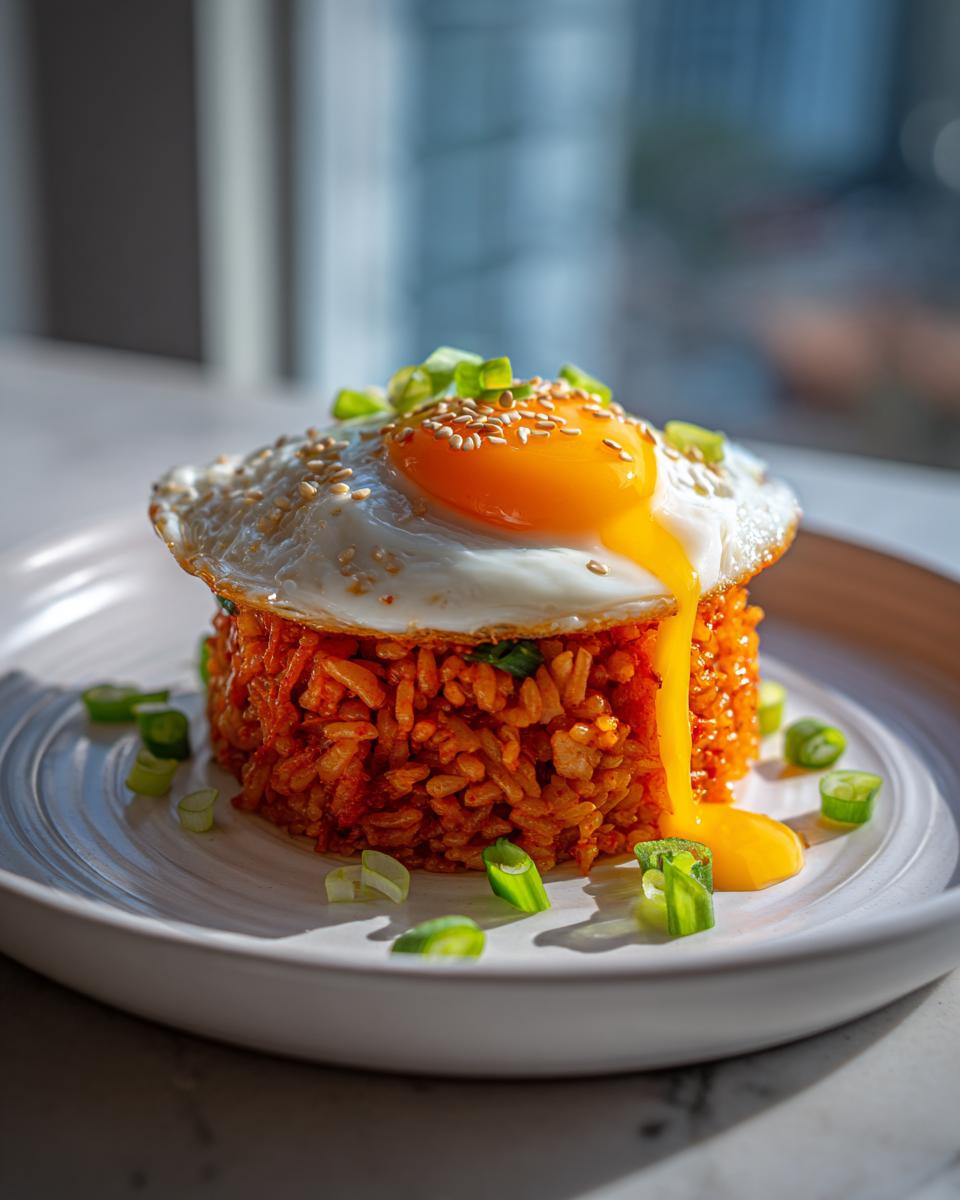
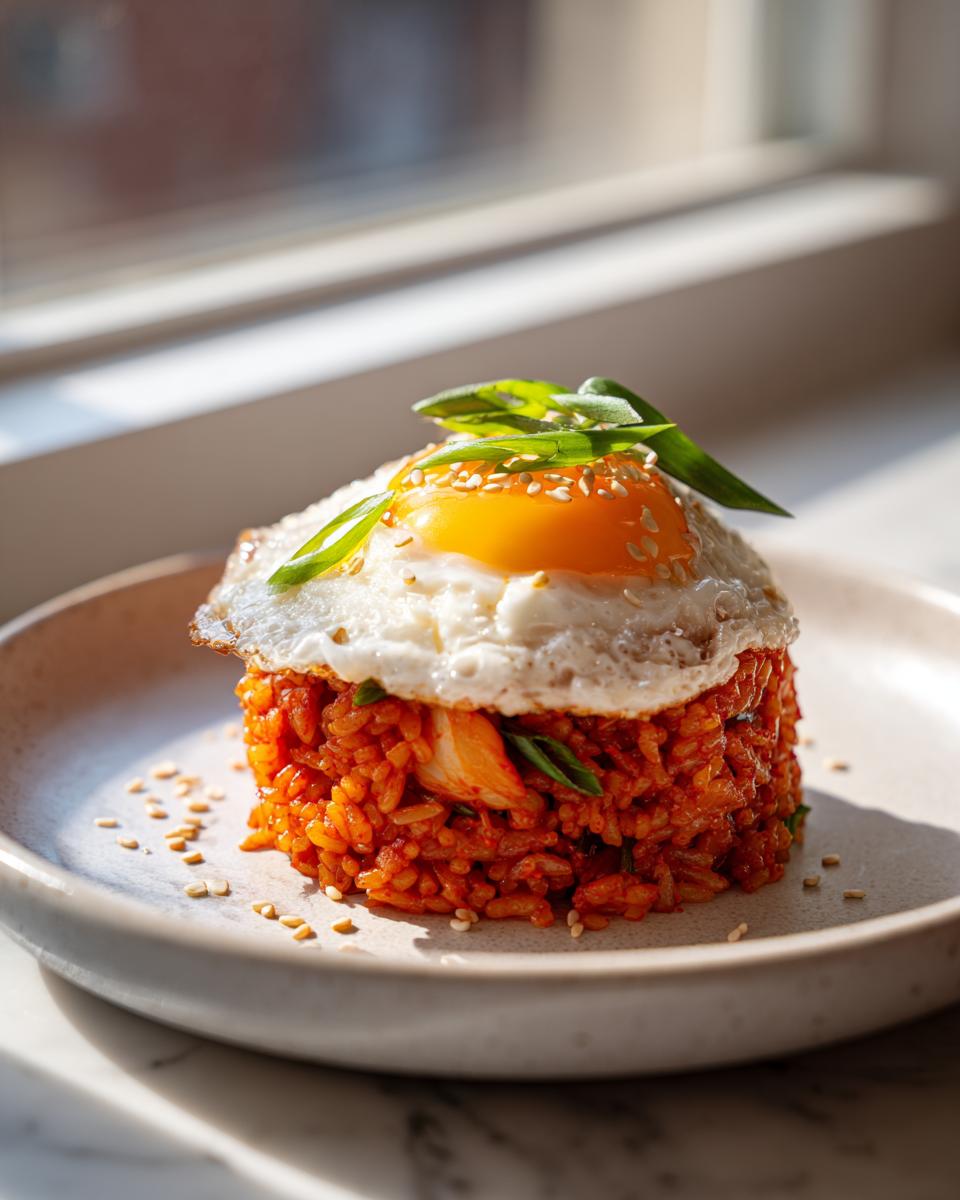
Serving Your Kimchi Fried Rice with a Fried Egg Rice Topping
We’ve done the hard work, and now it’s time for the crowning glory! Remember how we saved those two eggs? You need to cook them separately, sunny-side up or over easy is my vote. Why the runny yolk? Because when you break that bright orange center over the steaming, spicy Kimchi Fried Rice, it creates its own incredible, rich sauce! That yolk acts like liquid gold, mellowing out the tanginess of the kimchi beautifully.
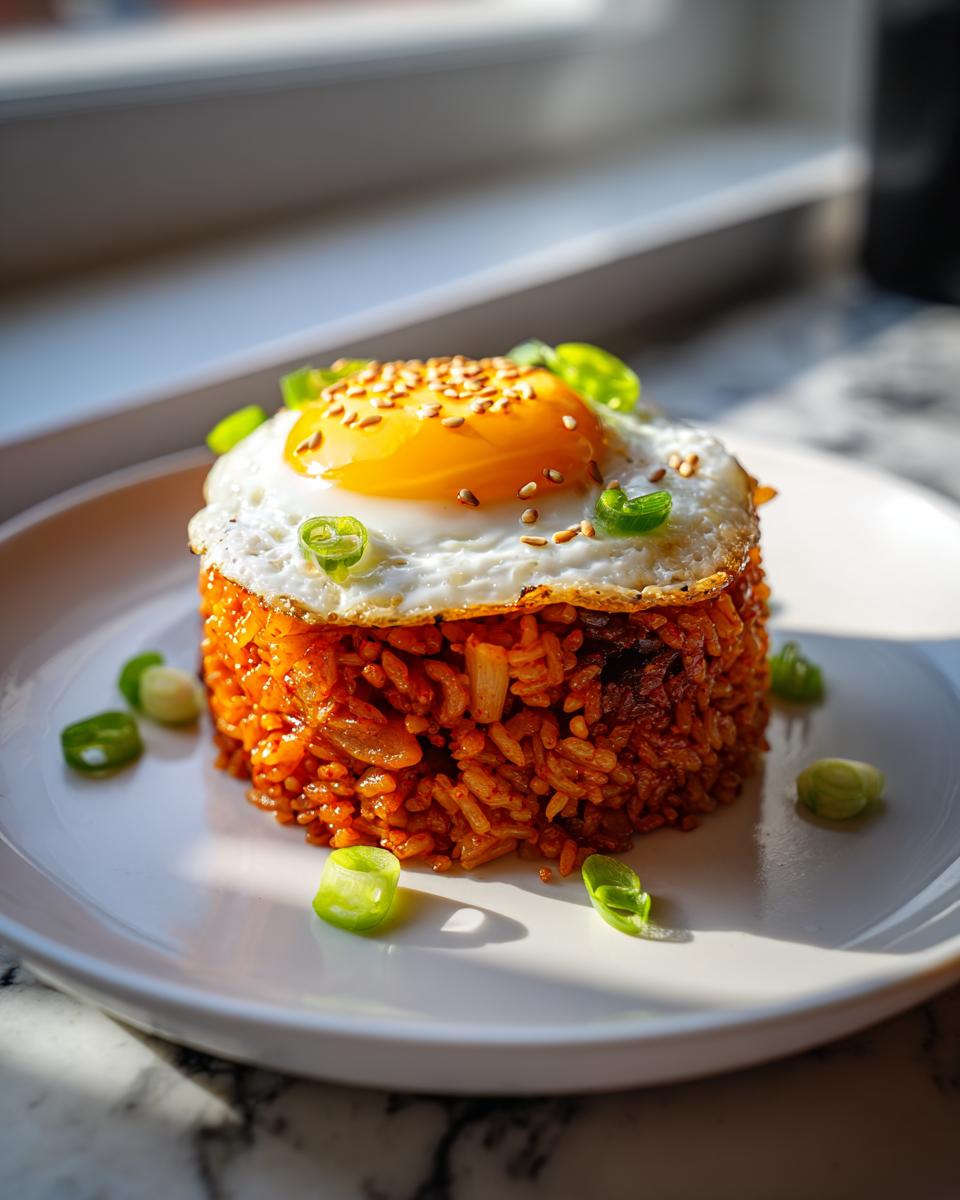
Spoon your portions into bowls. Crown each one with that perfectly tender fried egg. We finish simply: a toss of sliced scallions and a sprinkle of toasted sesame seeds for a little crunch and fragrance. It’s a beautiful, vibrant Kimchi Rice Bowl that looks like it took hours, but trust me, it came together in minutes. If you’re looking for other ways to ace egg game, I have some great tips on making foolproof poached eggs, too!
Storage and Reheating for Leftover Kimchi Fried Rice
Now, the best part about this recipe being an amazing Leftover Rice Recipe is that it tastes even better the next day! Once it’s completely cool, you need to store it in an airtight container. Keep it in the fridge for maybe three days max. When you’re ready for round two, skip the microwave if you can!
Microwaving makes the rice soft again. Instead, toss those leftovers into a hot, clean skillet with just a tiny splash of oil or water and fry it up again for a few minutes. This brings back that required texture and crispness that makes kimchi fried rice so addictive. Seriously, that quick second fry is worth the extra cleanup!
Common Questions About Making Bokkeumbap
I know you’ve got questions because making great **kimchi fried rice** perfectly every single time takes a little Know-How! Since people are always looking for ways to customize this dish for speed and flavor, I wanted to clear up a few things that pop up often. Don’t worry if you’re new to Korean cooking; we’ll get you sorted out so your weeknight dinner is a huge success!
Can I make this Quick Korean Fried Rice without meat?
Absolutely, yes! That’s the beauty of this recipe—it’s endlessly flexible. If you’re skipping the bacon or pork belly, you can toss in diced firm tofu or even some vegan sausage when you sauté the onions. The key is just making sure you have something hearty absorbing those spicy, tangy flavors. It turns into a wonderful vegetarian option without losing that savory depth.
What kind of rice is best for Kimchi Fried Rice?
I can’t stress this enough: you need cold, day-old rice. It’s non-negotiable for getting that perfect, slightly separated, and slightly crispy texture in your **Bokkeumbap**. Freshly cooked rice holds way too much moisture, and you’ll end up with mush. Always plan ahead one day for the rice!
How can I make this a more savory Asian rice dish?
If you want to really lean into that deep umami profile that makes a truly **savory Asian rice dish**, I have two main suggestions. First, if you used bacon, you already added tons of flavor by using the reserved rendered fat! If you didn’t use meat, try adding just half a teaspoon of fish sauce along with your soy sauce. It gives the whole dish an incredible boost of salty depth that is just fantastic.
Nutritional Estimate for Your Kimchi Fried Rice Bowl
Okay, so while my main focus in the kitchen is always flavor, I know a lot of you track macros or just like to have an idea of what you’re eating, especially with that rich egg yolk on top! I ran the numbers for this recipe, and here is the estimated breakdown for one serving of this fantastic kimchi fried rice.
- Serving Size: 1 serving
- Calories: 550
- Fat: 22g
- Saturated Fat: 8g
- Carbohydrates: 75g
- Protein: 18g
Just remember, these numbers—especially the sodium, which is higher due to the kimchi and soy sauce—are estimates. They change wildly depending on how salty your kimchi is or if you decide to use pork belly versus skipping the meat altogether. We calculate these based on the recipe as written, but think of this as a general guide for your Fried Egg Rice bowl. The main takeaway is that you’re getting a hearty, filling meal packed with protein and fiber for only 550 calories!
Share Your Weeknight Korean Dinner Success
That’s it! You’ve completely mastered the art of kimchi fried rice. I really hope this recipe brings that bright, comforting Korean flavor right into your busy week. Please, don’t keep this magic to yourself! Hop down to the comments below, leave a rating, and let me know how your 15-minute dinner turned out. I adore seeing your food photos on social media—tag me so I can cheer you on! Remember, cooking should always be joyful, never a chore. If you need to reach out for any baking questions, you can always find me on the contact page. Happy cooking, friend!
PrintEasy 15-Minute Kimchi Fried Rice with Fried Egg
Make this quick and savory Kimchi Fried Rice (Bokkeumbap) in 15 minutes using leftover rice. It delivers bold, spicy, and tangy Korean flavors perfect for a weeknight dinner.
- Prep Time: 5 min
- Cook Time: 10 min
- Total Time: 15 min
- Yield: 2 servings 1x
- Category: Dinner
- Method: Stir-Frying
- Cuisine: Korean
- Diet: Vegetarian
Ingredients
- 2 cups cold, day-old cooked white rice
- 1 cup chopped aged kimchi
- 2 tablespoons kimchi juice
- 4 ounces bacon or pork belly, chopped (optional)
- 1 tablespoon neutral cooking oil
- 1/2 small onion, diced
- 2 cloves garlic, minced
- 1 tablespoon Gochujang (Korean chili paste)
- 1 teaspoon soy sauce
- 1/2 teaspoon sesame oil
- 2 large eggs
- 1 scallion, sliced, for garnish
- 1 teaspoon toasted sesame seeds, for garnish
Instructions
- If using bacon or pork belly, cook it in a large skillet over medium heat until crisp. Remove the meat with a slotted spoon and set aside, leaving about 1 tablespoon of rendered fat in the pan. If not using meat, add 1 tablespoon of cooking oil to the pan.
- Add the diced onion to the skillet and cook for 2 minutes until softened. Add the minced garlic and cook for 30 seconds until fragrant.
- Add the chopped kimchi to the skillet. Stir and cook for 3 to 4 minutes until the kimchi softens and darkens slightly.
- Add the cold rice to the skillet. Break up the rice clumps with your spatula and stir well to combine with the kimchi mixture. Cook for 3 minutes, pressing the rice against the hot pan surface to achieve a slight crispness.
- Stir in the kimchi juice, Gochujang, and soy sauce. Mix thoroughly until the rice is evenly coated and heated through, about 2 minutes.
- Remove the skillet from the heat. Stir in the sesame oil and the reserved bacon or pork belly, if using.
- In a separate small pan, cook the two eggs sunny-side up or over easy, so the yolk remains runny.
- Divide the kimchi fried rice into two bowls. Top each serving with one fried egg. Garnish with sliced scallions and toasted sesame seeds.
Notes
- Using cold, day-old rice is key for achieving the best texture in fried rice; it prevents the rice from becoming mushy.
- For a vegetarian version, skip the bacon and add 1/2 cup of diced firm tofu or vegan sausage during step 2.
- Adjust the amount of Gochujang to control the spice level of your dish.
Nutrition
- Serving Size: 1 serving
- Calories: 550
- Sugar: 6
- Sodium: 1100
- Fat: 22
- Saturated Fat: 8
- Unsaturated Fat: 14
- Trans Fat: 0
- Carbohydrates: 75
- Fiber: 4
- Protein: 18
- Cholesterol: 250