
There’s just something so wonderfully satisfying about a jar of homemade pear preserves, isn’t there? Especially when the pears are ripe and fragrant, and you’ve got that beautiful, chunky texture that just screams “old-fashioned goodness.” Here at DelishCraze, we absolutely adore preserving the bounty of the season, and these pear preserves are a true testament to that tradition. You see, I grew up with canning jars lined up on shelves, a colorful testament to delicious memories. After leaving behind a fast-paced graphic design career, I found my way back to those comforting kitchen traditions, and I just knew I had to share simple, accessible recipes like this one with you all. Making these preserves reminds me of the joy in slowing down and creating something truly special, a piece of edible history for your pantry. It’s all about combining that genuine, homemade flavor with reliable methods, so you can feel confident every step of the way. You can read more about my journey and passion for home cooking here.
- Why You'll Love This Old-Fashioned Pear Preserves Recipe
- Ingredients for Pear Preserves
- Essential Equipment for Canning Pear Preserves
- How to Make Old-Fashioned Pear Preserves: Step-by-Step
- Tips for Perfect Pear Preserves
- Serving Suggestions for Your Pear Preserves
- Storage and Reheating Pear Preserves
- Frequently Asked Questions About Pear Preserves
- Estimated Nutritional Information for Pear Preserves
- Share Your Pear Preserves Creations!
Why You’ll Love This Old-Fashioned Pear Preserves Recipe
Seriously, you are going to adore making these pear preserves. They’re just the perfect little jar of sunshine to pull out all year long! Here’s why this recipe is a keeper:
- Super Easy to Follow: I’ve broken down every single step so even if you’re new to canning, you’ll feel totally confident. No complicated techniques here!
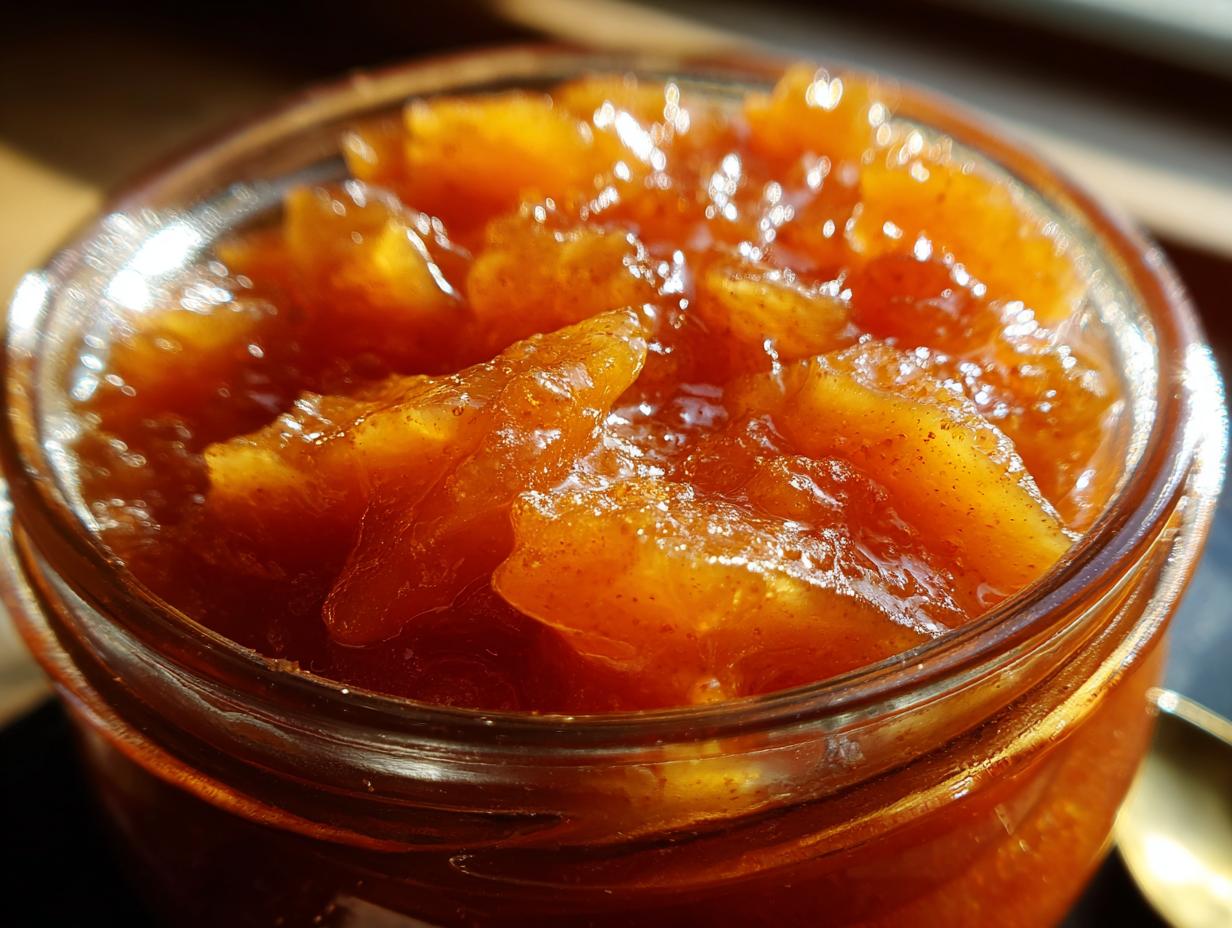
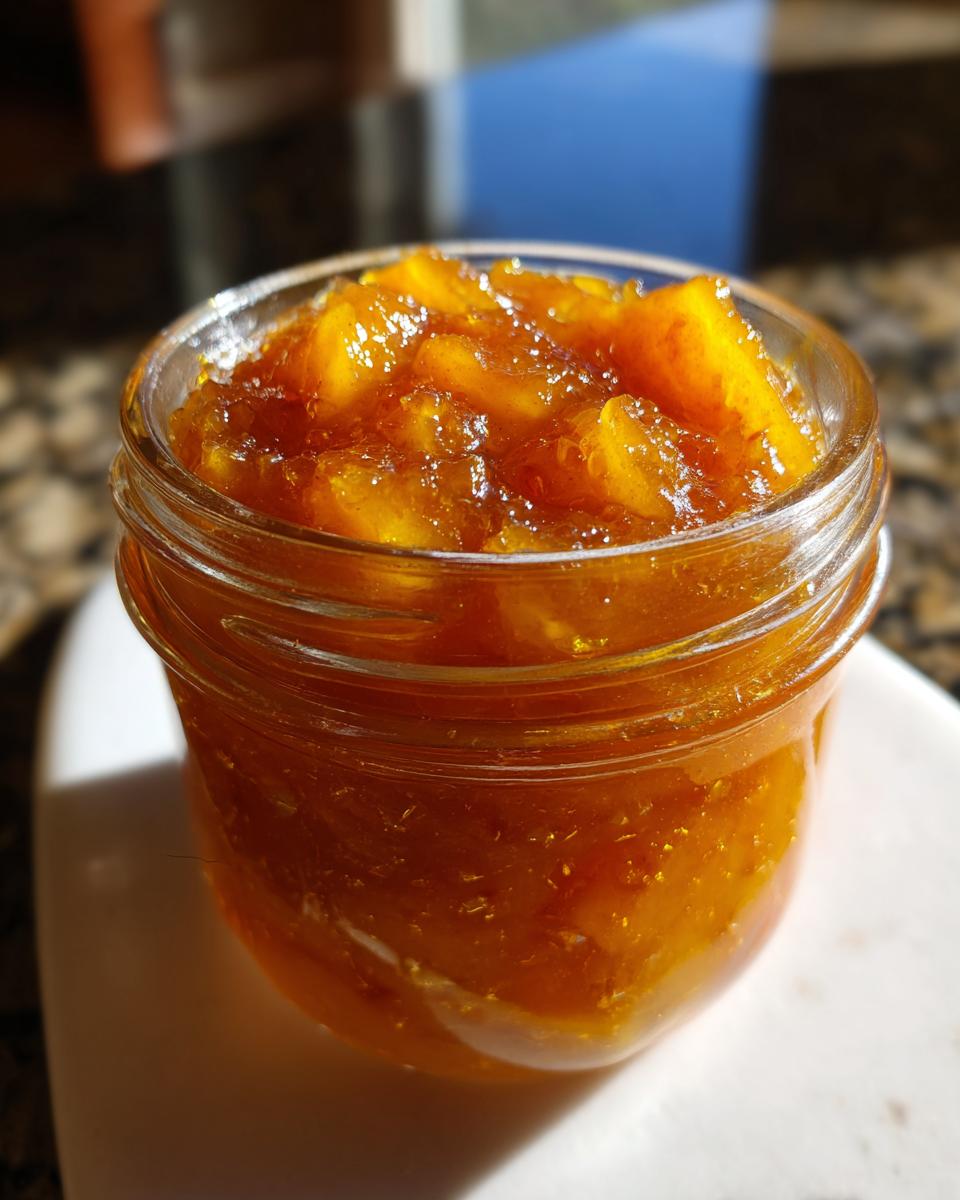
- That Perfect Chunky Texture: None of that smooth, jelly stuff! We’re going for that delightful, old-fashioned goodness with lovely pieces of tender pear.
- No Pectin Needed: Yep, you read that right! These preserves thicken up beautifully all on their own, relying on the pears’ natural goodness and just a bit of sugar and lemon juice.
- Safe Water Bath Canning: We’re using a reliable water bath method to ensure your preserves are safely sealed and ready for your pantry. You can trust this process!
- Giftable Happiness: Imagine gifting these beautiful jars to friends and family. They’re the perfect homemade treat for any occasion!
- Pantry Staples, Elevated: Having jars of these pear preserves on hand is like having a little bit of summer sweetness ready all year round. Perfect for biscuits, toast, cheese boards, and more!
Ingredients for Pear Preserves
Alright, it’s time to gather your goodies! For these wonderfully chunky, old-fashioned pear preserves, you’ll only need a few simple things. Trust me, the fewer ingredients, the more the pear flavor really shines through!
- 3 pounds ripe pears, peeled, cored, and chopped (about 6-8 medium pears!)
- 3 cups granulated sugar
- 1/4 cup fresh lemon juice (this is super important for safety and tang!)
- 1/2 cup water
Essential Equipment for Canning Pear Preserves
Alright friends, before we dive into making these glorious pear preserves, let’s make sure you’ve got your ‘must-have’ tools ready. Having the right equipment makes the whole canning process so much smoother and, more importantly, safer! You’ll need a big pot for cooking the preserves – a heavy-bottomed one is best so nothing scorches. A water bath canner is essential for safely processing your jars, and make sure it’s big enough to hold your jars submerged! You’ll also want some canning jars with lids and bands, a jar lifter (super handy so you don’t burn yourself!), a ladle, and maybe a funnel. Don’t skip these; they’re your ticket to perfect preserves!
How to Make Old-Fashioned Pear Preserves: Step-by-Step
Alright, let’s get down to business and make these *gorgeous* old-fashioned pear preserves! Making them isn’t complicated, but it does involve a few steps to make sure they turn out perfectly and are safely canned. Trust me, when you pull those sparkling jars off the cooling rack, you’ll feel like a kitchen superhero! I’ve walked through this process so many times, and each time I’m reminded how rewarding it is to preserve that lovely pear flavor.
Preparing Your Jars and Canner for Pear Preserves
First things first, let’s get our canning station ready. You want to fill your big water bath canner about halfway with water and get it simmering gently – you don’t need a rolling boil just yet. Now, grab your clean jars, lids, and bands. Wash them thoroughly. While the canner heats up, you can sterilize your jars. I usually pop mine in the oven at 225°F (107°C) for at least 10 minutes, or you can swirl them around in that simmering canner water for a few minutes. Make sure those lids are ready to go too – just follow the manufacturer’s instructions, usually a simple warm water soak does the trick. This prep work is key for safe pear preserves!
Cooking the Pear Preserves Mixture
Now for the fun part! In your big, heavy-bottomed pot (this really is important to prevent scorching!), combine those lovely chopped pears, the granulated sugar, that essential fresh lemon juice, and the water. Give it all a good stir until the sugar starts to dissolve. Pop this over medium-high heat and bring it to a boil, stirring now and then. Once it’s cheerfully bubbling, reduce the heat to low. Let it simmer, stirring often, for about 45 to 60 minutes. You’re looking for the pears to get nice and tender, and for the whole mixture to thicken up beautifully. As it simmers, you might see some foam rise to the surface – just skim that off with a spoon. Patience here is key for that perfect chunky consistency!
Testing for the Perfect Pear Preserves Set
This is where you become a jam detective! To make sure your pear preserves are going to set up nicely, pop a small spoonful onto a chilled plate. I usually keep a plate in the freezer just for this. Let it sit for a minute, then gently push on the edge of the dollop with your finger. If it wrinkles up a little, you know it’s ready! If it’s still super runny, just let it simmer for a few more minutes and test again.

Filling and Sealing Jars of Pear Preserves
Once your preserves have reached that perfect set, it’s time to get them into those clean jars. Carefully ladle the *hot* preserves into your hot, sterilized jars. Leave about a 1/2 inch of space at the top – this is called ‘headspace,’ and it’s super important for sealing properly. Now, take a damp paper towel and wipe the rims of the jars really well. Any little bit of food or sugar on the rim can prevent a good seal. Place your prepared lids on top, and then screw on the bands. You want them ‘fingertip tight’ – just snug, not cranked on with all your might.
Water Bath Canning Your Pear Preserves
Now we put those jars into the simmering water bath canner. Make sure the jars are fully submerged in water, with at least an inch or two of water covering them. Once the water returns to a rolling boil, start your timer! For altitudes up to 1,000 feet, you’ll process your jars for 10 minutes. If you’re at a higher elevation, you’ll need to adjust that time upwards – the National Center for Home Food Preservation has a great chart for that if you’re unsure. Stick to this processing time; it’s what makes your pear preserves safe for long-term storage. This water bath canning step is non-negotiable for jam!
Cooling and Checking Your Pear Preserves
After the processing time is up, carefully lift those jars out of the canner using your jar lifter and place them on a wire rack or a towel-lined counter. Don’t crowd them – give them some space for air to circulate. Let them cool undisturbed for a full 12 to 24 hours. You’ll likely hear some fun little pinging sounds as the lids seal, which is the best! Once they’re completely cool, check each lid by gently pressing down on the center. If it doesn’t flex up and down, it’s sealed perfectly. Hooray for successful pear preserves!
Tips for Perfect Pear Preserves
Okay, let’s chat about making these pear preserves absolutely perfect! I’ve learned a few tricks over the years, and they really do make a difference. It’s all about those little details that turn good preserves into *great* preserves. When I’m whipping up a batch, I always keep these things in mind to make sure they’re safe, flavorful, and have that amazing chunky texture we love.
Pear Selection for Optimal Pear Preserves
Choosing the right pears is honestly half the battle for that perfect “old-fashioned” texture. You want pears that are ripe, for sure – you can smell that sweet perfume! – but not *mushy*. Think pears that are just starting to yield to a gentle squeeze. Bartlett pears are usually fantastic for this, but Anjou or Bosc can work too if they’re perfectly ripe. Avoid pears that are rock hard, as they won’t soften up nicely, and definitely skip any that are bruised or too soft, or they’ll turn to mush in the pot. We want tender chunks, not pear sauce!
Sugar and Acidity: Balancing Flavor and Safety in Pear Preserves
Now, let’s talk sugar and lemon juice. While it might seem like a lot of sugar, it’s not just for sweetness; it’s a crucial part of the preservation process, helping to create that lovely texture and keep spoilage at bay. So, when figuring out ‘how much sugar for pear preserves,’ I really stick to the recipe amounts. If you’re curious about ‘how much sugar for pear preserves’ and want to try it with less, do it in a smaller test batch first and understand that it might affect the setting and shelf life. And that lemon juice? It’s your best friend! It adds a little tang that cuts through the sweetness of the pears, but more importantly, it provides the acidity needed for safe water bath canning. So, don’t skip the lemon juice for your ‘pear preserves safety lemon juice’ assurance!
Serving Suggestions for Your Pear Preserves
Okay, so you’ve got these beautiful jars of sparkling pear preserves, and now what? Oh, the ways you can enjoy this chunky fruit spread are endless! Seriously, pulling out a jar of homemade pear preserves feels like a little victory, straight from your own farmhouse kitchen. Of course, they’re absolutely heavenly spread warm on a flaky biscuit or toasted sourdough. But don’t stop there! They make an elegant addition to a cheese board – that sweet pear with a sharp cheddar or a creamy brie is divine. Try swirling a spoonful into your morning oatmeal or yogurt, or use it as a glaze for pork or chicken. It’s just one of those versatile, delicious things that makes everything taste a little bit special!
Storage and Reheating Pear Preserves
Once your beautiful jars of pear preserves are sealed and cooled completely, they’re ready for the pantry! Store sealed jars in a cool, dark, dry place. Think of a basement or a pantry shelf away from direct sunlight. Properly canned pear preserves can last for about 12 to 18 months, though they’re usually best enjoyed within the first year. Once you open a jar, though, it needs to be refrigerated. Just pop it in the fridge, and it should be good for about 3 to 4 weeks. Reheating isn’t usually necessary; they’re delicious at room temperature or cold!
Frequently Asked Questions About Pear Preserves
Got questions about coaxing those gorgeous pears into perfect preserves? I totally get it! Canning can seem a little daunting at first, but I promise, with a few simple answers, you’ll feel like a pro. Here are some things folks often ask me:
Can I Make Pear Preserves Without Pectin?
Absolutely! This recipe is specifically designed to be a “no-pectin” kind of deal. We rely on the natural pectin that’s already in the pears, along with the sugar and the acidity from the lemon juice, to get that perfect, chunky set. So no need to run out and buy any extra pectin!
How to Make Small Batch Pear Preserves
If you’ve only got a few pears hanging around or just want to try a small test batch before committing to a big canning session, you can totally scale this recipe down! Just cut all the ingredients by half. You’ll want to keep the cooking and canning times the same, though, to ensure safety. Making small batch pear preserves is a great way to dip your toes into canning!
What is the Best Way to Preserve Pears?
For long-term storage and to ensure they’re safe to enjoy later, water bath canning is hands-down the best and most reliable way to preserve pears. It locks in that delicious flavor and texture, giving you jars of “pear recipes for canning” goodness that can last for ages in your pantry. It’s so much safer and more effective than just freezing or refrigerating for extended periods.
Estimated Nutritional Information for Pear Preserves
Alright, y’all, let’s talk numbers! It’s always good to have a rough idea of what’s in that delicious jar of goodness. This nutritional info is just an estimate, of course, because a lot depends on the exact ripeness of your pears and the specific brands you use. But for a standard 2-tablespoon serving of these yummy pear preserves, you’re generally looking at about 80 calories, with around 20g of sugar (that’s from the pears and added sugar, folks!), and about 21g of carbohydrates. Fat and protein are pretty much nil in this recipe, which is typical for fruit preserves. Happy canning!
Share Your Pear Preserves Creations!
I just *love* seeing what you all create in your kitchens! Did you make these pear preserves? I’d be thrilled if you’d leave a comment below and share your experience. Did they turn out perfectly? What did you serve them with? Don’t forget to rate the recipe too – it really helps others find these tasty homemade gems! If you snap some photos, tag us on social media; I’d adore seeing your beautiful jars! If you ever have questions or need a hand, you can always reach out via my contact page.
PrintOld-Fashioned Pear Preserves
Create chunky, old-fashioned pear preserves using a water bath canning method. This recipe focuses on clear steps for safe canning, ideal for preserving seasonal pears.
- Prep Time: 30 min
- Cook Time: 60 min
- Total Time: 90 min
- Yield: Approximately 4 pints 1x
- Category: Preserves
- Method: Water Bath Canning
- Cuisine: American
- Diet: Vegetarian
Ingredients
- 3 pounds ripe pears, peeled, cored, and chopped
- 3 cups granulated sugar
- 1/4 cup lemon juice
- 1/2 cup water
Instructions
- Prepare your water bath canner by filling it with water and bringing it to a simmer. Sterilize your canning jars, lids, and bands.
- In a large, heavy-bottomed pot, combine the chopped pears, sugar, lemon juice, and water.
- Stir the ingredients together until the sugar is dissolved.
- Bring the mixture to a boil over medium-high heat, stirring occasionally.
- Reduce the heat to low and simmer, stirring frequently, until the preserves have thickened and the pears are tender. This can take 45-60 minutes. Skim off any foam that rises to the surface.
- Test for set: Place a small spoonful of preserves on a chilled plate. If it gels and wrinkles when pushed, it is ready.
- Ladle the hot preserves into the prepared jars, leaving 1/2 inch of headspace.
- Wipe the rims of the jars clean with a damp cloth and place the lids on top. Screw on the bands until fingertip tight.
- Care for the jars in the preheated water bath canner, ensuring they are fully submerged. Process for 10 minutes for altitudes up to 1,000 feet. Adjust processing time for higher altitudes.
- Carefully remove the jars from the canner and let them cool on a wire rack for 12-24 hours. Check for a proper seal.
Notes
- For a smoother preserve, you can lightly mash some of the pear pieces.
- Ensure your pears are ripe but not overly soft for the best texture.
- Adjust sugar to your preference, but do not reduce it significantly as sugar acts as a preservative.
- Lemon juice is crucial for acidity and helps ensure the preserves are safe for water bath canning.
Nutrition
- Serving Size: 2 tablespoons
- Calories: 80
- Sugar: 20g
- Sodium: 5mg
- Fat: 0g
- Saturated Fat: 0g
- Unsaturated Fat: 0g
- Trans Fat: 0g
- Carbohydrates: 21g
- Fiber: 1g
- Protein: 0g
- Cholesterol: 0mg