
There is nothing quite like that satisfying *snap* when you bite into a perfectly crisp pickle, right? If you’ve ever looked at a bushel of fresh cucumbers and thought, “I wish I could just pickle these without all the hassle,” well, I have fantastic news for you! I’m Olivia Rosewood, and here at DelishCraze, our cooking philosophy is that truly delicious food should fit right into your busy life. That’s why these refrigerator pickles are my absolute go-to. They deliver that incredible tangy flavor and satisfying crunch, but the best part? You don’t need any special canning skills or heavy equipment. Seriously, these are ready to eat in about 24 hours, and they are pure, simple, homemade joy!
- Why This Is the Ultimate Easy & Crispy Refrigerator Dill Pickles Recipe
- Gathering Ingredients for Perfect Refrigerator Pickles
- How to Make Refrigerator Pickles: Step-by-Step Instructions
- Tips for the Best Crispy Cucumber Pickles Fresh
- Storage and Enjoying Your Refrigerator Pickles
- Frequently Asked Questions About Easy Refrigerator Pickle Recipe
- Nutritional Snapshot of Tangy Crunchy Pickles
- Share Your Homemade Refrigerator Pickles Creations
Why This Is the Ultimate Easy & Crispy Refrigerator Dill Pickles Recipe
I truly believe this is the best starter recipe you could ask for if you’ve ever wanted to try making **quick homemade pickles**. Most people get intimidated by pickling because they think it involves complicated pressure canners, but you can forget all that worry here! This recipe is designed for simplicity and maximum texture development right in your fridge. It’s the perfect pickle recipe for beginners who want immediate payoff without the commitment of long-term canning.
Achieving Tangy Crunchy Pickles Every Time
The secret to that wonderful crunch isn’t magic; it’s good technique. We use very fresh cucumbers—they just hold their structure better than older ones. More importantly, when making these tangy crunchy pickles, we only heat the brine just enough to dissolve the salt and sugar. Never let it boil! Boiling the brine cooks the cucumbers slightly, turning them soft and sad. We want them vibrant!
The Appeal of No Canning Needed Pickles
That’s right—we are talking about **no canning needed pickles**! This method keeps things extremely light and fast. Because we aren’t trying to achieve shelf stability, we can skip the long, hot processing steps. You just pour the warm brine over the veggies, seal the jar, and pop it into the cold environment of the refrigerator. It’s safe, simple preservation that you get to enjoy in less than a day.
Gathering Ingredients for Perfect Refrigerator Pickles
Okay, now for the fun part: gathering our goodies! When you’re making these quick little treats, ingredient quality matters a lot, especially since we aren’t cooking them for long. Getting the ratios right in the brine is key to achieving that brilliant flavor profile we call **garlic dill refrigerator pickles**. Remember, for these quick pickles, precision in measuring the brine components helps guarantee you get that perfect tangy flavor!

Cucumber Selection and Preparation Guidance
The first rule of great **refrigerator pickles** is the cucumber itself. You absolutely must try to find Kirby cucumbers or another variety labeled specifically for pickling. They’re firmer and hold up beautifully to the brine. For my favorite extra texture boost, slice your cucumbers into spears or rounds—about a quarter-inch thick—and then soak them in ice water for a solid 30 minutes before you even think about mixing the brine. Drain them super well after that ice bath, okay?
Brine Components for Tangy Flavor
Our brine uses simple pantry staples, but the type matters! Make sure you grab white vinegar that is exactly 5% acidity; anything less won’t give you that necessary zip. For the salt, use pickling salt or coarse kosher salt—don’t reach for iodized table salt, trust me, it can muddy the flavor. We balance that tang perfectly with just a touch of sugar. You might want to check out my recipe for marinated cheese sometime—using quality ingredients is just as important there!
How to Make Refrigerator Pickles: Step-by-Step Instructions
Okay, putting it all together is super straightforward! I promise, once you see how fast this comes together, you’ll leave the store-bought jars behind forever. Remember, these are **refrigerator pickles**, so we’re moving fast, but we still need to be methodical to keep that crunch. Don’t be tempted to rush the cooling step, though! Speaking of delicious transformations, if you ever master this, you’ll have to try my easy homemade applesauce recipe next.
Preparing the Cucumbers and Jars
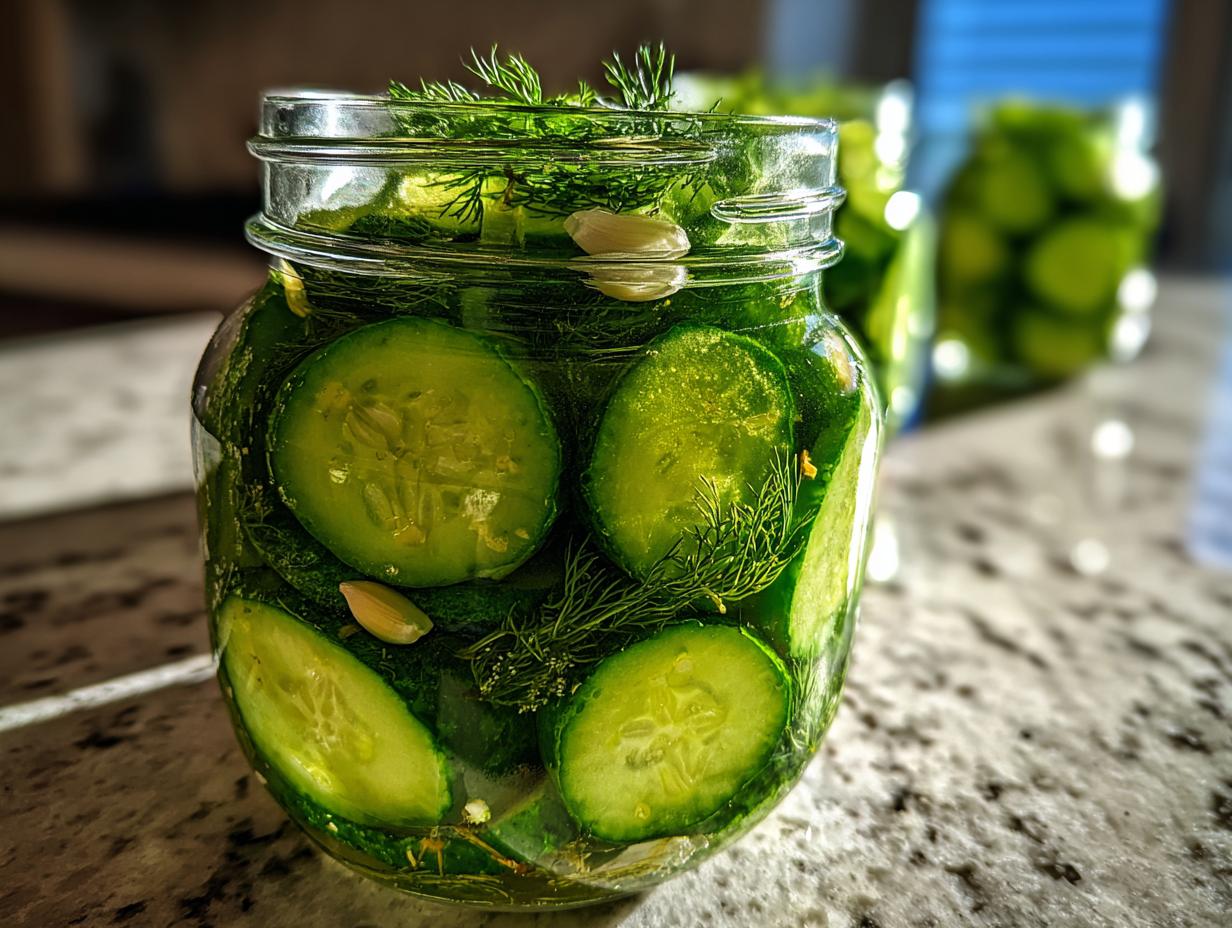
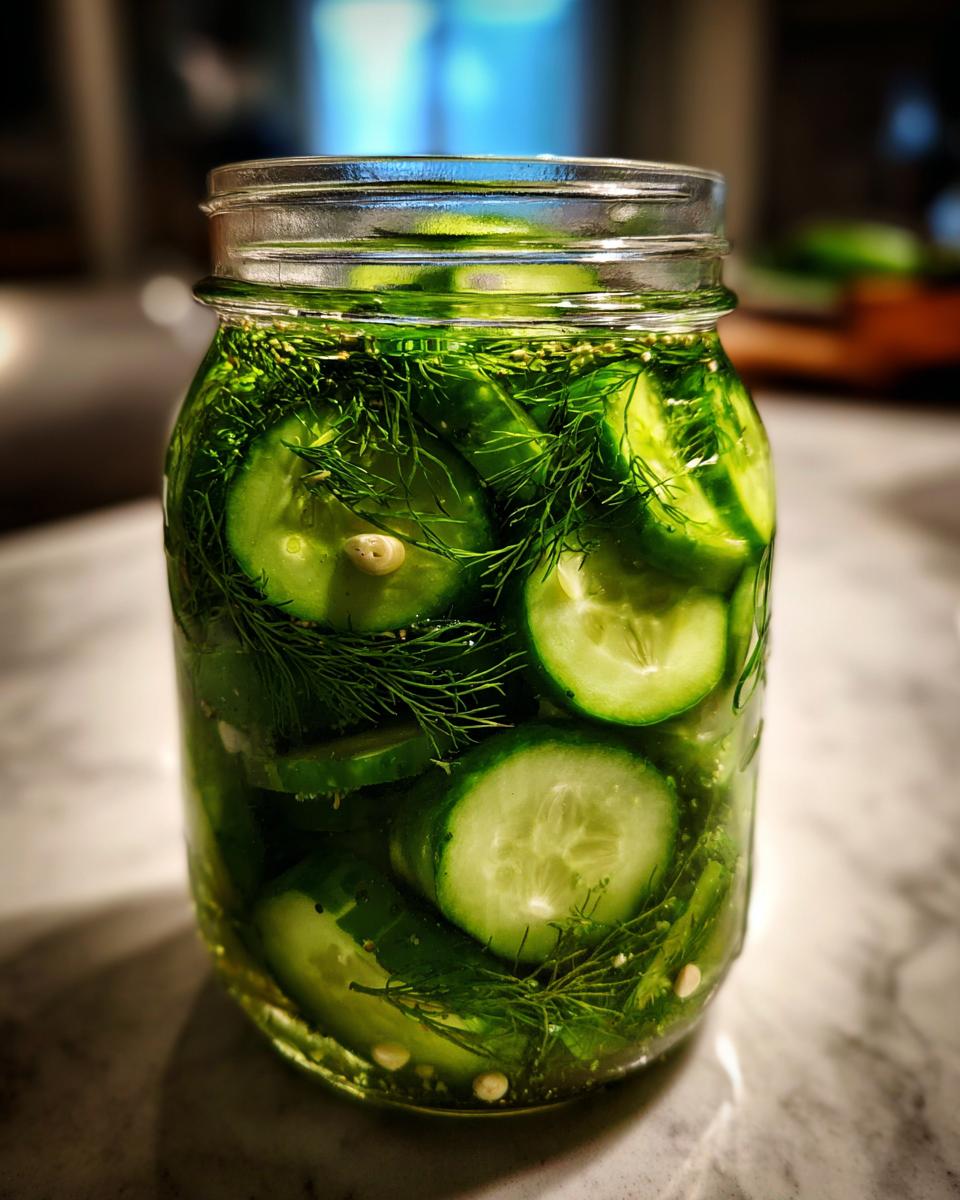
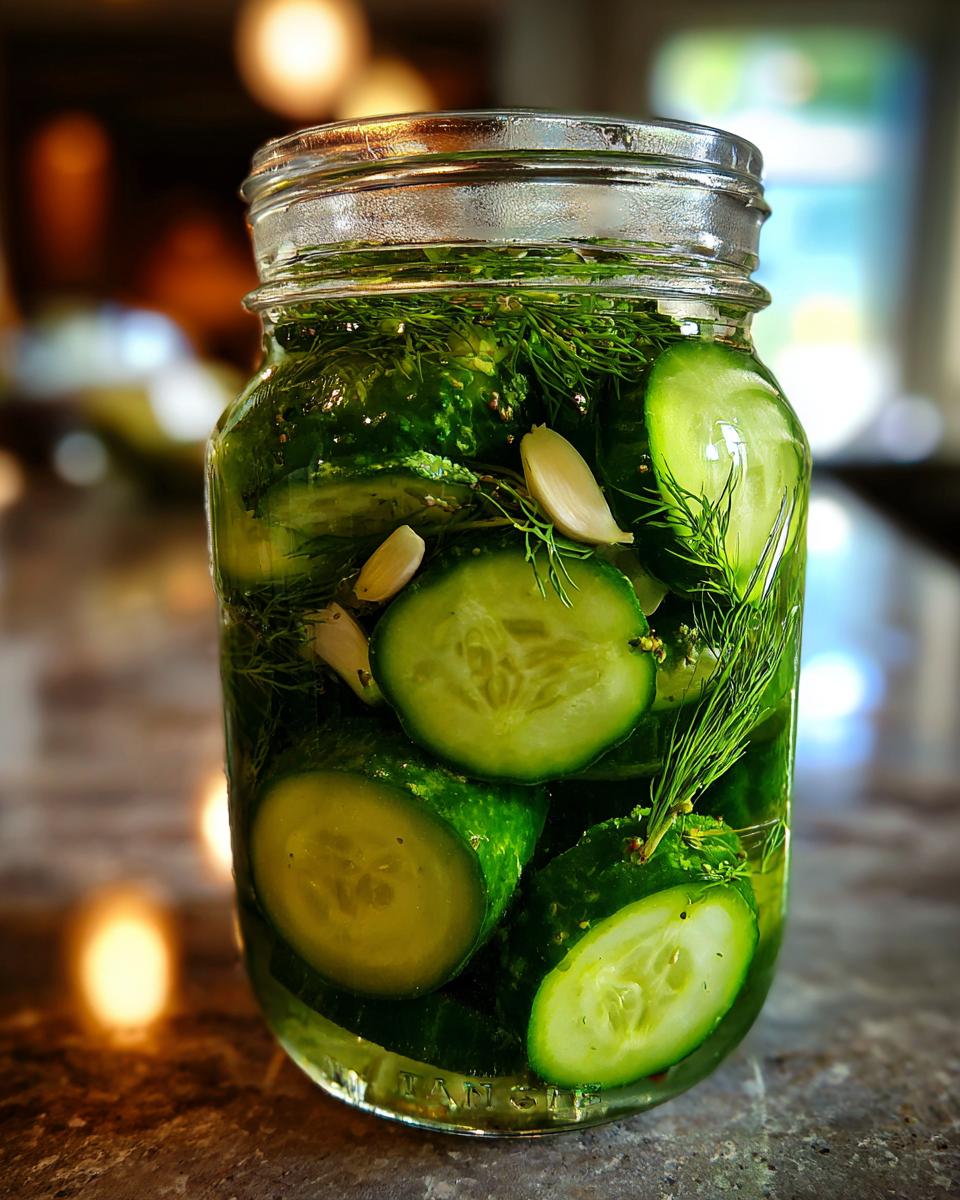
First things first: get those cucumbers ready. If you used the ice water soak, make sure they are fully drained. Slice them into spears or rounds, sticking to about a quarter-inch thickness—that’s perfect for sandwich topping size. Now, grab your clean quart jars. We’re going to layer in the flavor right at the bottom. Tuck in your smashed garlic cloves, the dill head (oh, that amazing aroma!), the black peppercorns, and those tiny mustard seeds. Then, pack those cucumber slices in tight. Seriously, shove them in there! You want them snug so they don’t float around later. Make sure you trim those ends off, and pack them in tight, leaving about half an inch of space at the very top of the jar.
Creating the Perfect Brine for Your Refrigerator Pickles
This is our crunch secret sauce! In a saucepan, combine the water, the 5% white vinegar, your pickling salt, and the sugar. Put it over medium heat and stir gently. You need to heat it just long enough for the salt and sugar to vanish completely into the liquid. Stop right there! I mean it—do not boil the brine. Boiling the brine is the number one way you accidentally ruin the texture of your **refrigerator pickles**. Once it’s clear and smooth, pull it right off the heat.
Assembly and Initial Cooling Period
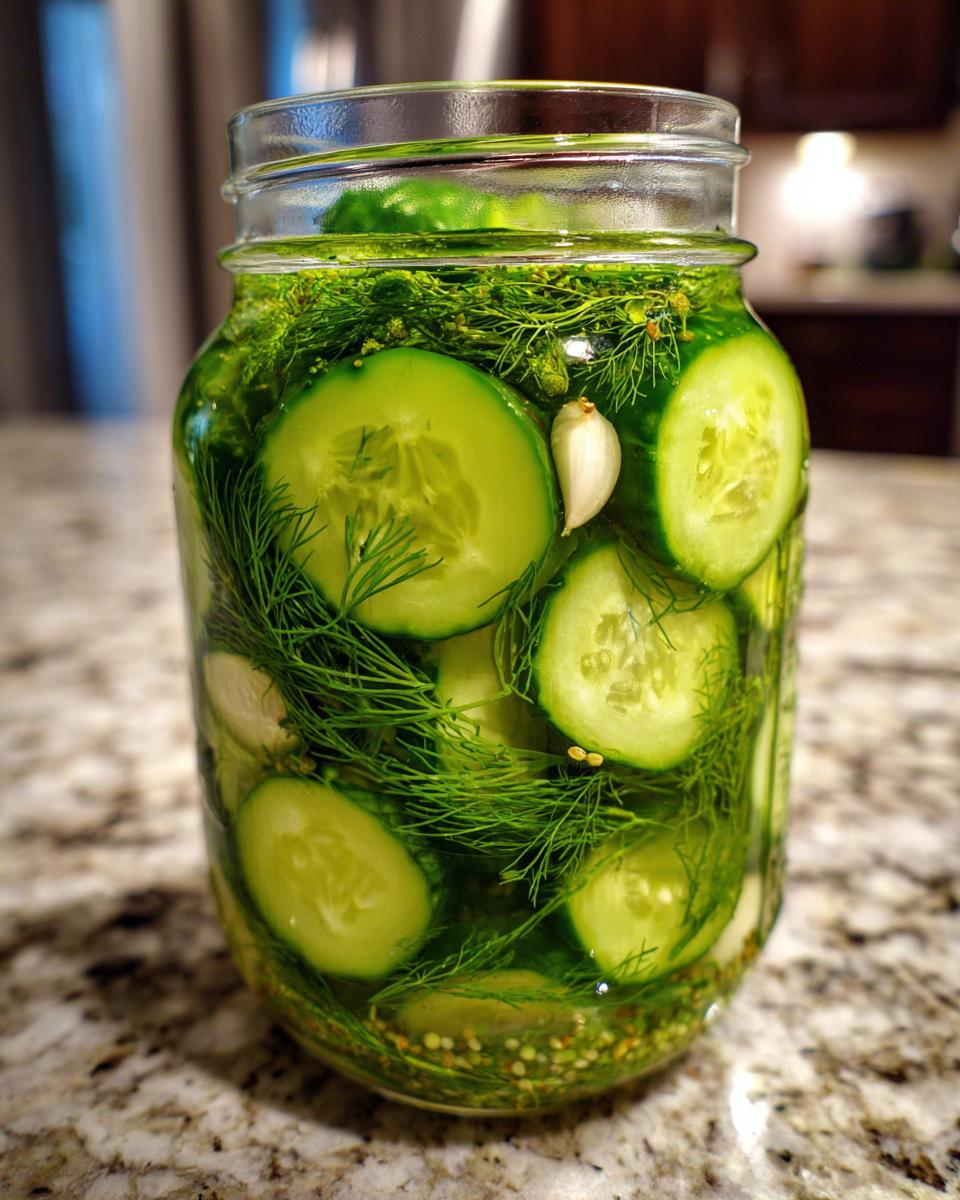
Carefully pour that warm brine over the packed cucumbers in each jar. Make sure everything is submerged—no dry spots allowed! Gently tap the jars on the counter a couple of times to shake out any sneaky air bubbles. Before you seal them, take a clean paper towel and wipe the rims really well. Put the lids on snugly. Now, here’s where the patience starts: leave the hot jars right there on your kitchen counter to cool down completely for about an hour. This gradual cooling before the fridge trip is important. Once they’re cool to the touch, they can head into the refrigerator for their final flavor infusion!
Tips for the Best Crispy Cucumber Pickles Fresh
We’ve got the basic recipe down, but if you want to guarantee that textbook *snap* when you pull these out of the fridge, you need to focus on technique. These are the things I learned after batch after batch—the little bits that transform your snack into something truly special. We’re aiming for **crispy cucumber pickles fresh** every single time because nobody wants a floppy pickle!
Maximizing Crunch in Your Refrigerator Pickles
The tips for crunch are all about temperature control and starting quality. Like I mentioned before, the fresher your cucumbers are, the better they hold up. If you can, use them the same day you buy them! Keep that brine warm—not hot, definitely not boiling—as it hits those cucumbers. If you’re really serious about crunch, you can even add an ice cube or two into the jar *after* you’ve poured the brine in, just to rapidly reduce the temperature before sealing. This shock helps lock in that satisfying texture that makes a great **24 hour pickles recipe**.
Flavor Variations: Beyond Dill
While this recipe is spectacular for classic dill spears, the brine base is so perfect, you can easily spin it into a few other favorites. If you want to explore **sweet refrigerator pickles**, just swap out half of your sugar for brown sugar in the brine, and maybe add a pinch of celery seed! If you’re thinking you want even more punch than the recipe calls for, just double up on the smashed garlic to push it toward a bolder **garlic dill refrigerator pickles** profile. See where The Kitchn suggests using apple cider vinegar for a slightly different tang; it’s fun to experiment once you trust the ratios!
For something really delicious and crispy on the side, you have to check out how I make my crispy leftover mashed potato cakes!
Storage and Enjoying Your Refrigerator Pickles
The best part about mastering how to make fridge pickles is knowing that you don’t have to fuss with canning lids or water bath processing. It’s all about instant gratification, but with a little patience! Once those jars have cooled on the counter for that hour, they need to move straight into the cold. That chilly environment is what keeps them crunchy and flavorful. You absolutely must wait at least 24 hours before digging in. That first day lets the garlic and dill really penetrate the cucumbers.
Once you’re past that 24-hour mark, you’re golden! These tangy treats will last beautifully for up to three weeks in the refrigerator, provided the cucumbers stay fully submerged under that brine. If you’re prepping these for weekly lunches, I like to make a double batch of the brine so I can top them off if the liquid level gets low. Speaking of easy make-ahead options, you should look at my easy make-ahead egg muffin recipe for breakfasts!
Frequently Asked Questions About Easy Refrigerator Pickle Recipe
Can I use regular cucumbers instead of pickling cucumbers for refrigerator pickles?
Oh, I totally get it! Sometimes you just have garden slicers or regular grocery store cukes on hand. The short answer is yes, you *can* use them, but you will sacrifice some of that amazing crunch. Pickling cucumbers, which are usually smaller with thinner skins, are bred to stay firm when submerged in brine. Regular cucumbers are much higher in water content and tend to get a bit softer mushier faster, even with our super crispy cucumber pickles fresh techniques. If you use them, try the ice bath tip for an hour—it helps a little!
How long do these refrigerator pickles last once made?
This is the trade-off when you choose the easy route! Since we are skipping the full canning process, these are designed to be eaten fresh, relying on the cold temperature to preserve them temporarily. Once they hit the fridge, you’re looking at about three weeks of great, tangy flavor. The most important thing, which folks asking how to make fridge pickles sometimes forget, is that they have to stay under the brine. If they start creeping above the liquid line, they’re the first ones you should eat!
What makes these ’24 hour pickles recipe’ ready so fast?
That’s the beauty of quick pickling! Traditional shelf-stable pickles need a slow infusion time and high heat to ensure no bacteria can grow, which naturally takes much longer. For our refrigerator pickles, we are relying on two things to speed up the flavor transfer: we use a hot (but never boiling!) brine to help the salt and spice penetrate quickly, and we immediately subject the jars to cold refrigeration. That high acid content from the vinegar, combined with the immediate cold, essentially locks in the flavor transfer much faster than slow room-temperature curing.
If you’re looking for more quick and simple recipes to add to your rotation, definitely check out my favorite easy vegetarian snacks!
Nutritional Snapshot of Tangy Crunchy Pickles
Now look, I’m not a nutritionist—I’m just a cook who loves good, simple food! But I know many of you are looking for those lighter options, especially when snacking on things like these **tangy crunchy pickles**. Since these are made with fresh cucumbers and a simple brine, they really are a wonderful low-calorie choice to keep in the fridge.
Here are the estimated numbers for a serving size of about three pickle spears. Remember, these are just estimates, and if you decide to use extra sugar for a slightly more **sweet refrigerator pickles** flavor, those numbers will creep up a bit! I always say, the real nutrition comes from the fact that you made them yourself and control what goes in!
- Serving Size: 3 spears
- Calories: About 15
- Total Fat: 0g
- Cholesterol: 0mg
- Sodium: Roughly 350mg (Salt is necessary, so watch this if you’re counting!)
- Total Carbohydrates: 3g
- Sugar: About 1g
- Protein: 0g
It’s pretty great, isn’t it? Low calorie, no fat, and certainly no cholesterol. They’re a fantastic way to add flavor and tang to your meals without weighing you down, making them perfect for your next batch of cottage cheese toast topping experiments! Don’t forget that the sodium content relies heavily on how much salt you put in the brine, so feel free to tweak that part if you need to.
Share Your Homemade Refrigerator Pickles Creations
Whew! That is truly everything you need to know to start making these amazing **refrigerator pickles** right now. I’m so excited for you to try them because the satisfaction of pulling a crunchy, flavorful spear out of your own fridge is just unbeatable. I really hope you give these a go this week!
When you make this recipe, I desperately want to hear about it! Did you slice them into rounds or keep them as spears? Did the 24-hour mark feel too long to wait? Please, jump down to the comments section right below this recipe and give me a star rating. Honest feedback is how we all learn and make our home cooking even better.
And don’t be shy about showing off your beautiful jars! Snap a quick picture of your finished **quick homemade pickles** and tag me on social media. Seeing your jars lined up on the counter makes my day every time. It reminds me why I started DelishCraze—to connect with home cooks like you who find joy in simple, delicious creations.
If you have any lingering questions about the brine ratios, or maybe if you experimented and want to share your **quick pickling ideas**, please send them my way through the contact page. Happy pickling, friends, and enjoy that satisfying crunch!
PrintUltimate Easy & Crispy Refrigerator Dill Pickles (Ready in 24 Hours)
Make the best refrigerator pickles with this simple recipe. These tangy, crunchy dill pickles require no canning and are ready to eat in 24 hours, perfect for beginners.
- Prep Time: 15 min
- Cook Time: 5 min
- Total Time: 20 min
- Yield: About 2 quarts 1x
- Category: Side Dish
- Method: Quick Pickling
- Cuisine: American
- Diet: Vegetarian
Ingredients
- 2 pounds pickling cucumbers (Kirby or similar), washed and ends trimmed
- 1 quart water
- 2 cups white vinegar (5% acidity)
- 2 tablespoons pickling salt (or kosher salt)
- 1 tablespoon granulated sugar
- 4 cloves garlic, smashed
- 1 head fresh dill (or 2 tablespoons dried dill seed)
- 1 teaspoon black peppercorns
- 1/2 teaspoon mustard seeds
Instructions
- Prepare the cucumbers: Slice the cucumbers into spears or rounds, about 1/4 inch thick. If you want extra crispy cucumber pickles, you can soak the sliced cucumbers in ice water for 30 minutes, then drain well.
- Make the brine: In a medium saucepan, combine the water, vinegar, pickling salt, and sugar. Heat over medium heat, stirring until the salt and sugar dissolve completely. Do not boil. Remove from heat.
- Pack the jars: Place the smashed garlic cloves, fresh dill (or dried dill seed), peppercorns, and mustard seeds into two clean, wide-mouth quart jars. Pack the sliced cucumbers tightly into the jars, leaving about 1/2 inch of headspace at the top.
- Pour the brine: Carefully pour the hot brine over the cucumbers in each jar, ensuring the cucumbers are fully submerged. Tap the jars gently to release any trapped air bubbles.
- Seal and cool: Wipe the rims of the jars clean. Seal the jars with lids. Let the jars cool on the counter for about 1 hour.
- Refrigerate: Transfer the sealed jars to the refrigerator. The pickles will be ready to eat in 24 hours, but the flavor improves after 48 hours. Store these refrigerator pickles in the fridge for up to 3 weeks.
Notes
- For the crunchiest results, use very fresh cucumbers and avoid boiling the brine, which can soften the pickles.
- If you prefer a sweeter profile, substitute 1/4 cup of the sugar for brown sugar.
- These are quick homemade pickles and must remain refrigerated; they are not shelf-stable.
Nutrition
- Serving Size: 3 spears
- Calories: 15
- Sugar: 1
- Sodium: 350
- Fat: 0
- Saturated Fat: 0
- Unsaturated Fat: 0
- Trans Fat: 0
- Carbohydrates: 3
- Fiber: 0
- Protein: 0
- Cholesterol: 0