
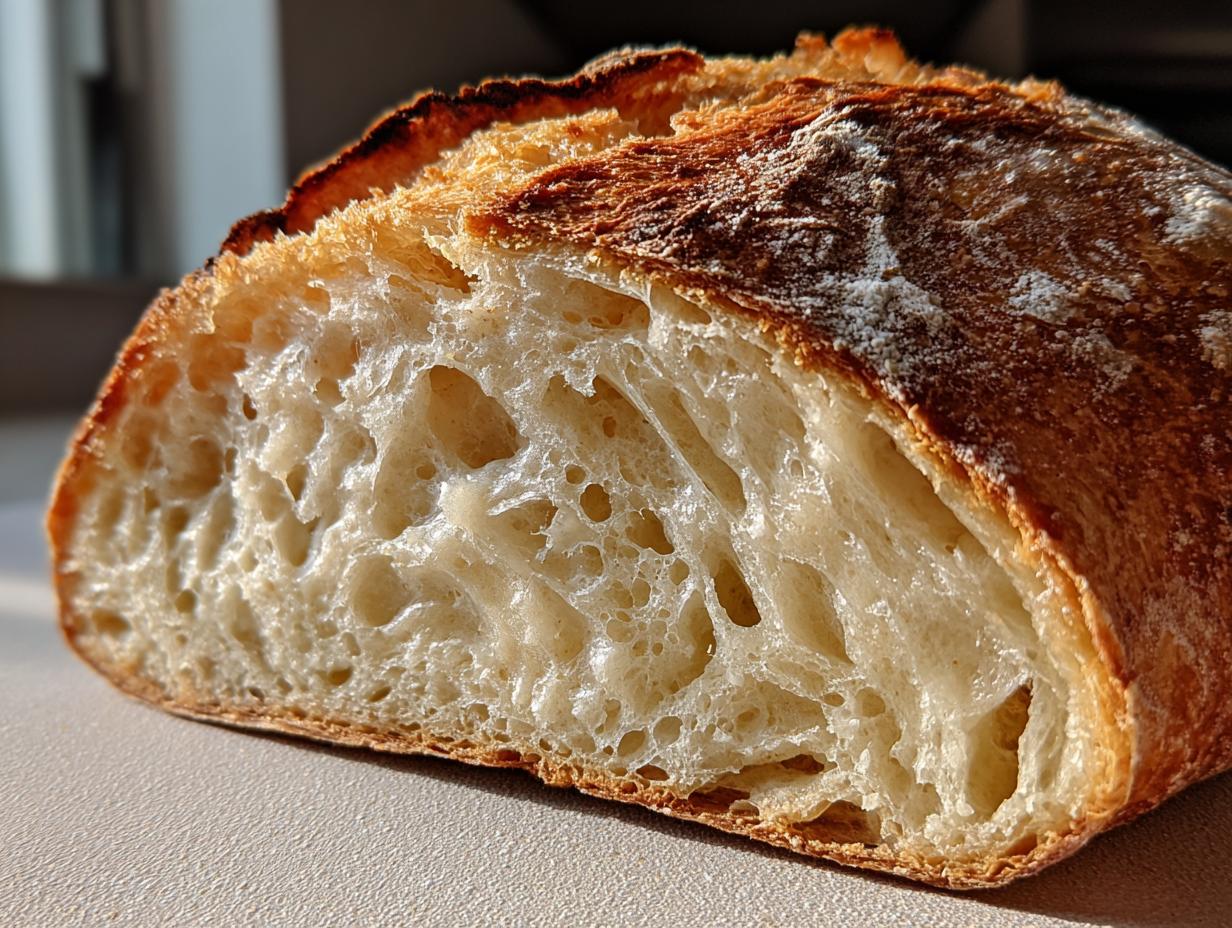
There’s something truly magical about natural leavening, isn’t there? Before commercial yeast, bakers relied on the wild yeasts floating right in the air—and that’s exactly what we’re tapping into today. Forget store-bought yeast; I’m going to show you exactly how to create your very own active sourdough starter from scratch. Here on DelishCraze, we keep things simple, and this guide provides a reliable, day-by-day plan to guide you through the initial week. Trust me, cultivating this wild culture is easier than you think, and it’s the heart of real, rustic bread! I’m Olivia Rosewood, and I’m here to make sure your journey into artisan baking feels comforting and completely conquerable.
- Why This 7 Day Sourdough Starter Guide Works for Beginners
- Gathering Supplies for Your Sourdough Starter
- Ingredients Needed for Your New Sourdough Starter
- How to Make Sourdough Starter From Scratch: The 7-Day Creation
- Sourdough Starter Care: How to Feed Sourdough Starter
- Sourdough Starter Troubleshooting for Beginners
- What to Do With Sourdough Discard
- Estimating Nutritional Values for Your Sourdough Starter
- Next Steps After Creating Your Sourdough Starter
Why This 7 Day Sourdough Starter Guide Works for Beginners
When I first started baking naturally leavened bread, I felt totally overwhelmed by all the confusing jargon online. That’s why I developed this 7 day sourdough starter guide. It takes all the guesswork out of the first week and follows a proven, slow-and-steady rhythm. You’ll find this is the perfect sourdough starter recipe for beginners because we rely on basic measurements for consistency, which is key when you’re dealing with wild yeast!
This method builds your confidence because you see real, tangible results almost every day. We aren’t looking for perfection instantly; we’re looking for slow, sustainable growth. If you use this guide side-by-side with the detailed daily instructions, you’ll have an established culture before you know it. And don’t worry, we’ll talk about what to do with that inevitable discard later—maybe some soft discard rolls!
The Power of Flour and Water Starter
The real secret here is that the entire process relies on capturing the natural wild yeast culture that already exists on the grain itself. We aren’t adding anything special, nope! It’s just good old flour and water starter doing its natural job. I keep things straightforward because the wild yeast is powerful enough on its own; we just need to feed it consistently and keep it happy—that’s the whole idea behind techniques explored by folks who have mastered this for years, like the detailed scheduling on other great resources. You truly don’t need complicated ingredients!
Gathering Supplies for Your Sourdough Starter
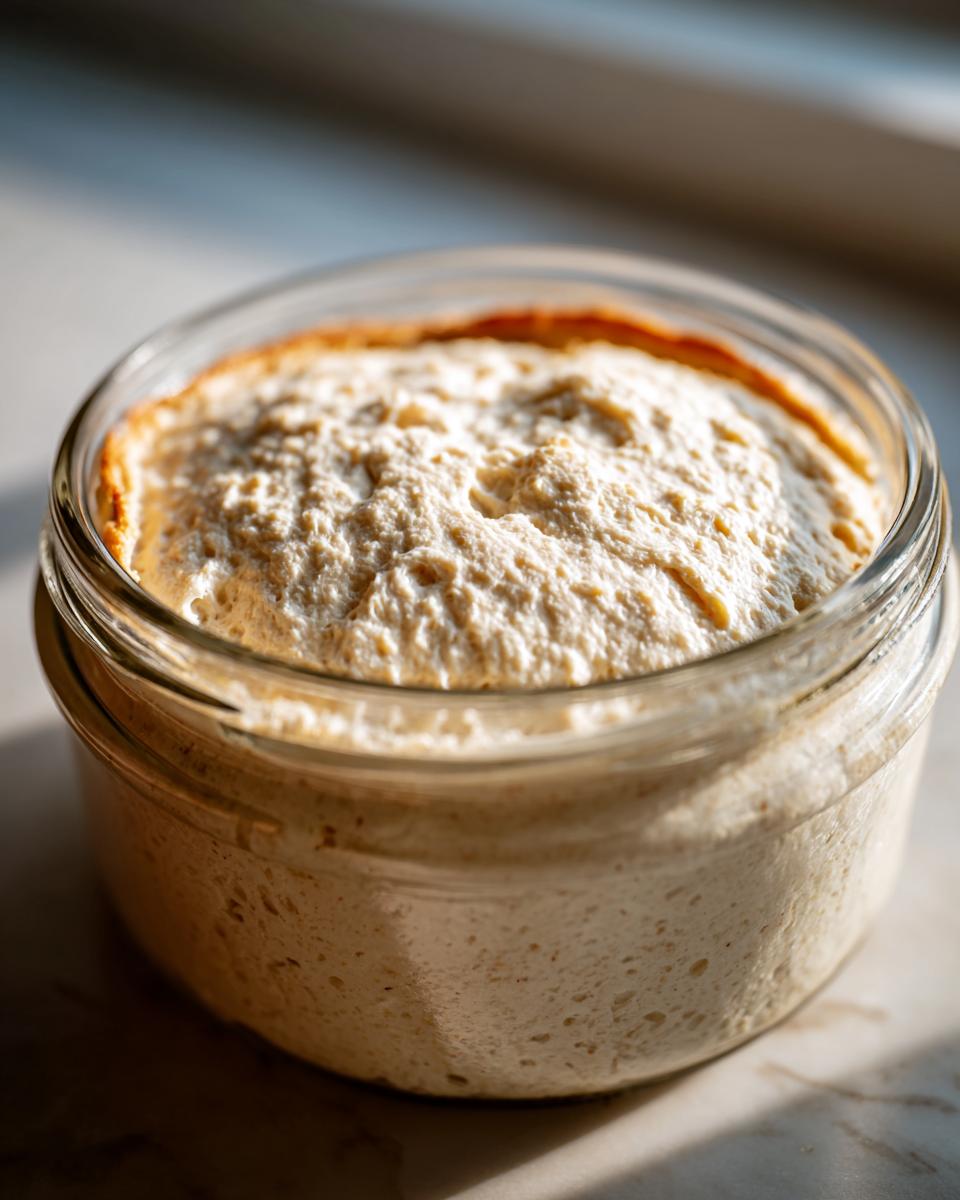
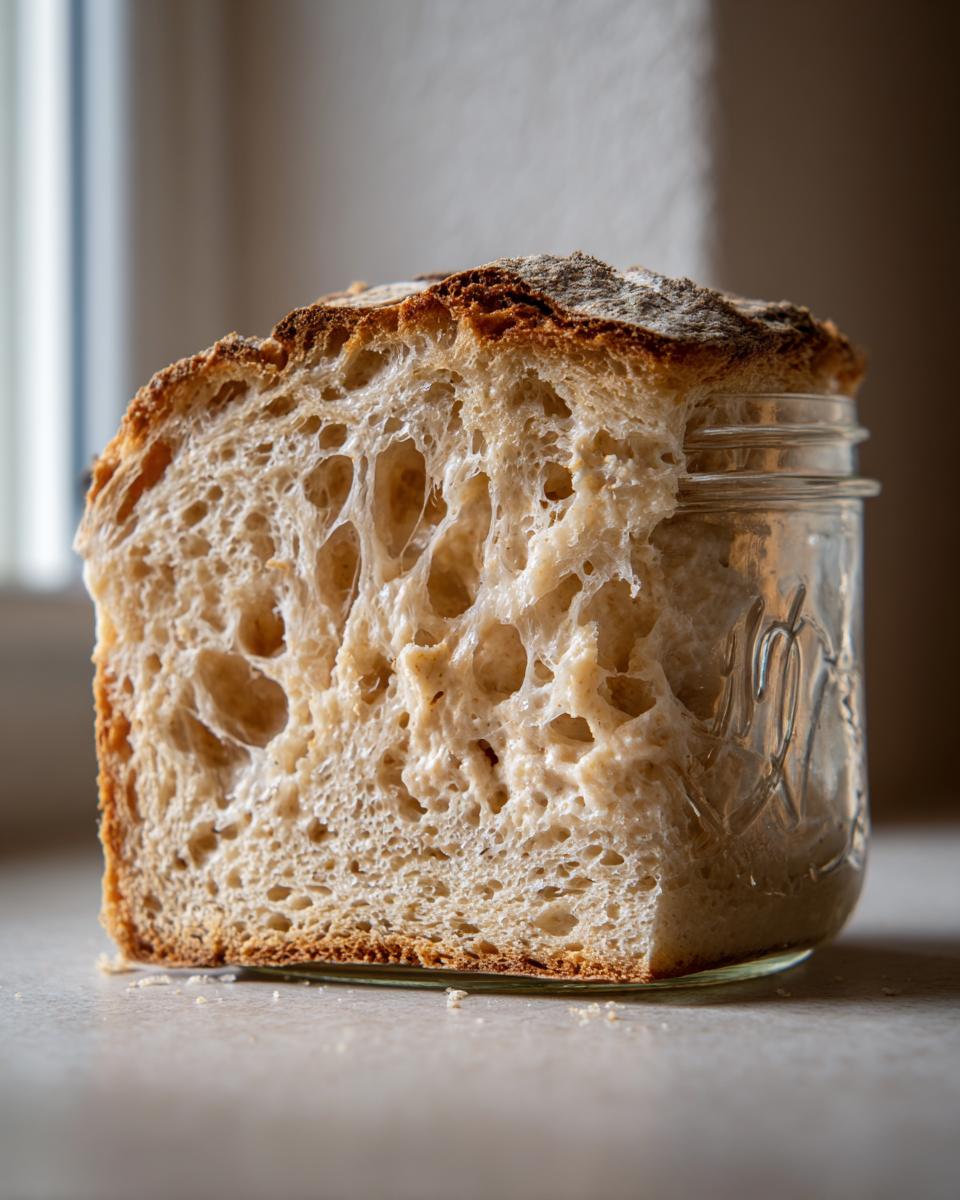
Okay, before we jump into the daily mixing, let’s talk tools. Having the right home for your new microbial pet makes everything cleaner and way more accurate! You definitely need a clear glass jar—I prefer a quart-sized wide-mouth jar because seeing that rise and fall is half the fun. Seriously, watching your sourdough starter wake up is the best motivation!
The absolute non-negotiable item, though, is a decent kitchen scale. We are measuring flour and water by weight, not volume, because yeast activity relies on precision for the best results. Don’t eyeball it! Also, grab a lid that just rests loosely on top or a piece of cheesecloth secured with a band. We need airflow for these tiny friends to thrive.
Ingredients Needed for Your New Sourdough Starter
This process is beautifully simple because we only rely on two things: flour and water! I always list out exactly what you need for the first seven days so you aren’t scrambling mid-process. Remember, we are using weight for everything because accuracy is crucial when coaxing out that wild yeast. For the first day, you will need 50 grams of whole grain flour, and 50 grams of non-chlorinated, room-temperature water. For Day 2 through Day 7, keep that 50 grams of water handy, but you’ll switch to 50 grams of all-purpose or bread flour for the feedings.
If you have leftover starter, you can turn it into amazing treats like my sourdough discard cinnamon rolls later on—so nothing goes to waste!
Best Flour for Sourdough Starter Selection
Choosing the right ingredient is important right at the start. For Day 1, I push everyone toward whole grain flour—rye or whole wheat works best. Why? Because the bran and germ in those flours have more natural goodness and microbes for the wild yeast to munch on and activate! Once we see bubbles, we switch to all-purpose or bread flour for the best flour for sourdough starter maintenance because it’s easier to feed consistently after that initial boost.
How to Make Sourdough Starter From Scratch: The 7-Day Creation
Alright, here is where the fun truly begins! We are creating a living, breathing sourdough starter from thin air—well, from flour and water, but it feels like magic! You’ll need to weigh everything precisely, remember? Every day, you take what you have, toss out about half of it (and don’t feel guilty! That’s how we manage the volume), and then we feed the remaining half with equal weights of fresh flour and water. I call this the 1:1:1 feeding ratio, and it keeps our culture happy.
Keep your jar on the countertop, loosely covered, in a spot that’s around 70 degrees. It’s a waiting game at first, but trust the process! If you’re looking for a great visual guide on what to expect, folks often look at detailed plans like the one available on The Everyday Farmhouse.
Days 1-3: Initial Activation and First Feedings
For Day 1, just mix your whole grain flour and water, stir until no dry spots remain, and let it sit for 24 hours. By Day 2 and 3, you might see a few tiny bubbles—maybe a little sour beer smell. That’s great! But often, activity slows down or even seems to stop around Day 3 or 4. I know, it makes you panic! But this is totally normal when you are learning how to make sourdough starter from scratch. Just discard half and feed exactly the same way. Don’t stress if nothing seems exciting yet; the microbes are just settling in.
Days 4-7: Building a Bubbly Active Starter
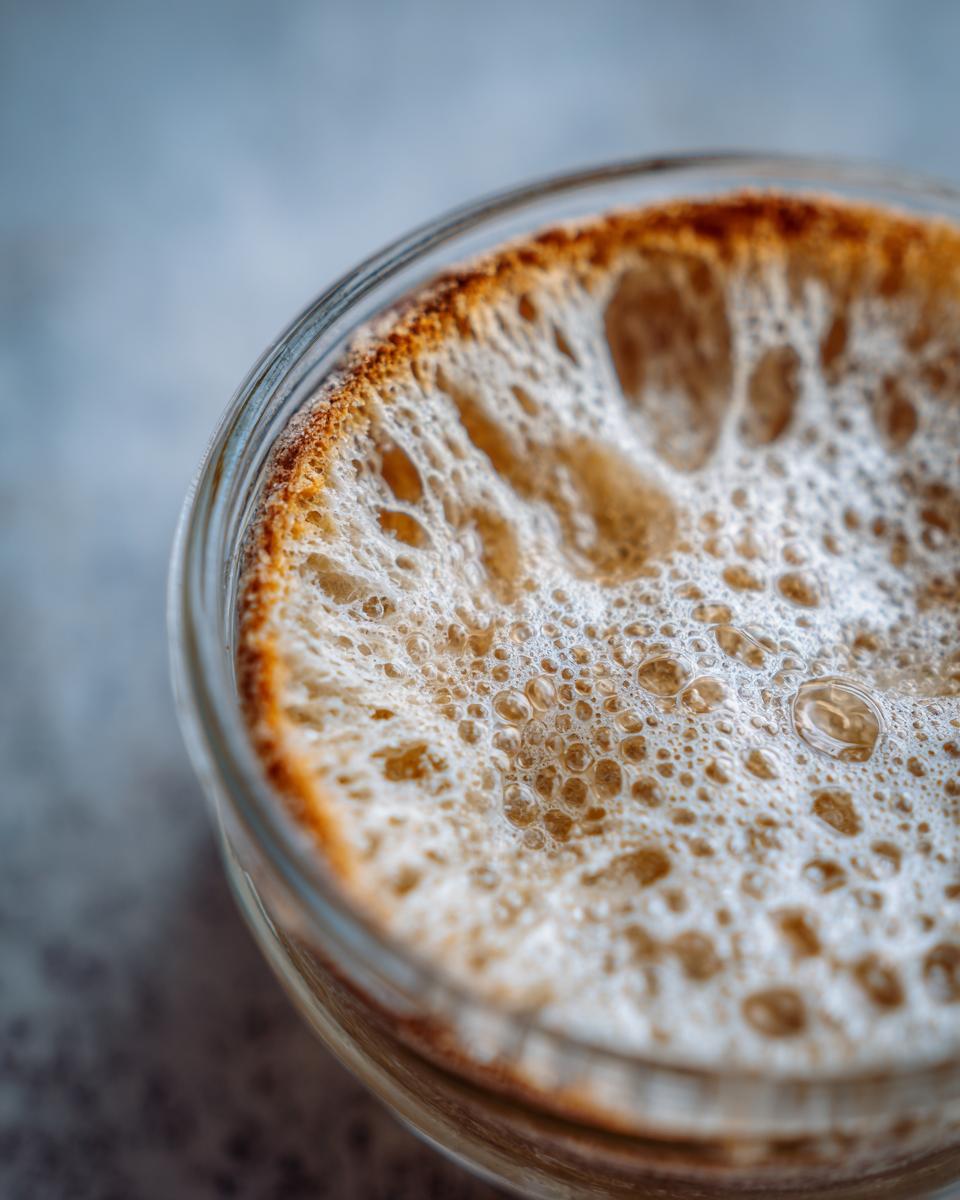
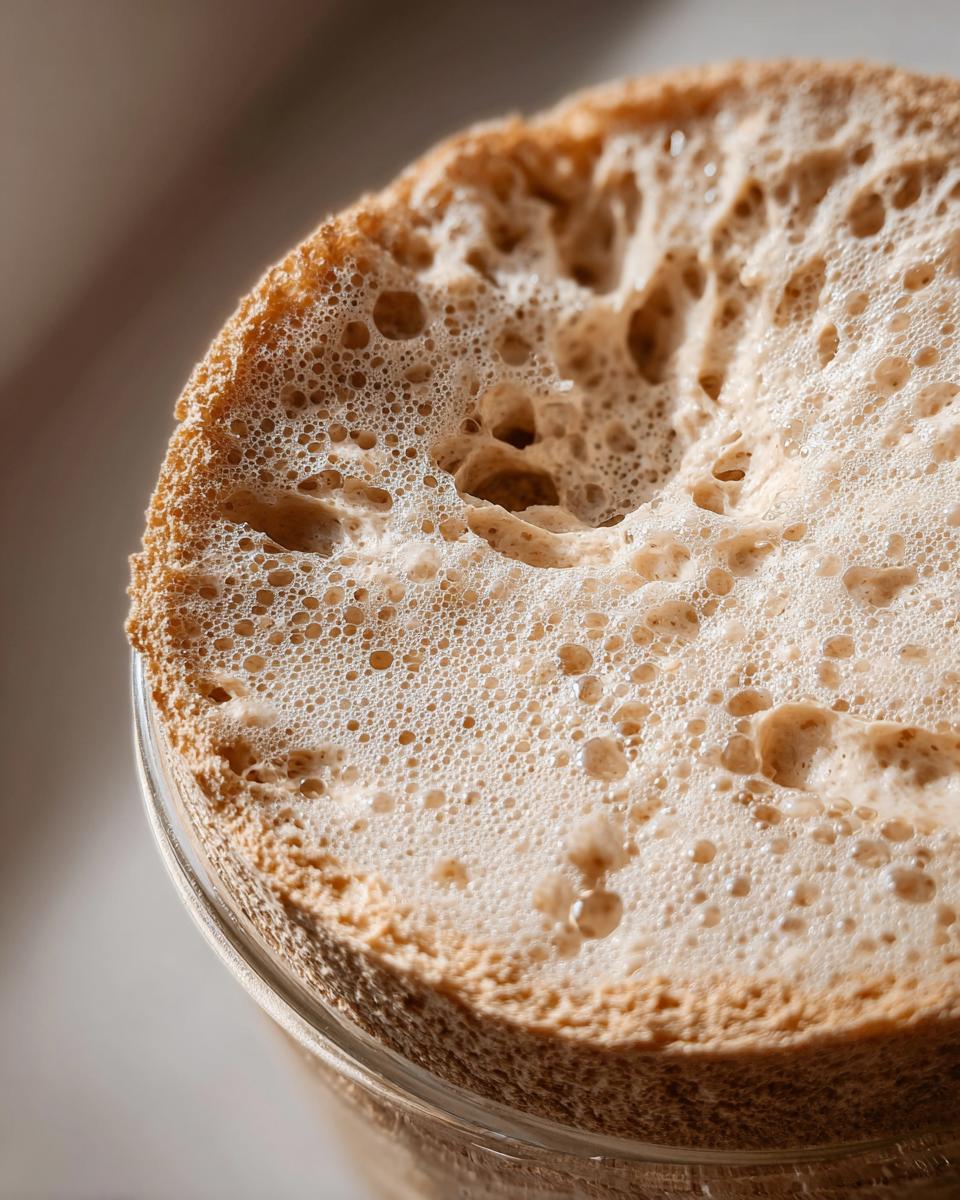
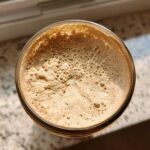
Around Day 5, things usually start changing drastically! You’ll see serious bubble activity after feeding, and your starter should start doubling in size within 8 to 12 hours. By Day 7, if your culture is reliably doubling or even tripling its volume within 4 to 8 hours after you feed it—and is full of those beautiful, big bubbles—Congratulations! You have a mature, bubbly active starter ready to bake with. Once it’s doing that consistently, it’s officially ready to make some amazing sourdough bread, maybe even some sourdough chocolate chip cookies!
Sourdough Starter Care: How to Feed Sourdough Starter
Now that you’ve successfully cultivated your own vibrant, active sourdough starter, it’s time to shift gears from creation mode to maintenance mode. This requires setting a sustainable rhythm for feeding. If you plan on baking every day or every couple of days, keeping it on the counter at room temperature means you’ll need to feed sourdough starter about every 12 to 24 hours. I remember feeling chained to my counter during that first month! The secret to keeping it strong, no matter where it lives, is sticking to that 1:1:1 ratio by weight—one part existing starter, one part fresh flour, and one part fresh water.
It’s such a simple rhythm once you get into it. When I know I have a busy week, I give my culture a good feed, and then tuck it right into the fridge. If you need visuals on the exact feeding timing, check out how others manage their upkeep in resources like the tips found on Crazy Espresso. The good news is, even if you have discard now, that excess starter can easily become soft discard rolls later!
Storing Your Sourdough Culture Long-Term
If your starter is hanging out on the counter, it needs that frequent attention to stay happy and active for baking. But if life gets hectic, popping your wild yeast culture into the refrigerator is perfect! Once chilled, you only need to maintain sourdough culture by feeding it once a week. When you decide it’s time to bake, make sure you pull it out, give it two or three feedings at room temperature spaced 12 hours apart, and let it get that robust, active rise back before using it in your dough.
Sourdough Starter Troubleshooting for Beginners
Even with the best intentions, sometimes your little culture needs a little TLC, right? I go through my own little waves of sourdough starter troubleshooting every few months. Don’t panic when you see dark liquid on top—that’s called “hooch,” and it just means your starter is hungry! You can either stir that right back in for a tangier loaf or pour it off before you feed it. Either way, it’s super normal.
If your starter isn’t rising after feeding, it usually means the temperature is too cold, or you need to switch to a slightly warmer feeding spot for a few days. Unusual smells are also common; a strong vinegary smell means it’s hungry, but anything truly foul means you might need to start over, though that’s rare! If you need a little extra reassurance on common issues, check out the helpful guide on Every Purpose Home. Mostly, just be consistent, and your sourdough starter will bounce back!
What to Do With Sourdough Discard
Here’s the part of maintaining a sourdough starter that makes people the most nervous: the discard! Every time we feed our active culture, we have to remove about half of it, otherwise, we’d end up with ten gallons of starter by next week! Please don’t just toss it all away; that discard still has lovely wild yeast activity in it, even if it’s not quite robust enough for a big loaf of bread yet.
The key is to start incorporating that leftover starter into simple recipes throughout the week. We’re saving this part for things that don’t need the full powerful rise, like crackers, pancakes, or even my favorite sourdough discard cinnamon rolls! Keeping this habit means you’re using every bit of your homemade culture, which feels wonderfully frugal and connected to the process.
Estimating Nutritional Values for Your Sourdough Starter
Now, since your active sourdough starter is really a living culture of flour and water—a pre-dough, if you will—it doesn’t have traditional nutrition facts like a baked cookie does. The values listed below are just an estimate for that small amount of flour and water mixture before it goes into the oven. Don’t worry too much about this right now; the real nutrition magic happens when you bake it into your finished loaf!
- Serving Size: N/A (Culture)
- Calories: 0
- Sugar: 0
- Sodium: 0
- Fat: 0
- Protein: 0
Next Steps After Creating Your Sourdough Starter
If you’ve reached this far, you deserve a huge cheer! You now have a beautiful, active sourdough starter ready to change how you bake forever. Go! Try out that rustic French bread recipe you’ve been eyeing. I absolutely love hearing about your successes—or even your funny little hiccups—in the comments below. Happy baking!
PrintBeginner’s Guide: How to Make an Active Sourdough Starter From Scratch (7-Day Plan)
Learn how to create your own active, bubbly sourdough starter using only flour and water. This simple, day-by-day guide is perfect for beginners starting their natural leavening journey.
- Prep Time: 5 min
- Cook Time: 0 min
- Total Time: 7 days (active creation)
- Yield: Approx. 100g active starter
- Category: Baking Base
- Method: Fermentation
- Cuisine: American Home Cooking
- Diet: Vegan
Ingredients
- Day 1: 50g Whole Grain Flour (Rye or Whole Wheat recommended)
- Day 1: 50g Water (non-chlorinated, room temperature)
- Days 2–7: 50g All-Purpose or Bread Flour
- Days 2–7: 50g Water (non-chlorinated, room temperature)
Instructions
- Combine 50g whole grain flour and 50g water in a clean glass jar. Stir well until fully mixed. Cover loosely and leave at room temperature (68-75°F or 20-24°C) for 24 hours.
- Day 2: You may see minimal activity. Discard half of the starter mixture (about 50g). Add 50g all-purpose or bread flour and 50g water to the remaining starter. Mix, cover loosely, and wait 24 hours.
- Day 3: You might see some bubbles or smell sourness. Discard half of the starter. Feed with 50g flour and 50g water. Mix and wait 24 hours.
- Day 4: Activity may slow down or stop; this is normal. Discard half. Feed with 50g flour and 50g water. Mix and wait 24 hours.
- Day 5: You should see more consistent bubbles. Discard half. Feed with 50g flour and 50g water. Mix and wait 24 hours.
- Day 6: Your starter should show significant growth after feeding. Discard half. Feed with 50g flour and 50g water. Mix and wait 24 hours.
- Day 7: Your sourdough starter is ready when it consistently doubles in volume 4-8 hours after feeding and is full of bubbles. This is your active, bubbly starter, ready for baking.
- Maintenance: Once active, you can feed it once every 12-24 hours at room temperature, or store it in the refrigerator and feed it once a week.
Notes
- Use a clear jar so you can watch the rise and fall of your wild yeast culture.
- If your starter does not show activity by Day 4, try moving it to a slightly warmer spot.
- For best results when feeding, use a 1:1:1 ratio (Starter:Flour:Water by weight).
- If you see dark liquid (hooch) on top, stir it in or pour it off before feeding.
Nutrition
- Serving Size: N/A (Culture)
- Calories: 0
- Sugar: 0
- Sodium: 0
- Fat: 0
- Saturated Fat: 0
- Unsaturated Fat: 0
- Trans Fat: 0
- Carbohydrates: 0
- Fiber: 0
- Protein: 0
- Cholesterol: 0