

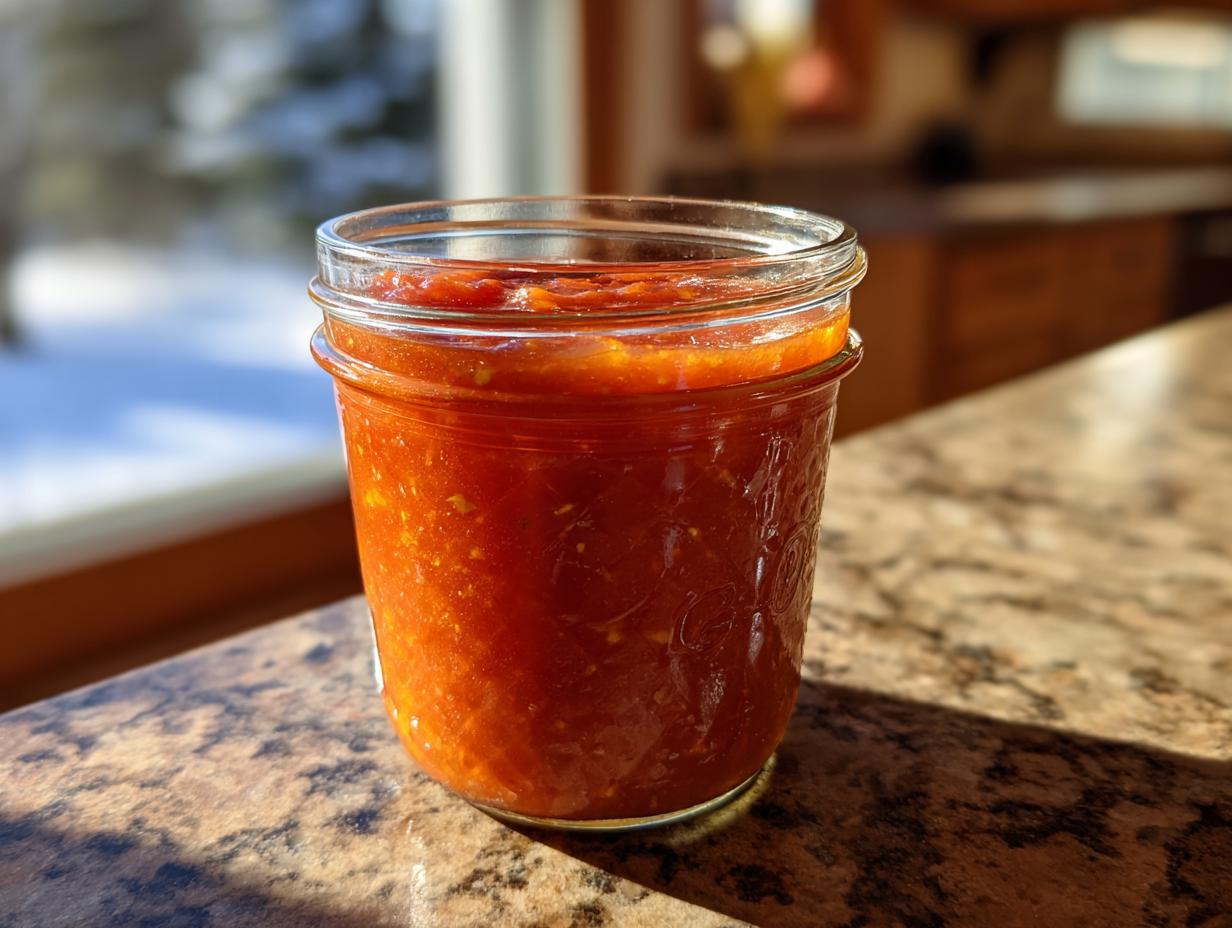
Oh, that glorious moment when your garden is bursting with ripe tomatoes, and you’re wondering how to make that summer flavor last all year long! I know exactly how you feel. For me, it all started when I was trying to reconnect with my kitchen after years in a fast-paced design world. I missed the comfort and connection food brought to my childhood, and preserving was my way back. That’s why I’m so excited to share this tested and safe tomato salsa canning recipe with you. It’s your ticket to enjoying vibrant, flavorful homemade salsa straight from your pantry, no matter the season. It’s truly a beginner-friendly way to create shelf-stable salsa that tastes like sunshine in a jar, and I promise, it’s much easier than you think! Let’s dive in and capture that garden goodness together.
- Why You'll Love This Tomato Salsa Canning Recipe
- Gather Your Ingredients for Safe Canning Salsa
- Step-by-Step Guide to Your Homemade Canned Salsa
- Tips for Success with Your Tomato Salsa Canning Recipe
- Variations for Spicy Salsa Canning
- Storage and Reheating Instructions for Canned Salsa
- Frequently Asked Questions About Safe Canning Salsa
- Estimated Nutritional Information
- Share Your Canned Salsa Creations!
Why You’ll Love This Tomato Salsa Canning Recipe
Seriously, this canned salsa is a game-changer! It’s unbelievably easy, which is fantastic when you’ve got an armful of garden tomatoes waiting. You get that super fresh, bright-your-day flavor that store-bought just can’t touch.
- Simple & Quick: You can whip this up and get it canning in under an hour, which is a lifesaver during busy harvest seasons.
- Incredible Flavor: It tastes like summer! Bursting with ripe tomatoes, crisp veggies, and just the right amount of spice.
- Shelf-Stable Goodness: Imagine opening a jar of homemade salsa on a cold winter night – pure magic! It keeps beautifully in the pantry.
- Garden Fresh Perfection: It’s the absolute best way to preserve all those gorgeous, perfectly ripe tomatoes you grew yourself. Waste not, want not, right?!
Trust me, once you try this, you’ll be making it every year!
Gather Your Ingredients for Safe Canning Salsa
Alright, let’s get our pantry stocked with this amazing tomato salsa canning recipe! The key here is using the freshest ingredients you can find, especially your beautiful ripe tomatoes. For this batch, you’ll need:
- Around 8 cups of peeled, cored, and chopped ripe tomatoes. That’s roughly 4.5 pounds of juicy goodness. Use your favorites – they all work wonderfully!
- 1 cup of chopped onions. About one medium onion will do the trick.
- 1 cup of chopped green bell peppers. One medium pepper adds that classic fresh crunch.
- 1/2 cup of chopped jalapeño peppers. This is usually about 2-3 peppers. If you like it milder, definitely remove the seeds and membranes!
- 4 cloves of garlic, all minced up nice and fine.
- 2 tablespoons of fresh lime juice. This isn’t optional, folks, it’s super important for the safety of the canning process!
- 1 teaspoon of salt. It just brings all those flavors together.
- 1 teaspoon of dried oregano. For that authentic salsa herbiness.
- 1/2 teaspoon of ground cumin. A little earthy warmth goes a long way.
- And for those who like a little kick, 1/4 teaspoon of cayenne pepper (totally optional, of course!).
Picking ripe, firm tomatoes is your best bet for the fullest flavor. Don’t be afraid to play with the pepper amounts to get your heat level just right!
Step-by-Step Guide to Your Homemade Canned Salsa
Okay, here we go! This is where the magic happens and we turn those fresh ingredients into something amazing that will last. It might seem a little detailed, but trust me, it’s all about making sure your salsa is super safe and tastes incredible for months to come. I remember my first few times canning; I was definitely a bit nervous, but following these steps makes it so straightforward! It’s part of what makes this whole tomato salsa canning recipe process so rewarding.
Preparing Your Canner and Jars for Water Bath Canning Salsa
First things first, let’s get everything ready. Fill up your big water bath canner with enough water so it’ll cover your jars once they’re in. Get that water simmering on the stove. While it’s heating, make sure your jars, lids, and bands are sparkling clean and sterilized. This step is non-negotiable for safe water bath canning salsa – we’re aiming for shelf-stable goodness here!
Cooking the Fresh Garden Tomato Salsa
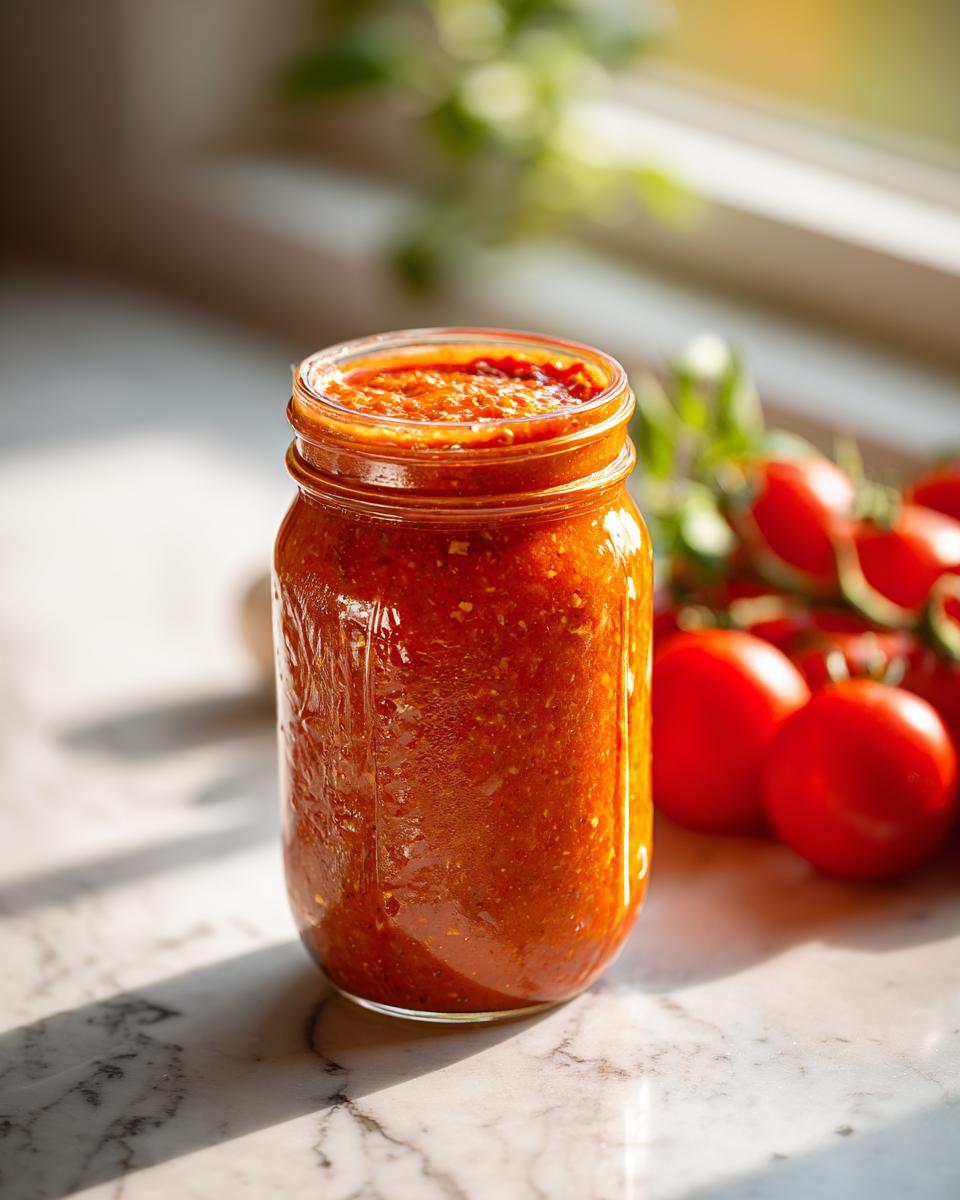
Now for the fun part! In a big pot (seriously, the biggest one you have!), toss in your chopped tomatoes, onions, bell peppers, those jalapeños (remember, seeds out for less heat!), and the minced garlic. Add in the lime juice, salt, oregano, cumin, and that optional cayenne if you’re feeling feisty. Give it all a good stir. Bring this beautiful mixture to a boil, then lower the heat and let it simmer for about 20 minutes. This just lets all those yummy flavors meld together perfectly for your garden tomato salsa.
Filling and Sealing Your Pantry Salsa Jars
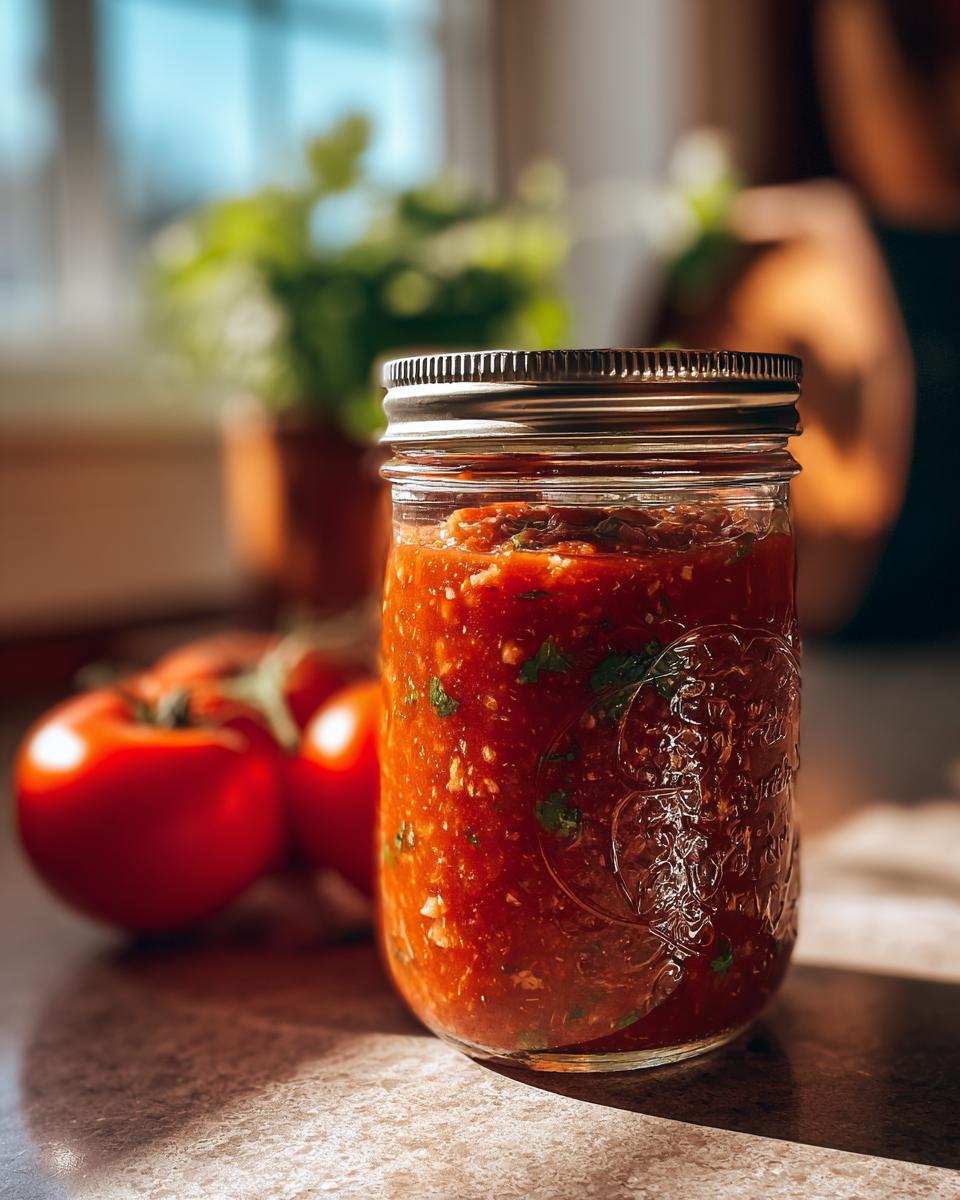
Time to get those jars filled! Carefully ladle the hot salsa into your clean, hot jars. You want to leave about a 1/2-inch space at the top – that’s called headspace, and it’s important for sealing. Now, take a damp paper towel and wipe the rims of the jars really well. Any salsa goo left there can stop the lid from sealing properly! Pop on your sterilized lids and then screw on the bands until they’re just fingertip tight. Not super tight, just snug!
Processing and Cooling for Shelf Stable Salsa
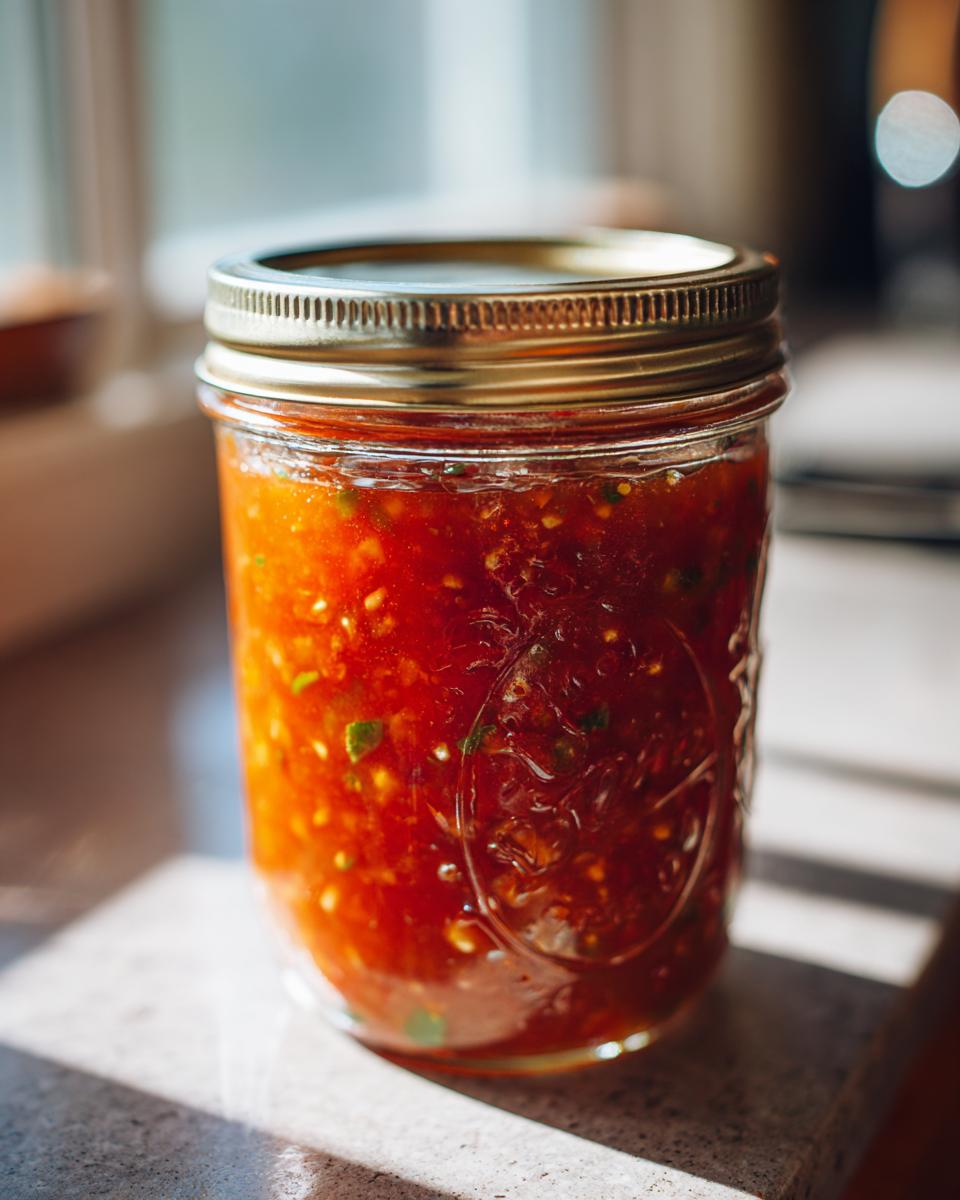
Gently place your filled jars into that simmering water bath canner. Make sure they’re submerged by at least an inch of water. Put the lid back on your canner and let it come back to a rolling boil. Process pint jars for 15 minutes (if you’re at sea level or up to 1,000 feet). If you’re at a higher altitude, you’ll need to add a few extra minutes – check your local canning guidelines! Shelf stable salsa needs this processing time to be safe. After 15 minutes, turn off the heat, leave the canner lid on, and let the jars sit for another 5 minutes. Then, carefully lift them out and set them on a towel-lined counter. Let them cool undisturbed for 12-24 hours. You’ll hear little ‘pops’ as they seal!
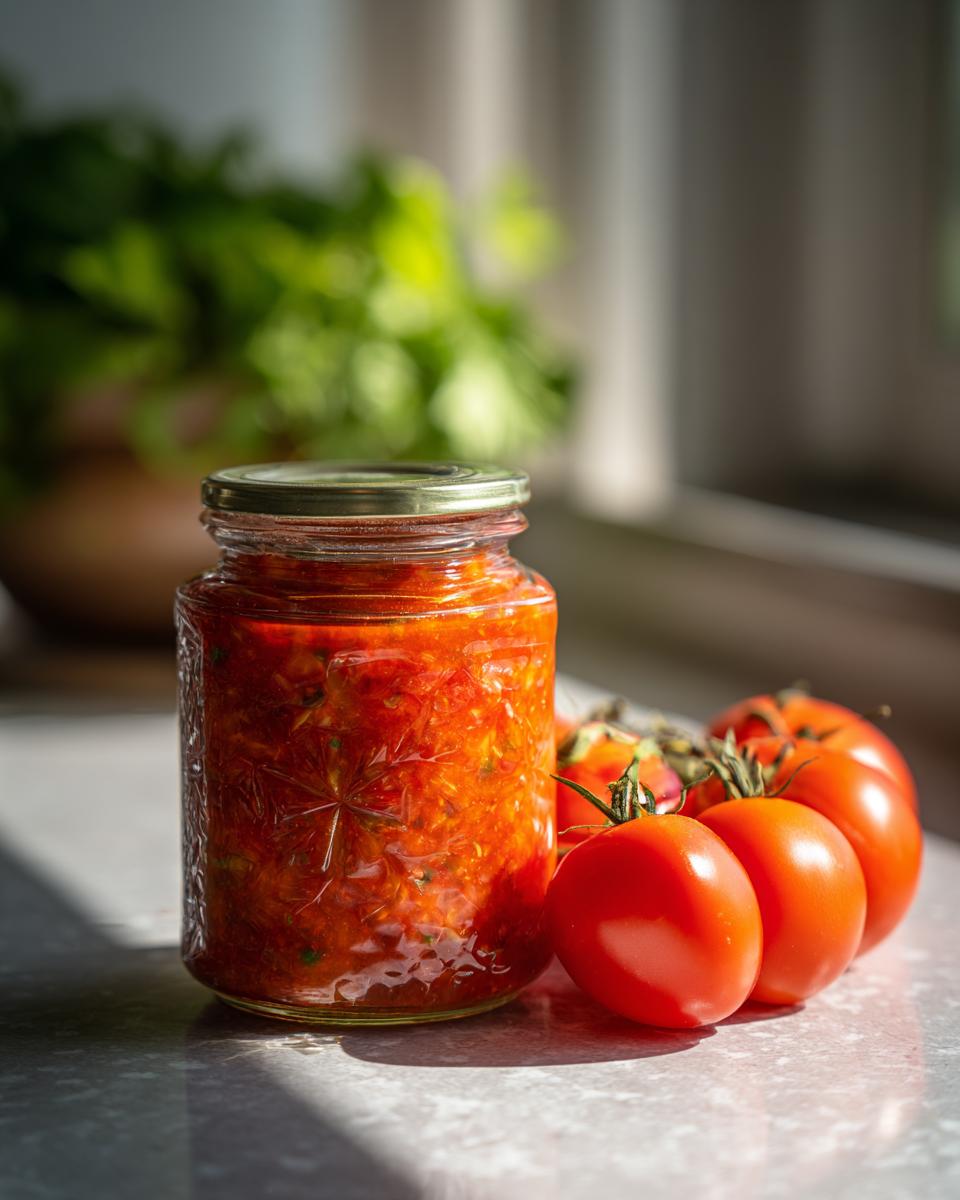
Tips for Success with Your Tomato Salsa Canning Recipe
Okay, so you’ve got your salsa components ready, and you’re feeling good about this tomato salsa canning recipe! Here are a few little tricks I’ve picked up over the years that really make a difference. First off, please, please, please use ripe, flavorful tomatoes! They’re the star of the show, so don’t skimp on quality. A slightly softer, super-ripe tomato actually breaks down better and gives you a richer salsa flavor. Oh, and remember those jalapeños? If you’re going for mild, definitely ditch the seeds and the white pithy bits inside – that’s where most of the heat hides. One time, I forgot and ended up with salsa that was way too spicy for my little one! It learned me a good lesson about controlling the heat. And consistency is key; don’t overcook it, you want it to still have a nice little texture, not turn into mush.
Variations for Spicy Salsa Canning
Now, let’s talk about jazzing things up! If you’re a heat-seeker like me, this recipe is a fantastic base for some seriously delicious spicy salsa canning. Want to turn up the heat? Swap out some of those jalapeños for more intense peppers like serranos for a sharper kick, or even a habanero if you’re truly brave! Just remember, a little goes a loooong way with those hotter peppers, so start with just one and taste as you go.
You can also throw in some other goodies! A cup of sweet corn kernels or half a cup of rinsed black beans can add a fun texture and extra flavor without compromising the canning safety *as long as* you keep the acidity the same. It’s your kitchen, your salsa – have fun with it!
Storage and Reheating Instructions for Canned Salsa
Once your jars have cooled and you’ve confirmed those lids are sealed tight (give ’em a little press – they shouldn’t flex!), you’re ready to store your homemade salsa. Keep those beautiful jars in a cool, dark place, like your pantry or a basement shelf. They’ll stay delicious for up to a year! If a lid didn’t seal, just pop that jar in the fridge and enjoy it within a few weeks. No reheating is usually necessary for canned salsa, but if yours is a bit too cold for your liking, a quick warm-up in a saucepan is totally fine!
Frequently Asked Questions About Safe Canning Salsa
Got questions about making your own salsa? I get it! Canning can seem a little daunting at first, but I promise, it’s totally doable. Here are some of the things people ask me most often about this recipe, especially when they’re looking for that perfect, safe canning salsa.
Can I use fresh tomatoes from my garden for this recipe?
Absolutely! That’s the whole point! Using fresh, ripe garden tomatoes is the best way to get that amazing flavor. Just make sure they’re nice and ripe for the best results.
How do I adjust the heat level in my canned salsa?
Easy peasy! For a milder salsa, remove all the seeds and white membranes from your jalapeños. For extra spice, leave some seeds in, or even try adding a hotter pepper like a serrano. Taste as you go!
What is the correct headspace for canning salsa?
You’ll want to leave about a 1/2-inch space between the salsa and the top of the jar. This headspace is super important for creating a good vacuum seal, which is key for shelf-stable salsa.
How long does homemade canned salsa last?
Properly sealed jars of homemade canned salsa can be stored in a cool, dark place for about a year. If a lid didn’t seal, just pop it in the fridge and enjoy it within a few weeks!
Estimated Nutritional Information
Just so you know, the nutritional info for homemade salsa can vary a bit depending on exactly what you put in it, like how much salt you use or the sweetness of your tomatoes. But as a general guess, a 1/4 cup serving of this delicious canned salsa is super light! You’re probably looking at around 30 calories, with just a few grams of carbs and protein. It’s practically guilt-free goodness, especially when compared to store-bought!
Share Your Canned Salsa Creations!
Alright, my friends, now it’s your turn! I’ve shared my favorite ways to preserve this amazing salsa, and now I can’t wait to hear all about yours. Did you make this recipe? How did it turn out? Did you get creative with the spice level or add anything fun? Please, drop a comment below and let me know – I absolutely love hearing about your kitchen adventures and seeing how you make this recipe your own!
PrintCanned Tomato Salsa Recipe
Preserve your garden tomatoes by canning them into shelf-stable salsa with bright flavor for year-round enjoyment. This recipe provides step-by-step guidance for safe water-bath canning.
- Prep Time: 30 min
- Cook Time: 30 min
- Total Time: 60 min
- Yield: Approximately 6-7 pint jars 1x
- Category: Preserves
- Method: Water Bath Canning
- Cuisine: American
- Diet: Vegetarian
Ingredients
- 8 cups peeled, cored, and chopped ripe tomatoes (about 4.5 lbs)
- 1 cup chopped onions (about 1 medium)
- 1 cup chopped green bell peppers (about 1 medium)
- 1/2 cup chopped jalapeño peppers (about 2-3, seeds removed for less heat)
- 4 cloves garlic, minced
- 2 tablespoons lime juice
- 1 teaspoon salt
- 1 teaspoon dried oregano
- 1/2 teaspoon ground cumin
- 1/4 teaspoon cayenne pepper (optional, for extra heat)
Instructions
- Prepare your water bath canner by filling it with enough water to cover the jars by at least 1 inch and bringing it to a simmer. Sterilize your canning jars, lids, and bands.
- In a large pot, combine the chopped tomatoes, onions, green bell peppers, jalapeño peppers, and minced garlic.
- Add the lime juice, salt, oregano, cumin, and cayenne pepper (if using) to the pot. Stir well to combine.
- Bring the mixture to a boil over medium-high heat, then reduce the heat and simmer for 20 minutes, stirring occasionally.
- Ladle the hot salsa into the prepared canning jars, leaving a 1/2-inch headspace.
- Wipe the rims of the jars with a clean, damp cloth and place the lids on top. Screw on the bands fingertip tight.
- Carefully place the filled jars into the simmering water bath canner, ensuring they are covered by at least 1 inch of water.
- Process the jars in the boiling water bath for the recommended time: 15 minutes for altitudes up to 1,000 feet. Adjust processing time for higher altitudes.
- Turn off the heat, remove the canner lid, and let the jars sit in the hot water for 5 minutes.
- Carefully remove the jars from the canner and place them on a towel-lined counter to cool completely for 12-24 hours. You should hear the lids ‘pop’ as they seal.
- Check seals after 12-24 hours. If a lid does not flex when pressed, refrigerate the salsa and consume within a few weeks. Properly sealed jars can be stored in a cool, dark place for up to a year.
Notes
- For a smoother salsa, you can pulse the ingredients in a food processor before cooking, but do not puree.
- Adjust the amount of jalapeño peppers and seeds to control the heat level.
- Always follow tested canning recipes and guidelines to ensure safety.
- Label your jars with the contents and date.
Nutrition
- Serving Size: 1/4 cup
- Calories: 30
- Sugar: 5g
- Sodium: 250mg
- Fat: 0g
- Saturated Fat: 0g
- Unsaturated Fat: 0g
- Trans Fat: 0g
- Carbohydrates: 7g
- Fiber: 1g
- Protein: 1g
- Cholesterol: 0mg