

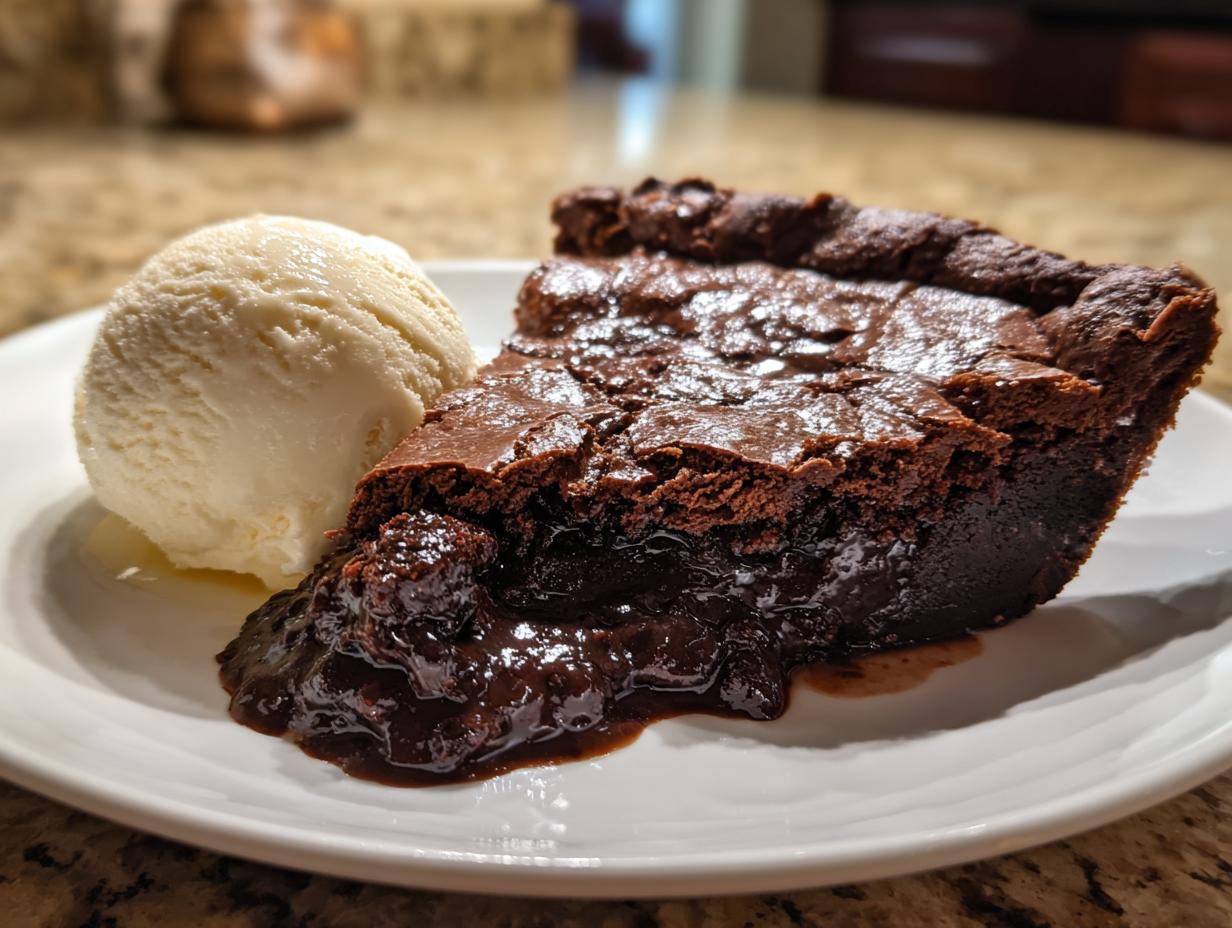
Oh, if you have a chocolate craving right now, you need to stop everything and make this! Seriously. When that deep, dark, utterly decadent feeling hits, nothing else cuts it. That’s why I am dying to share what I call the Ultimate Rich & Gooey Hot Fudge Pie. Forget complicated baking; this recipe is what we at DelishCraze focus on—classic American comfort food that’s special but unbelievably easy.
This isn’t just a pie; it’s the dream mashup of a fudgy, dense brownie crossed with a molten lava cake center. And the best part? You can have this amazing dessert ready in under an hour. Trust me, when Olivia Rosewood set out to create simple recipes that actually feel like a treat, this hot fudge pie was one of the first triumphant stars. It’s pure, melt-in-your-mouth bliss!
- Why This hot fudge pie is Your New Favorite Decadent Dessert
- Ingredients for the Ultimate hot fudge pie
- Essential Tips for a No-Fail hot fudge pie Success
- Step-by-Step Instructions for Making hot fudge pie
- Serving Suggestions for Your Rich Fudge Dessert
- Storage and Reheating Instructions for hot fudge pie
- Frequently Asked Questions About hot fudge pie
- Estimated Nutritional Data for This Indulgent Chocolate Treat
- Share Your Experience Making This hot fudge pie
Why This hot fudge pie is Your New Favorite Decadent Dessert
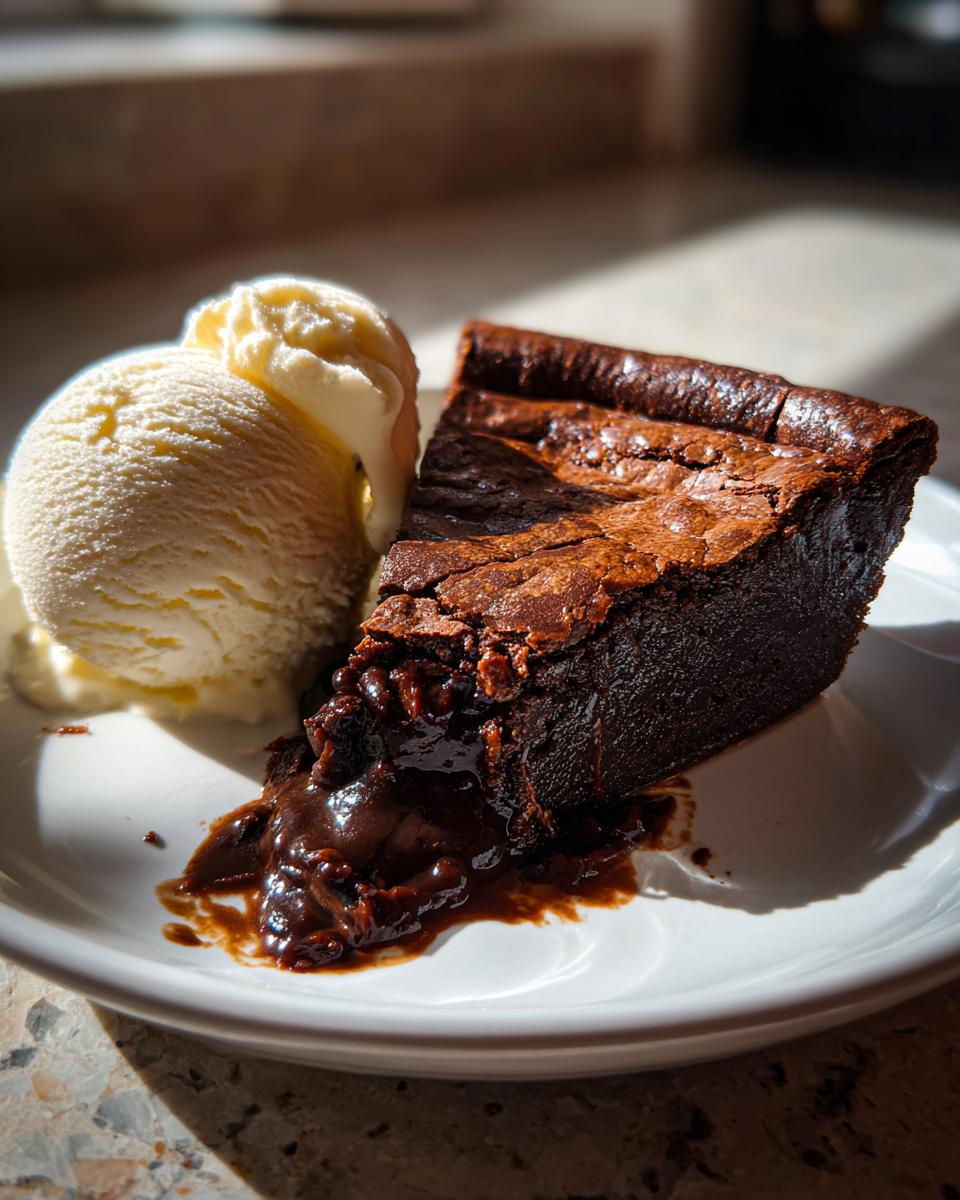
If you need an indulgent chocolate treat fast, this is your answer! Seriously, when that deep, dark, utterly decadent feeling hits, nothing else cuts it. I promise you, this hot fudge pie isn’t just good; it’s legendary among my taste testers. It skips the fuss of traditional pies but delivers way more richness. You get that amazing, chewy edge that reminds you of your favorite fudgy brownie, combined with a center that stays wonderfully soft and gooey even after resting. You should check out my chocolate mousse pie recipe too, but this one is straight comfort food!
It truly is the best of both worlds, which is why I call it my go-to quick chocolate dessert. You get that molten chocolate pie feel without waiting around forever. It’s pure indulgence, made simple and fast. If you’re looking for an irresistible dessert that screams luxury, this is where your search ends.
Achieving the Perfect Fudgy Brownie Texture
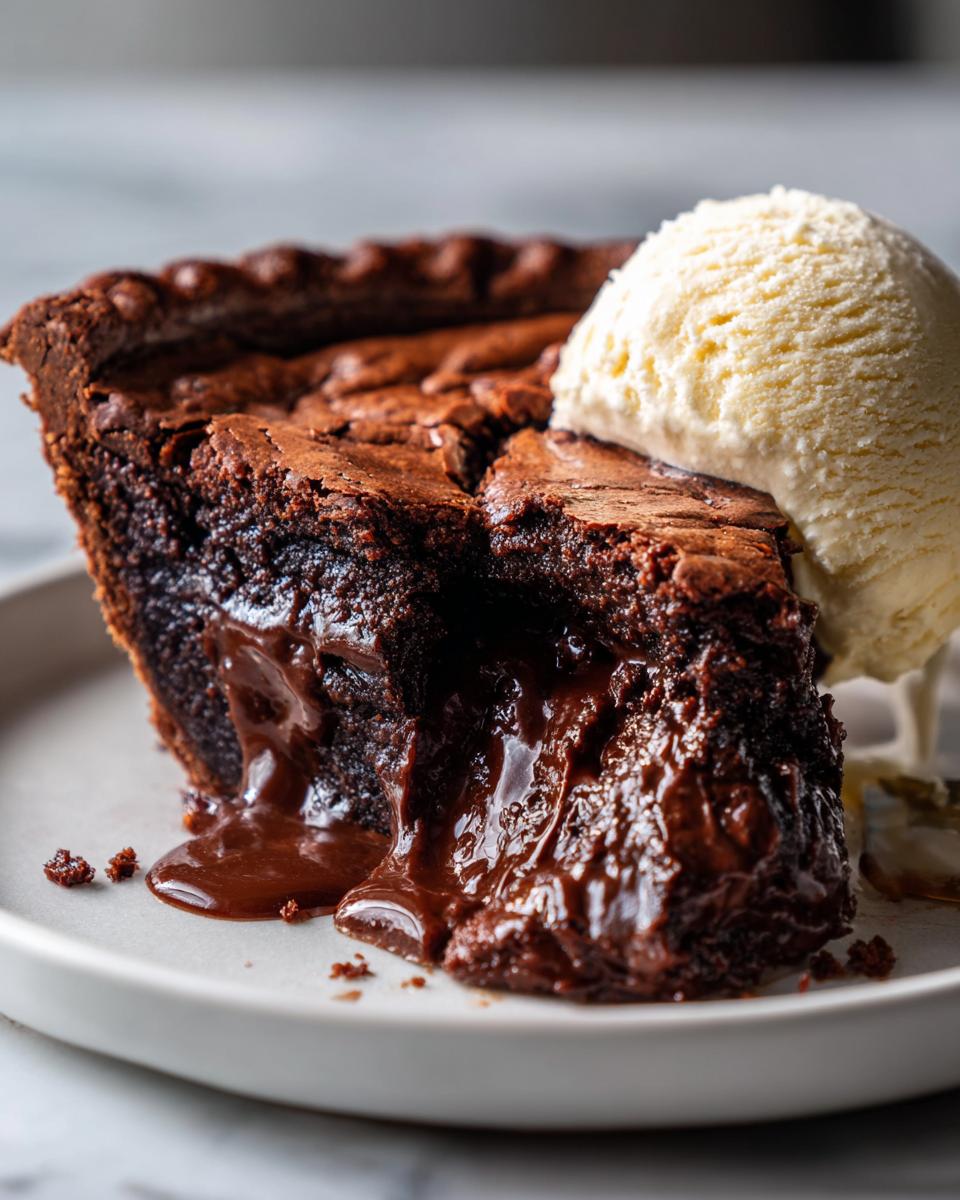
The magic happens in the oven because we bake this slightly less than you might think! Trust me, resist the urge to overbake this pie. We use a specific blend of cocoa powder and melted butter that sets up beautifully around the edges—that’s your brownie part. But since we pull it out while the middle is still jiggly, it keeps that molten quality.
It’s all about balancing the structure with the intended soft gooey chocolate pie center. Don’t worry if it looks a little unset in the middle when you pull it out; that’s exactly what you’re looking for right before you let it settle!
Ingredients for the Ultimate hot fudge pie
Okay, friend, this is where the magic starts, and I have to tell you, these ingredients are non-negotiable! You probably have most of this stuff on hand already, which makes this such a great, quick chocolate dessert idea. We are only using a few simple things, but how you prep them really makes a difference in getting that wonderfully rich fudge dessert texture we’re aiming for.
Make sure you measure everything out right before you start mixing. I’ve linked my favorite basic fudgy chocolate poke cake recipe inspiration here if you ever want another quick chocolate fix, but for this pie, precision matters!
- 1 (9 inch) unbaked pie crust – Make sure it’s just sitting in your 9-inch pie plate, ready to go!
- 1 cup granulated sugar – Standard white sugar is fine here, but trust me, the flavor comes from other places!
- 1/2 cup all-purpose flour – Just standard, all-purpose flour, spooned and leveled.
- 1/4 cup unsweetened cocoa powder – Don’t use the sweetened kind; we need that deep chocolate base!
- 1/2 teaspoon salt – Yes, salt! This is vital to punch up that chocolate flavor. Don’t skip it!
- 1/2 cup (1 stick) unsalted butter, melted – Melted completely but not sizzling hot when you add it in.
- 2 large eggs, lightly beaten – You just want to break up the yolks and whites in a small bowl—no fancy frothing needed.
- 1 teaspoon vanilla extract – A good splash of vanilla always brings the chocolate forward, right?
- 1/2 cup milk – Any milk works here, whole milk gives a nice richness, though.
- 1/2 cup semi-sweet chocolate chips – These melt and help create those little pockets of molten goodness in your pie with ice cream pairing.
Essential Tips for a No-Fail hot fudge pie Success
Now that you have all the components for this awesome, rich fudge dessert, let’s talk about the secrets to getting that **No-Fail Fudge Pie** result every single time. Seriously, I want you to succeed because this pie is a treasure! Taking a few little steps now ensures you don’t end up with a watery mess later—we want gooey, not runny! These are the little tricks I picked up that take this recipe from good to absolutely show-stopping fudge, much like how I get my Levain Bakery chocolate chip cookies recipe just right—it’s all in the tiny details.
My own notes show that if you aren’t careful about the crust, you can get a soggy bottom, and nobody wins then! We want perfection here, so pay attention to these checks before you even start mixing that gorgeous batter.
Pre-Baking the Crust: A Simple Crust Hack
Okay, so the recipe ingredients call for an unbaked crust, and normally that’s fine! But if I’m serving this to company, or if I know it’s going to sit for just a tiny bit before serving, I always give that crust a little head start. This is my simple crust hack: blind bake it for about 10 minutes at 350°F first. Just line it with parchment paper and some pie weights (or dried beans work great too!).
This step is totally optional, but it really wards off that dreaded soggy bottom that wet fillings like this sometimes cause. You just want it set, not brown! It’s a lifesaver for this kind of wet filling.
Doneness Test for the Gooey Chocolate Pie Center
This is the most important part for achieving that beautiful **Molten Chocolate Pie** texture. When the directions say bake for 30 to 35 minutes, you listen, but you rely on your eyes more than the clock! You are looking for the edges to look firm—almost dry—and the center should look soft. I mean, truly soft, maybe even a little jiggly when you gently shake the baking pan.
If you bake it until a toothpick comes out clean, you’ve gone too far, and you’ve got a solid brownie pie, not the gooey version! Also, that mandatory 15-minute resting period after it comes out of the oven is crucial; it lets that center solidify just enough so you can slice it without everything running onto the plate. I know waiting is hard, but trust me on this one!
Step-by-Step Instructions for Making hot fudge pie
Alright, put your apron on! We’re moving fast because the sooner we start, the sooner we can eat this glorious **hot fudge pie**. I’ve broken this down into simple, manageable steps so that you can focus on just mixing and enjoying the process. Remember, if you did that optional crust pre-bake (smart!), make sure the oven is set correctly before you move on.
First things first: get your oven heated up to 350 degrees F (that’s 175 degrees C). We need it ready for action! Now, grab that unbaked **pie with ice cream pairing** crust you placed in your 9-inch pie plate. That’s step one done! See? Easy peasy.
- Into a medium bowl, we’re going to whisk together all our dry powerhouses: the sugar, the flour, the cocoa powder, and that essential salt. Whisk well! You want that cocoa powder totally incorporated so you don’t get any dry pockets later on.
- Now, gently pour in that melted butter. Mix it until it just comes together—don’t overthink it. It’s going to look a little crumbly, and that’s perfectly fine.
- In a separate, smaller bowl (this keeps things neat!), quickly whisk up your eggs, vanilla extract, and milk until they’re happy and combined.
- Time to bring the gangs together! Add that wet mixture into your butter and sugar mix. Stir until everything is smooth. And I mean *smooth*—no more flour streaks. But please, don’t beat it frantically! We want a nice, quiet batter, not a tough, rubbery one.
- Gently fold in those semi-sweet chocolate chips. I like to use a rubber spatula here so I don’t deflate my batter.
- Pour all that beautiful, thick, chocolate goodness right into your prepared pie crust. Smooth the top out a little.
- Bake this beauty for about 30 to 35 minutes exactly as the recipe calls for. Remember what I said about the jiggly center? That’s our goal!
- Once it looks done on the edges, pull it out! You absolutely MUST let it cool on a wire rack for a minimum of 15 minutes before even thinking about slicing. This lets that molten center firm up just enough. You can grab my guide on why cooling matters in baking if you need a refresher on patience!
Serving Suggestions for Your Rich Fudge Dessert
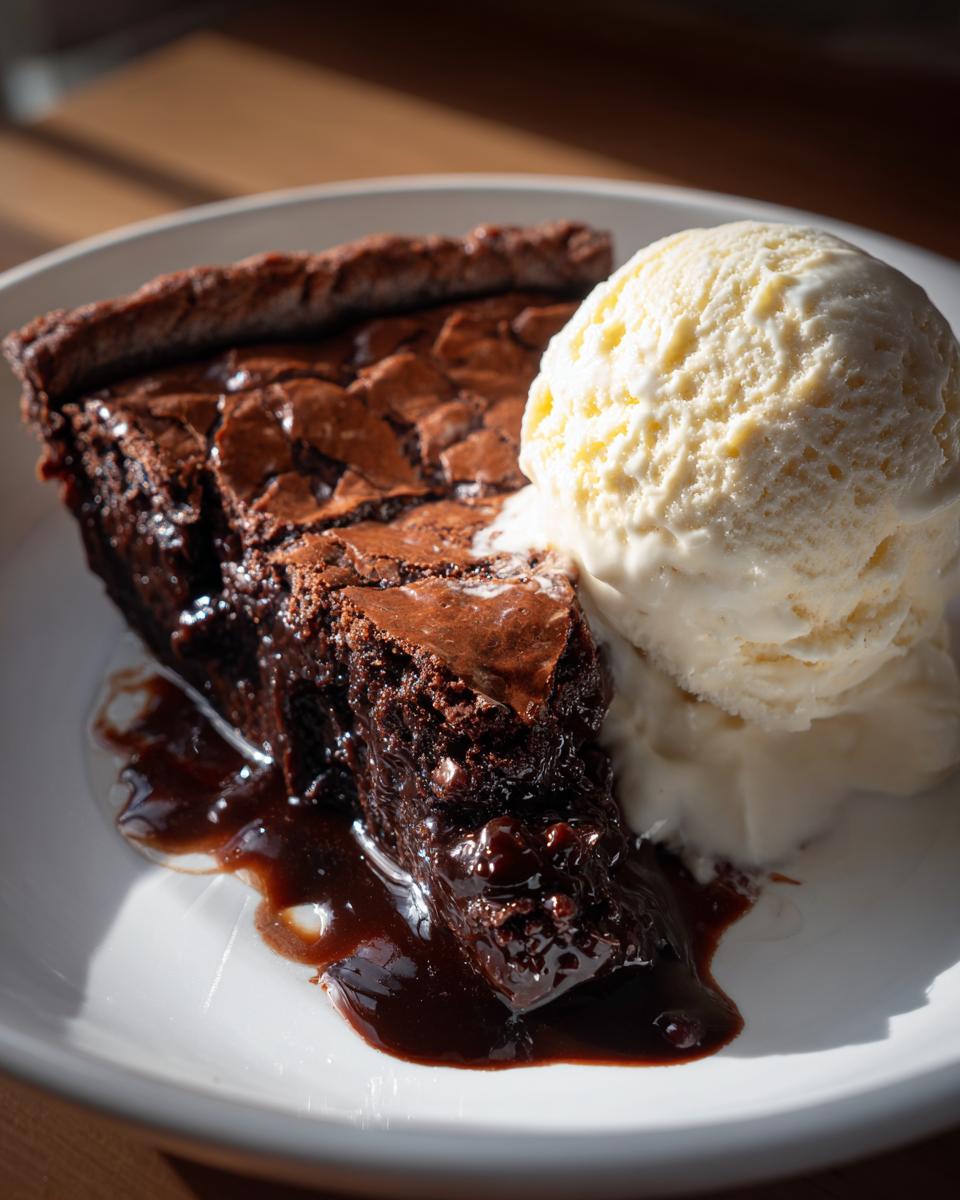
Now we get to the best part of making this **Warm Chocolate Dessert**: serving it! Remember what I said in the title? This pie is designed to be eaten warm. That’s when the texture is at its peak—that gooey middle just flows out onto your plate. Forget letting it cool completely; heat is your friend here!
The absolute, non-negotiable, 100% required partner for this **hot fudge pie**? A huge, chilly scoop of good quality vanilla ice cream. That contrast between the warm, dark chocolate fudge and the cold, sweet vanilla is just heavenly. I honestly feel like it’s criminal if you don’t pair it this way!
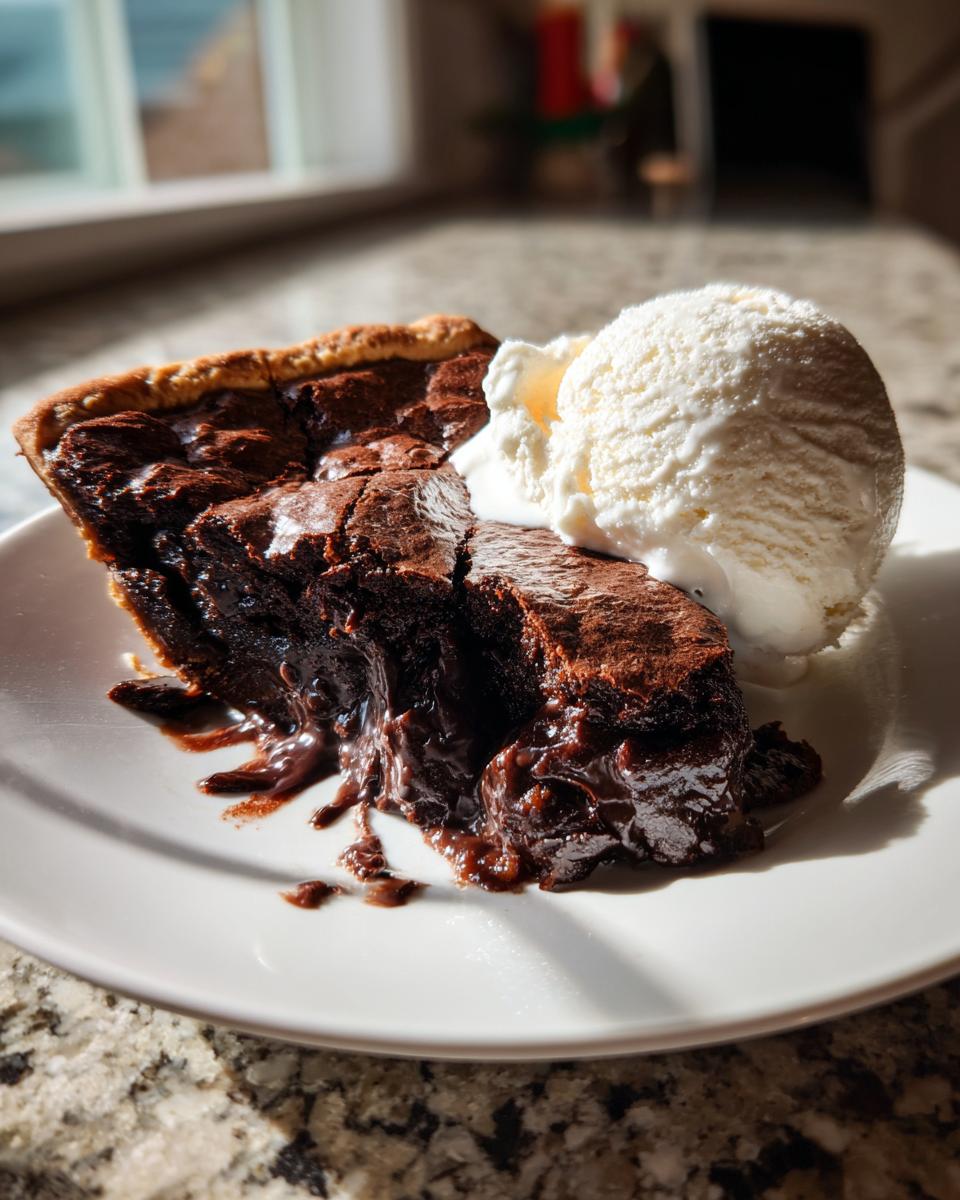
But hey, I always like to give you a couple of options just in case you’re out of ice cream or feeling a little fancy. If you want a lighter contrast, try topping the warm pie with a giant cloud of freshly whipped cream. If you’re like me and need a little zing to cut through all that richness, sometimes I’ll put a sprinkle of fresh raspberries over the whipped cream. That tartness against the sweet fudge? *Chef’s kiss*!
When I want to make it extra special—maybe for a holiday or just a really rough Tuesday—I sometimes drizzle just a tiny bit of caramel sauce over the ice cream. Find my recipe for that easy apple dip topping if you want the caramel secret; it works wonders here too!
Storage and Reheating Instructions for hot fudge pie
Okay, let’s talk about the aftermath, because if you’re lucky enough to have any **hot fudge pie** leftover—which, honestly, good job—you need to treat it right for the next day. I’m going to be upfront: this is one of those comfort food desserts that simply won’t be as good the next day. It’s at its absolute peak texture right when it starts to set after cooling slightly.
But if you must save some, cover that pie tightly! You can keep it wrapped up at room temperature for about a day. After that, pop it into the fridge where it will firm up significantly, turning much more into a dense, cold fudge bar than a warm, gooey pie. Frankly, I’ve never kept one longer than day three, and I usually don’t recommend it because that texture is just lost.
When you’re ready to bring it back to life—and you absolutely need to eat it slightly warm to enjoy that molten feel—reheating is fast but needs care. You don’t want to cook it any more! I take a slice and microwave it on about 50% power for very short bursts—maybe 15 seconds, check it, then another 10 seconds if needed. You’re just trying to warm the chocolate through so it flows again, not bake the crust till it turns to stone!
I find that reheating small slices works better than trying to warm up the whole thing at once. Speaking of leftovers, if you want another amazing bar recipe that travels better, you should look at my snickerdoodle blondies recipe—those hold up wonderfully!
Frequently Asked Questions About hot fudge pie
I know when you’re faced with something this decadent, you’re going to have questions! I want to make sure you feel totally confident diving into this **hot fudge pie** recipe. Baking shouldn’t be stressful, especially when the reward is this much chocolatey goodness. Here are the things people ask me most often about getting that perfect **rich fudge dessert** result, even if you’re making it for the first time.
Don’t forget to check out my whipped ricotta dip if you need something savory after all that sweet indulgence!
Can I make this hot fudge pie without a pre-made crust?
Oh yes, you absolutely can! Pre-made crusts are a lifesaver for a quick chocolate dessert, but if you prefer homemade, go for it. You can use your favorite homemade shortcrust recipe and press it into the pie plate. If you use a homemade crust that you haven’t pre-baked, you might need to add an extra 5 minutes to the baking time since it has more moisture to cook out.
Alternatively, some people use a graham cracker crust for a nice textural change. Just make sure whatever crust you use is firmly pressed into the plate before you pour in that gooey batter!
What is the best way to store leftover Gooey Chocolate Pie?
Let me be honest: this pie is truly best eaten the day you make it when it’s warm, which is when it really shines as a **Warm Chocolate Dessert**. However, if you genuinely have leftovers—show-offs!—you need to store them right. Cover the pie or the slices tightly with plastic wrap or pop them into an airtight container.
For the very best texture preservation, keep it at room temperature for up to two days. If your kitchen is super hot, the fridge is okay for up to four days, but be prepared for it to firm up quite a bit, turning into a very dense, cold chocolate bar. Remember, you’ll need to reheat those slices gently to get the gooey factor back!
Estimated Nutritional Data for This Indulgent Chocolate Treat
Now, I know most of us aren’t making this for the salad bar, right? This is pure, unadulterated joy in a slice! But for those of you keeping track, I wanted to give you a rough idea of what you’re taking in with this incredibly rich fudge dessert. Please remember, these numbers are just estimates based on the standard ingredients I use—your specific brands of chocolate chips or the type of milk you use can shift things around a little bit.
We always use good, honest ingredients here at DelishCraze, and I believe in being transparent, even when the dessert is this indulgent. Think of this as powerful fuel for your next chocolate attack!
- Serving Size: 1 slice (Because who only eats one slice of this?)
- Calories: Around 380
- Sugar: About 35 grams
- Fat: Roughly 22 grams (Hello, butter!)
- Saturated Fat: Around 13 grams
- Carbohydrates: 42 grams
- Protein: 6 grams
See? It’s a treat! It’s meant to be savored, not counted obsessively. If you’re looking for something on the lighter side but still loaded with cocoa flavor, you might want to try my recipe for quick healthy homemade chocolate milk sometime! But for this pie, we aren’t holding back!
Share Your Experience Making This hot fudge pie
Now that you have created your own slice of heaven—I hope your kitchen smells like pure melted chocolate bliss! I genuinely want to hear how your **hot fudge pie** turned out. Did the center stay gooey? Did you manage to stop people from eating it straight out of the pan? Tell me everything!
If this **Decadent Dessert** became your new favorite way to cure a chocolate craving, please do me a huge favor and leave a rating! Five stars if it blew your socks off (which I know it will!). Reviews really help other folks find the best, easiest recipes out there.
Don’t just leave me hanging, either! If you snapped a picture of that perfect warm slice sitting next to a melting scoop of ice cream, tag me on Instagram or share it in the comments below. I totally love seeing your creations. It makes all the testing and tasting worth it!
And if you still have some energy left, maybe try my great coffee cake with sour cream and streusel next week; it’s another one of those amazingly simple comfort classics!
PrintThe Ultimate Rich & Gooey Hot Fudge Pie: Brownie Texture Meets Molten Center
Make this rich and gooey hot fudge pie that tastes like a cross between a fudgy brownie and a molten lava cake. This easy recipe delivers decadent chocolate flavor perfect for serving warm with vanilla ice cream.
- Prep Time: 15 min
- Cook Time: 35 min
- Total Time: 50 min
- Yield: 8 servings 1x
- Category: Dessert
- Method: Baking
- Cuisine: American
- Diet: Vegetarian
Ingredients
- 1 (9 inch) unbaked pie crust
- 1 cup granulated sugar
- 1/2 cup all-purpose flour
- 1/4 cup unsweetened cocoa powder
- 1/2 teaspoon salt
- 1/2 cup (1 stick) unsalted butter, melted
- 2 large eggs, lightly beaten
- 1 teaspoon vanilla extract
- 1/2 cup milk
- 1/2 cup semi-sweet chocolate chips
Instructions
- Preheat your oven to 350 degrees F (175 degrees C). Place the unbaked pie crust in a 9-inch pie plate.
- In a medium bowl, whisk together the sugar, flour, cocoa powder, and salt until combined.
- Pour the melted butter into the dry ingredients and mix until just combined.
- In a separate small bowl, whisk the eggs, vanilla extract, and milk together. Add this wet mixture to the dry ingredients and mix until the batter is smooth. Do not overmix.
- Gently stir in the chocolate chips.
- Pour the batter evenly into the prepared pie crust.
- Bake for 30 to 35 minutes. The edges should look set, but the center will still be soft and gooey, similar to a brownie.
- Remove the pie from the oven and let it cool on a wire rack for at least 15 minutes before serving.
- Serve warm with a large scoop of vanilla ice cream.
Notes
- For a crispier crust, you can blind bake the pie crust for 10 minutes before adding the filling.
- If you prefer a slightly firmer center, bake for an additional 5 minutes, but watch carefully to keep the molten texture.
- This pie is best eaten the day it is made for the best gooey texture.
Nutrition
- Serving Size: 1 slice
- Calories: 380
- Sugar: 35
- Sodium: 150
- Fat: 22
- Saturated Fat: 13
- Unsaturated Fat: 9
- Trans Fat: 0.5
- Carbohydrates: 42
- Fiber: 2
- Protein: 6
- Cholesterol: 85