
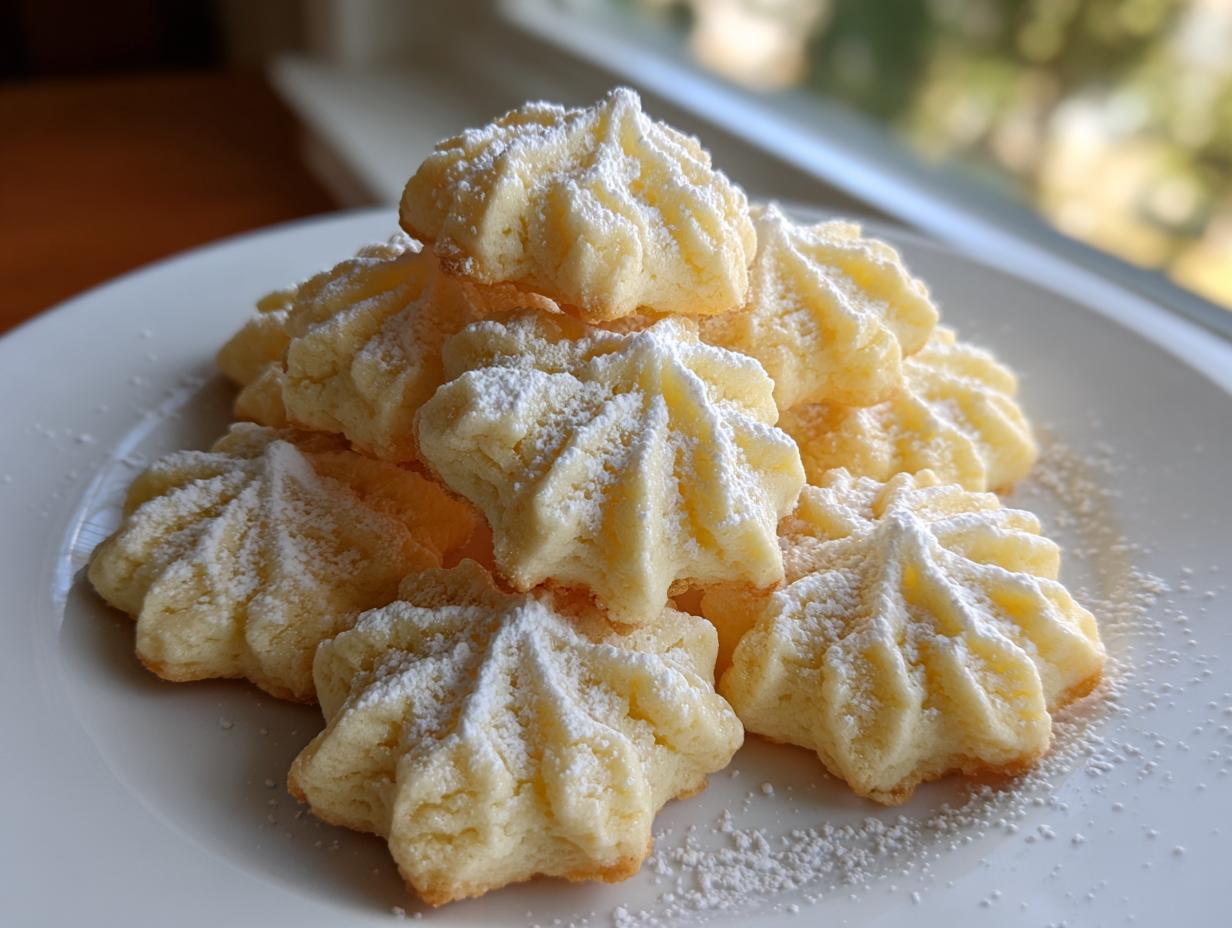
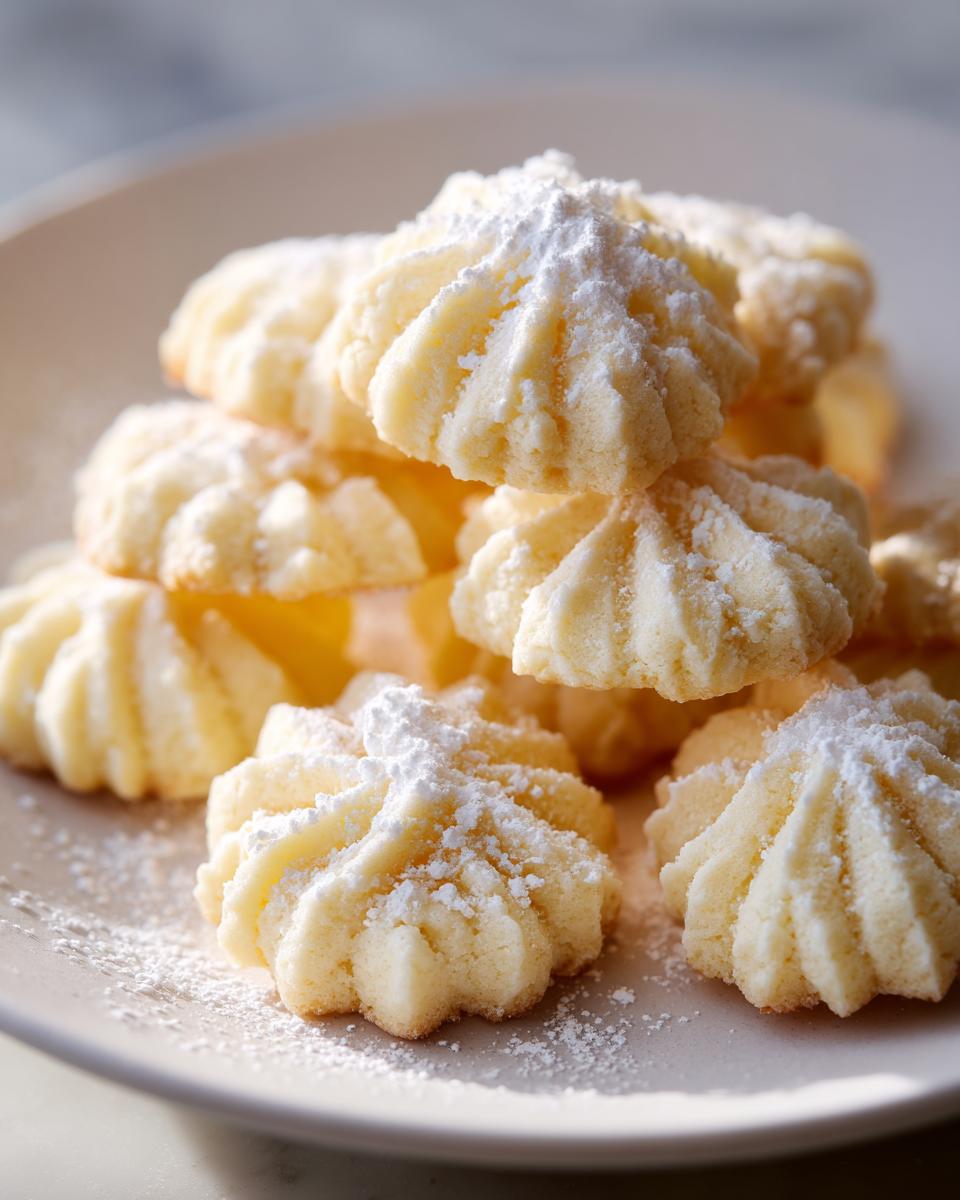
Remember standing at the glass of the Italian pastry shop as a kid, just staring at those perfectly formed, delicate cookies? Seriously, they looked like little edible jewels! I spent years trying to recreate that exact texture—not crisp, not hard, but truly soft and buttery. Well, I finally cracked the code for the absolute best Italian butter cookies you’ll ever make at home. This recipe focuses entirely on that signature melt-in-your-mouth quality. When life gets busy, bringing these classic treats back into my kitchen, just like my mom used to, is how I reclaim a little bit of that simple, joyful connection. Get ready for bakery-style perfection!
- Why These are the Best Soft Buttery Cookies Recipe for Your Kitchen
- Gathering Ingredients for Authentic Italian Butter Cookies
- Step-by-Step: How to Prepare Bakery Style Butter Cookies
- Decorating Your Italian Butter Cookies: Jam, Chocolate, and More
- Tips for Success When Making Italian Butter Cookies
- Storing and Keeping Your Soft Buttery Cookies Fresh
- Frequently Asked Questions About Classic Butter Cookie Recipe
- Estimated Nutritional Data for Italian Butter Cookies
- Share Your Homemade Italian Treats
Why These are the Best Soft Buttery Cookies Recipe for Your Kitchen
What sets these cookies apart? Honestly, it’s the science of the soft texture! We skip the granulated sugar and rely purely on powdered sugar. That very fine consistency mixes in immediately and prevents heavy gluten development, which is key for these Soft Buttery Cookies Recipe. Plus, the ratio of butter to flour is just right to keep them tender.
It results in cookies that truly melt in your mouth. Forget those hard, dry versions you find sometimes. These are genuinely rich.
Achieving Authentic Italian Butter Cookies Texture
You might see recipes calling for a full hour of chilling time or complicated steps, but these are designed for the home kitchen. We use a simple piping method that keeps the dough workable when slightly warm. Following these exact steps guarantees you have authentic Italian butter cookies that feel like they came straight from a classic Italian pastry shop. That melt-in-your-mouth quality? That’s achieved by pulling them from the oven just as the edges barely start to color!
Gathering Ingredients for Authentic Italian Butter Cookies
Okay, let’s talk about what you need! The beauty of these italian butter cookies is that they use super simple stuff, which is probably why they go so fast on my cookie trays. We need one cup of softened butter—and I mean soft, not melted! Then we use that lovely powdered sugar for that smooth texture, along with an egg and pure vanilla extract. For the dry stuff, just two cups of all-purpose flour and a pinch of salt. Easy peasy!
Don’t forget the fun stuff! Optional toppings include jam, chopped pistachios, or melted chocolate for dipping. They look so pretty all dressed up.
Ingredient Notes and Substitution Guidance
Listen, for this Easy Italian Cookie Recipe, the quality of your butter really shines through. Make sure it’s unsalted so you can control the saltiness, and it absolutely *must* be room temperature. If it’s too cold, it won’t cream right, and we need that creaminess for the texture we want. Also, using real vanilla extract makes a huge difference—it really boosts that buttery aroma. Stick to these pointers, and you’re halfway there!
Step-by-Step: How to Prepare Bakery Style Butter Cookies
This is where the magic really starts! We need to get that buttercream base perfect before we bake these gorgeous italian butter cookies. First thing: preheat your oven to 350°F (175°C) and get those pans lined with parchment paper—trust me, you don’t want to skip that part when they come out!
Next, grab your big bowl. Beat the softened butter and powdered sugar until it’s light, fluffy, and pale. Don’t rush this creaming step; it whips air into the dough, which keeps the cookies soft. Then we mix in the egg and that lovely vanilla. Once that’s smooth, gently sift in your flour and salt. This is critical: stir *just* until it comes together into a soft dough. Overmixing here is what makes cookies tough, and we want soft and buttery!
Piped Butter Cookies Tutorial: Shaping and Baking
Now for the artistry! Transfer that beautiful dough into a piping bag fitted with a nice big star tip. This is what gives you that gorgeous Piped Butter Cookies Tutorial look you see in the pastry shops. Pipe out your shapes—swirls, rings, maybe little ‘S’ shapes. Just keep them about an inch apart on the baking sheet.
Bake them for just 10 to 12 minutes. Keep an eye on them! We are only looking for those edges to be *just* lightly golden. Honestly, if they look pale, they’re probably done. Pull them quickly and let them cool right on the sheet for a few minutes before moving them to a rack. Seriously, don’t overbake them, or you lose that tender quality!
Decorating Your Italian Butter Cookies: Jam, Chocolate, and More
Once these italian butter cookies are completely cool—and I mean totally cool, or the chocolate will slide right off!—it’s time for the fun part. This is where you can make them look exactly like the treats you remember seeing in the bakery window. You have a few amazing options depending on what you’re feeling today.
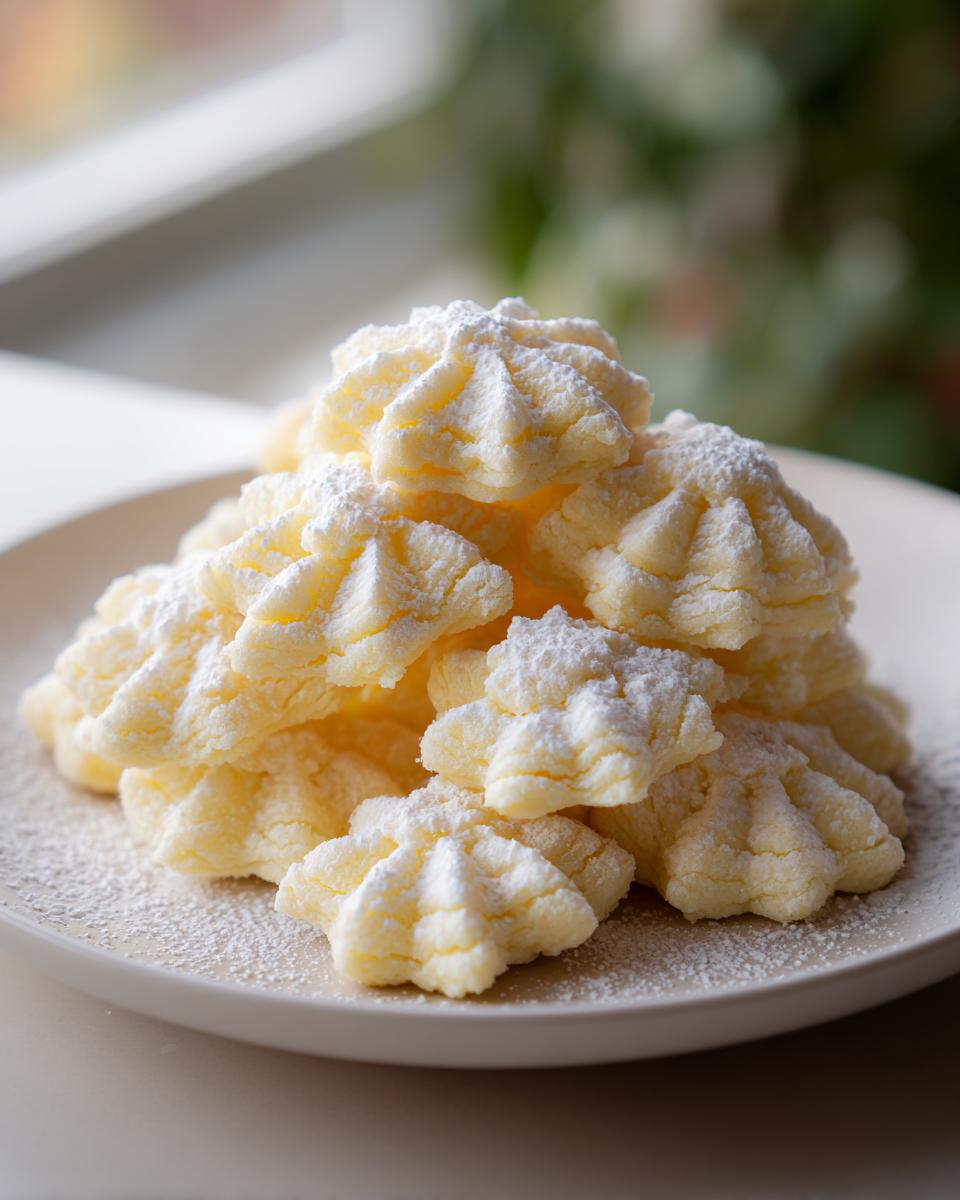
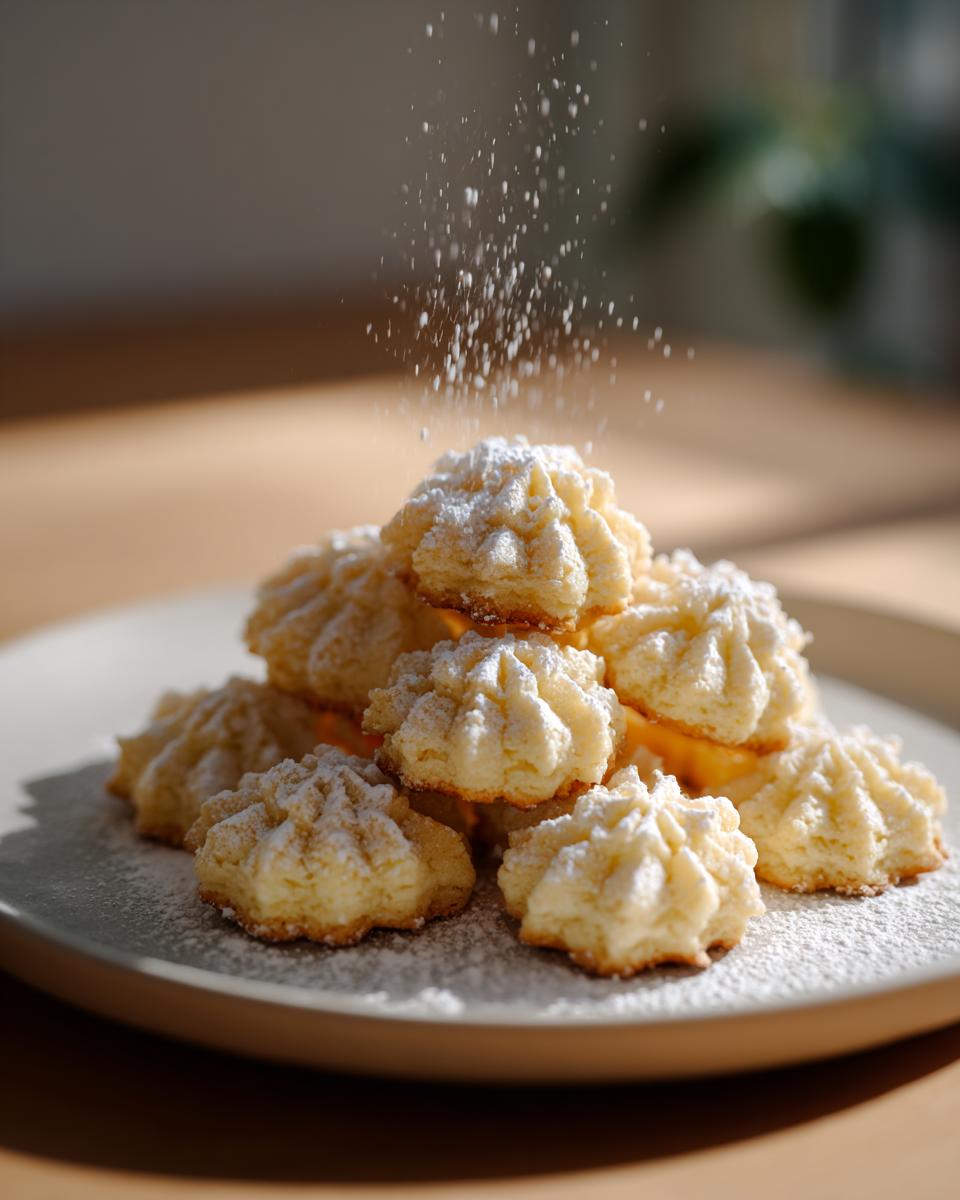
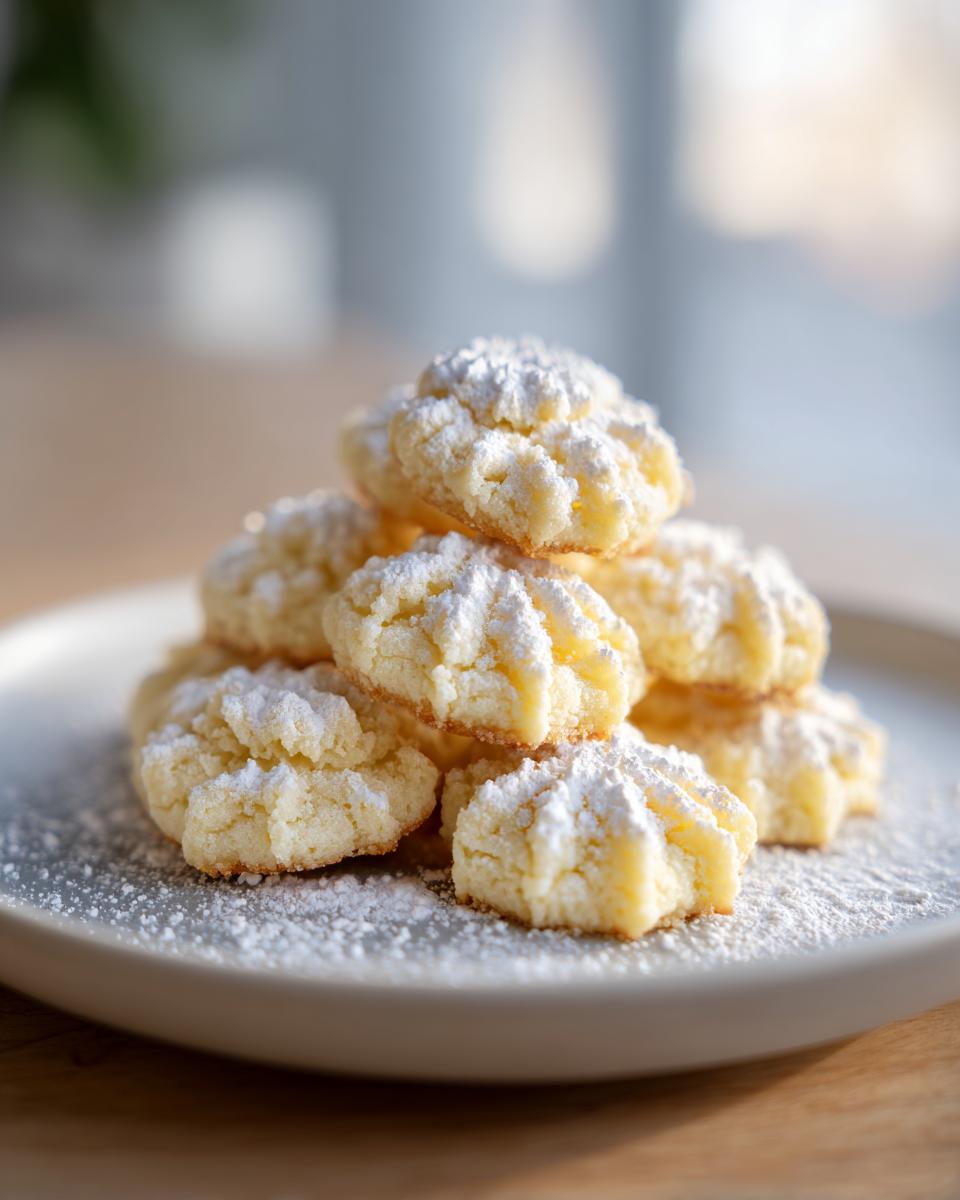
The classic look is just a gentle dusting of powdered sugar. So simple, so elegant. If you want a bit more holiday punch, you can gently dip one end into some jam, which makes a fantastic centerpiece. Or, my personal favorite, we go straight for the chocolate! For the full bakery experience, you’ll want to sandwich two cookies together with a little bit of jam or even melted chocolate in the middle. Visit this link for some inspiration on those jam fillings!
Tips for Perfect Chocolate Dipped Italian Cookies
When you decide to make Chocolate Dipped Italian Cookies, don’t just use standard chocolate chips unless you want droopy, messy, melt-prone dips! I highly recommend using good quality melting wafers or couverture chocolate. If you use real chopped chocolate, you might need to temper it slightly, but honestly, for cookies, just melting it slowly—maybe over a double boiler or in 30-second bursts in the microwave—and stirring until smooth usually works fine.
Dip just the ends or half the cookie, then set them on wax paper or parchment. The most important rule here is patience! Let that chocolate set completely, maybe even put the sheet in the fridge for 15 minutes, before you even think about moving them or stacking them in a tin. You want that satisfying snap when someone bites into it!
Tips for Success When Making Italian Butter Cookies
I know baking sometimes feels like rocket science, but these italian butter cookies are really forgiving if you know what to watch for. The number one thing people ask me about is dough that’s just too stiff to pipe. If you’re ready to pipe and you can barely squeeze anything out, don’t panic and don’t add more liquid!
My trick? Just let the bowl sit on the counter for five to ten minutes. Seriously, that slight warmth from the room will soften the butter just enough for the dough to become wonderfully pliable again. It’s amazing how much patience helps when you’re working with that rich butter content. Don’t force it; let the dough tell you when it’s ready!
Storing and Keeping Your Soft Buttery Cookies Fresh
These italian butter cookies are pretty sturdy, but their wonderful, tender texture is what we are trying to preserve! The most important step happens right after they come out of the oven: they have to cool completely. I mean stone cold. If you try to stack them when they are even slightly warm, they will steam each other, and you’ll lose that delicate dryness on the exterior.
Once they are totally cool to the touch, treat them gently. Moisture is the enemy here because it turns soft cookies brittle or soggy, depending on how you store them. They do best in a single layer, or with parchment paper between the layers, inside a good, tight airtight container. When stored correctly at room temperature, they stay fantastic for easily a week! That makes them perfect for making ahead, which is why I think they are such essential Holiday Butter Cookies—you bake a huge batch and keep nibbling for days!
Frequently Asked Questions About Classic Butter Cookie Recipe
I know you probably have some thoughts running around about making these little beauties! It’s normal. When a recipe looks this simple, sometimes you worry about messing up the piping or the texture. Don’t stress! These are very accommodating italian butter cookies, but here are the answers to the questions popping up in my comments section all the time.
Can I substitute butter in this Italian Butter Cookies recipe?
This is a big one! For the absolute best flavor and that luxurious, melt-in-your-mouth quality, please stick with unsalted butter. These are called italian butter cookies for a reason! Margarine or shortening changes the water content and fat structure, which totally affects how these cookies pipe out and how tender they end up. If you must substitute, use a high-quality butter stick, but I promise you, the real stuff sings here.
What is the best way to get tender Italian Biscuits?
Two things control tenderness, hands down. First, you HAVE to cream your butter and powdered sugar until they are truly pale and fluffy. That step traps all the air we need! Second, the oven time is non-negotiable. You need perfect Tender Italian Biscuits, which means pulling them when they look underdone. If you wait until they look golden brown all over, they’ll be crisp, not tender. Just watch the edges and pull them early!
Estimated Nutritional Data for Italian Butter Cookies
Now, I know you aren’t usually looking at nutrition labels when you’re baking something as glorious as these italian butter cookies, but for completeness, I put together the rough estimates! Remember, every topping you add—whether it’s chocolate or jam—changes these numbers big time.
Roughly, one plain cookie comes out to about 90 calories, 5 grams of fat, and 10 grams of carbs. That’s pretty fantastic for how delicious they are!
Please just take this as a friendly suggestion—the numbers can really vary based on your exact ingredients and whether you dust them heavily in sugar. But hey, they are worth every single calorie, right?!
Share Your Homemade Italian Treats
I’ve shared all my secrets for getting that soft, buttery texture, and now I really want to see what you create! These Homemade Italian Treats are just begging to be decorated. Did you go wild with the jam filling? Maybe you did a full coat of bittersweet chocolate? I love hearing about the colors and sprinkles everyone uses, especially if you’re preparing these for a big holiday tray!
Please, drop a comment below and let me know how they turned out for you! Did you use the star tip or try a different shape? Rate this recipe if it brought that little piece of Italian bakery magic into your home. Sharing your baking victories helps me keep creating recipes that fit right into your busy life!
PrintBakery-Style Italian Butter Cookies: Soft and Melt-in-Your-Mouth
Make authentic Italian Butter Cookies with a soft, tender texture. This recipe uses simple ingredients to create bakery-style piped cookies, perfect for holidays or gifting. You can leave them plain, dust with sugar, or dip them in chocolate.
- Prep Time: 15 min
- Cook Time: 12 min
- Total Time: 27 min
- Yield: About 24 cookies 1x
- Category: Dessert
- Method: Baking
- Cuisine: Italian
- Diet: Vegetarian
Ingredients
- 1 cup unsalted butter, softened
- 2/3 cup powdered sugar
- 1 large egg
- 2 teaspoons vanilla extract
- 2 cups all-purpose flour
- 1/4 teaspoon salt
- Optional toppings: melted chocolate, chopped pistachios, powdered sugar, jam
Instructions
- Preheat your oven to 350°F (175°C). Line baking sheets with parchment paper.
- In a large bowl, beat the softened butter and powdered sugar until the mixture is light and creamy.
- Add the egg and vanilla extract to the butter mixture, mixing until well combined.
- Sift the all-purpose flour and salt into the wet ingredients. Stir until a soft dough forms.
- Transfer the dough to a piping bag fitted with a large star tip.
- Pipe swirls, rings, or other shapes onto the prepared baking sheets. Keep the cookies about one inch apart.
- Bake for 10 to 12 minutes, watching closely until the edges are just lightly golden. Do not overbake for a soft texture.
- Remove the cookies from the oven and let them cool on the baking sheet for a few minutes before transferring them to a wire rack to cool completely.
- Once cool, decorate as desired: dust with powdered sugar, dip the ends in melted chocolate and sprinkle with chopped pistachios, or sandwich two cookies together with a small amount of jam.
Notes
- If your dough feels too stiff to pipe easily, let it rest at room temperature for a few minutes to soften slightly.
- For chocolate dipping, use good quality melting chocolate. Allow the chocolate to set completely before stacking or storing the cookies.
- These cookies are excellent for holiday baking trays and make simple, impressive gifts.
Nutrition
- Serving Size: 1 cookie
- Calories: 90
- Sugar: 5
- Sodium: 25
- Fat: 5
- Saturated Fat: 3
- Unsaturated Fat: 2
- Trans Fat: 0
- Carbohydrates: 10
- Fiber: 0
- Protein: 1
- Cholesterol: 20