
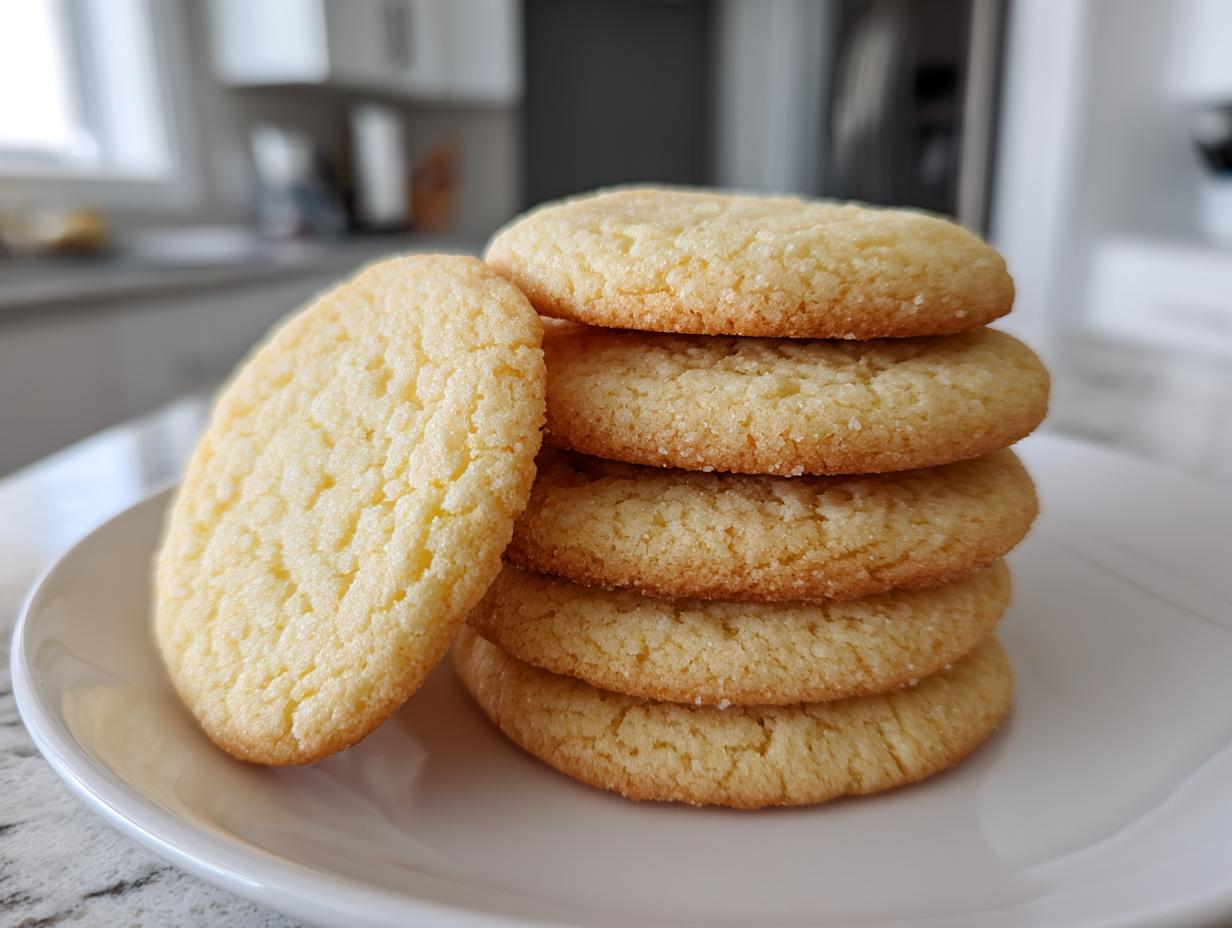
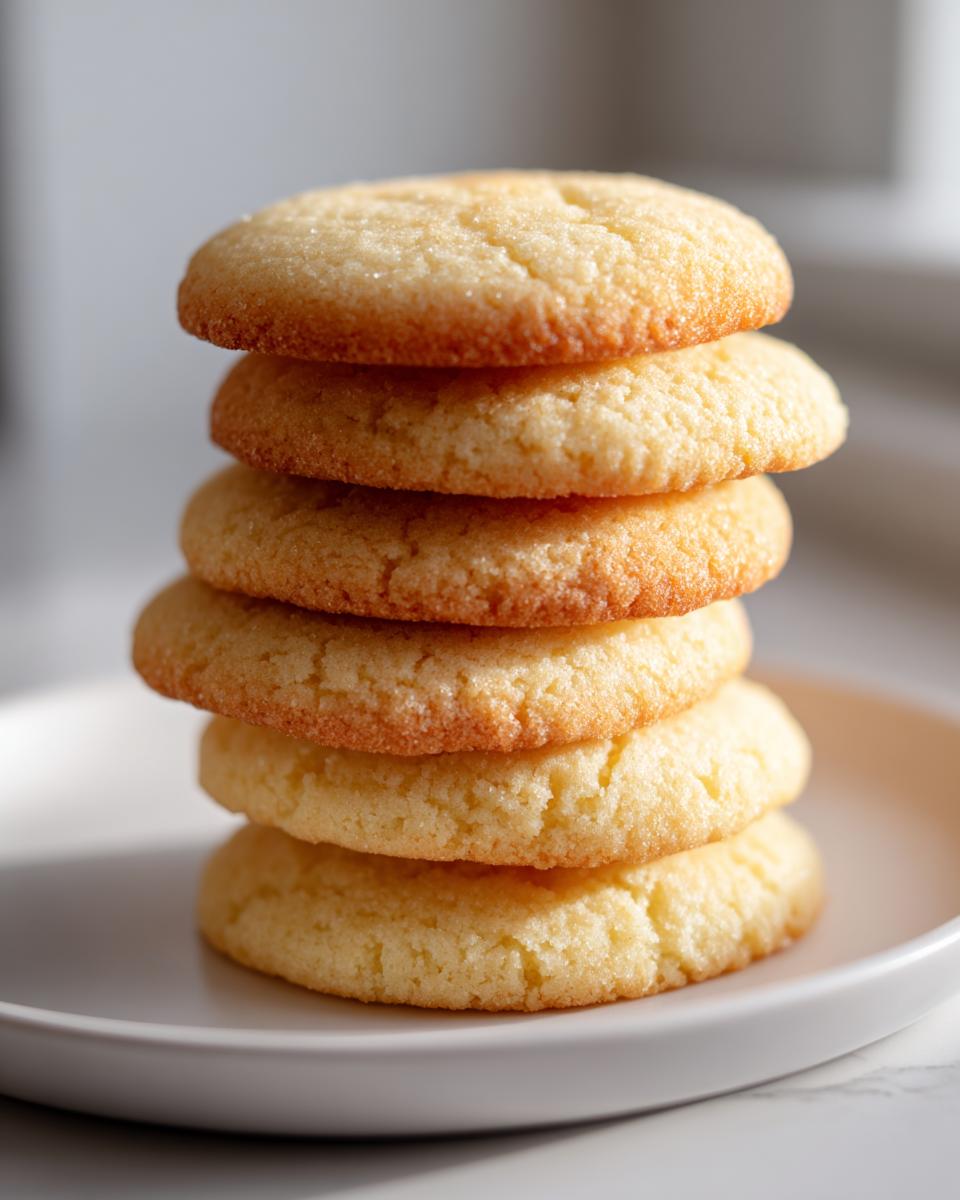
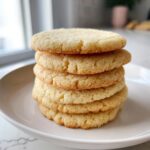
Oh my gosh, have you ever searched endlessly online for that *one* recipe? The one that promises the perfect sugar cookie but delivers something either rock-hard or a melted puddle? Trust me, I’ve been there! After years in my kitchen, turning dough disasters into delicious memories—just like Olivia Rosewood promised we should—I finally perfected the magic formula. This isn’t just any recipe; these are the absolute best **sugar cookies** you’ll ever make. They are incredibly soft, delightfully chewy, and best of all? They hold their shape like little soldiers, making them the perfect canvas for all your decorating dreams. Forget complicated steps; this is classic American baking, simplified and totally reliable.
- Why This is the Best Ever Recipe for Soft and Chewy Sugar Cookies
- Ingredients for Perfect Sugar Cookies That Hold Their Shape
- Step-by-Step Instructions for Easy Cut Out Sugar Cookies
- Tips for Success: How to Make Sugar Cookies That Don't Spread
- Decorating Your Simple Vanilla Sugar Cookies
- Storage and Making Ahead for the Best Sugar Cookies
- Frequently Asked Questions About These Classic Sugar Cookies
- Estimated Nutritional Information for These Sugar Cookies
- Share Your Perfect Sugar Cookies Creations
- Estimated Nutritional Information for These Sugar Cookies
- Share Your Perfect Sugar Cookies Creations
Why This is the Best Ever Recipe for Soft and Chewy Sugar Cookies
Listen, I put this batch of **sugar cookies** through the ringer, okay? I tested them for holidays, birthdays, and just random Tuesday cravings. The result? This is truly the best ever sugar cookie recipe you’ll stash away forever. People always ask me how I get them so soft without them puffing up into puffy little domes, or worse, spreading across the pan like lava. The secret isn’t a fancy ingredient; it’s the balance. We use a specific butter-to-flour ratio that keeps them buttery and deeply flavorful but firm enough to manage when rolling out.
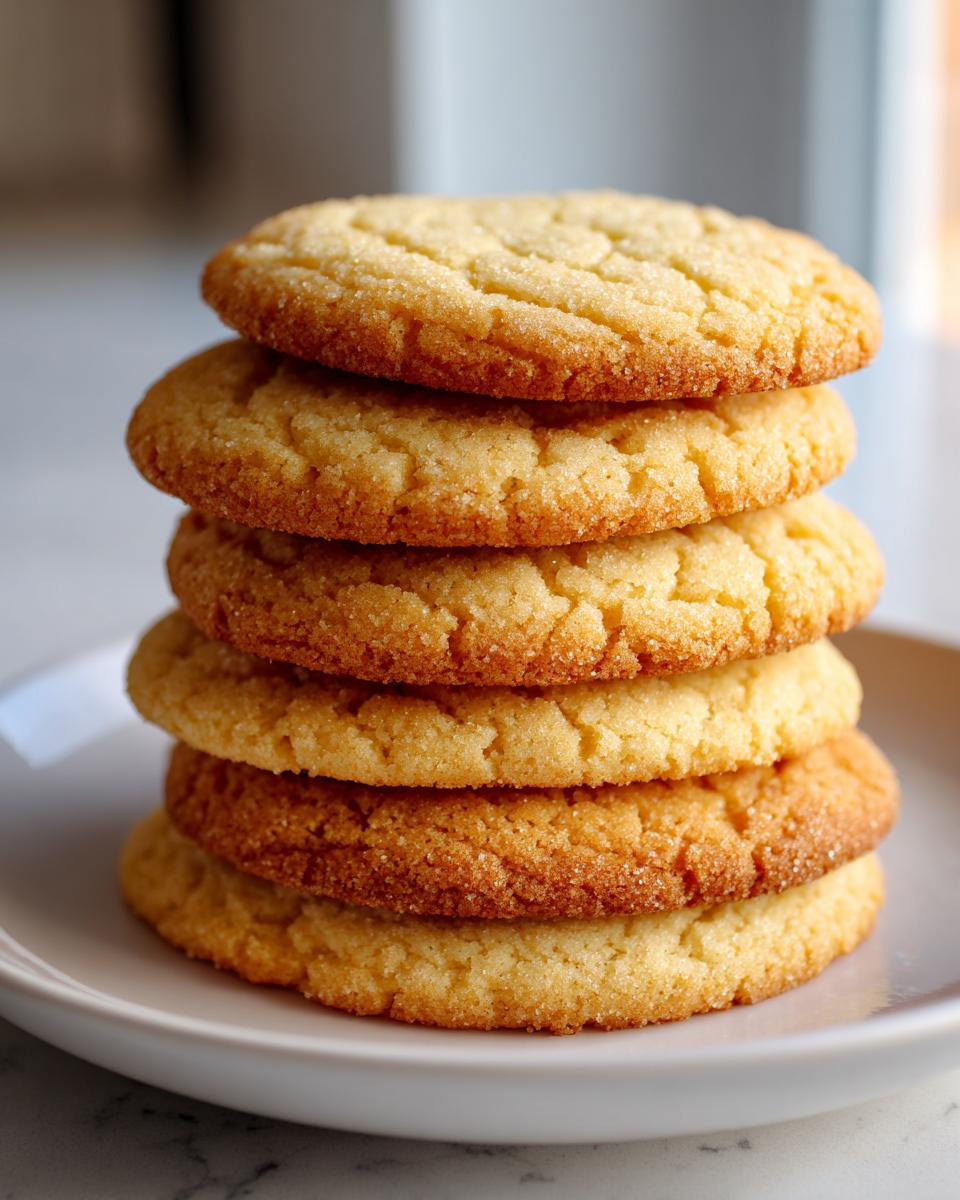
This recipe focuses on delivering those buttery, chewy results everyone dreams about when they search for **soft baked sugar cookies**. We aren’t looking for lacey, crisp edges here; we want that satisfying, slightly thick bite.
Achieving the Perfect Soft Baked Sugar Cookies Texture
Texture is everything, right? We’re aiming for cookies that feel almost melt-in-your-mouth soft but still have that wonderful chew when you bite down. I know some people look for fluffy sugar cookies, but for a cutout cookie that you want to decorate, a little density is your friend! That great texture—the chewy goodness—comes from making sure we cream the butter and sugar long enough to trap air (that’s what makes them light!) but not overworking the dough once that flour goes in. Overmixing kills the softness instantly, and we don’t want that tragedy here!
Ingredients for Perfect Sugar Cookies That Hold Their Shape
Picking the right ingredients is where the magic truly starts for cookies that behave themselves when rolled out. You want buttery flavor, but you also need structure, right? This recipe keeps things simple—no weird powders or exotic extracts needed. Just make sure your butter is properly softened to room temperature; don’t melt it! That temperature is crucial for getting the right texture when we start creaming. If you need icing ideas later, I have a great royal icing recipe that works so well with these sturdy bases.
Ingredient Notes and Substitutions for Your Sugar Cookies
Let’s talk specifics, because ingredients matter here! For that rich, buttery flavor that makes these the best, you absolutely must use unsalted butter. Since we control the salt ourselves, we control the spread. If you’re tempted to substitute shortening for some of the butter, be careful! While shortening helps with shape, it cuts down on that amazing, tender flavor. If you must substitute, use maybe a quarter of the butter amount in shortening, maximum.
Also, vanilla extract—use the good stuff if you can! Real vanilla extract versus imitation makes a noticeable difference in the final flavor profile of your **sugar cookies**. Remember, everything needs to be room temperature when we mix it—those eggs need to blend smoothly into that creamed butter mixture. This temperature control is the first secret to getting that no spread sugar cookie dough we are aiming for. Cold butter equals lumpy dough, and lumpy dough leads to sad, misshapen cookies!
Step-by-Step Instructions for Easy Cut Out Sugar Cookies
Okay, let’s get baking! I broke down the process into really simple steps because, honestly, these **sugar cookies** are meant to be fun, not homework. We follow the recipe like gospel, especially the chilling part—that is your absolute secret weapon for making cookies that don’t spread and are easy to handle.
Mastering the Dough: Mixing and Chilling for Roll Out Sugar Cookies Recipe
First things first: grab your stand mixer or a big bowl and that hand mixer if you’re feeling energetic. You need to cream that softened butter and the sugar together (that’s Step 1 in the recipe) until it’s light and fluffy, kind of pale, like whipped cream but thicker. This traps all the air we need for a great texture! Then, slowly beat in your eggs one at a time, followed by the vanilla. Don’t rush this part; we’re building the foundation for our great baking adventure.
Next, in a separate bowl, whisk up your flour, baking powder, and salt. Now, here is where you need to listen to me very carefully: add the dry stuff to the wet stuff gradually, mixing on low speed. Step 4 says “until just combined.” That means the second you don’t see huge streaks of dry flour anymore, STOP MIXING. Seriously, stop! Overmixing develops the gluten and that’s how you get tough cookies instead of soft ones.
Once it’s mixed, divide it into two flat disks, wrap them up tight in plastic wrap—super tight!—and send them to the fridge. This chilling step is non-negotiable if you want that no spread sugar cookie dough. They need at least two hours. I usually make this dough the night before! Cold dough is happy dough, and happy dough keeps its shape for your cutouts.
Rolling, Cutting, and Baking Your Perfect Sugar Cookies
When your dough discs are firm—like, you can’t easily squish them—it’s time to party! Preheat your oven to 350°F (175°C) and line those sheets with parchment paper. Trust me on the parchment; it makes cleanup a breeze and helps prevent sticking.
Lightly flour your counter space. Take one disk out (keep the other chilling!) because letting it get too warm means more sticking. Roll it out evenly to about 1/4 inch thickness all the way around. If you go too thin, they bake fast and get crispy—we want soft! Use your favorite cookie cutters and carefully move those cutouts onto the prepared baking sheets. Since these are **sugar cookies**, they don’t need much space between them.
Bake them for about 8 to 10 minutes. Here’s my tip for ultimate softness: pull them out when the edges look set but the very centers still look slightly pale and soft. They finish cooking on the hot pan. If your cookies were thick, let them go for the full 10 minutes. If you like them super soft, pull them at 8 minutes sharp! Let them sit on that hot sheet for a solid five minutes before you even *think* about moving them to the cooling rack. If you try to move them too soon, they’ll break, and nobody wants sad, broken cookies!
Tips for Success: How to Make Sugar Cookies That Don’t Spread
Okay, we covered chilling the dough, but if you’ve ever panicked watching your cute reindeer shapes turn into amorphous blobs in the oven, listen up! Getting those perfect edges—the ones people look at and say, “Wow, those are professional!”—comes down to a few sneaky little tricks. These are the things I learned once the basic recipe wasn’t quite enough to guarantee results every single time I made **sugar cookies**.
I’ve got three golden rules for guaranteed no-spread cookie magic. If you follow these, your cutouts will stay exactly as sharp as the cutter you used. Also, I’m a huge fan of using parchment paper every single time; it helps regulate the bottom heat, which is a silent killer of cookie shape!
First tip, which is a follow-up to chilling: When you roll out the dough, try to work quickly. The surface of the dough warms up fast, and if it gets too soft before you cut, it loses structure. If you’re on a roll and notice the dough getting tacky, cover it back up and pop it in the freezer for just 10 minutes. It sounds counterintuitive, but firming it up temporarily saves the final bake!
Second, think about your flour dusting. You need just enough on the surface to prevent sticking, but if you use too much excess flour, those tiny bits get incorporated into the edges of your cutouts and bake into crunchy, messy bits. Dust lightly, roll it smooth, and then brush off any loose flour from the edges before you transfer them to the sheet. It’s fussy, but it’s worth it for those crisp, clean cut lines!
My third favorite trick, especially if you’re rolling out stars or tiny details, is to “chill the cuts.” After cutting your shapes out on the floured countertop, use a thin spatula to lift them onto the baking sheet, but don’t take them to the oven yet! Put the entire baking sheet with the unbaked cutouts into the fridge for another 15 minutes. This firms up the edges right before they hit the heat. It’s the best insurance policy for keeping your beautiful shapes exactly who they are. For more inspiration on making buttery shapes, check out my tips on Italian butter cookies recipe—it uses similar dough handling techniques!
Decorating Your Simple Vanilla Sugar Cookies
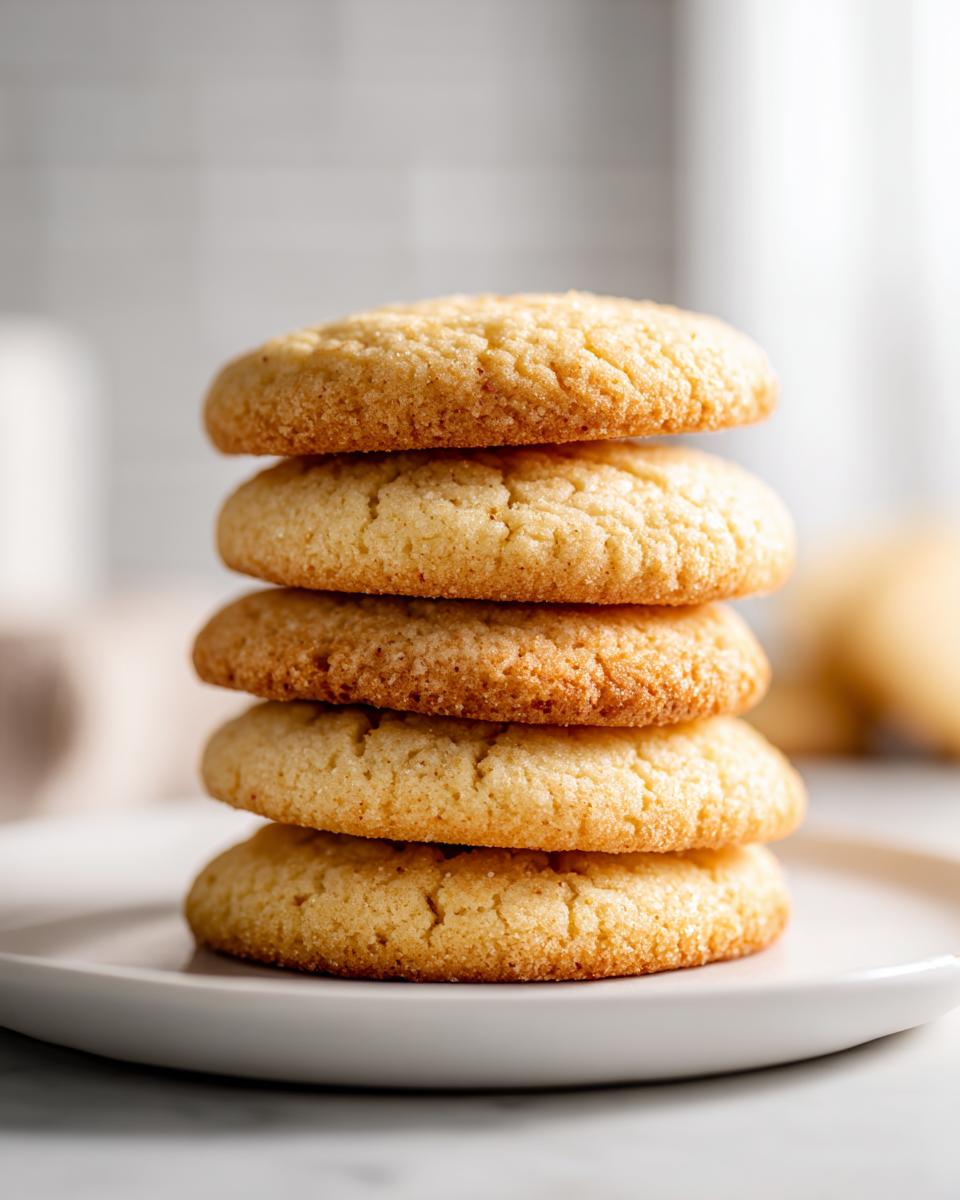
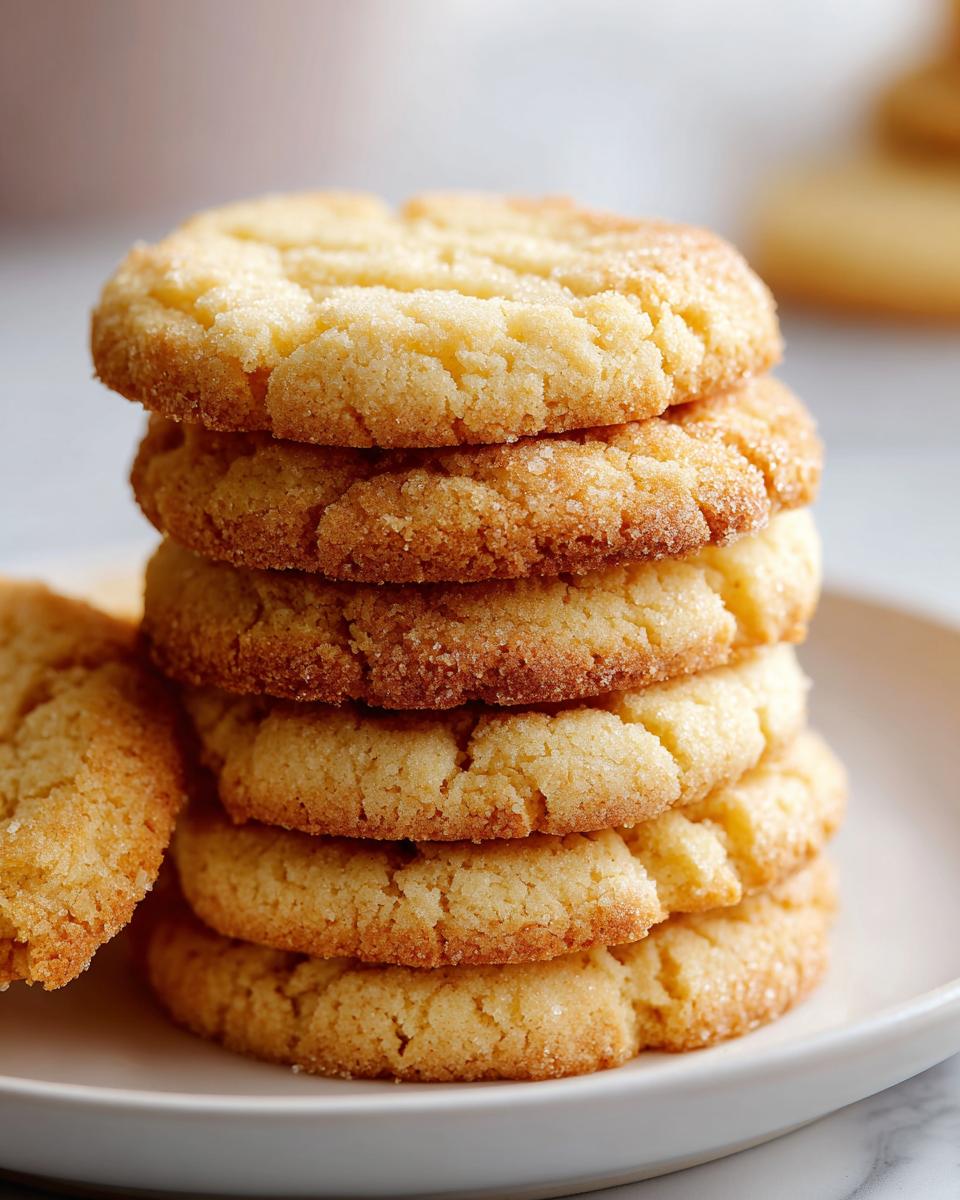
Now that you have these gorgeously soft, perfectly shaped **sugar cookies** cooling down, it’s time for the fun part—decorating! Because we nailed the dough texture, these cookies are sturdy enough to handle almost anything you throw at them without cracking or melting under the weight of the icing. They have a lovely, subtle flavor on their own, making them the ultimate canvas for showcasing your decorating skills.
If you are aiming for those beautiful, smooth, professional-looking surfaces, you’ll want a good royal icing. Royal icing dries hard, which is fantastic for stacking or packing your cookies for an event. But honestly? Sometimes I want something faster and creamier. For those days, a simple powdered sugar glaze (just powdered sugar, milk, and a touch of vanilla) is perfect for making these **simple vanilla sugar cookies** taste absolutely divine without the fuss.
The beauty of this cookie base is that whether you use thick buttercream, thin glaze, or even just sprinkles pressed onto the slightly soft top layer before baking, they hold up beautifully. If you love that beautiful cherry swirl look, check out my maraschino cherry sugar cookies post for a fun flavor twist!
Holiday Sugar Cookie Ideas for Festive Fun
Since these are such reliable cutouts, they are just begging to be dressed up for holidays! For Christmas, of course, you can’t go wrong with reds, greens, and snowy whites. We often make big batches just for holiday cookie exchanges where presentation matters. I love using simple outlines of green icing on a white base to mimic wreaths, or keeping things super classic if we are pressed for time.
But why stick to Christmas? They are just as amazing for Valentine’s Day—think pink and red hearts with fluffy frosting. For birthdays, just use bright food coloring and make messy stripes! If you need some extra inspiration for making your holiday tray shine, I have a whole post devoted to holiday sugar cookie ideas over here! Or, if you’re inspired by other fun shapes, this article has some great tips on festive cookie shapes!
Storage and Making Ahead for the Best Sugar Cookies
One of my favorite things about having a solid **sugar cookie** recipe is that you can bake ahead, especially when the holidays roll around and you’re juggling a million things! These cookies are fantastic for making ahead, and if you store them right, they maintain that perfect texture we worked so hard for. Nobody wants rock-hard cookies a week later, so listen to my storage secrets!
First and most important: cool them completely! Seriously, I let them sit on the wire rack until they are totally room temperature—like, you can practically put your hand on them without feeling any warmth at all. This cooling completely sets up the structure. If you try to store them warm, you trap steam inside, and that leads to soggy bottoms and weak cookies.
For undecorated cookies, you want an airtight container. Layer them, but put down a sheet of wax paper or parchment paper between the layers. This stops them from sticking together, which is vital if you want to keep those pretty shapes intact. They stay perfectly soft and ready for frosting for about a week this way. If you’re making them super far ahead for a big event, freezing is your friend!
If you’re freezing the dough disks—which I often do for my easy make-ahead recipes—they’ll last in the freezer for about three months. When you’re ready to bake, just let them thaw slightly on the counter until you can roll them out. You might need to chill them again briefly if they soften too much, but it works like a charm!
Now, what about after you’ve decorated? If you used a simple glaze, they are fine stored at room temperature in an airtight container for several days, but they are best within the first 48 hours for that ultimate soft chewiness. If you used a thicker royal icing, especially if you used a lot of food dye (sometimes the liquid content can soften things), I prefer storing decorated cookies in a single layer or separated by parchment in a cooler spot, though refrigeration isn’t usually necessary unless your kitchen is super humid.
The beautiful thing about this **chewy sugar cookie recipe** base is that even if they firm up a tiny bit after a few days, just 15 seconds in the microwave can bring that soft, chewiness right back to life. Don’t panic if they feel a little stiff the next day; they are surprisingly resilient!
Frequently Asked Questions About These Classic Sugar Cookies
It happens to all of us! When you’re deep into baking your absolute favorite **sugar cookies**, questions pop up. I’ve gathered the ones I hear most often from friends and family who try this recipe for the first time. Don’t stress if you mess up a little; baking is all about learning!
So, let’s dive into some troubleshooting and tips for making sure your batch of cookies turns out perfect every time.
Why are my sugar cookies puffing up instead of staying flat?
Oh, puffy sugar cookies! That usually means one of two things, or both. First, if you used baking powder *and* baking soda, or too much leavening agent, they will puff up because they are rising too aggressively in the oven. This recipe only calls for baking powder, so if you added soda by mistake, that’s probably the culprit. Second, if the butter and sugar weren’t creamed enough at the start, the dough won’t have enough structure to hold its shape when the heat hits it, causing it to dome. For flatter, more predictable cookies, make sure that initial creaming step is thorough!
Can I skip chilling the dough?
If you want cookies that hold their shape, absolutely not! Chilling isn’t just a suggestion here; it’s essential for getting those beautiful, clean edges in your **easy cut out sugar cookies**. When the dough is cold, the fat (butter) is solid. When that solid fat hits the hot oven air, it melts slowly, allowing the cookie to spread just a little bit, setting the edge before the rest of the cookie melts. If it goes in soft, the cookies spread immediately into one giant cookie. It’s just not worth the risk of disappointment!
Can I use baking soda instead of baking powder?
I strongly advise against a straight swap! Baking soda needs an acid to activate it fully, whereas baking powder already contains the acid. For this specific recipe, which is designed to be a stable, buttery, **roll out sugar cookies recipe**, we rely on baking powder for a very controlled, gentle lift. Using only baking soda often leads to cookies that spread too much *and* can sometimes taste a little metallic or soapy if not completely neutralized. Stick to the baking powder for the best flavor and texture experience!
Can I make these Bakery Style Sugar Cookies ahead of time?
Yes, honestly, I encourage it! Making your dough ahead is the ultimate time-saver, especially around the holidays. You have two great options here for these **bakery style sugar cookies**. You can wrap the finished dough disks tightly and store them in the fridge for up to three days, or pop them in the freezer for up to three months. If you freeze them, let them sit on the counter for about 20 minutes before rolling—just enough to make them workable, but still very cold!
As for freezing the baked cookies, they do great too! Once cooled completely, store them airtight, layered with parchment. They stay wonderfully soft for several weeks. If you want to decorate later, just wait until they are fully cooled, stack them with paper in between, and freeze. Thaw them overnight in the airtight container on the counter; this keeps moisture trapped in, preserving that soft center.
Estimated Nutritional Information for These Sugar Cookies
I always like to give a little heads-up about the stats, especially since these are made with actual butter and sugar because they taste so much better! Please remember that this is just an estimate based on the standard ingredients used and divided into 36 cookies, which is what this recipe yields. If you use extra thick cookies or load up on icing, your numbers will change, of course!
For one cookie (roughly 1/4 inch thick, unfrosted), here’s what you’re looking at in terms of what we might call a rich, satisfying treat:
- Calories: Around 150
- Fat: About 7 grams
- Total Carbohydrates: Approximately 20 grams
- Protein: About 2 grams
They are definitely a treat, but they’re homemade, and that’s what counts! You’re getting real butter flavor, not the weird stuff found in some store-bought versions. Enjoy them!
Share Your Perfect Sugar Cookies Creations
I truly hope you love making these **sugar cookies** as much as I love testing and tweaking them! Once you’ve whipped up a batch, I just die to know how they turned out. Did they keep their shape perfectly for your cutters? Were they soft enough to make you close your eyes on the first bite? Are they decorated like masterpiece ornaments?
Please come back down to the comments section below and leave a rating, whether it’s five stars of happy applause or maybe just three stars because you had a question I didn’t cover! I read every single comment and love helping fellow bakers get their groove on. And tag me if you post photos online—I want to see all your beautiful, delicious creations! For more of the simple, no-fuss recipes Olivia Rosewood champions, don’t forget to check out the About page!
PrintThe Best Soft and Chewy Cutout Sugar Cookies for Decorating
Follow this easy recipe for the best sugar cookies that are soft, chewy, and hold their shape perfectly for holiday cutouts and decorating.
- Prep Time: 25 min
- Cook Time: 10 min
- Total Time: 155 min
- Yield: 3 dozen 1x
- Category: Dessert
- Method: Baking
- Cuisine: American
- Diet: Vegetarian
Ingredients
- 1 cup unsalted butter, softened
- 1 1/2 cups granulated sugar
- 2 large eggs
- 1 teaspoon vanilla extract
- 3 3/4 cups all-purpose flour
- 1 teaspoon baking powder
- 1/2 teaspoon salt
Instructions
- In a large bowl, cream together the softened butter and granulated sugar until light and fluffy.
- Beat in the eggs one at a time, then mix in the vanilla extract.
- In a separate bowl, whisk together the flour, baking powder, and salt.
- Gradually add the dry ingredients to the wet ingredients, mixing on low speed until just combined. Do not overmix.
- Divide the dough in half, flatten each half into a disk, wrap tightly in plastic wrap, and chill in the refrigerator for at least 2 hours, or until firm enough to roll.
- Preheat your oven to 350°F (175°C). Line baking sheets with parchment paper.
- On a lightly floured surface, roll out one disk of dough to about 1/4 inch thickness. Use cookie cutters to cut out shapes.
- Carefully transfer the cutouts to the prepared baking sheets.
- Bake for 8 to 10 minutes, or until the edges are set but the centers remain soft. For thicker cookies, bake closer to 10 minutes.
- Let the cookies cool on the baking sheet for 5 minutes before moving them to a wire rack to cool completely before decorating.
Notes
- Chilling the dough is essential for cookies that hold their shape and do not spread while baking.
- For the softest cookies, slightly underbake them; they will firm up as they cool.
- These cookies pair well with a simple royal icing or a basic powdered sugar glaze for decorating.
Nutrition
- Serving Size: 1 cookie
- Calories: 150
- Sugar: 12
- Sodium: 95
- Fat: 7
- Saturated Fat: 4
- Unsaturated Fat: 3
- Trans Fat: 0
- Carbohydrates: 20
- Fiber: 0
- Protein: 2
- Cholesterol: 35