
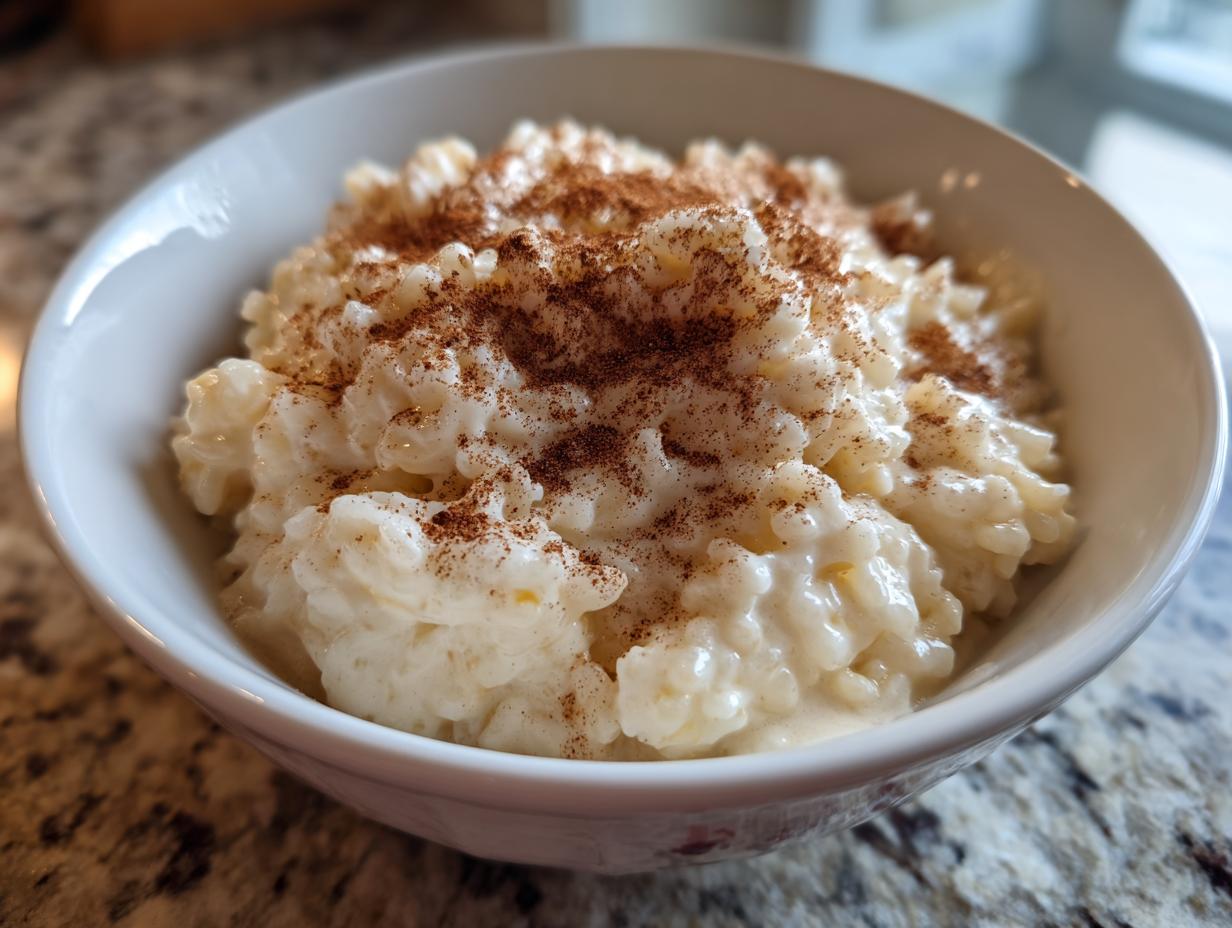
When the world gets loud and fast, there’s nothing quite like sinking into something warm, creamy, and deeply familiar. That’s where my absolute favorite comfort food comes in: the most nostalgic, velvety rice pudding you’ll ever make. Forget the packets; we’re making the Old-Fashioned Creamy Stovetop Rice Pudding, a recipe that truly embodies the heart of DelishCraze. This recipe is wonderful on its own, but if you’re looking for another classic indulgence, you absolutely must check out my tips for a perfect old-fashioned vanilla sauce to go with it someday! As I learned reclaiming my kitchen, the best food comes from love and simplicity, not complicated steps. This recipe proves my commitment to classic American home cooking, turning a few humble pantry items into pure, comforting magic.
- Why This Old-Fashioned Creamy Rice Pudding Recipe Works
- Ingredients Needed for the Best Rice Pudding
- Step-by-Step Stovetop Rice Pudding Instructions
- Tips for Perfect Old Fashioned Rice Pudding
- Serving and Storing Your Homemade Pudding
- Variations for Your Creamy Rice Pudding
- Frequently Asked Questions About Rice Pudding
- Estimated Nutrition for This Classic Rice Pudding
- Share Your Creamy Rice Pudding Creations
Why This Old-Fashioned Creamy Rice Pudding Recipe Works
You’re going to love this because it nails exactly what we want in a dessert: pure comfort without any fuss. This rice pudding is the real deal—simple, nostalgic, and unbelievably smooth. We aren’t trying to reinvent the wheel here; we’re just perfecting the classic bowl you remember. If you’re enjoying this cozy vibe, be sure to check out my thoughts on making easy make-ahead egg muffins for a simpler breakfast later!
- The stovetop method ensures we can watch it thicken moment by moment.
- It relies on the best, most basic pantry ingredients, making it reliably easy.
- This dish screams homemade and makes the whole kitchen smell amazing!
Achieving Ultimate Creamy Rice Pudding Texture
The secret to that incredibly creamy rice pudding texture is twofold: using whole milk and keeping it on the lowest simmer possible. We let the short-grain rice slowly release its starch right into the milk. Trust me, that slow process builds the body you’re looking for, making it rich without needing heavy cream or eggs.
Simple Ingredients for Classic Rice Pudding
If you opened my pantry, you’d find everything for this recipe already tucked away, which is why I love it for last-minute cravings. There are no fancy extracts or weird additives here. It’s just rice, milk, sugar, salt, vanilla, and a touch of cinnamon. It’s truly the definition of an easy rice pudding recipe.
Ingredients Needed for the Best Rice Pudding
When we talk about old-fashioned comfort, we need to be precise about what goes into the pot. Don’t just grab any rice; we need the right stuff to get that wonderful, thick texture. I always pull this list out before I even turn the stove on.
- You need 1/2 cup of short-grain white rice. This is important! Long-grain just doesn’t release the starch we need.
- Four whole cups of whole milk—don’t skimp on the fat here if you want that “creamy” description to stick!
- Half a cup of regular granulated sugar, but feel free to sneak a tablespoon of brown sugar in there for extra depth.
- Just 1/4 teaspoon of salt to balance everything out.
- A full teaspoon of good vanilla extract goes in at the end.
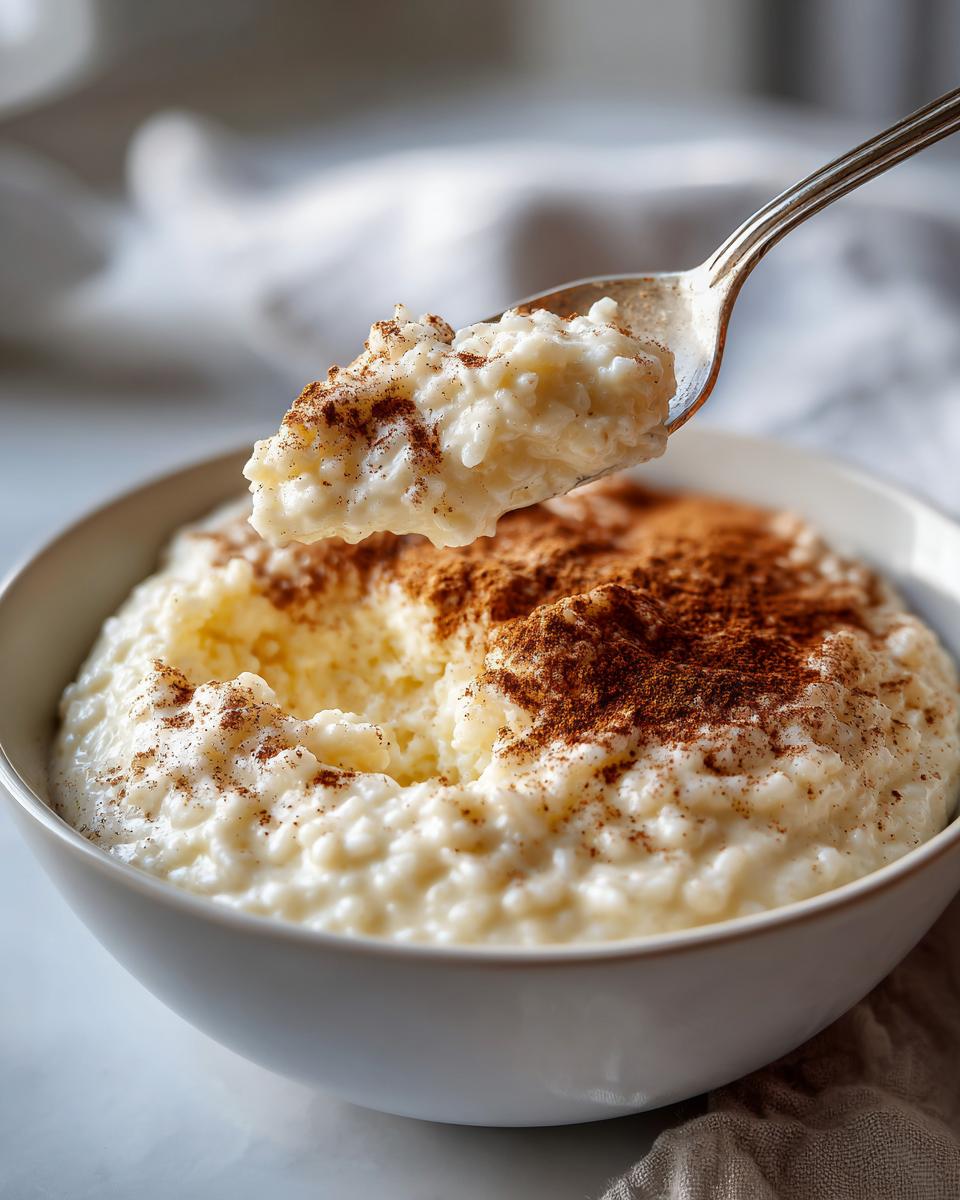
- Finally, 1/2 teaspoon of ground cinnamon stirred right in, with extra for sprinkling later.
Make sure your cinnamon is fresh; it makes a huge difference in the aroma!
Step-by-Step Stovetop Rice Pudding Instructions
Okay, this is where the magic starts, and you really need to pay attention to the heat settings. The real key to getting that wonderful, creamy texture is patience right here at the beginning. We want everything to slowly melt together, not scorch, so treat your pan kindly!
Preparing the Rice and Initial Simmer for Rice Pudding
First thing: rinse your rice under cold water. I always do this until the water coming off is mostly clear. That takes away some of that surface starch that can make things get gummy too fast. Next, grab a heavy-bottomed saucepan—and I mean heavy! This is your insurance policy against sticking, which is the number one way to ruin a batch of rice pudding. Combine the rinsed rice, all your milk, the sugar, and that little bit of salt. Put this whole mixture over medium heat and start stirring right away.
Cooking Down the Stovetop Rice Pudding
Once you see it start to steam and gently simmer, you need to act fast to drop that heat way down to low. This is the crucial 40 to 50-minute window where the work happens. You have to stir often—I mean it, often! This prevents the rice from gluing itself to the bottom of the pot. If, halfway through, you notice things are getting too stiff before the rice is even tender, just splash in a little more milk to keep it moving. Keep stirring until that gorgeous stovetop rice pudding is thick enough to coat the back of your spoon. Once it’s perfect, take it off the heat and stir in that vanilla extract.
For a bit of extra flavor inspiration while you wait, you can peep at my recipe for homemade chocolate pudding; it teaches similar slow-cook fundamentals!
Tips for Perfect Old Fashioned Rice Pudding
We’ve made it through the cooking, but a few final thoughts will elevate this from good to absolutely unforgettable. If you want that real Southern richness, definitely cheat a little and swap a half cup of the whole milk for heavy cream. It makes the mouthfeel just decadent!
Now, about cooling—I learned this the hard way. Once I was in a rush and served this rice pudding warm right off the stove, thinking it was done. Big mistake! It was too loose, almost like warm soup. You have to let it cool down, either on the counter or in the fridge, because that’s when it really sets up into that thick, comforting scoop. People online agree that getting that firm texture is huge; I saw someone mention their favorite way over at the best rice pudding recipe!
Using Leftover Rice in Your Rice Pudding
This is the ultimate simple pantry recipe, which means if you have leftover cooked rice sitting in the fridge, you are in luck! You can absolutely use it for rice pudding with leftover rice. The main adjustment you need to make is cutting down the cooking time dramatically—like, by 30 or 40 minutes! Since the rice is already soft, you’re just heating the milk/sugar mixture and letting the cooked grains absorb all that flavor. Just watch it closely so it doesn’t stick when you reheat it.
If you love making things ahead, you should also look into my recipe for fluffy French toast with a custardy center; it has a similar texture payoff!
Serving and Storing Your Homemade Pudding
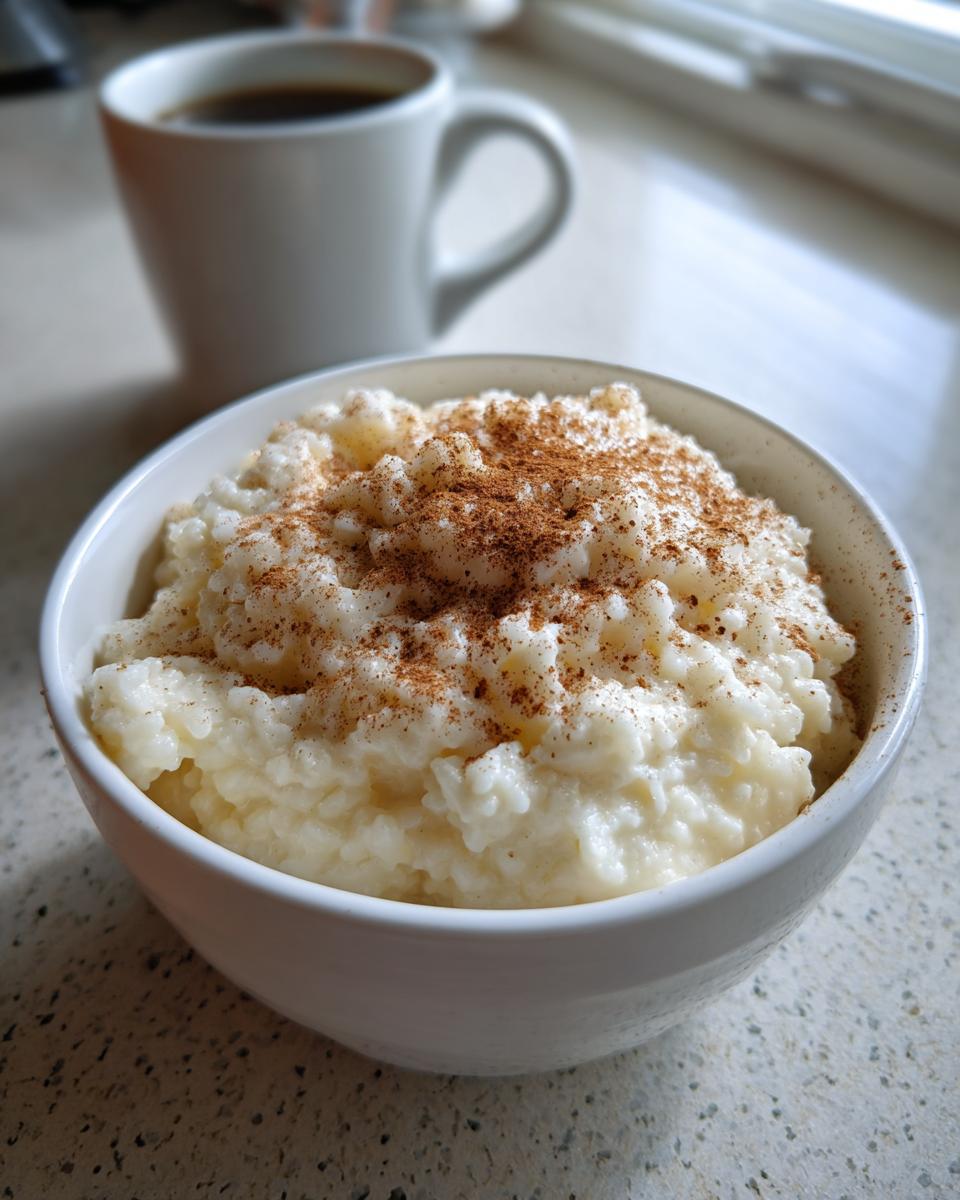
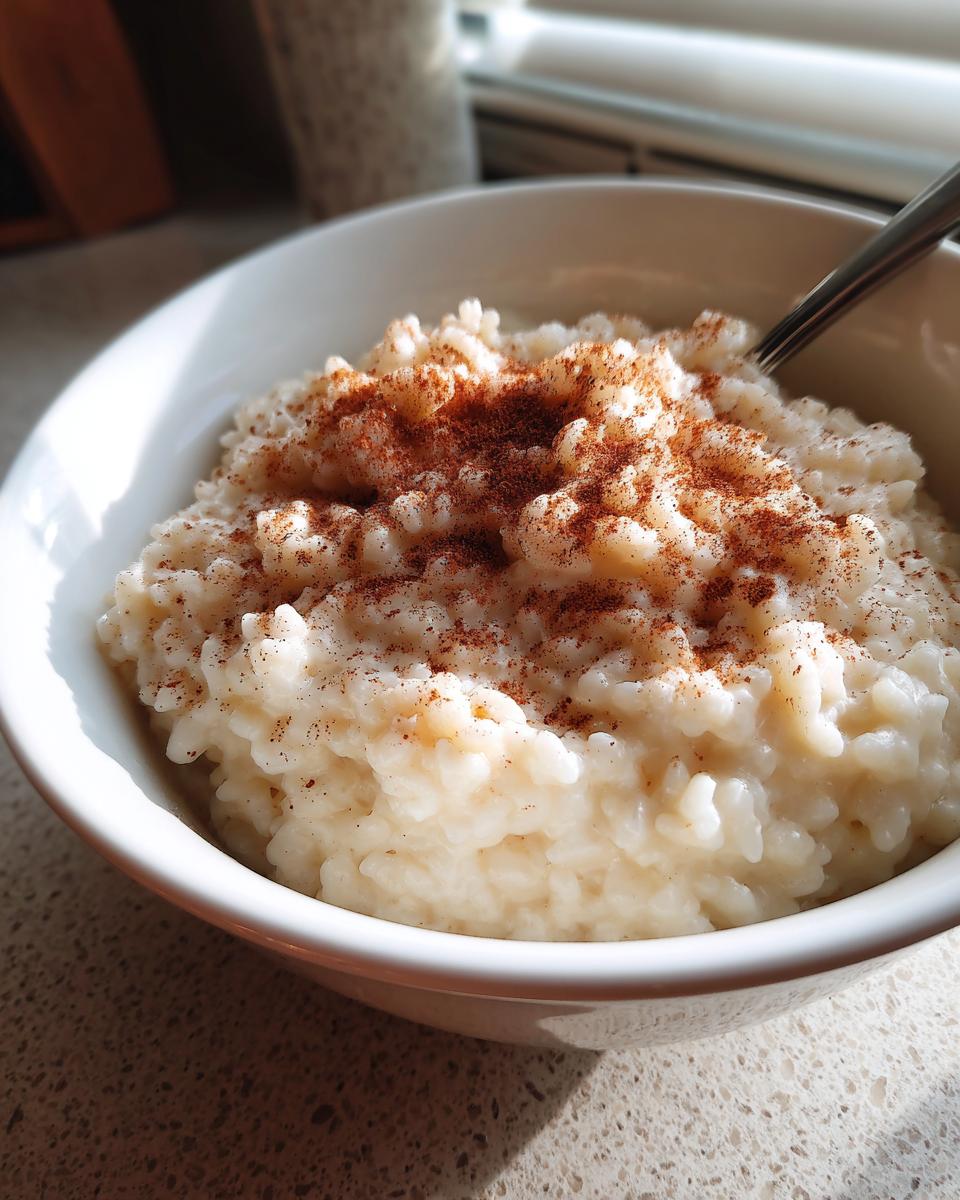
The best part about a truly comfort dessert like this is that you get to choose your adventure! We always eat the first bowl warm, right off the stove, with a tiny sprinkle of extra cinnamon for that homey feel. But honestly? This tastes almost better the next day, super thick and chilled straight from the fridge.
If you’re planning ahead, which I often do since I can’t resist making a huge batch, you need to stop that skin from forming. Seriously, nobody wants that rubbery film on top. Right after you stir in the vanilla, transfer the pudding to a container, and here is the trick I swear by: gently press a sheet of plastic wrap directly onto the surface of the pudding. That way, it can’t touch the air. Store it covered like that for up to four days. If you love making things ahead, you should also look into my recipe for easy no-bake protein balls; they are brilliant!
Variations for Your Creamy Rice Pudding
While my rice pudding is perfect just as it is—cinnamon and vanilla singing together—it’s fun to play around when you feel inspired. This base recipe is so sturdy; it welcomes little additions beautifully!
For anyone craving a richer spice blend, try adding a pinch of nutmeg along with the cinnamon at the very end. If you want a little chew, soak some raisins in warm water—or even bourbon if you’re making these for grown-ups!—and stir them in along with the vanilla.
I know some folks love a bright note, and a tiny bit of lemon zest stirred in after cooking really lifts the whole dish. It’s a fun twist on a classic. If you’re looking for other easy crowd-pleasers, my cranberry brie bites are another great appetizer dessert!
If you want to see another take on a slightly different spice profile, check out the inspiration from this recipe, too!
Frequently Asked Questions About Rice Pudding
I always get so many questions after people try this stovetop version! It’s usually because they are used to baked versions or the boxed stuff, so let’s clear up a few things so you can make the best rice pudding on your very first try. If you’re looking for other simple, reliable dishes, my cream cheese sausage balls are always a huge hit, too!
How do I prevent a skin from forming on my rice pudding?
Oh, that dreaded skin! It happens because the surface dries out and solids separate. It’s super easy to avoid, though. As soon as you take the pudding off the heat and stir in the vanilla, take a piece of plastic wrap and gently press it directly onto the surface of the pudding. Don’t just lay it over the top of the bowl; make sure it touches the surface. That cuts off any air contact, and you’ll have a perfectly smooth top later, no matter if you serve it warm or chilled.
What is the secret to making this an Old Fashioned Rice Pudding?
The secret is the slow dance it does on the stove! This isn’t meant to be rushed, unlike some of those quicker recipes you see online. The slow, steady heat applied over 45 minutes or so lets the milk break down just right, creating that rich, silky base. We rely on whole milk and simple vanilla and cinnamon—no complex eggs or baking necessary. That slow simmer is what gives you that true nostalgic flavor profile that makes this an old fashioned rice pudding, not just any dessert.
If you find yours didn’t get as thick as you wanted, just remember that letting it cool down is key to achieving that firm texture people love in a thick rice pudding!
Estimated Nutrition for This Classic Rice Pudding
I always feel a little funny putting calories and grams on a recipe that tastes like a warm hug, but I know some of you like to plan your meals! Please remember these are just estimates based on the whole milk and sugar content we used. They are based on one of the four servings we get from this batch.
- Serving Size: 1 serving
- Calories: 320
- Total Fat: 7g
- Carbohydrates: 58g
- Protein: 10g
- Sugar: 35g
It’s a sweet treat, for sure, but totally worth it when you need that little moment of calm in your day!
Share Your Creamy Rice Pudding Creations
Now that you’ve made this beautiful, nostalgic batch of rice pudding, I truly want to know how it turned out for you! Cooking is all about sharing that warmth, and I love seeing your kitchen successes.
Did you serve it warm or chilled? Did you stick to just cinnamon, or did you sneak in some nutmeg?
Please take a minute to leave a star rating right below the recipe card and tell me about your experience in the comments. Your feedback helps me keep DelishCraze focused on making delicious, simple food that works for real life. If you’re looking for another easy, comforting dish, check out my go-to spaghetti pie next time you need a family win! And if you need more creamy inspiration, check out the ideas over on this site!
PrintOld-Fashioned Creamy Stovetop Rice Pudding

Make this classic, comforting rice pudding on your stovetop. It uses simple pantry ingredients to create a rich, smooth dessert perfect for serving warm or chilled.
- Prep Time: 5 min
- Cook Time: 50 min
- Total Time: 55 min
- Yield: 4 servings 1x
- Category: Dessert
- Method: Stovetop
- Cuisine: American
- Diet: Vegetarian
Ingredients
- 1/2 cup short-grain white rice
- 4 cups whole milk
- 1/2 cup granulated sugar
- 1/4 teaspoon salt
- 1 teaspoon vanilla extract
- 1/2 teaspoon ground cinnamon (plus extra for topping)
Instructions
- Rinse the rice under cold water until the water runs mostly clear.
- Combine the rinsed rice, whole milk, sugar, and salt in a heavy-bottomed saucepan.
- Place the saucepan over medium heat. Stir frequently to prevent the rice from sticking to the bottom.
- Bring the mixture to a gentle simmer. Reduce the heat to low once simmering.
- Cook, stirring often, for 40 to 50 minutes, or until the rice is tender and the pudding has thickened to your desired consistency. If the pudding becomes too thick before the rice is done, add a splash more milk.
- Remove the saucepan from the heat. Stir in the vanilla extract.
- Serve the rice pudding warm, or transfer it to a bowl, cover the surface directly with plastic wrap to prevent a skin from forming, and chill completely before serving cold.
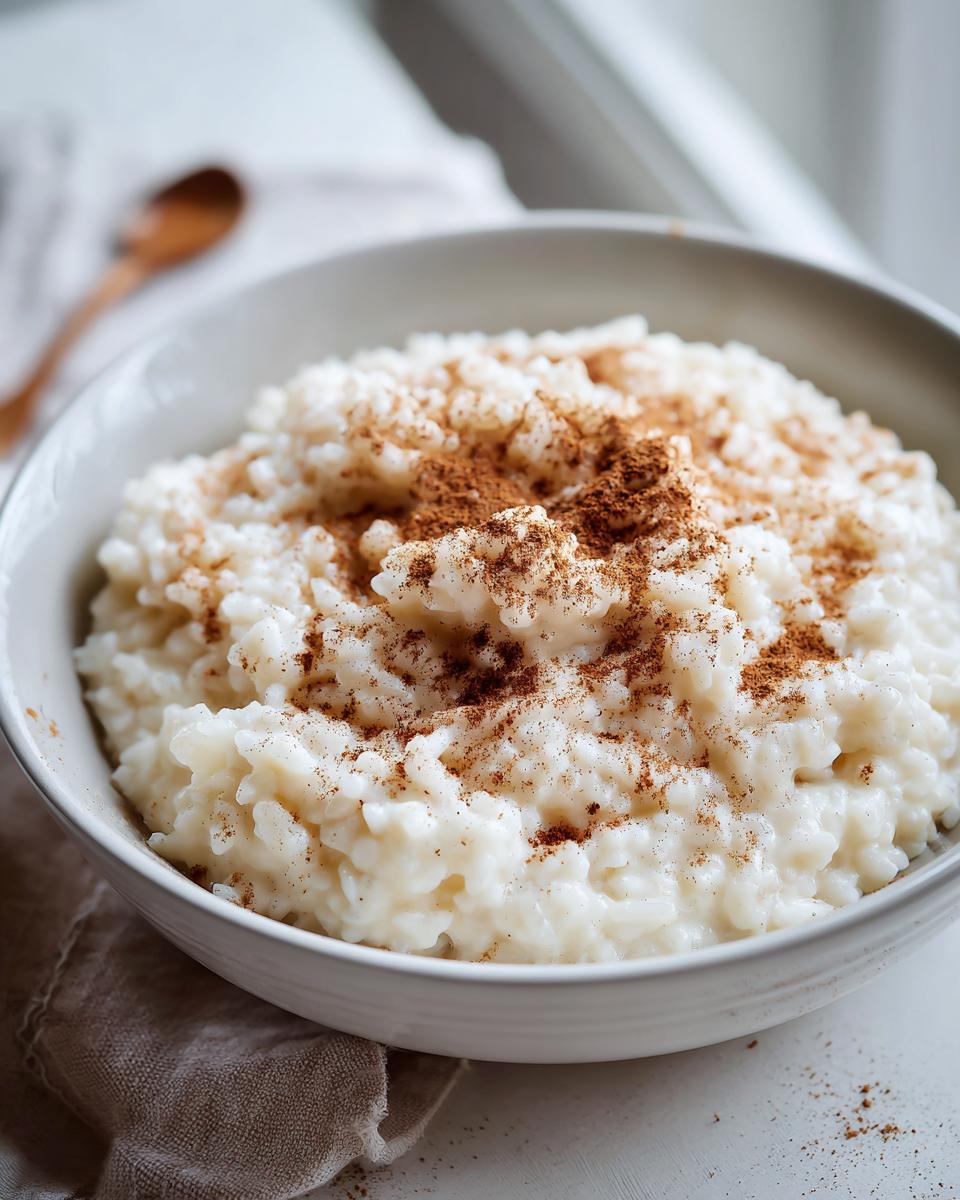
- Sprinkle with extra ground cinnamon before serving.
Notes
- For a richer flavor, substitute 1/2 cup of the milk with heavy cream.
- If you prefer a thicker pudding, let it cool completely; it will set up more as it cools.
- This recipe is great for using leftover cooked rice; reduce the stovetop cooking time significantly if using pre-cooked rice.
Nutrition
- Serving Size: 1 serving
- Calories: 320
- Sugar: 35
- Sodium: 150
- Fat: 7
- Saturated Fat: 4
- Unsaturated Fat: 3
- Trans Fat: 0
- Carbohydrates: 58
- Fiber: 1
- Protein: 10
- Cholesterol: 25