
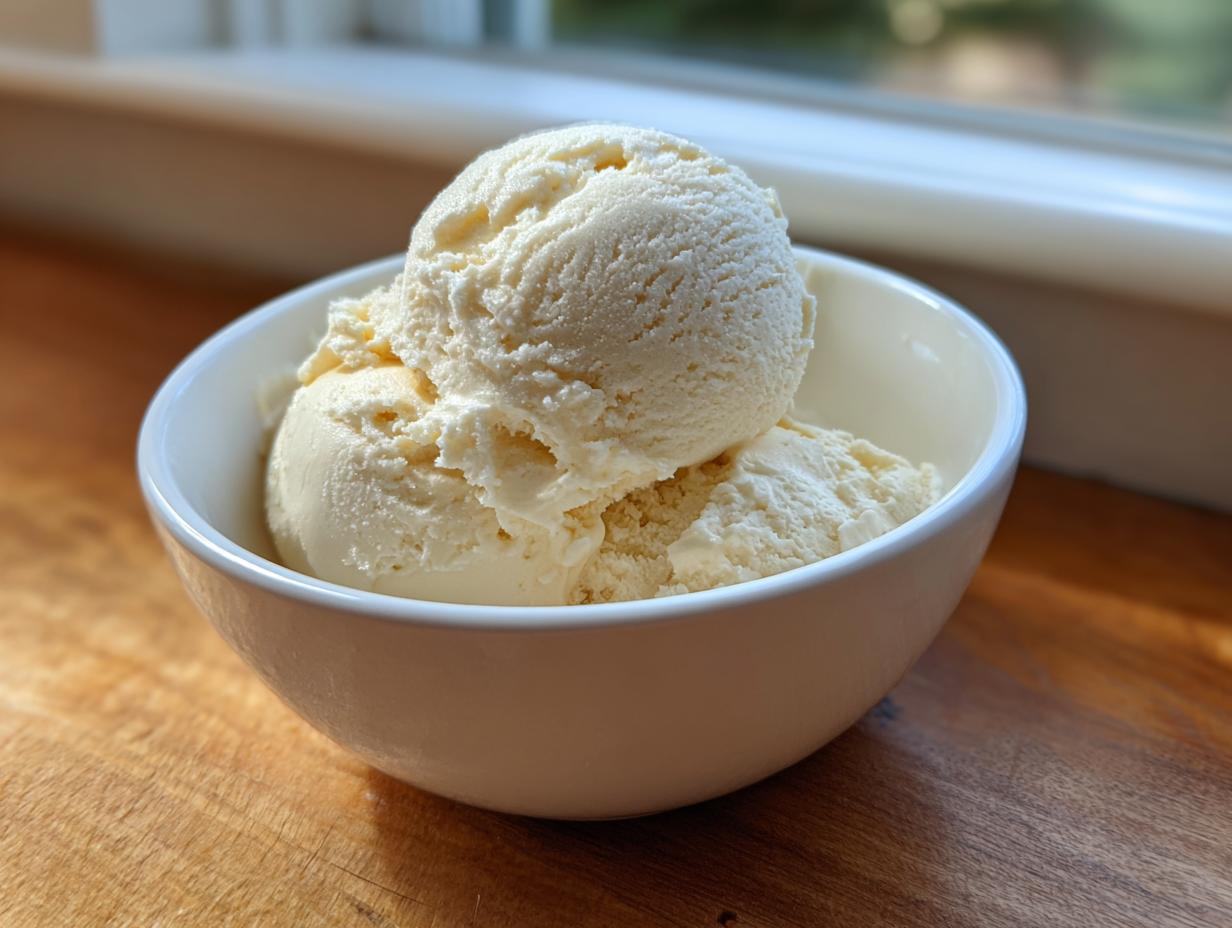
Oh, I know that feeling. You’re craving something wonderfully indulgent, something cold and satisfying, but you just *cannot* handle the guilt or the hours of churning that real ice cream demands. Seriously, who has the time? That’s where I found my new obsession, and I bet you’ll love it too—it’s the viral **cottage cheese ice cream**! It’s truly the answer for anyone wanting a seriously high-protein frozen dessert that comes together in under 10 minutes of prep. Here at DelishCraze, my whole goal, as Olivia Rosewood, is making sure delicious food fits into your busy life without sacrificing nutrition. This recipe is proof that you can have both!
- Why This Viral cottage cheese ice cream Recipe Works (The DelishCraze Difference)
- Gathering Ingredients for Your High-Protein cottage cheese ice cream Recipe
- Step-by-Step Instructions for No Churn cottage cheese ice cream
- Tips for Success Making Your Guilt Free ice cream
- Flavor Variations for Your cottage cheese ice cream Recipe
- Serving Suggestions for this Protein Packed Dessert
- Storage and Reheating Instructions for cottage cheese ice cream
- Understanding the Nutrition in This cottage cheese ice cream
- Frequently Asked Questions About Making cottage cheese ice cream
Why This Viral cottage cheese ice cream Recipe Works (The DelishCraze Difference)
This isn’t just another fad; this **cottage cheese ice cream** recipe is genuinely a game-changer for anyone watching their intake but still needing that sweet fix. The magic? We skip the ice cream maker entirely! Yes, this is totally **no churn cottage cheese ice cream**. In just 10 minutes of prep time, you get an amazing **high protein frozen dessert**. It’s perfect for that post-workout craving or when you just need a guilt-free scoop after dinner. I’ve tested so many healthier options, and I even wrote about my favorite savory cottage cheese options here, but this one delivers that unbelievably **creamy cottage cheese dessert** texture that mimics the real deal. I’m talking rich, dreamy results without any complicated steps.
We’ve swapped out mountains of heavy cream for the goodness of dairy protein, but we handle the texture very carefully. That’s where the blending comes in.
Achieving Ultimate Creaminess in Your cottage cheese ice cream
Listen to me on this: you absolutely need a high-speed blender for this base recipe. If you try to mash this by hand or use a weak machine, you’ll end up with gritty, sad curds. We are aiming for silk! Pure silk! Make sure you blend it on high until the mixture goes from chunky to completely homogenous, like a thick, pourable milkshake. Scraping down the sides a couple of times ensures every single bit of curd is obliterated. That blending stage is doing all the hard work that churning usually does, giving you that smooth scoop right out of the freezer!
Gathering Ingredients for Your High-Protein cottage cheese ice cream Recipe
Okay, let’s get this amazing **high protein frozen dessert** mapped out! Since this is the base recipe, the ingredients list is super short, which I absolutely love. You don’t need a complicated shopping trip for this treat. Trust me, having the right components here is key to making sure it tastes indulgent, not “healthy.”
Here is what you’ll need to pull together:
- 1 cup (226g) of low-fat cottage cheese. Make sure it’s well-drained if it’s sitting in a lot of liquid!
- 1/4 cup (60ml) of milk—use whatever you have on hand, dairy or non-dairy works fine here.
- About 1/4 cup (50g) of granulated sweetener, or just add until it tastes perfect to you.
- 1 teaspoon of pure vanilla extract—don’t skimp on the good stuff for flavor!
- A tiny pinch of fine grain salt. This really wakes up the sweetness, it’s an important trick!
If you’re looking for other ways to sneak protein into your day, I have some fantastic protein muffin recipes that have become family favorites!
Step-by-Step Instructions for No Churn cottage cheese ice cream
Okay, here is the part where we turn these simple ingredients into magic! Seriously, this whole **no churn cottage cheese ice cream** setup takes about 10 minutes of active work, and then the freezer does the heavy lifting. We need patience for the freezing part, but the blending is what convinces your brain you’re eating something super decadent. If you want to see how I make a classic batch of easy homemade ice cream sometimes, check out that guide!
- First things first: Get everything—the cottage cheese, milk, sweetener, vanilla, and salt—right into your high-speed blender.
- Now, we blend! Hit that high speed and don’t stop until it looks completely dreamy.
- Pour the resulting amazing base into whatever freezer-safe container you have, like a loaf pan or an airtight container. Cover it tightly—plastic wrap pressed right on top is my go-to!
- Into the freezer it goes for at least 4 to 6 hours, but I have some secrets for making that texture top-tier, which I’ll share below.
- When you’re ready to dig in, just let it sit on the counter for about 5 to 10 minutes to soften up just the right amount before you try to scoop it.
Blending for a Perfectly Smooth cottage cheese ice cream Base
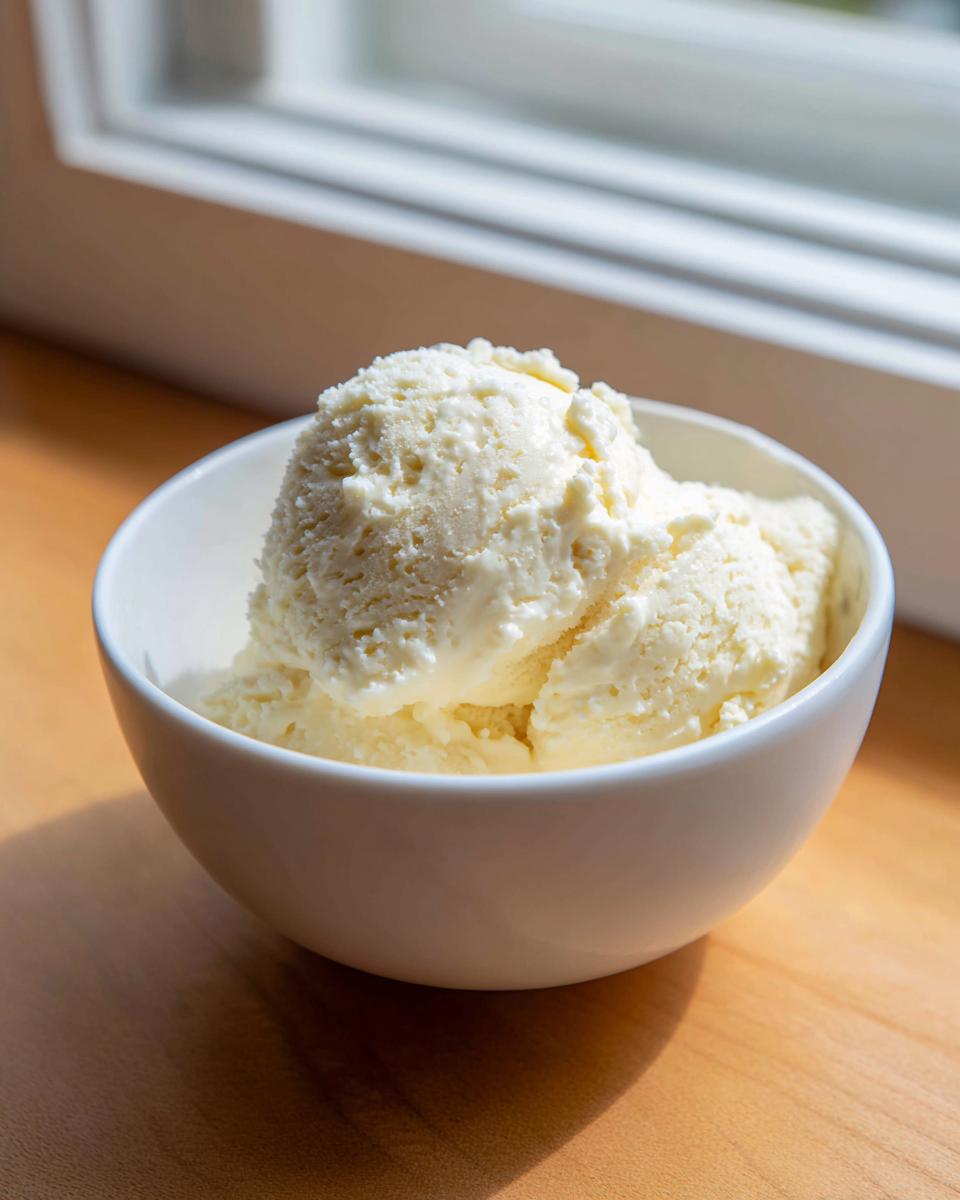
This is non-negotiable, folks! You are looking for zero graininess. If you taste your mixture right now and you feel even the slightest hint of curd texture on your tongue, you haven’t blended enough. Stop your blender, use a spatula, and scrape down the sides really well so the chunks clinging there get pulled back into the blades. Keep blending until it flows like thick, luxurious ribbon—I promise, you’ll feel the difference when it finally smooths out!
Freezing Techniques for the Best cottage cheese ice cream Texture
Most recipes just say “freeze for 6 hours,” but that results in a hard block. To get that truly superior texture, that gorgeous **creamy cottage cheese dessert** outcome, you absolutely must interrupt the process. After the first hour in the freezer, pull it out. Stir it vigorously, breaking up any ice crystals that are just starting to form. Do this again at the 2-hour mark and the 3-hour mark. Trust me, stirring those first few hours makes the final product so much easier to scoop!
Tips for Success Making Your Guilt Free ice cream
Now that you’ve blended your beautiful, smooth base, let’s talk about maximizing the results. As I mentioned when I shared my favorite protein ice cream variations, a few small tweaks can turn a good frozen treat into a phenomenal one. Since we want this **guilt free ice cream** to be perfect every time, here are the tricks I learned while testing batches.
First, about the cheese texture: If you really want that ultra-rich mouthfeel, use full-fat cottage cheese. It’s wonderful! But if you are prioritizing keeping things lighter, low-fat works just fine, you just might need that extra stirring during freezing.
Worried about keeping up your macros? You absolutely can boost the protein here! Feel free to toss in one scoop of your favorite vanilla protein powder while you blend the base. Just keep in mind that sometimes protein powder can make the mix freeze a little harder, so slightly more milk might be necessary to keep it flowing.
And for my friends who own the popular countertop gadget, this works great in the Ninja CREAMi! Instead of the long freeze time, just freeze your base solid in a pint cup and then run it through the machine according to their instructions. You might need to use that ‘Re-spin’ function once to get it perfectly creamy.
Flavor Variations for Your cottage cheese ice cream Recipe
The base recipe is so simple, which means customizing it is ridiculously easy. Honestly, once you nail that smooth texture, you can turn this into almost any flavor you dream up! People are going wild for different swirls, and I think that’s the fun part of making your own **healthy ice cream alternative**.
You can stick to the recipe notes and fold in about a half cup of mini chocolate chips right before the final freeze. Or, if you prefer fresh, vibrant flavor, stir in some fresh or frozen strawberries during the last 30 minutes of freezing. Those combinations are classics for a reason!
I’ve seen people create incredible swirls, too. Think about swirling in a homemade peanut butter sauce or a little bit of melted maple syrup for a **low sugar ice cream recipe** twist. If you’re into that salty-sweet combo, a quick salted caramel swirl makes this next level. It really transforms your basic scoop into something special. If you need more protein ideas that involve easy assembly, check out my guide on no-bake protein balls!
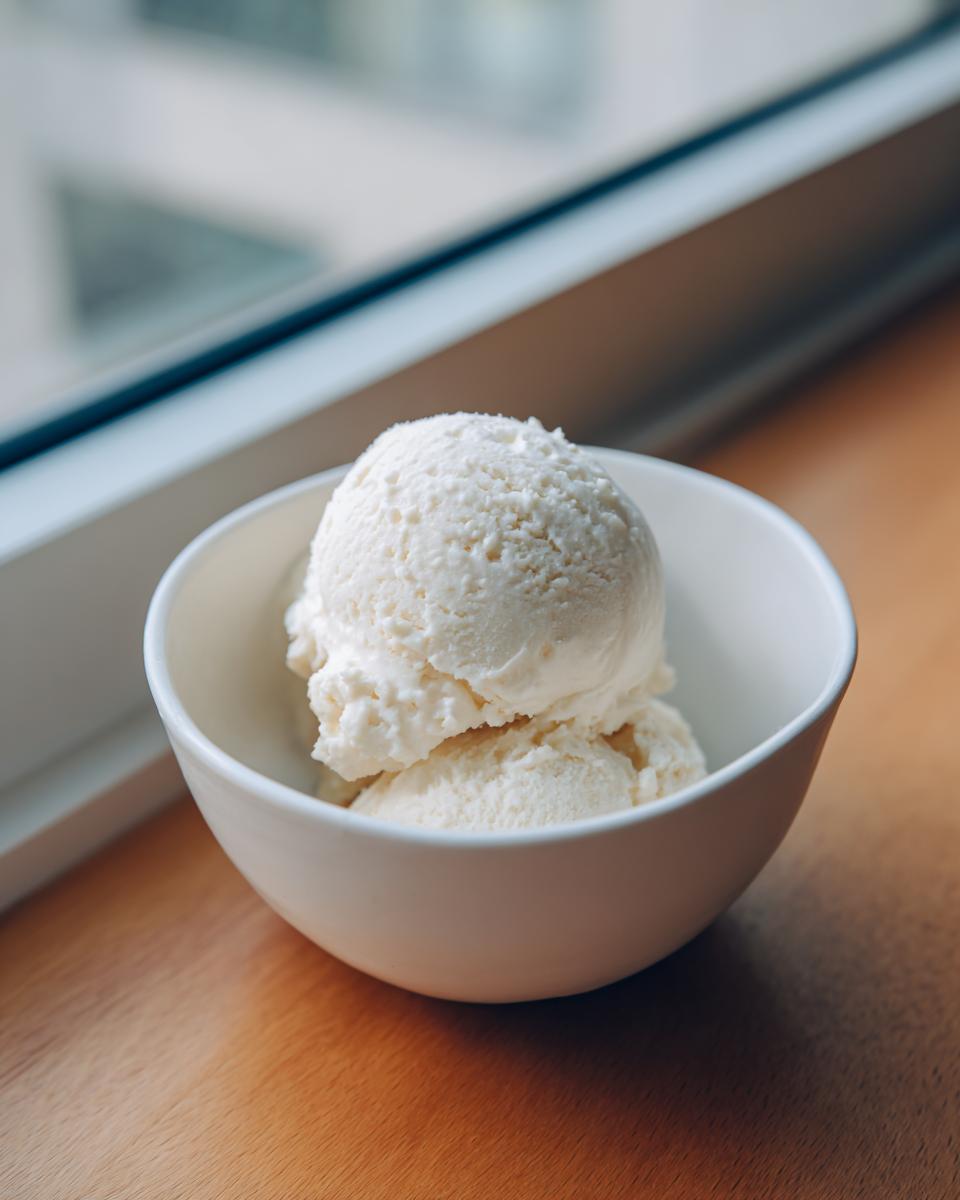
Serving Suggestions for this Protein Packed Dessert
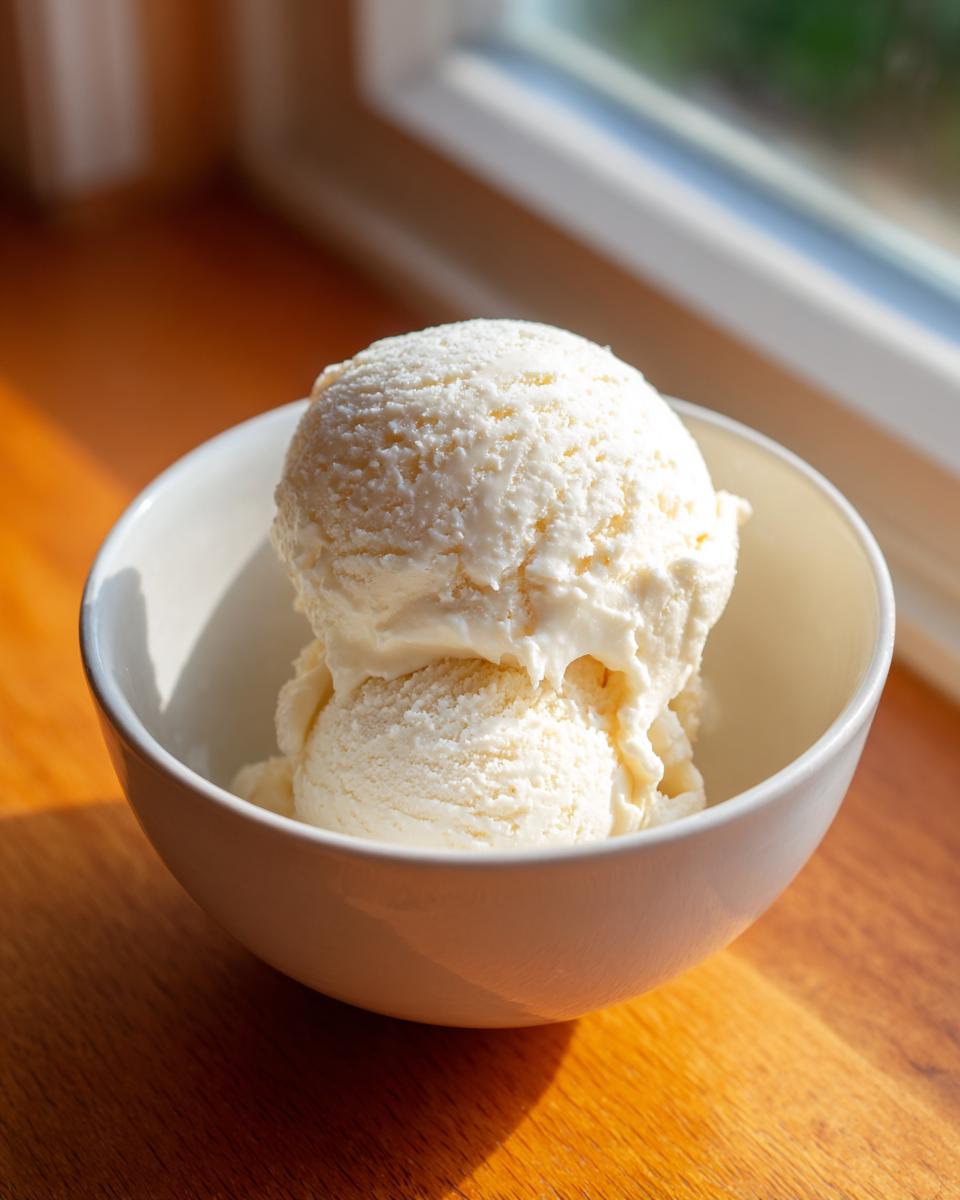
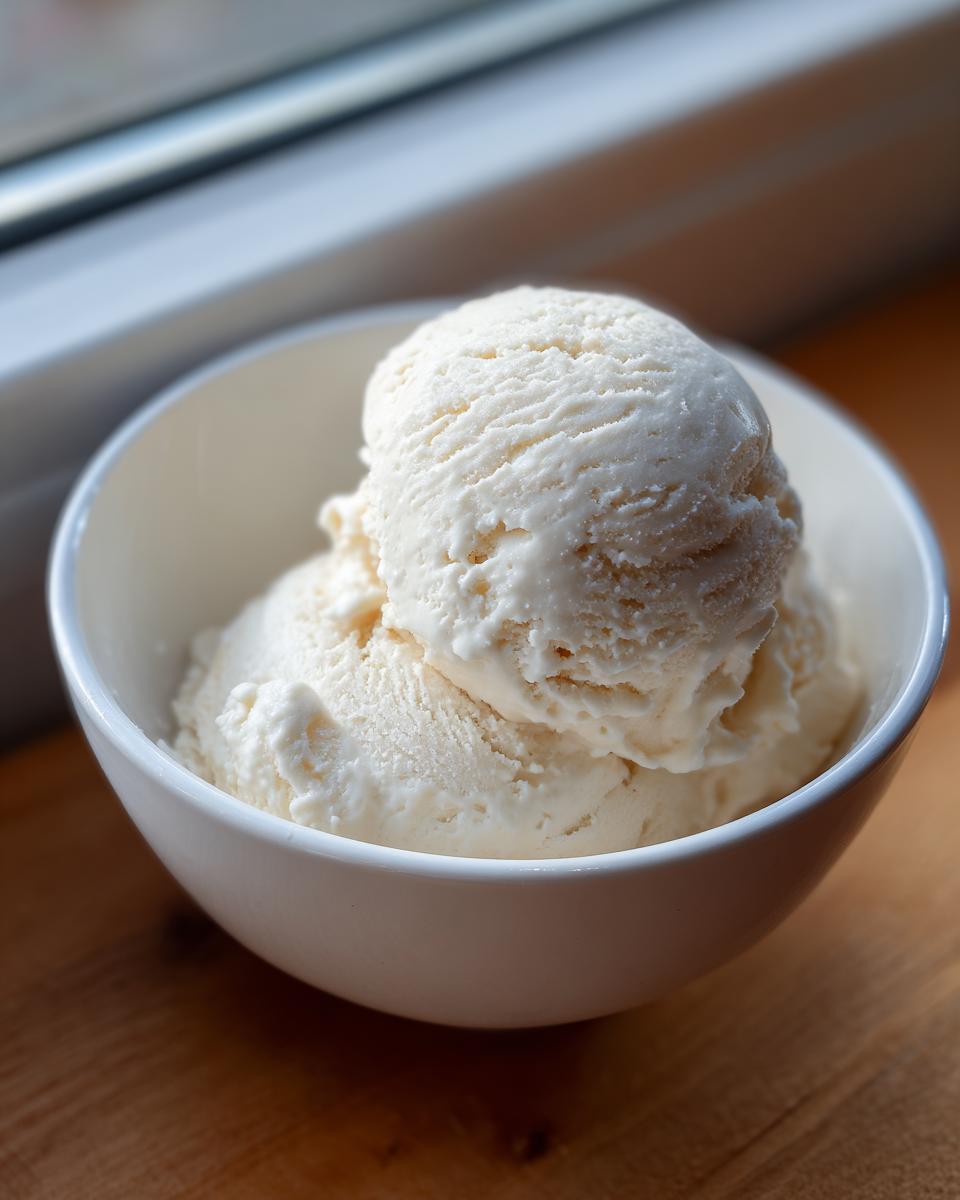
So, you’ve managed the waiting game and now you have the scoopable—or almost scoopable—dream! You’ve created the ultimate **protein packed dessert**, and it deserves a great serving moment. Before you even think about digging in, remember my earlier tip: let it sit on the counter for a solid 5 to 10 minutes. This tiny bit of patience makes the difference between having to chisel it out and getting a perfect, creamy scoop.
Because this **cottage cheese ice cream** is so high in protein, it’s fantastic eaten all by itself right after a workout. But it’s also wonderful as a light topping! Try plopping a scoop over a warm slice of healthy brownie or even alongside a piece of your favorite baked apple. It brightens everything up and feels totally decadent. If you need more filling, high-protein ideas that aren’t frozen, check out my recipe for high-protein turkey chili for dinner!
Storage and Reheating Instructions for cottage cheese ice cream
Keeping your beautiful **cottage cheese ice cream** perfect is easy, but you have to treat it right since it doesn’t have all those industrial stabilizers! The main thing is keeping it sealed up tight. Always use a container that has a lid that seals securely, or press plastic wrap right down onto the surface before sealing it. This absolutely stops that dreaded freezer burn and keeps it from picking up any weird freezer smells—nobody wants onion-flavored vanilla!
If you forget about it and it freezes into a complete brick (it happens to the best of us!), don’t panic or try to microwave it. Just pull it out about 10 minutes before you want to dig in. Let it sit on the counter to soften slightly, and it’ll go right back to that perfect, scoopable texture we worked so hard to achieve!
Understanding the Nutrition in This cottage cheese ice cream
One of the best parts about making your own **cottage cheese ice cream** is knowing exactly what you’re putting into it! For this base recipe, assuming you use the low-fat ingredients listed, you’re looking at around 145 calories per half-cup serving, which is amazing for a frozen treat. Best of all, that serving packs about 16 grams of pure protein! It’s genuinely a fantastic **low sugar ice cream recipe** base.
Now, I always have to give you the full picture, so take this as an estimate. If you swap in full-fat cheese or decide to add that extra scoop of protein powder like I mentioned earlier, these numbers are going to change quite a bit. But for a simple, sweet scoop, this is hard to beat for a **healthy ice cream alternative**!
Serving Suggestions for this Protein Packed Dessert
So, you’ve managed the waiting game and now you have the scoopable—or almost scoopable—dream! You’ve created the ultimate **protein packed dessert**, and it deserves a great serving moment. Before you even think about digging in, remember my earlier tip: let it sit on the counter for a solid 5 to 10 minutes. This tiny bit of patience makes the difference between having to chisel it out and getting a perfect, creamy scoop.
Because this **cottage cheese ice cream** is so high in protein, it’s fantastic eaten all by itself right after a workout. But it’s also wonderful as a light topping! Try plopping a scoop over a warm slice of healthy brownie or even alongside a piece of your favorite baked apple. It brightens everything up and feels totally decadent. If you need more filling, high-protein ideas that aren’t frozen, check out my recipe for high-protein turkey chili for dinner!
Frequently Asked Questions About Making cottage cheese ice cream
I know you’ve got questions! When you stumble across a recipe this good—a genuinely **easy homemade ice cream** alternative that’s also incredibly healthy—it’s natural to want all the details before you commit those precious freezer shelf hours. Here are the things people ask me most often about turning cottage cheese into frosty perfection. These are perfect for those hot days when you need **summer healthy treats** fast!
Can I use flavored cottage cheese instead?
That’s a fair question! While you technically *could* use a pre-flavored cottage cheese—like a vanilla or strawberry one—I really, really advise against it for your first batch. When you start with plain, unflavored cottage cheese, you have total control over exactly how much sugar or sweetener goes in. If you buy pre-flavored, you often end up with a flavor that’s too intense or way more sugar than you wanted. Stick to the base recipe’s plan for the best result!
How long does this healthy ice cream alternative take to freeze?
Remember how I said the prep time is only about 10 minutes? That’s the appetizer! The freezing time for this **healthy ice cream alternative** is the payoff. You absolutely need a minimum of 4 to 6 hours for the whole thing to set up nicely. If you are putting the mixture into a deeper loaf pan or a very large container, it might take closer to 8 hours to get truly firm enough for a nice scoop. Plan ahead, but know that those first 10 minutes of work are worth the wait! If you want to see how I tackle an even quicker recipe, check out my notes on an easy 4 ingredient ice cream.
Is this recipe compatible with the Ninja CREAMi?
Yes! I’m so glad you asked about the amazing little machine. The beauty of this **cottage cheese ice cream** recipe is its thick, smooth base. You can pour the blended mixture directly into your CREAMi pint container, freeze it solid, and run it through the cycle. If the texture comes out a little crumbly initially—which can happen with protein-heavy bases—just use the ‘Re-spin’ function. It works like a charm every time to create the creamiest soft-serve texture you’ve ever had. For more inspiration on trends, you can check out this interesting post on viral desserts here!
PrintViral High-Protein Vanilla Cottage Cheese Ice Cream

Create a creamy, high-protein frozen dessert using cottage cheese as the base. This easy, no-churn recipe tastes indulgent while offering a healthy alternative to traditional ice cream.
- Prep Time: 10 min
- Cook Time: 0 min
- Total Time: 6 hours 10 min
- Yield: 4 servings 1x
- Category: Dessert
- Method: Blender/No Churn
- Cuisine: American
- Diet: Vegetarian
Ingredients
- 1 cup (226g) low-fat cottage cheese
- 1/4 cup (60ml) milk (dairy or non-dairy)
- 1/4 cup (50g) granulated sweetener (or to taste)
- 1 teaspoon vanilla extract
- Pinch of salt
Instructions
- Place the cottage cheese, milk, sweetener, vanilla extract, and salt into a high-speed blender.
- Blend the mixture on high speed until it becomes completely smooth and creamy. Stop and scrape down the sides as needed to ensure no curds remain. This step is key for a smooth texture.
- Pour the smooth mixture into a freezer-safe container, such as a loaf pan or an airtight plastic container.
- Cover the container tightly with a lid or plastic wrap pressed directly onto the surface of the mixture.
- Freeze for at least 4 to 6 hours, or until firm. For the best texture, stir the mixture vigorously every hour for the first 3 hours.
- When ready to serve, let the ice cream sit on the counter for 5 to 10 minutes to soften slightly before scooping.
Notes
- For a Ninja CREAMi version, process the mixture directly from the frozen state according to your machine’s instructions, then spin again if needed for creaminess.
- Add 1 scoop of vanilla protein powder during blending for an extra protein boost.
- Mix in 1/2 cup of chocolate chips or fresh berries before the final freeze for flavor variations.
- Use full-fat cottage cheese for a richer mouthfeel, though low-fat works well for a lighter dessert.
Nutrition
- Serving Size: 1/2 cup
- Calories: 145
- Sugar: 12
- Sodium: 250
- Fat: 3
- Saturated Fat: 1.5
- Unsaturated Fat: 1.5
- Trans Fat: 0
- Carbohydrates: 15
- Fiber: 0
- Protein: 16
- Cholesterol: 10