
When the air gets crisp and you’re craving that deep, chocolatey comfort, nothing beats stepping away from the dusty packets and making a truly decadent drink from scratch. That’s why I’m sharing my absolute favorite homemade hot cocoa recipe with you today. As Olivia Rosewood of DelishCraze, I believe the best treats are simple, comforting American classics, and this stovetop method delivers the best hot chocolate from scratch every single time. Forget watery, fake tasting stuff; this is rich, velvety, and ready before you can even find your favorite mug.
- Why This Homemade Hot Cocoa Recipe is the Best Hot Chocolate From Scratch
- Ingredients for Rich and Creamy Homemade Hot Cocoa
- Step-by-Step Instructions for Perfect Stovetop Hot Cocoa
- Tips for the Ultimate Homemade Hot Cocoa Experience
- Making Homemade Hot Cocoa Mix for Gifting and Later Use
- Customizing Your Homemade Hot Cocoa Recipe
- Storage and Reheating Instructions for Homemade Hot Cocoa
- Frequently Asked Questions About Homemade Hot Cocoa
- Share Your Cozy Evening Beverage Creations
Why This Homemade Hot Cocoa Recipe is the Best Hot Chocolate From Scratch
Honestly, making your own lets you skip all that powdery weirdness from the store. Why settle for an imitation when you can have the real deal? This recipe is all about texture and depth of flavor. I promise, once you try this stovetop method, you’ll never look back. It turns a simple cold-weather drink into an event!
Here’s what makes this the absolute winner for your next cozy evening beverage:
- It delivers that signature rich and creamy cocoa flavor that instant mixes just can’t touch. We use real sugar and good cocoa powder, not fillers.
- The optional step of adding finely chopped chocolate transforms this into a truly decadent chocolate drink—velvety smooth!
- It’s incredibly fast. We’re talking about deep, satisfying flavor in about 15 minutes from start to sip. That’s perfect for an easy weeknight treat.
- You control everything! No weird stabilizers or artificial vanilla flavorings necessary.
If you love the deep flavor we get in homemade caramels, you’ll appreciate the complexity of real ingredients here. Trust me, your taste buds will thank you. You deserve this level of warmth.
Ingredients for Rich and Creamy Homemade Hot Cocoa
You only need a handful of everyday pantry staples to make this amazing, rich and creamy cocoa. I always measure everything out before I even turn the burner on, because once the milk is hot, things move fast! Using whole milk is key for that ultimate richness, but you can certainly swap if you need to.
Here is exactly what you need for four perfect mugs:
- 4 cups whole milk (Don’t skimp here!)
- 1/2 cup unsweetened cocoa powder
- 1/2 cup granulated sugar
- 1/4 cup dark brown sugar, firmly packed
- 1/4 teaspoon salt (This balances the sweetness so well!)
- 1 teaspoon pure vanilla extract
- 4 ounces semi-sweet chocolate, finely chopped (This is optional, but makes it incredible!)
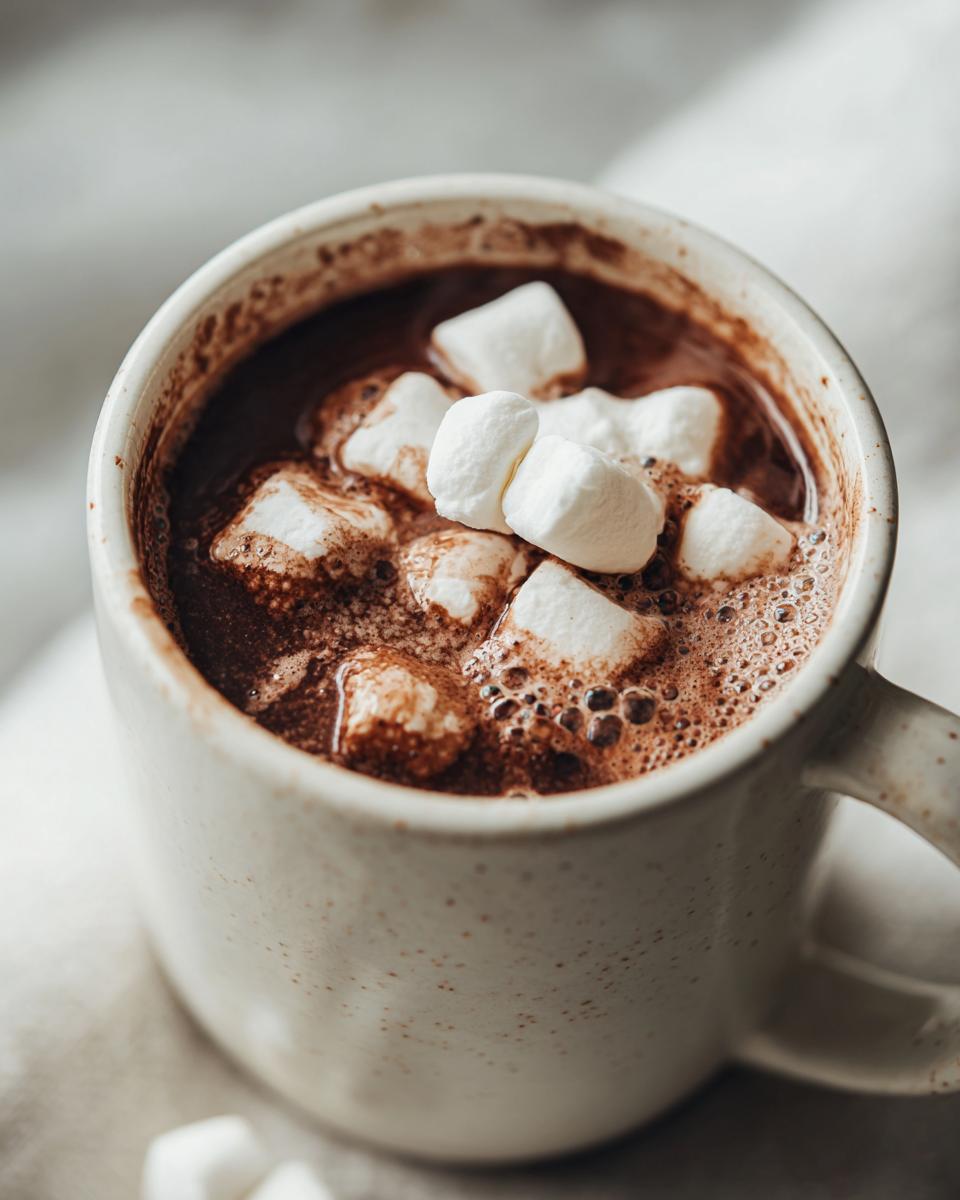
- Marshmallows or whipped cream for topping—because, obviously!
Step-by-Step Instructions for Perfect Stovetop Hot Cocoa
Okay, this is where the magic happens! Making the stovetop hot cocoa is actually faster than waiting for the water to boil for a packet, I swear. The key here is patience during the initial mixing phase so you don’t end up with lumps, and *absolute* patience when it comes to simmering—boiling is a cardinal sin in proper hot chocolate making! If you appreciate how rich the flavor gets in homemade caramels, you’ll love the depth we achieve here.
Combining Dry Ingredients and Heating the Milk
First things first: grab a medium saucepan. I always dump the cocoa powder, both sugars, and the salt right into the dry pan. Then I pour in the cold milk. Whisk everything together vigorously while it’s still cold! This technique ensures the cocoa powder dissolves completely before any heat hits it, meaning zero graininess later on. It’s my best trick for getting a lump-free start to this homemade hot cocoa recipe. Get it whisked until it looks like slightly muddy water, then you’re ready for the stove. You can always find inspiration for simple sweetness in our homemade caramels guide, but for now, let’s focus on that cocoa!
Achieving Velvety Smooth Hot Cocoa Texture
Put that pan over medium heat. You need to stir often—like, every 30 seconds or so—to keep things moving and prevent the sugars from scorching the bottom. You want it hot and steamy, but listen closely: DO NOT LET IT BOIL. We are looking for that perfect temperature that melts the chocolate nicely without ruining the milk proteins. Once it’s steaming, take it off the heat. Now, if you opted for the chopped semi-sweet chocolate for that extra decadent touch, stir it in now. Watch it melt right into the hot milk until you have that truly velvety smooth hot cocoa texture. Finish with the vanilla extract, give it one last gentle swirl, and you’re ready to serve!
Tips for the Ultimate Homemade Hot Cocoa Experience
Now that you’ve mastered the basic easy hot chocolate recipe, we need to talk about making it truly unforgettable. Because while this is great as-is, a little tweaking turns a lovely mug into the ultimate cozy evening beverage. Think of this stage as making it *yours*.
For extra body and that wonderful mouthfeel that makes you think you’re drinking something straight out of a fancy European cafe, try swapping out about a cup of the whole milk for half-and-half. It thickens things up beautifully without needing any thickening agents at all. That richer base is what helps anchor those toppings.
If you’re feeling adventurous—and I hope you are!—add just a tiny pinch of cayenne pepper along with your dry ingredients. It won’t necessarily make it spicy, but it wakes up the chocolate flavor so much! It’s my secret weapon when I’m making a big batch for winter gatherings.
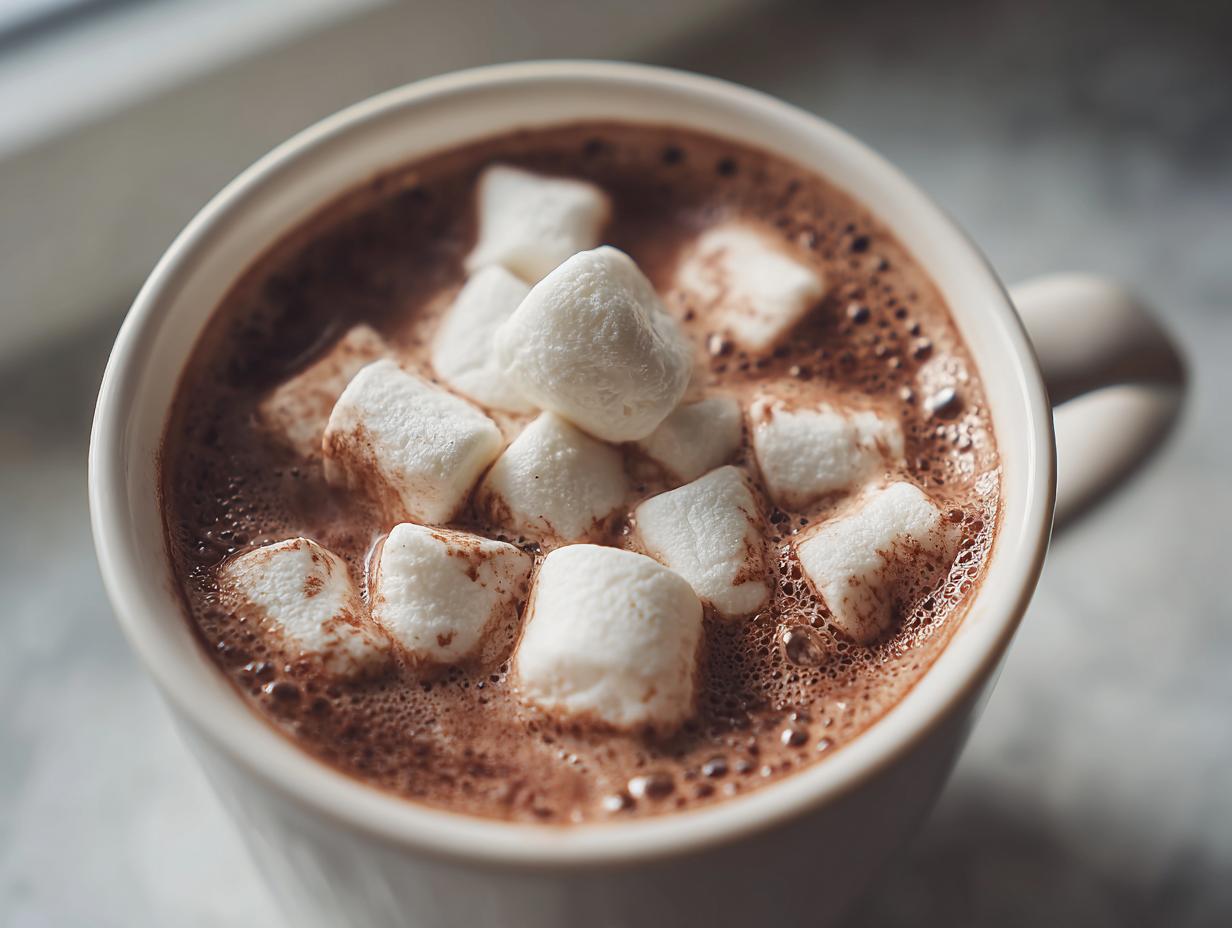
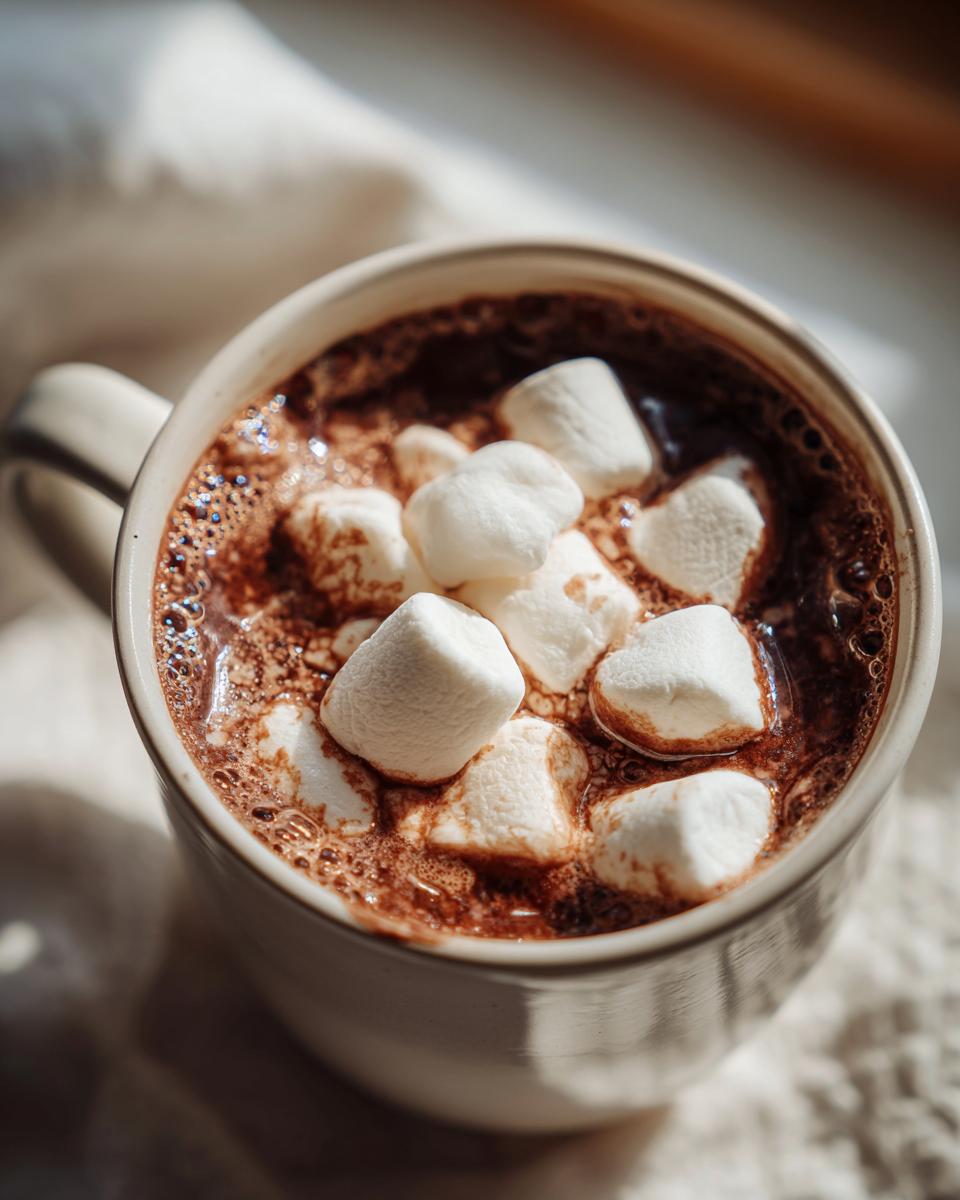
And when it comes to toppings, please don’t just settle for those tiny, stale marshmallows. A great pile of fluffy hot chocolate with marshmallows on top is essential. For my own family, I often make a quick whipped topping when things feel extra special. It just elevates the whole experience from warm drink to glorious dessert!
Making Homemade Hot Cocoa Mix for Gifting and Later Use
Okay, I know sometimes you don’t have 15 minutes to stand over the stove, especially if you’re trying to warm up a whole crowd at a holiday party or you’re making edible gifts. I’ve got you covered! The dry portion of this recipe is fantastic for creating a big batch of homemade hot cocoa mix to keep right in the pantry. It’s cheaper than store-bought and tastes miles better, which makes it perfect for gifting hot cocoa mix to teachers or neighbors!
To make the dry blend, you just need three primary pantry staples. Whisk together:
- 1 cup unsweetened cocoa powder
- 1 cup granulated sugar
- 1/2 cup brown sugar (packed!)
- 1/2 teaspoon salt
Mix that really well so everything is uniform. You can store this tightly sealed for months. When you need that quick, quick warm chocolate beverage, you just measure out about 3 tablespoons of the mix per 1 cup of steaming hot milk. It’s such a simple hack for instant comfort! For a great big batch recipe, check out my guide on making a big batch of cocoa mix, which is perfect for holiday prep.
Customizing Your Homemade Hot Cocoa Recipe
This basic foundation is the easy hot chocolate recipe you should memorize, but really, this is just where the fun begins! Once you have that warm liquid in the mug, you get to be the superstar flavor architect. It’s so easy to turn this into something really special for a specific mood or person.
For flavor boosts, a tiny bit of complementary extract goes a long, long way. Right off the heat, before the vanilla, try stirring in a quarter teaspoon of peppermint extract for a festive winter vibe, or a dash of orange zest if you’re feeling fruity—you can find inspiration in my hazelnut hot chocolate recipe for more flavor ideas!
Toppings are just as important as the drink itself. Skip the tired old bag of mini marshmallows sometimes. Instead, try a long, pretty cinnamon stick to stir with, or top with a generous shaving of good quality dark chocolate right before serving. A dusting of cocoa powder looks so professional too!
Storage and Reheating Instructions for Homemade Hot Cocoa
So, what if you accidentally made too much of this gorgeous, decadent chocolate drink? Because it’s easy to do when it tastes this good! Good news: a little bit of leftover liquid homemade hot cocoa is fantastic the next morning, though it definitely won’t be as rich as when it was fresh off the stove.
Because we use real dairy milk, you need to treat leftovers just like you would treat regular milk. Pour any extra straight into an airtight container—a glass mason jar works perfectly—and pop it into the fridge right away. It will keep well for about three days, though the flavor is noticeably best within the first 24 hours. Don’t worry if it looks a little separated when it comes out of the fridge; that’s totally normal with milk-based drinks!
When you are ready to enjoy it again, you need to reheat it super gently. Pour your desired amount back into a small saucepan over low heat, stirring slowly. Again, we are aiming for hot and steamy, not boiling! Boiling milk changes the texture and can sometimes cause it to curdle slightly, which ruins that smooth feel we worked so hard to achieve. Just a few minutes on low heat, whisk a couple of times, and it’s good to go. It’s the perfect way to get another wonderfully cozy evening beverage without any fuss!
Frequently Asked Questions About Homemade Hot Cocoa
Can I use water instead of milk for this homemade hot cocoa recipe?
Oh, please don’t! Look, if you’re in a real pinch, you *could*, but you’d be missing the entire point of this being the best hot chocolate from scratch. Water just won’t dissolve the cocoa and sugars correctly, and you definitely won’t get that gorgeous, rich and creamy cocoa texture we’re aiming for. Milk adds the necessary fat and protein for that velvety mouthfeel. If you need dairy-free, that’s totally fine—use oat milk or canned evaporated milk diluted with water for richness—but skip pure water, please! If you’re looking for other quick dairy swaps, check out my guide on quick healthy homemade chocolate milk for inspiration on alternatives.
What is the best cocoa powder for homemade hot cocoa?
This is a great question for anyone serious about making the best hot chocolate from scratch! I generally recommend Dutch-processed cocoa powder for this recipe. Why? Because it has a darker color and a smoother, less acidic taste, which means your final drink will taste smoother and richer overall. Natural cocoa powder is totally fine, but it’s a bit sharper. With the amounts of sugar we use, either works beautifully, but Dutch-processed gives you that classic, deeply satisfying flavor profile.
Can I adapt this for a slow cooker hot cocoa?
Absolutely! The slow cooker hot cocoa method is a lifesaver, especially if you’re hosting a party or just want to keep a big pot warm for hours. You’d combine all your ingredients—milk, cocoa, sugars, salt—just like in the first step of the stovetop method. Then, instead of medium heat, set that slow cooker to ‘Low’ and let it go for about 2 to 3 hours, stirring every 30 minutes or so. You still need to watch out for boiling, so low heat is non-negotiable! It heats perfectly evenly this way.
Share Your Cozy Evening Beverage Creations
Wow, you made it! Now that you’ve got the recipe for the ultimate homemade hot cocoa warming your hands, I just can’t wait to hear what you think. Seriously, please come back and tell me if you tried the chocolate addition, or if you went wild with the cayenne pepper—I love hearing about your twists!
If you loved this as much as I hope you did, give the recipe a rating right below, and leave a comment telling me what topping you chose for your mug. Did you stick to fluffy marshmallows, or did you get fancy?
We’re building a real community here at DelishCraze, a place where simple, comforting food connects us all. Don’t be shy! Snap a picture of your decadent drink—especially if it’s perfectly topped for the photo—and tag us on social media. Seeing your homemade creations is truly the best part of what I do here.
If you want to know more about why I started this whole journey to bring simple, delicious American classics back to the everyday table, you can read a bit more about me and how DelishCraze came to be on our About Page. Happy sipping, and enjoy that cozy warmth!
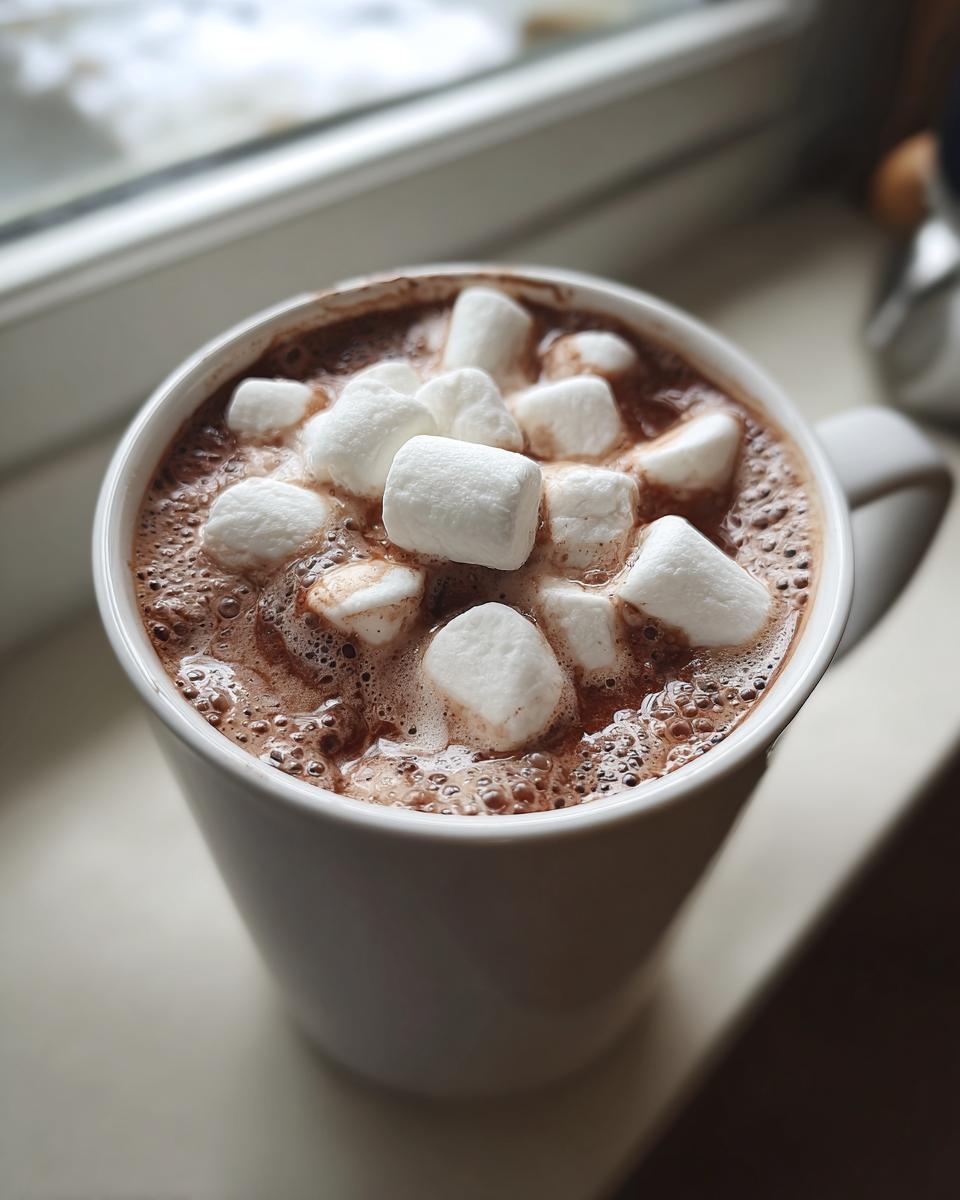
PrintThe Best Creamy Homemade Hot Cocoa Recipe

Make rich and creamy homemade hot cocoa from scratch on your stovetop. This easy recipe delivers a decadent chocolate drink that tastes much better than store-bought mixes.
- Prep Time: 5 min
- Cook Time: 10 min
- Total Time: 15 min
- Yield: 4 servings 1x
- Category: Beverage
- Method: Stovetop
- Cuisine: American
- Diet: Vegetarian
Ingredients
- 4 cups whole milk
- 1/2 cup unsweetened cocoa powder
- 1/2 cup granulated sugar
- 1/4 cup packed brown sugar
- 1/4 teaspoon salt
- 1 teaspoon vanilla extract
- 4 ounces semi-sweet chocolate, finely chopped (optional, for extra richness)
- Marshmallows or whipped cream for topping
Instructions
- Combine the milk, cocoa powder, granulated sugar, brown sugar, and salt in a medium saucepan.
- Whisk the ingredients together until the cocoa powder and sugars are fully dissolved.
- Place the saucepan over medium heat. Heat the mixture, stirring often, until it is hot and steaming, but do not let it boil.
- If using, remove the pan from the heat and stir in the finely chopped chocolate until it melts completely and the drink is smooth.
- Stir in the vanilla extract.
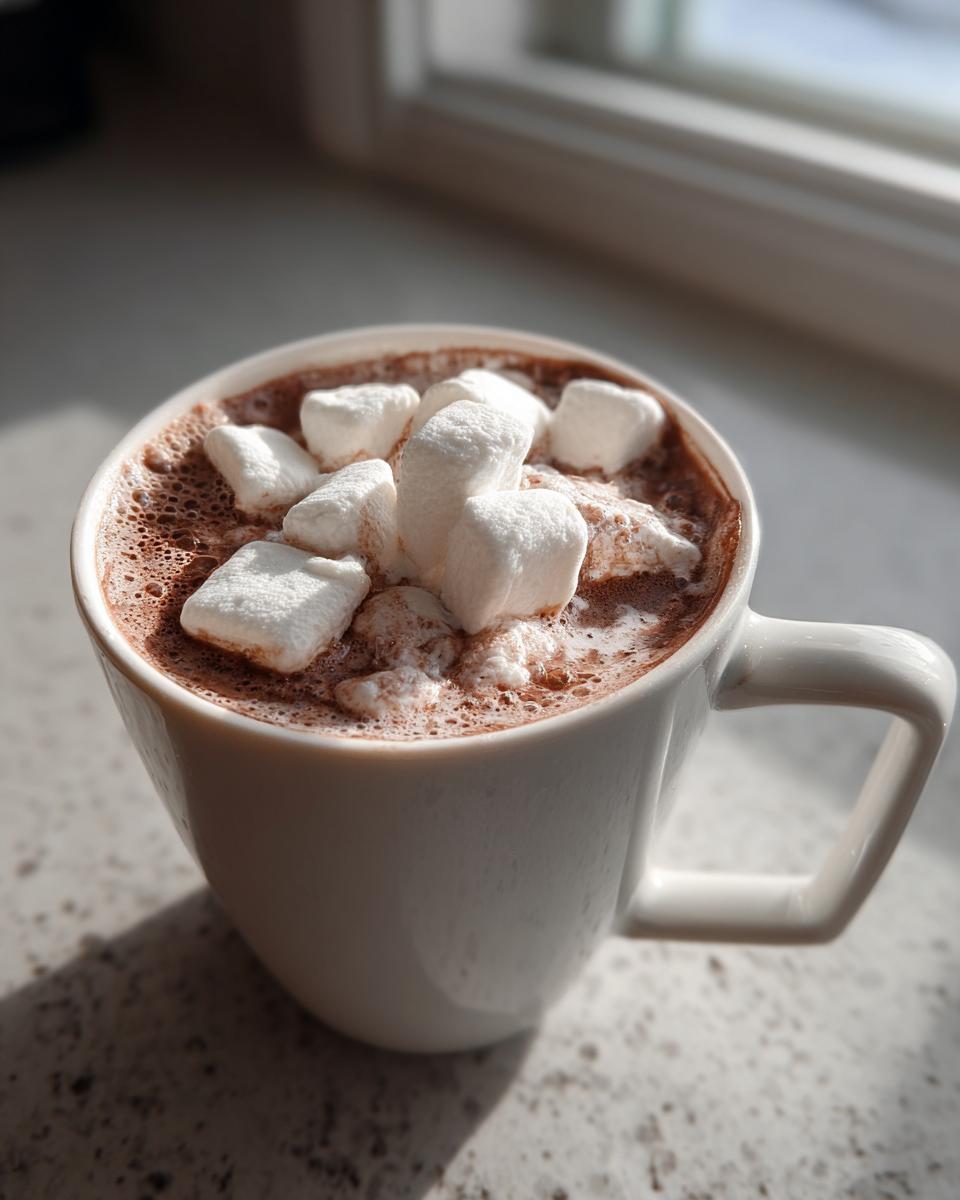
- Pour the rich and creamy cocoa into mugs. Top with marshmallows or whipped cream before serving your cozy evening beverage.
Notes
- For a thicker, more decadent hot chocolate drink, use a combination of whole milk and half-and-half.
- To make a homemade hot cocoa mix for later use, whisk together 1 cup cocoa powder, 1 cup granulated sugar, 1/2 cup brown sugar, and 1/2 teaspoon salt. Store in an airtight container. Use 3 tablespoons of mix per 1 cup of hot milk.
- Add a pinch of cayenne pepper for a Mexican hot chocolate flavor.
Nutrition
- Serving Size: 1 cup
- Calories: 280
- Sugar: 38g
- Sodium: 150mg
- Fat: 10g
- Saturated Fat: 6g
- Unsaturated Fat: 4g
- Trans Fat: 0g
- Carbohydrates: 40g
- Fiber: 3g
- Protein: 9g
- Cholesterol: 25mg