
Oh, honestly, is there anything better on a freezing evening than sinking into the couch with a giant mug of steaming hot chocolate? I swear the smell alone melts away all the stress of the day! That’s why I’m so excited to share this recipe with you today. Forget those tiny, dusty little packets you buy from the store; we are making a huge batch of the absolute best hot cocoa mix from scratch. It’s a no-cook wonder, which means you can whip up about seven cups of rich, dreamy powder in under ten minutes. This is exactly the kind of accessible, comforting classic that Olivia Rosewood built DelishCraze on—food that connects us without complicating our busy lives. Trust me; once you try this, you’ll never go back. You can learn a little more about our philosophy on simple home cooking over at the About Page!
- Why This Big Batch Hot Cocoa Mix is a Pantry Staple
- Gathering Ingredients for Your Rich Chocolate Powder Recipe
- Simple Steps to Create Your Easy Hot Cocoa Mix
- How to Prepare the Perfect Cup of Hot Cocoa Mix
- Customizing Your Gourmet Hot Cocoa Mix
- Creating a Hot Cocoa Mix in a Jar Gift
- Storage and Shelf Life for Your Hot Cocoa Mix
- Frequently Asked Questions About Homemade Hot Cocoa Mix
- Estimated Nutritional Data for This Hot Cocoa Mix
Why This Big Batch Hot Cocoa Mix is a Pantry Staple
The best part about this recipe? It’s completely foolproof, and you get a ton of it! Seriously, we’re talking a big batch cocoa mix that fills up a giant container. This makes it the ultimate pantry staple hot cocoa because you just restock every few months. It’s instant satisfaction, no need to run to the store when a sudden chocolate craving hits. It’s hands-down my favorite way to make ahead hot cocoa for a busy season.
The Benefits of Homemade Hot Cocoa Mix
- It saves you real money compared to expensive specialty brands.
- You control every single thing that goes in, helping you make a truly natural hot chocolate blend.
- The flavor is miles better—deep, rich, and intensely chocolatey!
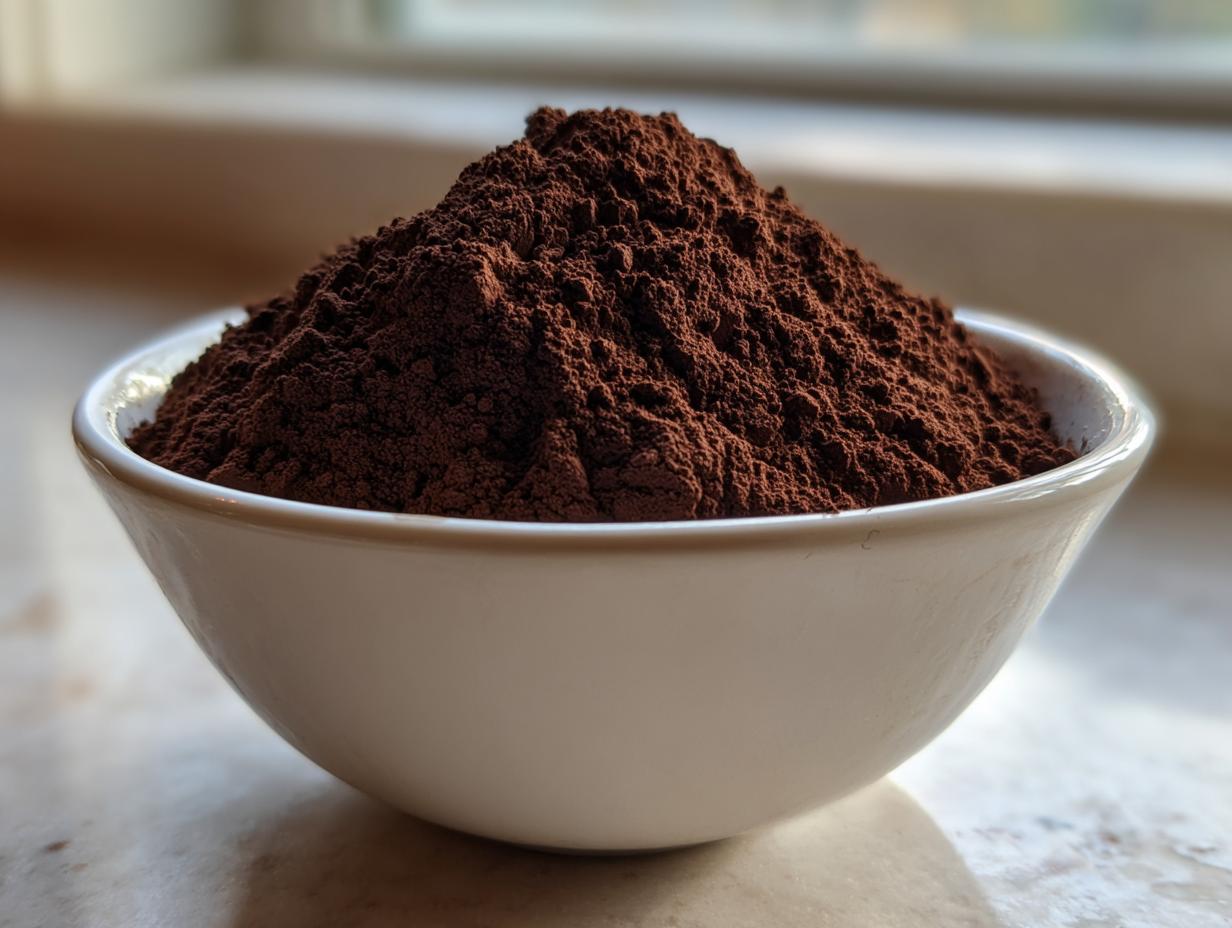
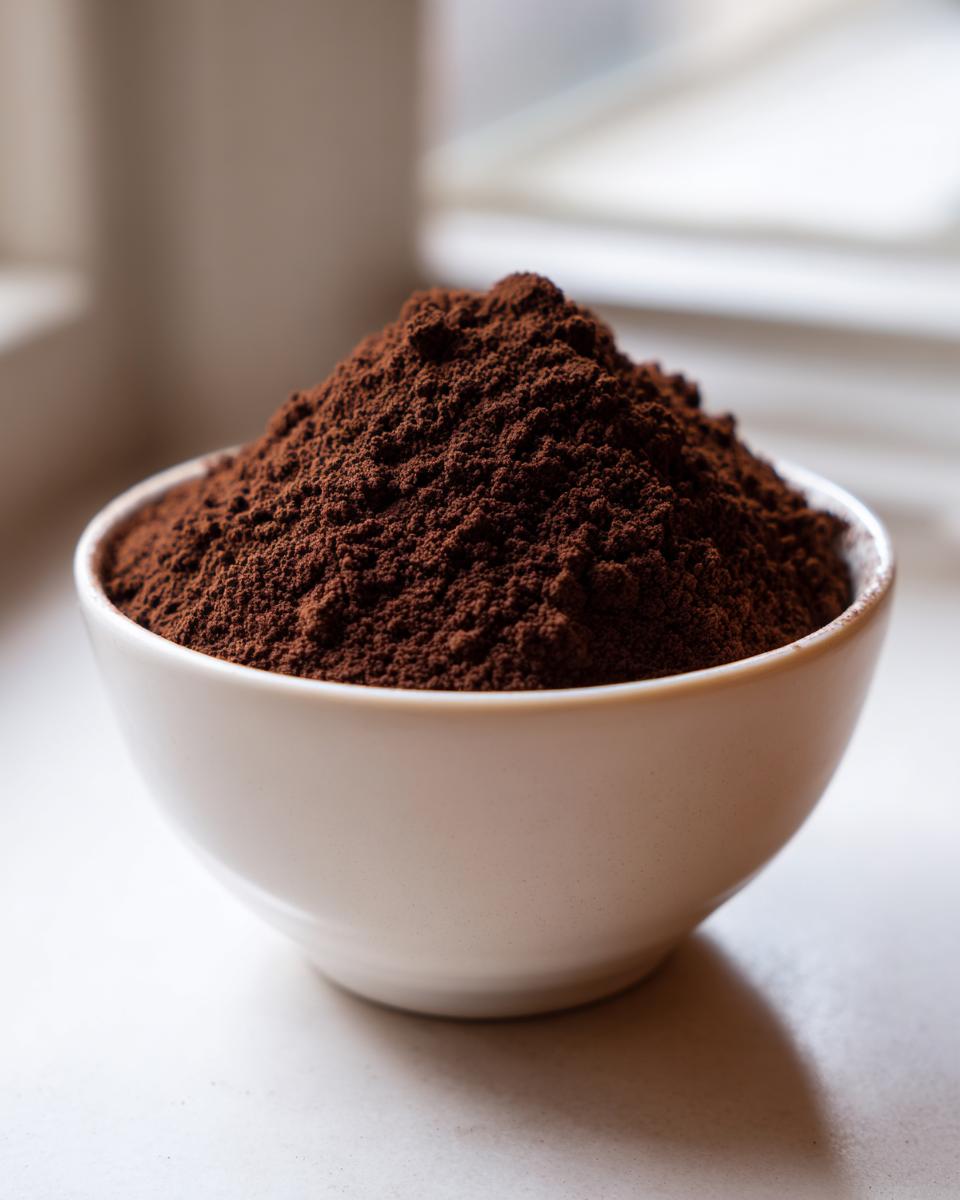
Gathering Ingredients for Your Rich Chocolate Powder Recipe
This recipe is so simple because it’s mostly dry pantry ingredients you probably already have rolling around! We’re sticking to the classics here to get that deep, satisfying chocolate flavor. I need to be super clear on the cocoa powder—make sure you grab the unsweetened kind, whether you use natural or Dutch-process, quality really matters for that rich chocolate flavor we’re aiming for. Also, I need to mention that one ingredient is totally optional, depending on how creamy you like your finished drink. If you’re trying to keep it strictly dairy-free, just leave that item out!
Ingredient List for the Ultimate Hot Cocoa Mix
- 4 cups granulated sugar
- 2 cups unsweetened cocoa powder (natural or Dutch-process)
- 1 cup powdered milk (optional, only if you want that classic creamy texture!)
- 1 teaspoon salt
- 1 teaspoon instant espresso powder (optional, but trust me, it boosts the chocolate!)
Simple Steps to Create Your Easy Hot Cocoa Mix
Seriously, get ready for the easiest mixing session of your life! Because this is a no-cook method, all we have to do is combine things beautifully. This section walks you through how to get that rich powder ready for storage quickly. We need to make sure everything is perfectly incorporated so you don’t end up with dusty pockets of sugar in your final mug. I want you to have that smooth, amazing flavor every time you reach for this easy hot cocoa mix. It’s efficient, which frees up time for tasting—you know, quality control! We get about 7 cups of finished big batch cocoa mix from this recipe, so let’s make every scoop count.
Mixing and Combining Your DIY Hot Chocolate Powder
First off, grab your absolute biggest mixing bowl. I mean it! As we are dealing with 4 cups of sugar and 2 cups of cocoa, you need room to move those ingredients around without them flying everywhere. Dump in the sugar and the cocoa powder first. Now, this is important: start whisking them together gently at first. If you use powdered milk, add it in after the sugar and cocoa are partially mixed. Then, toss in the salt and espresso powder, if you are using those boosters.
Here’s the part where you earn that superior flavor: you must whisk everything for a solid two minutes minimum. Don’t cheat this part! You are mechanically breaking down the cocoa clumps and ensuring that the salt and sugar are totally distributed throughout. I sometimes set a timer! When you think you’re done whisking, whisk for thirty more seconds. After that, you can transfer your finished powder, which I sometimes call my emergency comfort food base, into your airtight containers. Easy peasy!
How to Prepare the Perfect Cup of Hot Cocoa Mix
Okay, you’ve got your big jar of beautiful, rich powder sitting there waiting for a chilly day—now what? Getting the perfect cup is all about the ratio. For a standard, incredibly comforting serving that beats any single-serve packet, you want to scoop out about 1/4 cup of our hot cocoa mix for every 1 cup of hot liquid you use. That’s my go-to serving size for one of my favorite cozy beverage recipes!
The liquid choice is up to you, but milk (dairy or non-dairy) always makes it richer. Heat up your milk or water until it’s steaming hot, but don’t boil it vigorously. Pour the hot liquid over the mix in your favorite mug. Give it a good, vigorous whisk until smooth and enjoy. It should dissolve beautifully!
If you want to try a fun twist, you should check out my recipe for frozen hot chocolate—this same mix works wonders in that too!
Customizing Your Gourmet Hot Cocoa Mix
Now that we have the base recipe down—our incredibly reliable hot cocoa mix—we can start getting fancy! This is where you take it from a great pantry staple to a truly gourmet hot cocoa mix. Remember how I mentioned the type of cocoa matters? If you use Dutch-process cocoa, you’re automatically headed towards a darker, smoother, more creamy homemade cocoa experience. Seriously, splurge a little on the cocoa; it’s the star of the show around here!
I always keep a separate jar for my “special edition” mix. You can add a pinch of cinnamon, or if you’re feeling frisky like I often am on a Friday night, a tiny dash of cayenne pepper. That little kick is heavenly!
Tips for the Best Hot Cocoa Mix Recipe Variations
If you skip the optional powdered milk in the main recipe, you automatically have a dairy-free base, which is fantastic. When you go to serve it, though, make sure you are using water or your favorite non-dairy milk—oat milk makes it unbelievably luscious, by the way! You could also swap some of the granulated sugar for light brown sugar for a slight caramel depth. For flavors that really sing, sometimes I add a little bit of hazelnut extract right into the main batch. If that sounds good to you, you might want to check out my recipe for hazelnut hot chocolate for inspiration!
Creating a Hot Cocoa Mix in a Jar Gift
If you are looking for an absolutely foolproof gift that everyone loves, you have to try packaging this wonderful stuff up! A hot cocoa mix in a jar gift is such a sweet, thoughtful present, especially when the weather turns cold. People always go wild for gifts they can actually use!
Now, you have two ways you can go here. The easiest—and honestly, my usual route—is to make the big batch first, then scoop the finished powder right into a cute Mason jar up to the neck. It looks so clean and festive. The other way is to carefully layer your dry ingredients—sugar, then cocoa, then salt—which looks really impressive visually, but you have to make sure you mix it well before gifting.
No matter which method you choose, listen to this: You absolutely must attach tags with instructions! Folks often forget the ratio that works best. Tie a little tag on with twine that says exactly how much mix to use per cup of milk. It saves them the trouble of shaking the jar upside down trying to read the bottom! Speaking of fun ideas, if you need another unique edible gift, you should absolutely look at my steps for making cool whip candy for the holidays!
Storage and Shelf Life for Your Hot Cocoa Mix
Since we went ahead and made such a fantastic big batch cocoa mix, we need to keep it happy so it lasts! This is a dry pantry staple, so storing it is super easy—just make sure your container has a seriously tight seal. Keep your airtight jars in a cool, dark spot in your pantry, away from the stove or anything hot, which can cause clumping. If you keep it dry, this mix holds up spectacularly well for several months, making it one of the best winter drink mixes you can keep ready to go!
Frequently Asked Questions About Homemade Hot Cocoa Mix
It’s totally normal to have a few questions when you switch from store-bought to homemade! I know I did when I first started playing around with the proportions. I’ve gathered the ones I get asked the most often about making this homemade hot cocoa mix so you can feel completely confident shaking up your first batch. Sometimes people worry about ingredient substitutions, but honestly, this blend is pretty forgiving—you just need to know what changes what!
Can I make this hot cocoa mix without powdered milk?
Yes, absolutely! That powdered milk is totally optional. If you skip it, you still have a fantastic, rich chocolate powder. The only difference is that the final cup won’t have that extra milky body and creaminess that the milk powder lends. If you skip it, just remember that when you serve it, you’ll definitely want to use actual milk—whether that’s cow’s milk or a non-dairy alternative like oat milk—instead of just hot water for the best flavor experience!
What is the best type of cocoa powder for this hot cocoa mix?
This is a great question because it really affects the color and the bite! If you use natural, unsweetened cocoa powder, your final mix will be a bit lighter in color and have a slightly sharper, tangier chocolate flavor. If you use Dutch-process cocoa powder, it will give you that super dark, almost black color and a much smoother, deeper, almost earthy chocolate flavor. For this simple recipe, honestly, either works beautifully, but I usually lean toward Dutch-process for that luxurious, rich chocolate powder recipe look and taste. If you prefer white chocolate, you should check out my white hot chocolate recipe for a different approach!
How long does this homemade hot cocoa mix last?
This is the beauty of a make ahead hot cocoa recipe! Because there is absolutely no moisture in this mixture, provided you store it in a truly airtight container away from heat and humidity, it lasts for ages. I have kept batches for a solid six months without noticing any change in flavor or texture. If you make sure your ingredients are fresh when you start, you can enjoy these glorious winter drink mixes straight from the pantry all season long!
Estimated Nutritional Data for This Hot Cocoa Mix
Now that you’ve got your giant jar of deliciousness ready, I always like to give a little snapshot of what’s going into the mug when you scoop some out. Keep in mind, this is just an estimate, because who really measures things perfectly every time? Plus, the minute you add milk—dairy or otherwise—those numbers are totally going to change!
These figures are based on using the standard recipe (including powdered milk) and preparing one serving with just hot water, as noted below. It’s good to know what you’re sipping on while you cozy up!
- Serving Size: 1/4 cup mix (prepared with water)
- Calories: 160
- Sugar: 30g (It is sugary, that’s where the fun comes from!)
- Sodium: 15mg
- Fat: 3g
- Saturated Fat: 2g
- Carbohydrates: 35g
- Protein: 2g
Remember, if you skip the powdered milk, the fat, sugar, and calories drop just a little bit. If you choose to use whole milk when preparing your drink, you’ll obviously see a rise in the fat and calories, but oh my goodness, is it worth it for that extra creamy texture!
PrintBig Batch Homemade Hot Cocoa Mix
Prepare a large batch of this rich, creamy homemade hot cocoa mix using simple pantry ingredients. This no-cook recipe is perfect for stocking your pantry or creating easy gifts in a jar. Just add hot milk or water for a comforting beverage.
- Prep Time: 10 min
- Cook Time: 0 min
- Total Time: 10 min
- Yield: About 7 cups of mix 1x
- Category: Beverage
- Method: Mixing
- Cuisine: American
- Diet: Vegetarian
Ingredients
- 4 cups granulated sugar
- 2 cups unsweetened cocoa powder (natural or Dutch-process)
- 1 cup powdered milk (optional, for creamy version)
- 1 teaspoon salt
- 1 teaspoon instant espresso powder (optional, for depth)
Instructions
- Gather all your dry ingredients: sugar, cocoa powder, powdered milk (if using), salt, and espresso powder (if using).
- In a very large bowl, combine the sugar and cocoa powder. Whisk them together thoroughly to break up any lumps.
- Add the powdered milk, salt, and espresso powder to the bowl.
- Whisk all ingredients together for at least two minutes. You must mix well to distribute the cocoa powder evenly and prevent clumping later.
- Transfer the finished hot cocoa mix to an airtight container for storage. This recipe makes a big batch.
- To serve, combine 1/4 cup of the mix with 1 cup of hot milk or water. Whisk until smooth and enjoy.
Notes
- For a richer, creamier mix, include the powdered milk. For a dairy-free option, omit the powdered milk and use water or a non-dairy milk when preparing the drink.
- To make this mix into a gift, layer the ingredients in a decorative jar, or simply package the finished mix with instructions attached.
- Store the mix in a cool, dry place. It keeps well for several months.
Nutrition
- Serving Size: 1/4 cup mix (prepared with water)
- Calories: 160
- Sugar: 30g
- Sodium: 15mg
- Fat: 3g
- Saturated Fat: 2g
- Unsaturated Fat: 1g
- Trans Fat: 0g
- Carbohydrates: 35g
- Fiber: 3g
- Protein: 2g
- Cholesterol: 0mg