
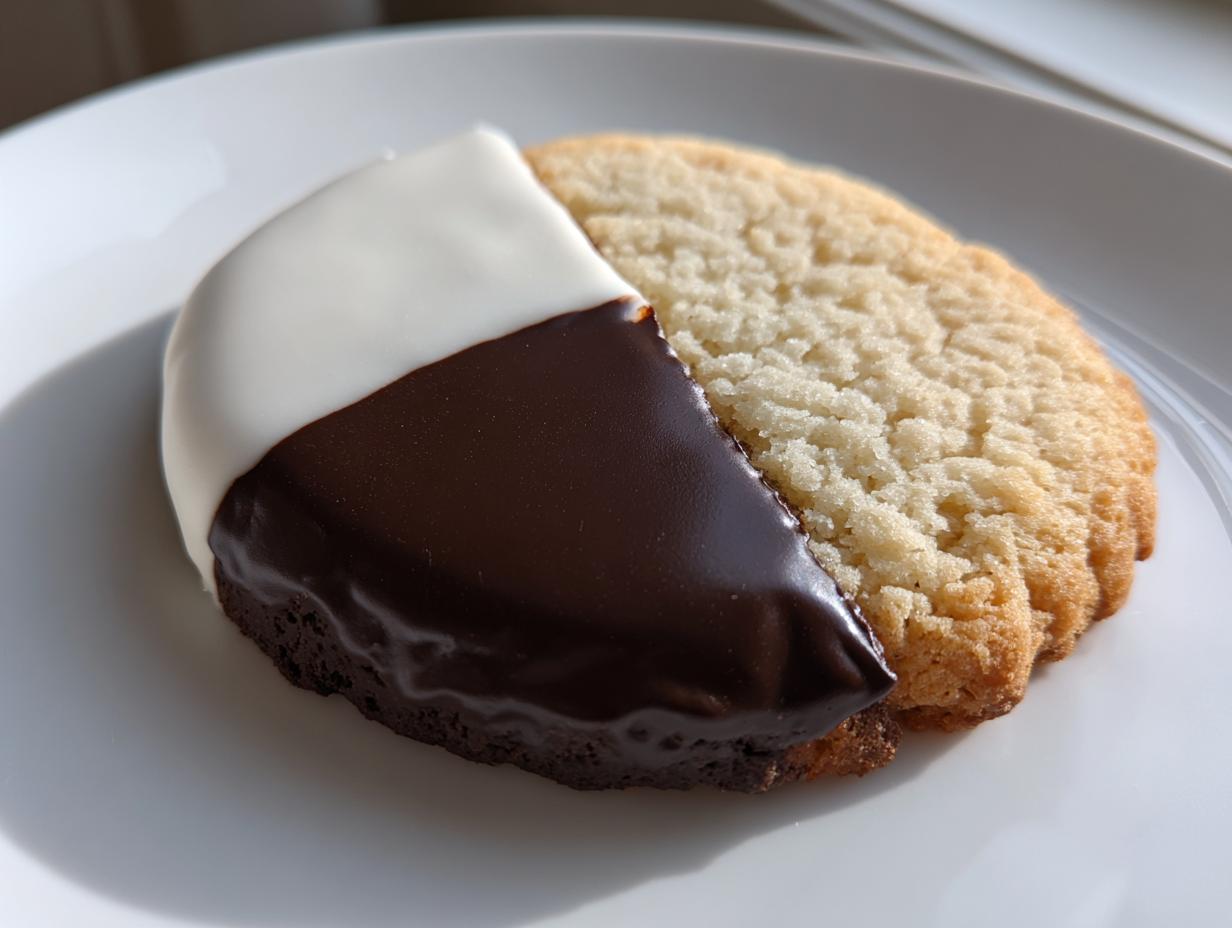
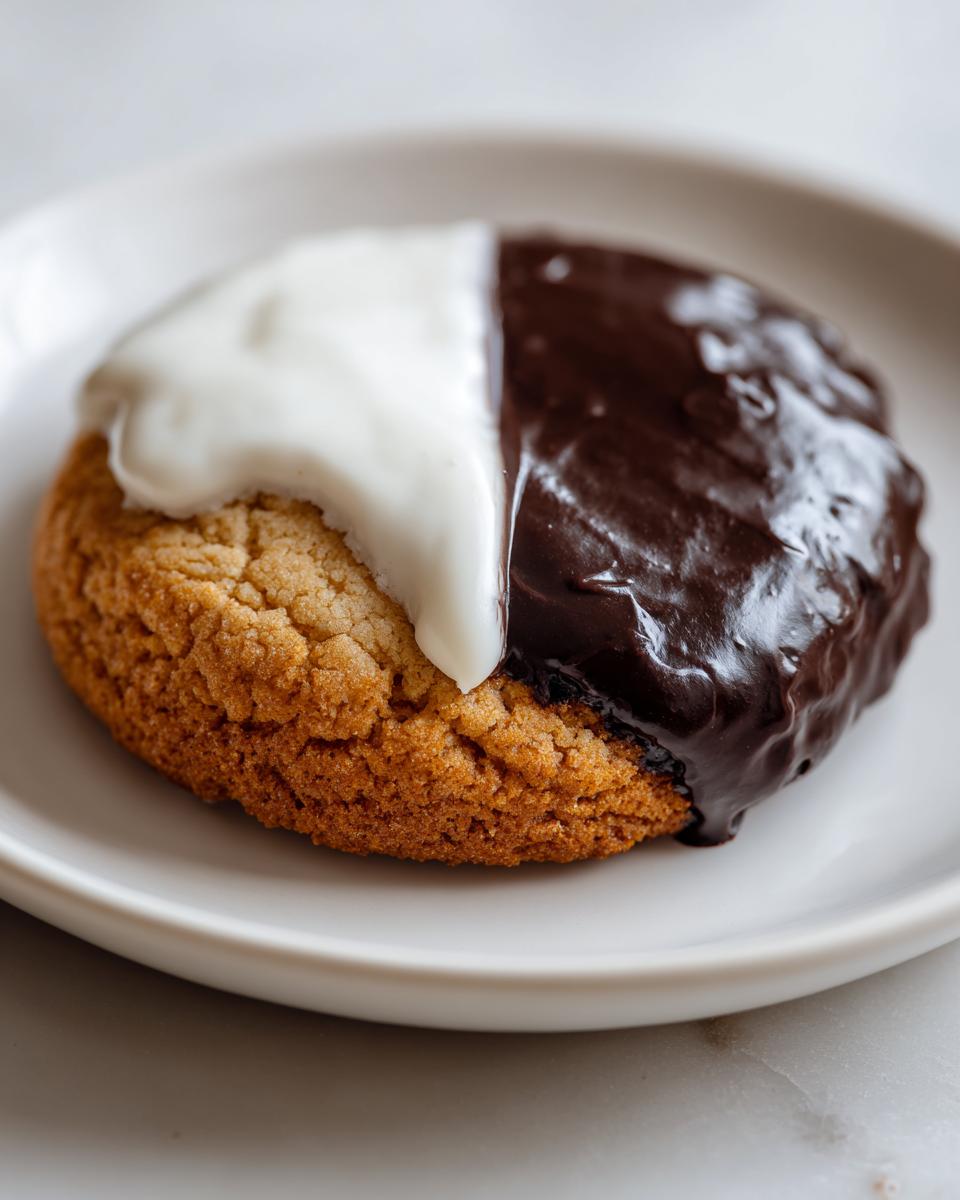
When I think about true American comfort food, my mind often drifts straight to New York City, and specifically, to those iconic **black and white cookies**. Maybe you picture Jerry and Elaine debating them, or maybe you just remember them sitting under a glass dome at your local bakery. Whatever your connection, these cookies are special—they’re not really cookies, are they? They’re little slices of heaven that blend cake texture with the perfect sweet frosting!
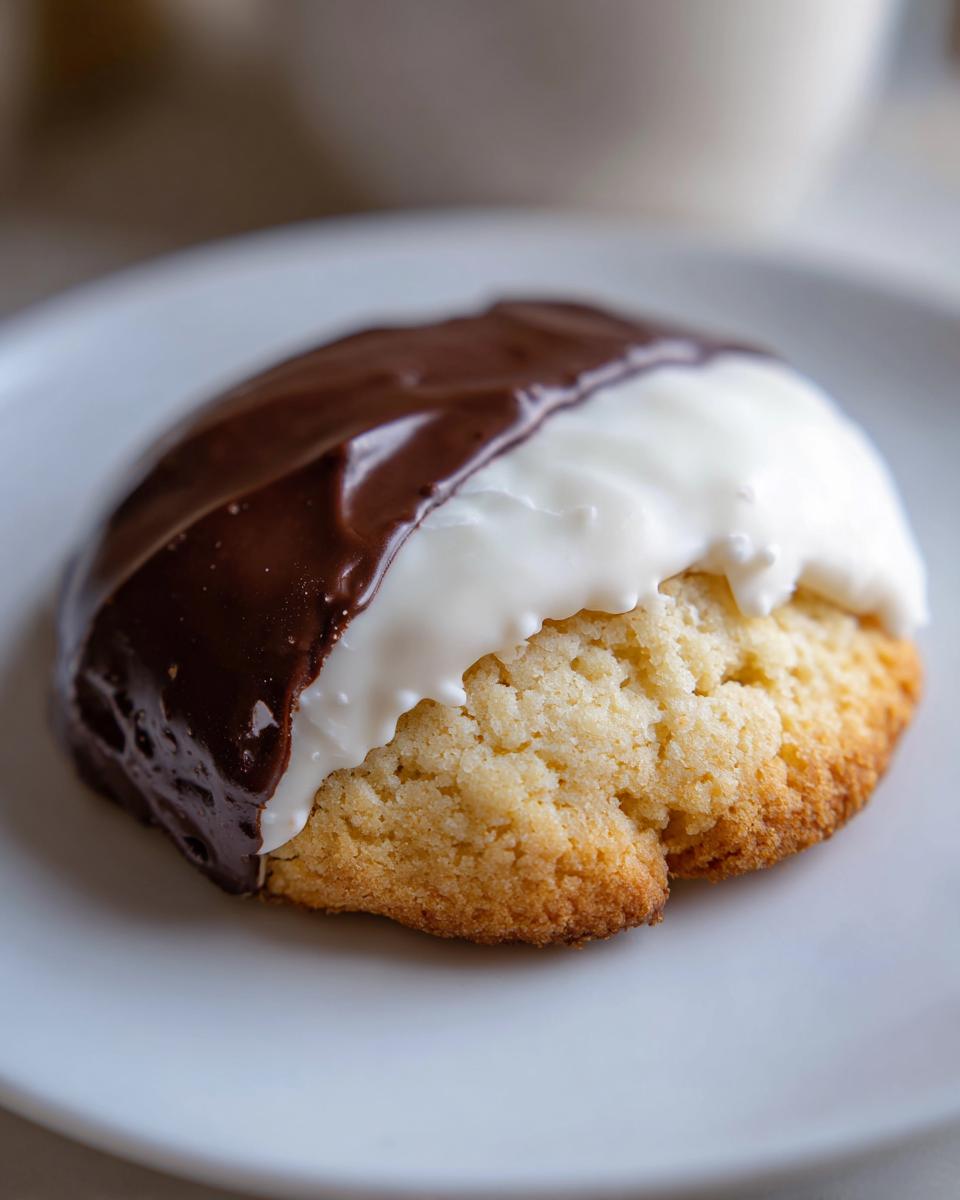
I spent so much time trying to get the body of these right. It’s easy to end up with something too crisp, but that’s not the point! My goal with this recipe was recreating that wonderfully soft, cake-like base, frosted perfectly with that sharp contrast between creamy vanilla and rich chocolate icing. For me, making these homemade bakery style cookies is part of reclaiming those simpler, nostalgic moments I missed back when my design deadlines were running my life. Trust me, this recipe brings the charm right back into your kitchen.
- Why This is the Best Black and White Cookies Recipe
- Ingredients for Authentic Black and White Cookies
- How to Make Black and White Cookies Step-by-Step
- Tips for Perfect Homemade Bakery Style Cookies
- Storage and Keeping Your **Black and White Cookies** Fresh
- Frequently Asked Questions About NYC Black and White Cookies
- Nutritional Estimates for Vanilla Chocolate Glazed Cookies
- Share Your Black and White Cookies Creations
Why This is the Best Black and White Cookies Recipe
Listen, not all batches of these classics are created equal, trust me. The reason I call this my favorite **black and white cookies recipe** is because it nails the two things that really matter: the texture and the icing contrast. We are aiming for that genuine, homemade bakery style cookies experience, not a flat sugar cookie with some sloppy topping thrown on top!
We build this up step-by-step, focusing on what makes the difference between a mediocre bake and something truly worthy of the NYC reputation. It’s all about control, especially when you get to the mixing stage. Knowing how to get that perfect texture means you might want to check out my thoughts on chocolate brownie cookies too, because texture is everything!
Achieving the Perfect Soft, Cake Like Cookies Base
Hands down, the biggest secret to these soft, **cake like cookies** is *not* mixing once the flour comes along. You want that tender, slightly crumbly interior? Don’t you dare overwork that dough! Mix the flour in until you just barely see the last streak disappear. If you beat it too much, you develop gluten, and suddenly you have chewy cookies instead of wonderfully soft ones. Keep it gentle!
The Signature Contrasting Icing for Your Black and White Cookies
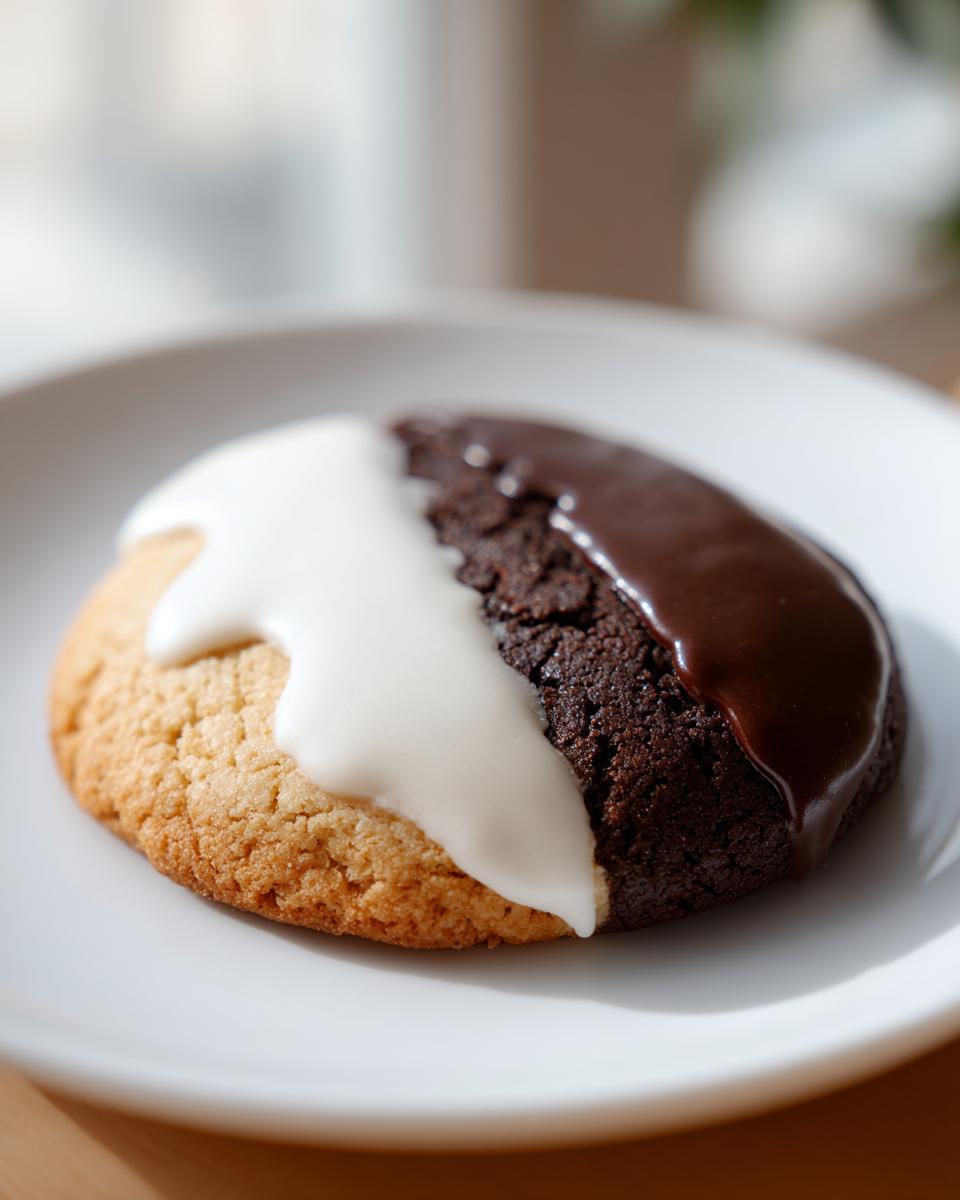
The icing is where the magic happens, right? For the best look, your **chocolate vanilla icing cookies** need icings that set up perfectly smooth, without cracking apart when you bite into them. I find that using confectioners’ sugar and just enough liquid to make it pourable, but still thick enough to hold its shape, is the trick. You see that beautiful, sharp line where the chocolate meets the white? That only happens when you work quickly on cool cookies with slightly viscous glaze.
Ingredients for Authentic Black and White Cookies
Getting the list right is the first major step toward achieving those **classic iced cookies** you find in the best bakeries. I’ve separated everything here so you know exactly what goes into the cookie base and what you need for that beautiful two-tone finish. Remember, using good quality ingredients keeps these **easy black and white cookies** tasting authentic.
If you’re curious about how to get icing to set just right—not too sticky, not too hard—you might want to take a look at my notes on sugar cookie icing that hardens; the principles for these glazes are similar!
For the **Cake Like Cookies** Base
- 1 3/4 cups all-purpose flour
- 1 teaspoon baking powder
- 1/2 teaspoon salt
- 1/2 cup unsalted butter, softened – this needs to be nice and pliable!
- 3/4 cup granulated sugar
- 2 large eggs – room temperature if possible, trust me!
- 1 teaspoon vanilla extract
- 1/2 cup milk
For the White and Chocolate Icing (The **Chocolate Vanilla Icing Cookies** Finish)
This is where we create that beautiful color separation. Don’t skimp on the confectioners’ sugar for that smooth texture.
White Icing Components
- 1 1/2 cups confectioners’ sugar
- 1 tablespoon milk or water (start with this amount!)
- 1/2 teaspoon vanilla extract
Chocolate Icing Components
- 1 cup confectioners’ sugar
- 2 tablespoons unsweetened cocoa powder – use the good stuff for that deep color
- 2 tablespoons milk or water
How to Make Black and White Cookies Step-by-Step
Alright, let’s get down to the fun part: actually making these beauties! Follow these steps carefully, especially the mixing method, and you’ll see why people queue up for these **NYC black and white cookies**. Remember, cooling time is just as important as baking time here, so be patient with the waiting game. If you need a break while the first batch cools, maybe check out my black bean chili recipe—it cooks itself!
Mixing the Cookie Dough for **Soft Frosted Cookies**
First things first, get that oven warmed up to 350°F (175°C) and line those sheets with parchment paper. Now, for the dough: you absolutely must cream the softened butter and sugar until it’s wonderfully light and fluffy. That’s step one for getting those **soft frosted cookies**! Beat in the eggs one by one—don’t rush that! Then, we alternate. Add about a third of your flour mix, then half your milk, followed by another third of the flour, the rest of the milk, and finally, the last of the flour. Stop mixing the second you don’t see dry streaks anymore. Seriously, overmixing spells disaster for that **cake like cookies** texture we love.
Baking Your **Classic Iced Cookies**
Scoop tablespoons of that soft dough onto your prepared baking sheets, leaving a good two inches because they definitely spread out a bit. Bake these **classic iced cookies** for 10 to 12 minutes. Here’s the visual cue: the edges should look just set, and the bottoms might have a hint of golden color, but the tops of the cookies should stay beautifully pale. If the tops brown too much, you’ve gone too far! Cool them completely on a wire rack before you even *think* about frosting them.
Applying the Vanilla and Chocolate Glaze to Black and White Cookies
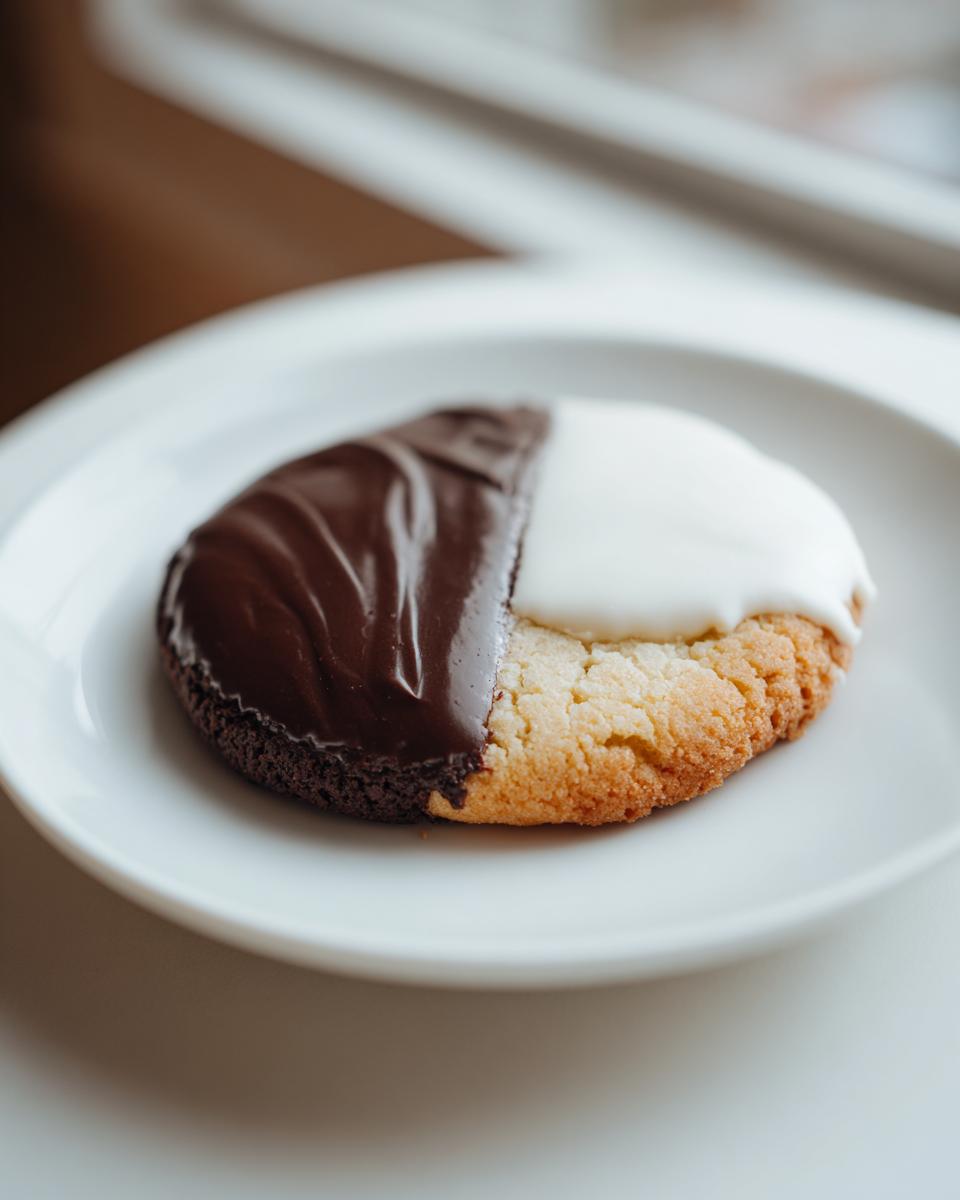
While they cool, whip up both icings separately. You want them smooth but thick—think of them as creamy paint. For the vanilla icing, whisk everything until it pours nicely. Do the same for the chocolate icing, making sure the cocoa powder blends in smoothly. Once the cookies are totally cool, take your offset spatula. Spread the vanilla icing evenly over exactly half the cookie surface, going right to the edge. Immediately, while it’s still wet, spread the chocolate icing right up to meet the vanilla in the middle. Try to keep the line clean! Let them sit quietly until that shiny glaze is completely set up before stacking them.
Tips for Perfect Homemade Bakery Style Cookies
Now that you’ve made the dough and the cookies are baked, let’s talk about elevating these from homemade to true **homemade bakery style cookies**. The details really make the difference, especially once we get to the icing stage. If you’re looking for something rich after mastering these iconic treats, you should definitely peep my chocolate caramel toffee crunch cake recipe!
Troubleshooting Icing Consistency for Your **Black and White Cookies**
Icing consistency is the bane of my existence sometimes, but don’t panic if your glaze isn’t perfect right away. If your vanilla or chocolate icing seems way too stiff to spread—you know, more like toothpaste than thick paint—just dribble in a few tiny drops of milk or water and whisk until it loosens up. On the flip side, if you added too much liquid and it’s running everywhere, slowly whisk in a tablespoon of extra powdered sugar or cocoa until it thickens back up again. You want it spreadable, not runny, for those clean lines on your **black and white cookies**.
Alternative Names: Making **Half Moon Cookies Recipe**
You might hear these called **Half Moon Cookies recipe** depending on where you are, often in the Midwest, and that’s totally fine! They are the same delightful concept. If you want to mix things up next time, try swapping out the vanilla extract in the cookie base for almond extract. It gives them a lovely, slightly different floral note that people really associate with the original **Half Moon Cookies**.
Storage and Keeping Your **Black and White Cookies** Fresh
Once you’ve managed to perfectly ice your **black and white cookies**, the last hurdle is keeping them amazing until you serve them. The good news is these are fantastic make-ahead desserts. The icing, once it sets completely—which can take a few hours depending on how humid it is—forms this beautiful, firm shell. We want that shell to stay intact!
You don’t need to worry about refrigeration at all for these! In fact, I’d advise against it. Cold air tends to make cookies that are supposed to be soft and cake-like turn a little hard right away. I always store mine in a single layer in a sturdy, airtight container right on the counter. They are great for packing up for parties, too. If you’re packing them into tins for gifting, make sure you stack them very carefully, maybe with a small square of wax paper between each one for protection. Honestly, I think these **vanilla chocolate glazed cookies** are even better on day two once the icing has truly settled into the cookie. If you want to try other cookie recipes that keep well, you have to check out my easy Twix cookies recipe!
Frequently Asked Questions About NYC Black and White Cookies
I get so many questions about these because everyone wants that perfect slice of New York nostalgia! It’s easy to get tripped up on details, but honestly, once you nail the base texture, the rest is just fun decorating. If you’re looking for more classics that stand the test of time, you should definitely look up my guide on making soft, chewy homemade caramels.
Are Black and White Cookies supposed to be soft?
Yes, absolutely! If you want the authentic New York dessert experience, these should feel like a soft, tender little cake, not a crisp biscuit. That’s exactly why we go to such great lengths in the mixing stage—remember how I told you not to overmix once the flour goes in? Keeping that dough gentle is what guarantees that beautifully soft, **cake like cookies** crumb we are aiming for!
What gives Black and White Cookies their signature look?
It’s all about the sharp division between the vanilla and the chocolate! To get that signature look where the colors meet perfectly down the middle without bleeding together, you must wait until the cookie base is completely and totally cooled down. Then, apply the thicker icing halves right next to each other while they are both still a bit wet. If the cookie surface is warm at all, you’ll end up with a messy swirl instead of that iconic clean half-and-half.
Can I make these easy black and white cookies ahead of time?
You absolutely can! In fact, I encourage it for **easy black and white cookies**. The wonderful thing about these is that the icing really needs time to set properly so it stops feeling sticky. I usually ice them one evening and leave them out on the counter overnight uncovered. By morning, the glaze is perfectly set, they are ready to store in an airtight container, and you’ve taken one thing off your plate for whatever party or gathering you’re planning!
Nutritional Estimates for Vanilla Chocolate Glazed Cookies
I always want to be upfront about what we’re putting into our bodies, even with a wonderful treat like these **black and white cookies**. Keep in mind that these numbers are just estimates based on the standard ingredients list I’ve provided. If you use a different brand of butter or decide to use more sugar in your frosting (and who could blame you?), the final count will shift a little bit!
When you’re making delicious, **homemade bakery style cookies**, a little indulgence is part of the fun, right? But here is a breakdown based on a single cookie serving size, using the recipe amounts we discussed.
- Serving Size: 1 cookie
- Calories: 220
- Sugar: 30g (Yes, it’s a treat!)
- Fat: 9g (Mostly from that lovely butter)
- Saturated Fat: 5g
- Carbohydrates: 35g
- Protein: 3g
- Sodium: 105mg
This is just a rough guide, so take it with a grain of salt (and enjoy every bite of that vanilla and chocolate icing!). It helps to know what big, beautiful **NYC black and white cookies** are packing, though!
Share Your Black and White Cookies Creations
Wow, you made it! If you’ve followed along and baked these **black and white cookies**, I seriously want to see them. Getting that perfect soft base and those clean icing lines takes practice, and I love seeing how everyone’s **homemade bakery style cookies** turn out.
This whole site, DelishCraze, is built on community—on sharing the good food we make at home. So please, hop down into the comments section below. Tell me how they tasted! Did your chocolate icing come out rich enough? Did you manage to keep the line perfectly straight down the middle?
If you snapped a picture, please share it on social media and tag me—I always make sure to check them out when I’m not busy tackling my next recipe idea. Every rating and comment helps future bakers feel confident about tackling these classics. If you enjoyed this trip down memory lane, don’t forget to check out my recipe for soft and chewy Snickerdoodles next!
Happy baking, everyone. I’m so proud of you for making these iconic **NYC black and white cookies** in your own kitchen!
PrintClassic New York Style Black and White Cookies
Make the iconic, soft, cake-like Black and White Cookies at home. This recipe delivers the perfect contrast of smooth vanilla and rich chocolate icing, reminiscent of famous NYC bakeries.
- Prep Time: 20 min
- Cook Time: 12 min
- Total Time: 32 min
- Yield: 18 cookies 1x
- Category: Dessert
- Method: Baking
- Cuisine: American
- Diet: Vegetarian
Ingredients
- 1 3/4 cups all-purpose flour
- 1 teaspoon baking powder
- 1/2 teaspoon salt
- 1/2 cup unsalted butter, softened
- 3/4 cup granulated sugar
- 2 large eggs
- 1 teaspoon vanilla extract
- 1/2 cup milk
- 1 1/2 cups confectioners’ sugar (for white icing)
- 1 tablespoon milk or water (for white icing)
- 1/2 teaspoon vanilla extract (for white icing)
- 1 cup confectioners’ sugar (for chocolate icing)
- 2 tablespoons unsweetened cocoa powder (for chocolate icing)
- 2 tablespoons milk or water (for chocolate icing)
Instructions
- Preheat your oven to 350°F (175°C). Line baking sheets with parchment paper.
- In a medium bowl, whisk together the flour, baking powder, and salt. Set aside.
- In a large bowl, beat the softened butter and granulated sugar with an electric mixer until light and fluffy, about 3 minutes.
- Beat in the eggs one at a time, mixing well after each addition. Stir in the vanilla extract.
- Gradually add the dry ingredients to the wet ingredients, alternating with the milk, beginning and ending with the flour mixture. Mix until just combined; do not overmix to keep the cookies cake-like.
- Drop rounded tablespoons of dough onto the prepared baking sheets, leaving about 2 inches between each cookie. These cookies spread.
- Bake for 10 to 12 minutes, or until the edges are set and the bottoms are lightly golden. The tops should remain pale. Let the cookies cool completely on a wire rack.
- Prepare the white icing: Whisk together the confectioners’ sugar, 1 tablespoon milk/water, and vanilla extract until smooth. If the icing is too thick, add a few more drops of liquid.
- Prepare the chocolate icing: Whisk together the confectioners’ sugar and cocoa powder. Add 2 tablespoons of milk/water and mix until smooth. Adjust consistency as needed.
- Once cookies are cool, use an offset spatula to spread vanilla icing over half of the top surface of each cookie. Immediately spread chocolate icing over the remaining half, meeting the vanilla icing in the center.
- Allow the icing to set completely before serving or storing.
Notes
- For the best bakery-style texture, avoid overmixing the dough once the flour is added.
- You can use this recipe for Half Moon Cookies by substituting almond extract for vanilla in the cookie base for a different flavor profile.
- To achieve the classic New York look, spread the icing evenly to the edges.
Nutrition
- Serving Size: 1 cookie
- Calories: 220
- Sugar: 30
- Sodium: 105
- Fat: 9
- Saturated Fat: 5
- Unsaturated Fat: 4
- Trans Fat: 0
- Carbohydrates: 35
- Fiber: 1
- Protein: 3
- Cholesterol: 45