

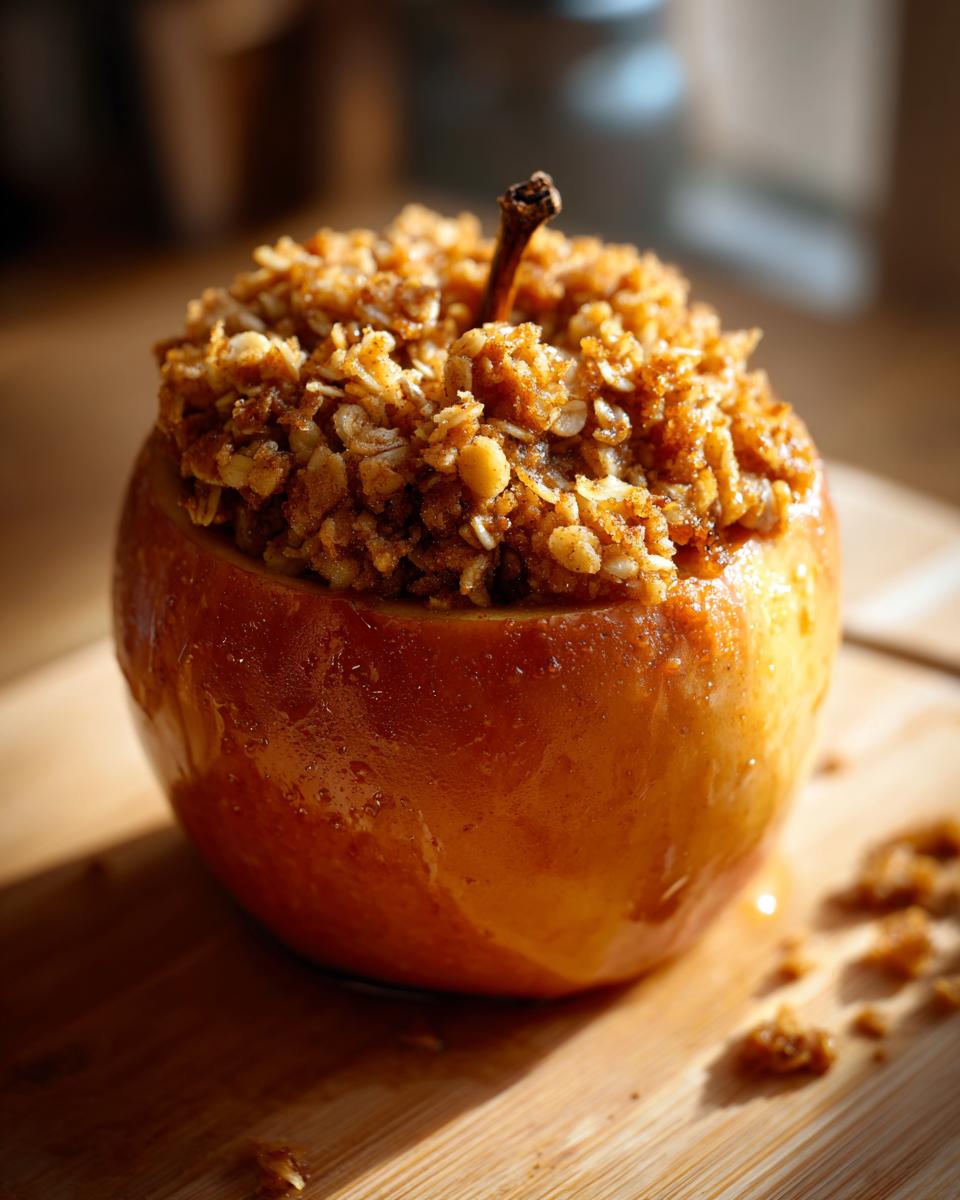
When that first chilly breeze whispers through the window, signaling the start of sweater weather, my kitchen immediately calls for something warm and deeply comforting. Forget complicated pies; I’m talking about the ultimate simple fall dessert: baked apple perfection! This recipe wraps tender, spiced fruit inside a buttery, brown sugar oatmeal crumble. It simply screams ‘cozy evening.’ Here at DelishCraze, founder Olivia Rosewood is all about taking classic American comfort foods and making them wonderfully simple for your busy life, and these apples are perhaps the best example of that philosophy. You can easily pair them with leftovers from making my apple crumb cake! Get ready to fill your home with the best cinnamon-spiced aroma you can imagine.
- Why This Easy Baked Apples Recipe is Your New Fall Favorite
- Gathering Ingredients for Your Baked Apple Dessert
- Step-by-Step Instructions: How to Prepare Baked Apple
- Tips for Success When Making Baked Apple
- Serving Suggestions for a Warm Apple Dessert
- Storage and Reheating Instructions for Baked Apple
- Frequently Asked Questions About Baked Apple
- Nutritional Estimates for Baked Apple
- Share Your Perfect Baked Apple Creation
Why This Easy Baked Apples Recipe is Your New Fall Favorite
I know you’re probably looking for something that tastes incredible but doesn’t keep you chained to the oven for hours. Trust me, I get it! Olivia designed this entire blog around food that connects us without demanding all day in the kitchen. These stuffed apples are the perfect example of that philosophy holding up.
We aren’t messing around with fussy steps here. This recipe hits that sweet spot where minimal effort equals maximum cozy factor. You’ll be shocked how fast you can go from raw fruit to a warm dessert ready for ice cream!
- Speedy Comfort: The entire process, from prepping the apples to pulling them out golden brown, clocks in at just under an hour—only about 55 minutes total time! Perfect for a weeknight treat.
- Unbeatable Texture: We aren’t making tough, chewy apples here. The method ensures the fruit turns completely tender and yielding, the perfect pillow for that crunchy, spiced topping.
- The Crunch Factor: That oatmeal crumble doesn’t just taste like autumn; it provides a fantastic textural contrast to the soft apple flesh. It’s a sophisticated bite disguised as a simple snack.
- Weeknight Friendly: Since this is so straightforward, it’s a great way to get a special feeling dessert on the table quickly. If you loved my collection of easy sweet snacks, you’ll adore this one! It’s simpler than digging out the ingredients for my apple pie dump cake.
Gathering Ingredients for Your Baked Apple Dessert
Whenever I make this baked apple recipe, I always lay everything out first. Seriously, setting up your ingredients—what we call *mise en place*—ensures you don’t forget that tiny pinch of nutmeg when you’re focused on coring the fruit! Since we are building this wonderful oatmeal crumble right on top of the apple, we need to be precise with our measurements. Don’t be shy with the spices; that is where all the cozy flavor lives.
Check out what you need to grab from the pantry and fridge. Because this is a dessert that relies on texture, the temperature of your butter matters a lot!
Crumble Filling Components for Baked Apple
This is the heart of the topping! We want it coarse and buttery, not one big floury lump. Remember that cold butter rule; it’s non-negotiable for that perfect crumble texture we are aiming for.
- One-quarter cup of good, old-fashioned rolled oats. (No instant stuff, please!)
- A quarter cup of packed brown sugar. That molasses flavor is crucial for autumn vibes.
- One teaspoon of ground cinnamon—be generous here!
- A quarter teaspoon of ground nutmeg. That’s the magic secret!
- Two tablespoons of all-purpose flour to bind things just right.
- Two tablespoons of cold unsalted butter, cut into super tiny pieces. Seriously small!
Apple Selection and Liquid for Tender Baked Apple
Choosing the right apple makes all the difference between a satisfying dessert and a bowl of sweet soup. We need apples that hold their shape beautifully while they bake.
- Four large baking apples. I swear by Honeycrisp or Fuji because they stay firm, but Granny Smith works well too if you like a bit of tartness.
- A quarter cup of water. This goes into the dish to create steam, which is honestly the trick to making them tender instead of hard.
- One tablespoon of fresh lemon juice, though this is totally optional. I sometimes add it right over the top when they come out of the oven for brightness, but sometimes I skip it! If you are looking for other ways to incorporate lemon, my recipe for pumpkin butter has a great citrus balance too.
Step-by-Step Instructions: How to Prepare Baked Apple
Okay, ready to get these apples in the oven? This whole process is beautifully easy, but method matters, right? We need to treat these apples gently so they collapse into that lovely, melt-in-your-mouth texture we are after. Since we want that steam working hard, make sure you have your water ready right before the apples go in. If you’ve ever struggled with something sticking, I highly recommend checking out how I make my garlic butter spread—it gives you an idea of how simple homemade fixes save the day! Now let’s master the baked apple.
Preparing the Apples and Baking Dish for Baked Apple
First things first: we need heat! Go ahead and preheat your oven to 375 degrees Fahrenheit. While that’s warming up, grab a small baking dish—nothing too big, we want the apples snuggled close for steaming. Lightly grease it up—just a touch of oil or cooking spray is fine here since the water will do most of the heavy lifting.
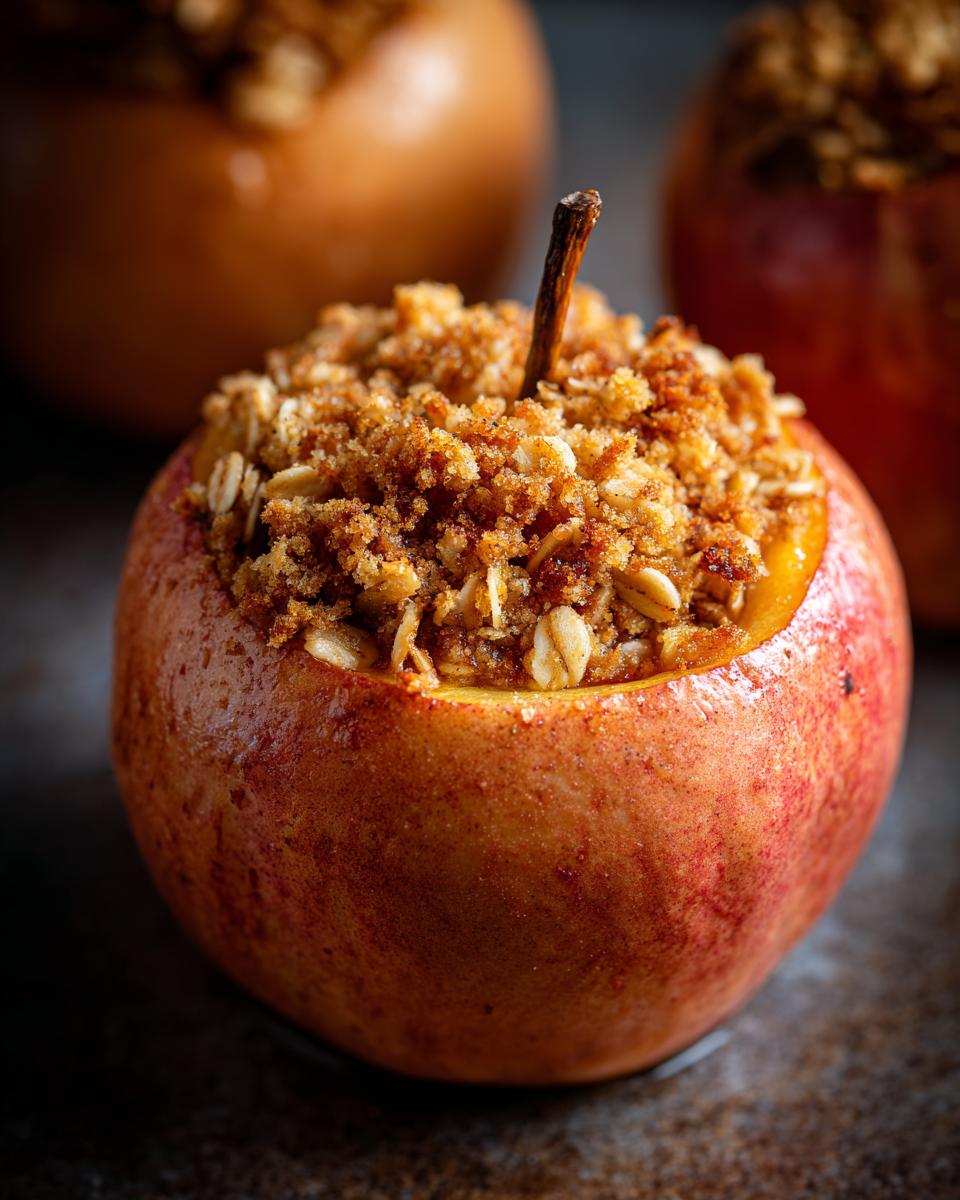
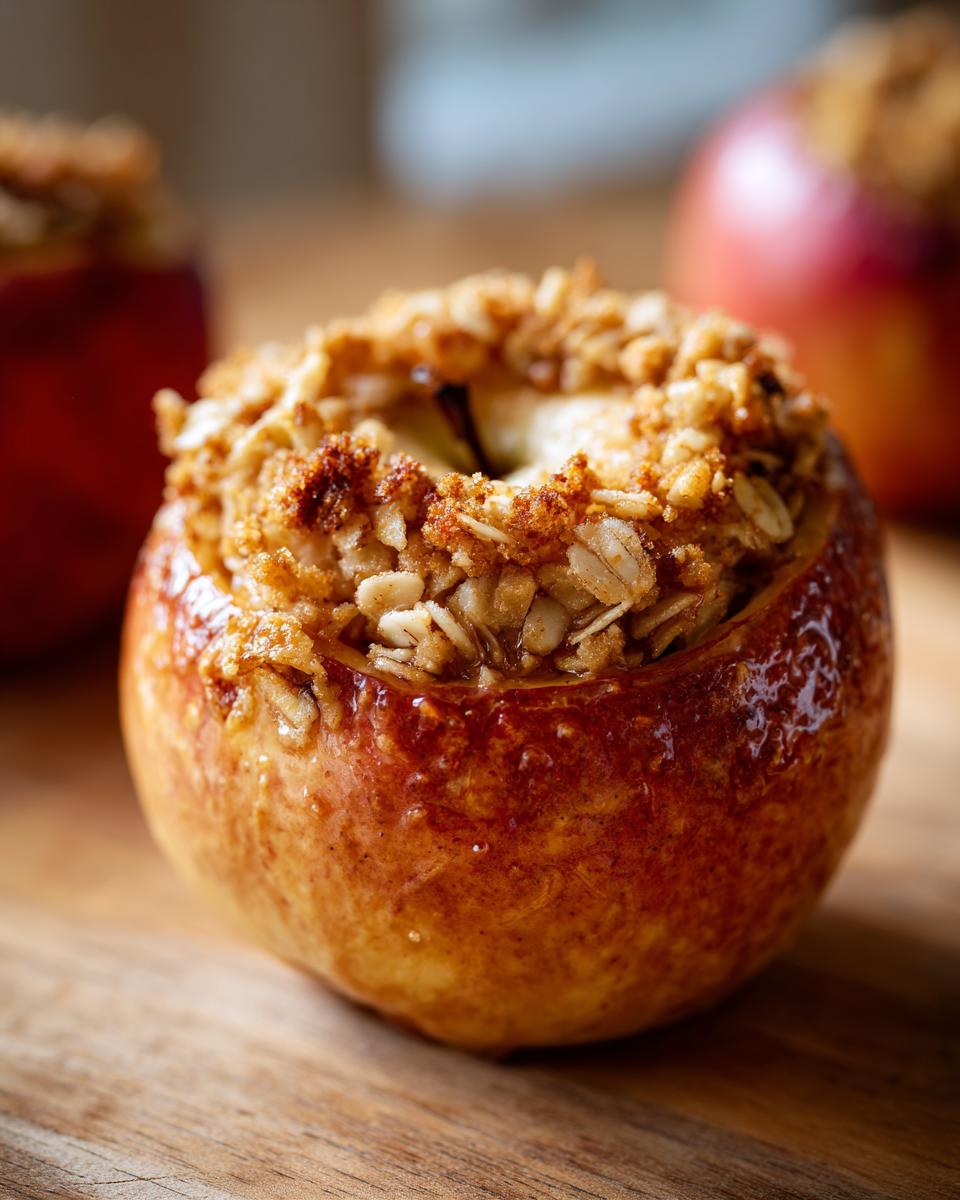
Now for the coring technique. This is your make-or-break moment for keeping that yummy filling inside! Wash those apples well, and using a melon baller or a small spoon, you scoop out the seeds and core right from the top. But stop! You absolutely must leave about a half-inch border—a little ‘seat’ at the bottom so the sugar and oatmeal don’t just run right out onto the pan. It needs a sturdy base to sit on!
Mixing and Stuffing the Oatmeal Crumble
While the apples are waiting patiently in their dish, let’s whip up that sweet, spiced mess they’re about to wear! You want a small bowl for this. Remember, we need the crumble mixture to look coarse, like wet sand, not like dough. That means keeping that butter cold.
Mix your oats, brown sugar, cinnamon, nutmeg, and flour together first. Then, use your fingers—yes, use your fingers, they work better than anything—to rub the cold butter pieces into the dry mix. You’re essentially pinching and rubbing until everything is blended into lovely coarse crumbs. Scoop this mixture gently into the hole of each prepared apple. Don’t pack it aggressively, just press it down enough so it sits nicely in its little pocket.
Baking Time and Checking Tenderness for Baked Apple
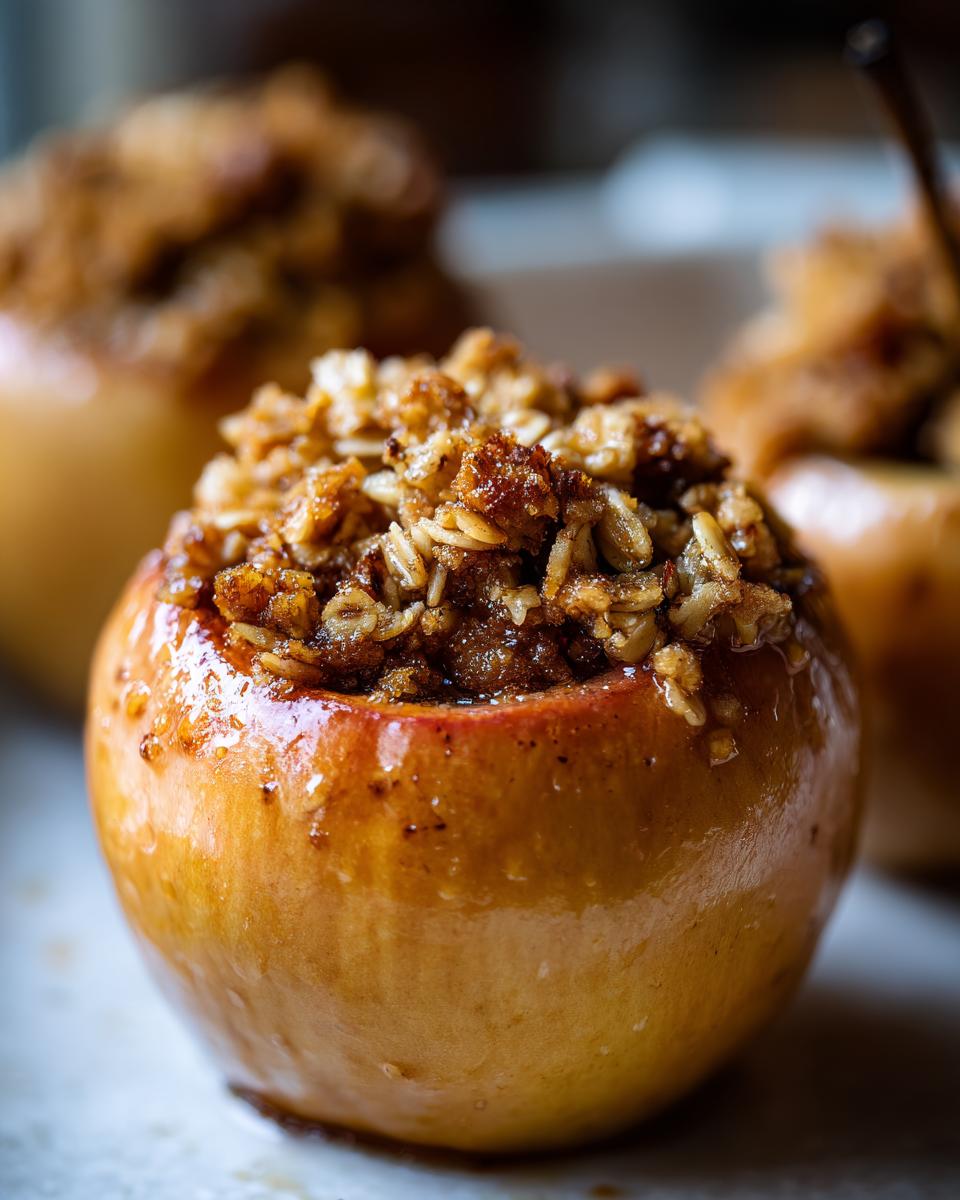
Time for the steam bath! Once all your baked apple beauties are stuffed, pour that quarter cup of water right into the bottom of the baking dish, around the apples. This water turns to steam and is what softens the fruit so beautifully.
Pop the dish into that 375°F oven and set your timer for 35 minutes. Baking time can wiggle a bit depending on how big your apples are or how firm they were when raw, so keep an eye on them. The crucial test comes after 35 minutes: grab a thin knife or a fork and poke one gently near the center. If the fork slips in with almost no resistance, they are done! If you feel major pressure, give them another 5 to 10 minutes. We are shooting for tender, not just semi-soft. Take them out carefully; that dish will be piping hot!
Tips for Success When Making Baked Apple
When you’re making something as classic as a baked apple, sometimes the little adjustments make all the difference between good and truly spectacular. I always tweak things slightly based on how juicy my apples seem that day. Remember, these aren’t rigid rules; they are how I make sure my apples are perfectly tender and flavorful every single time I pull them out of the oven.
Adjusting Apple Softness and Flavor Boosts
If you happen to grab apples that are a bit tougher, or if you just like your fruit on the absolute softest side—the kind that requires zero chewing—I have a trick for you. For the first 20 minutes of baking, loosely cover that baking dish with foil. This traps all the steam from the water we added underneath, giving the apples a nice, steamy head start so they soften right up without burning the crumble topping.
Also, let’s talk about boosting that moisture in the bottom! Instead of using the full quarter cup of water we called for in the main recipe, try swapping out just one tablespoon of that plain water for a tablespoon of pure maple syrup. Wow! Maple syrup combines so beautifully with cinnamon and brown sugar, and it adds this deep, sweet richness that permeates the apple as it steams. It takes your warm apple dessert up a notch without any extra work.
Crumble Variations for Your Baked Apple
The basic oatmeal crumble is fantastic, truly, but sometimes you just need that extra textural pop, right? This is where we go back to those delightful notes Olivia’s family often experimented with—never settling for just one path to flavor!
My absolute favorite addition to the crumble mixture is nuts. If you’re not worried about anyone having allergies, toss in about two tablespoons of chopped walnuts or pecans along with the oats and brown sugar. The nuts toast up beautifully in the oven and add such a satisfying crunch against that tender fruit. It kind of turns it into a mini apple crisp baked apples situation! If you love cinnamon flavor but want a different vehicle for it, you should bake my cinnamon roll cookies next!
Serving Suggestions for a Warm Apple Dessert
Pulling those hot, fragrant baked apple delights out of the oven is an accomplishment, but the real fun starts when you decide how to dress them up! This dessert is wonderful all on its own—seriously, the fruit is tender and the filling is sweet and spicy—but it screams for a little something cold or creamy on top. It’s basic comfort food elevated, you know?
You want the contrast! That warm cinnamon spice against something cold is just magical. Think about that first bite: the warm, soft apple melting into cold cream.
Here are my favorite ways to serve up these delicious baked apples:
- Vanilla Ice Cream: This is the classic for a reason. Place one warm apple in a bowl and drop a generous scoop of good vanilla bean ice cream right on top of the crumble. It melts down into the cinnamon juices pooling at the bottom—heavenly!
- Greek Yogurt: If you want to keep it slightly healthier or are having this for a cozy breakfast treat (don’t judge!), plain Greek yogurt is amazing. It cuts through the sweetness of the brown sugar perfectly. If you are leaning toward a dip next time, check out my cream cheese caramel apple dip recipe!
- A Simple Drizzle: Remember that optional tablespoon of lemon juice we talked about? Drizzle just a few drops over the top of the finished, warm baked apple right before serving. It wakes up all those spice flavors instantly. Trust me on this!
Honestly, you can’t go wrong. Whether it’s a scoop of ice cream or just eaten straight from the dish with a spoon, enjoy the warmth! That’s the whole point of food like this.
Storage and Reheating Instructions for Baked Apple
One of the best things about making a batch of these wonderful baked apple delights is that you almost always end up with leftovers—which is great because they taste amazing the next day too! But you have to store them right, otherwise, that lovely oatmeal crumble turns soggy when you least expect it.
We want to preserve that tender fruit and satisfying topping, so how we store them is pretty simple. We treat them like any other baked fruit dessert. Don’t just leave them sitting on the counter! Once they are completely cool—and I mean totally cool, don’t rush this—transfer them to an airtight container.
Your leftover baked apple portions should keep just fine in the refrigerator for about three to four days. That gives you plenty of time to enjoy them during the week—maybe stirred into yesterday’s breakfast oatmeal or eaten cold as a mid-afternoon snack!
The Best Way to Reheat Your Baked Apple
Okay, this is where texture comes back into play. You want that apple warm and soft again, but you do not want rubbery edges around your crumble!
Personally, I always reach for the oven first, especially if I’m reheating more than one serving, or if I want to revive the crispness of that topping a little bit. Preheat your oven—a lower temperature is key here—to about 325 degrees Fahrenheit. Pop the apple right back into an oven-safe dish, maybe add a tiny splash of water to the bottom of the dish if it looks dry, and warm it up for about 10 to 15 minutes. This gentle heat warms everything through without drying out the fruit.
Now, if you are in a massive rush and only heating one apple, the microwave is fine, but you have to be super careful! Microwave it in short, 20-second bursts until it is warmed through. Just be warned: microwaving tends to make that oatmeal crumble texture a little softer, so if crunch is your main goal, stick to the oven method. If you’re looking for more fun ways to use up fruit during the week, you should browse my full collection of easy sweet snacks!
Frequently Asked Questions About Baked Apple
When you get into baking classics, people always have questions about swapping things out or making it fit their needs better. I totally get it! Olivia always says that recipes are starting points for your own adventure. Here are some of the things I hear most often when folks try to tackle this fall apple dessert.
Can I use apples other than Fuji or Honeycrisp for baked apple?
Yes, absolutely! Fuji and Honeycrisp are my favorites because they are sturdy, sweet-tart little workhorses that maintain structure even when fully cooked. However, you can certainly use others. The main thing to watch for is texture. If you choose a softer apple, like a McIntosh or Red Delicious, they will get much mushier, much faster. Your baking time might become shorter, so keep that fork handy! Firm apples are always your safest bet for that perfect tender-but-not-puree result.
How long do these easy baked apples last in the fridge?
Since this recipe bakes the apples until they are very soft, they are best eaten within a couple of days. Once they are completely cooled down, pop them into an airtight container. I find they retain the best texture for about three days in the refrigerator. After about four days, the fruit starts to get a little too soft for my liking, even with the crumble still attached! If you try chilling them overnight, it makes a surprisingly good breakfast topped with yogurt—those easy baked apples are great cold, too!
Can I make this a healthy baked apples recipe?
That’s a great direction to take this! The main culprits for sugar here are the brown sugar in the crumble and the apple’s natural sweetness. You can easily reduce the brown sugar in the filling by about a quarter without losing too much flavor integrity. You could also swap half of that brown sugar for date paste or use a zero-calorie sweetener like monk fruit blend. Also, if you swap out the flour for more oats, you boost that fiber content instantly! We love keeping things adaptable for everyone who wants a great dessert, like the options we share for when we make a Thanksgiving snack platter!
Nutritional Estimates for Baked Apple
I always feel a little better enjoying a treat when I have a general idea of what I’m eating, even if I don’t count every single calorie! Remember, these numbers are just estimates based on the recipe ingredients we used—we counted everything from the oats to the single tablespoon of lemon juice we might skip. So please take these figures with a grain of salt, as they change depending on the exact size of your apples!
But for a standard, single serving of our baked apple with that lovely oatmeal crumble, here’s what the estimate looks like:
- Serving Size: 1 apple
- Calories: 280
- Sugar: 35 grams
- Fat: 12 grams
- Saturated Fat: 7 grams
- Carbohydrates: 45 grams
- Fiber: 6 grams
- Protein: 3 grams
- Cholesterol: 25 milligrams
- Sodium: Just 5 milligrams! (That’s the low sodium we love in home cooking!)
See? Not bad at all for a warm, comforting fall dessert! It’s got a nice bit of fiber from those oats and the apple itself. Enjoying this homemade baked apple is definitely a win for flavor and satisfaction!
Share Your Perfect Baked Apple Creation
Now that you’ve gone through every step, from coring the fruit to smelling that amazing cinnamon spice filling your kitchen, I just *have* to know how it turned out for you! Olivia created this blog to foster a community right here in the kitchen, and sharing your results is how we all learn and get inspired.
Did you use McIntosh apples? Did you sneak in some cherries or maybe use maple syrup instead of water when you made your baked apple? Don’t keep those delicious secrets to yourself!
Seriously, if you followed this recipe and loved the tender fruit with that buttery crumble, please take a moment to leave us a star rating right here on the recipe card. Those ratings really help new bakers feel confident trying out this classic dessert recipe!
Drop a comment below and tell me what you served it with—mine usually disappears under a giant swirl of melting vanilla ice cream, but I’m always open to new ideas. If you have any last-minute questions or just want to share a picture of your beautiful cozy dessert, you can always reach out directly through our contact page too. Happy baking, friends!
PrintEasy Baked Apples with Brown Sugar Cinnamon Crumble

Make tender, spiced baked apples filled with a simple brown sugar and oatmeal crumble. This is a comforting fall dessert that is easy to prepare in the oven.
- Prep Time: 15 min
- Cook Time: 40 min
- Total Time: 55 min
- Yield: 4 servings 1x
- Category: Dessert
- Method: Baking
- Cuisine: American
- Diet: Vegetarian
Ingredients
- 4 large baking apples (like Honeycrisp or Fuji)
- 1/4 cup rolled oats
- 1/4 cup packed brown sugar
- 1 teaspoon ground cinnamon
- 1/4 teaspoon ground nutmeg
- 2 tablespoons all-purpose flour
- 2 tablespoons cold unsalted butter, cut into small pieces
- 1/4 cup water
- 1 tablespoon lemon juice (optional, for serving)
Instructions
- Preheat your oven to 375 degrees Fahrenheit. Lightly grease a small baking dish.
- Wash the apples. Use a melon baller or small spoon to carefully core the center of each apple, leaving about a half-inch border at the bottom so the filling stays contained. Do not cut all the way through the bottom.
- In a small bowl, combine the rolled oats, brown sugar, cinnamon, nutmeg, and flour.
- Cut the cold butter into the dry ingredients using your fingers or a pastry blender until the mixture resembles coarse crumbs.
- Place the cored apples in the prepared baking dish. Spoon the crumble mixture evenly into the center cavity of each apple. Gently press the filling down.
- Pour 1/4 cup of water into the bottom of the baking dish around the apples. This creates steam to help the apples soften.
- Bake for 35 to 45 minutes, or until the apples are tender when pierced with a fork. Baking time depends on the size and type of apple you use.
- Carefully remove the dish from the oven. Let the apples cool slightly before serving.
- Serve warm, perhaps drizzled with a little lemon juice or topped with vanilla ice cream or yogurt.
Notes
- For a richer flavor, substitute 1 tablespoon of the water with 1 tablespoon of maple syrup when pouring into the baking dish.
- If you prefer a softer apple, cover the baking dish loosely with foil for the first 20 minutes of baking.
- You can substitute pecans or walnuts for some of the oats in the crumble mixture for added crunch.
Nutrition
- Serving Size: 1 apple
- Calories: 280
- Sugar: 35
- Sodium: 5
- Fat: 12
- Saturated Fat: 7
- Unsaturated Fat: 5
- Trans Fat: 0
- Carbohydrates: 45
- Fiber: 6
- Protein: 3
- Cholesterol: 25