
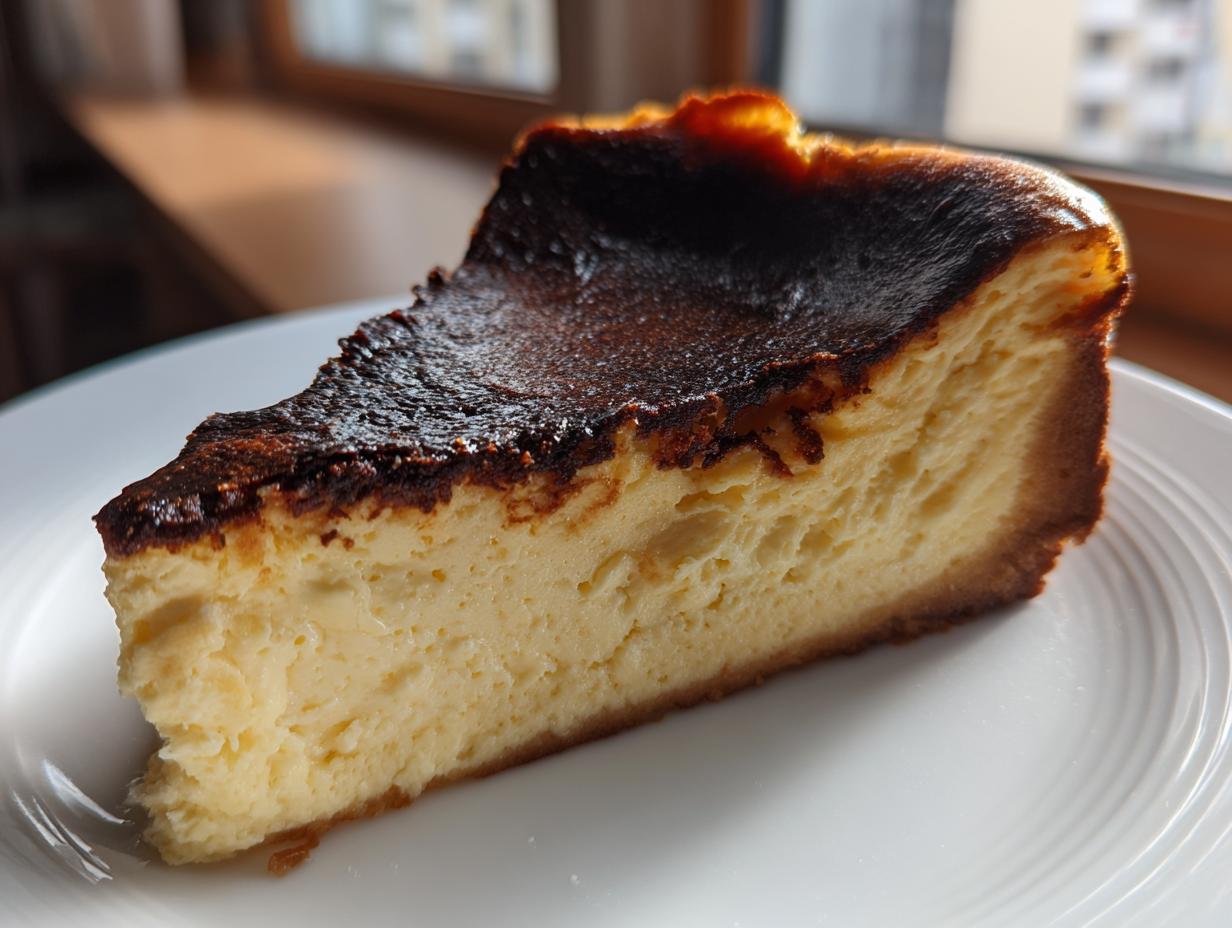
Oh, you are just going to *love* this one. Are you tired of desserts that look incredibly fancy but demand you spend half your day wrestling with finicky crusts or stressful blue-tinged water baths? Me too! That’s why I’m so thrilled to share my absolute favorite recipe: the basque burnt cheesecake. It’s stunning, it’s aggressively flavorful, and honestly, it’s borderline ridiculous how easy it is to make. Here at DelishCraze, my goal—and what inspired Olivia Rosewood when she started all this—is bringing you those high-reward recipes that don’t take over your life. You can read more about our mission right here. This Spanish sensation delivers a crustless, creamy center that melts in your mouth, all topped with that signature, deeply caramelized char. It’s pure magic with minimal effort. Trust me, this simple cheesecake is about to become your new signature bake.
- Why This is the Ultimate Easy Basque Burnt Cheesecake Recipe
- Ingredients for Your Basque Burnt Cheesecake
- Step-by-Step Instructions for the Easiest Basque Burnt Cheesecake
- Tips for Success with Your Homemade Burnt Cheesecake
- Variations: Making a Loaf Pan Cheesecake Recipe
- Serving Suggestions for the Rustic Cheesecake
- Storage and Reheating Instructions for Basque Burnt Cheesecake
- Frequently Asked Questions About Basque Burnt Cheesecake
- Sharing Your Decadent Dessert Creations
Why This is the Ultimate Easy Basque Burnt Cheesecake Recipe
If you’ve been intimidated by cheesecake, stop right now. This is the one that changes everything. It’s unbelievably simple, yet it looks like something you’d order at a fancy place. This basque burnt cheesecake truly lives up to the hype, and if you need quick, reliable recipes for busy weeks, check out some of my other favorites!
- Zero fuss: No crust layering required!
- No water bath drama—ever.
- Incredibly rich and creamy final texture.
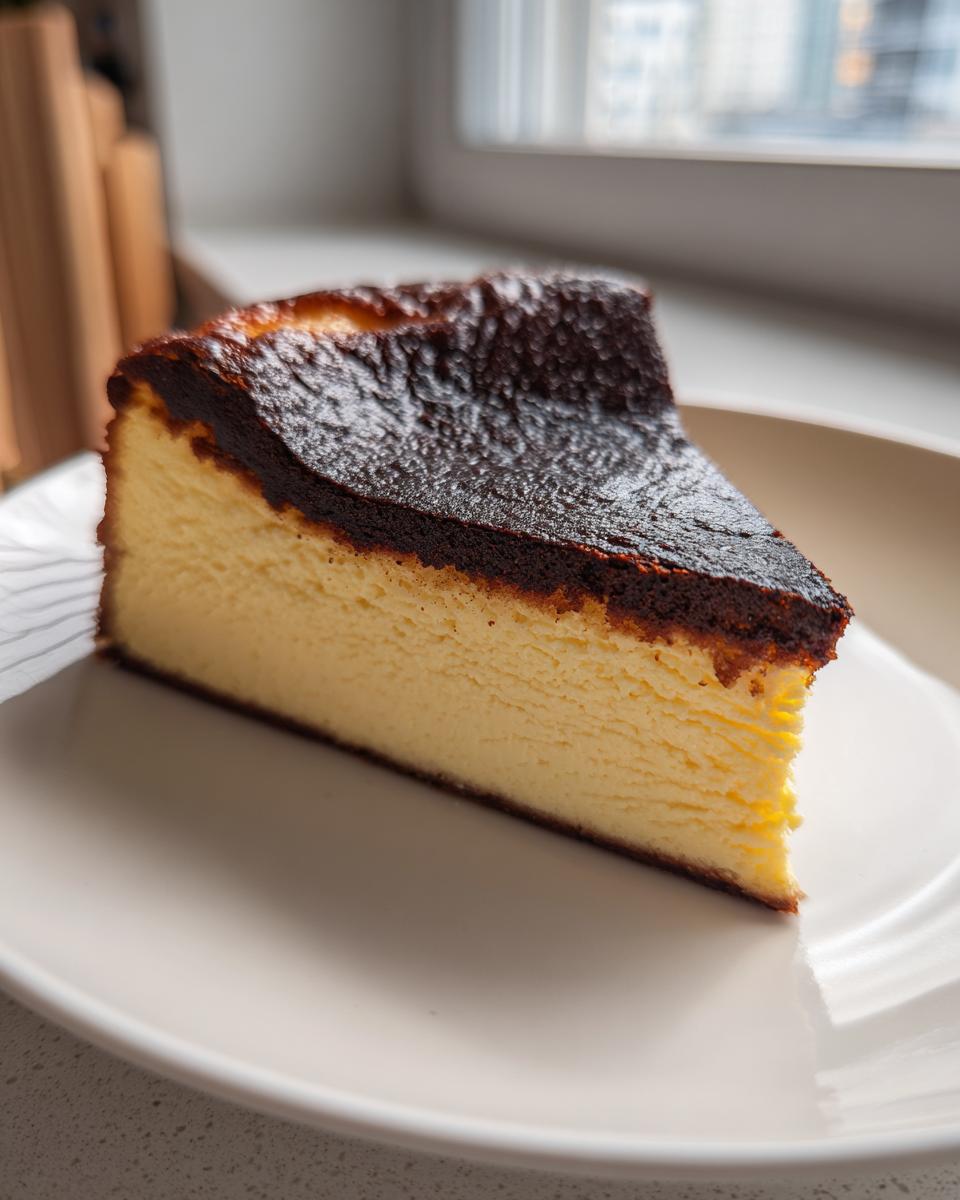
Achieving the Signature Creamy Dessert Texture
The velvety interior happens because we are super patient with our ingredients before we even turn on the mixer. You absolutely have to let your cream cheese and eggs sit out until they are perfectly room temperature. This ensures they blend into a batter as smooth as silk. Also, trust me on the flour—we use barely any! That flour is there just for stability, so it won’t interfere with that lush, almost pudding-like mouthfeel we are going for.
The Secret to a Perfectly Caramelized Cheesecake Top
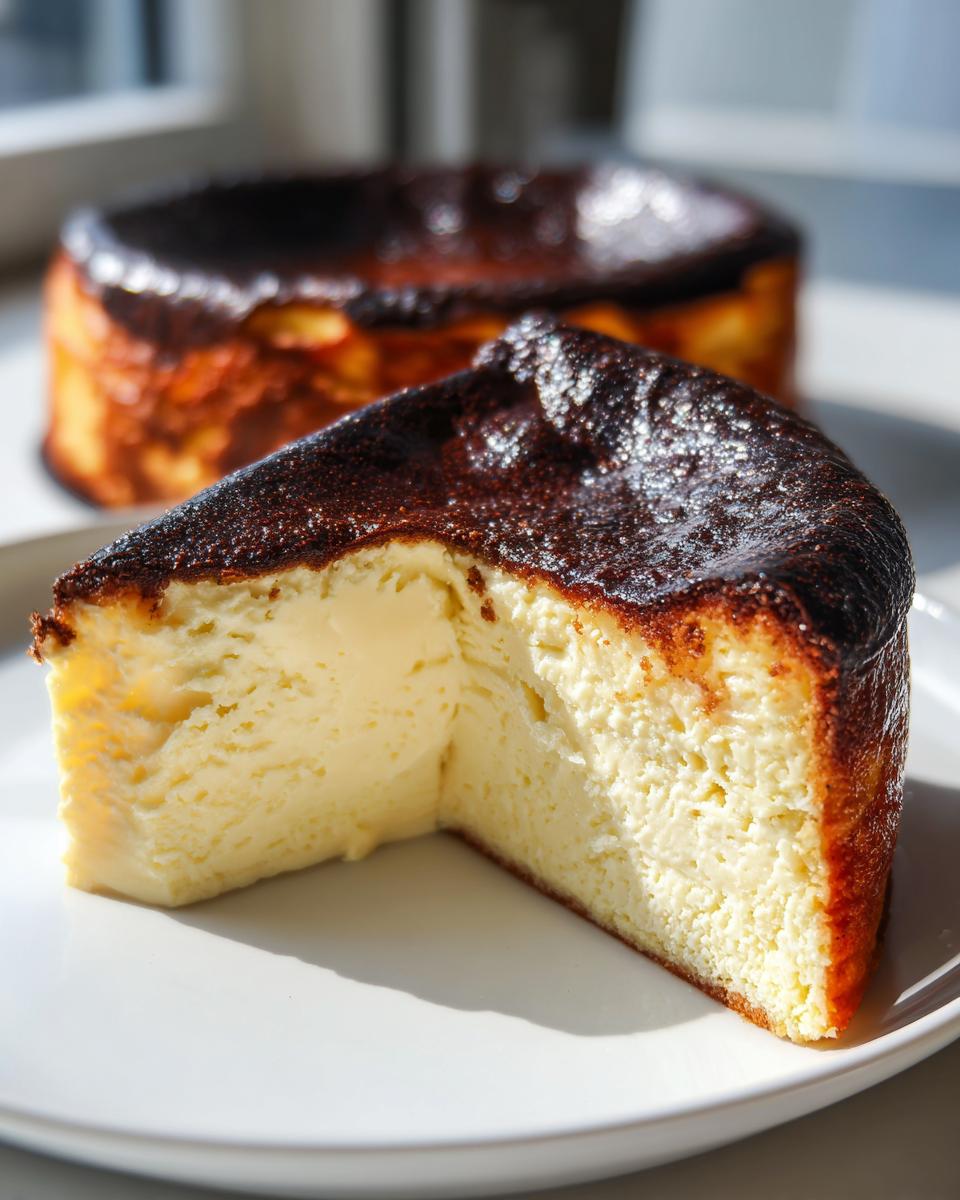
That gorgeous, dark crust? That’s the whole point! We are using a screaming hot oven, which is the magic trick here. Because we skip the traditional water bath—that fussy setup where the cheesecake sits in a tray of water—the intense, direct heat caramelizes the sugars on the surface really fast. It looks dramatic, maybe even a little burnt, but that slight bitterness cuts through the richness of the basque burnt cheesecake perfectly. It’s rustic beauty, darling, and it means less work for you!
Ingredients for Your Basque Burnt Cheesecake
This recipe is amazing because it uses such a short list. We’re relying on quality here, not quantity! I always tell people that the simplicity is what makes this a showstopper. You don’t need twelve different ingredients to create something decadent, you just need the right tools to bring them together.
- 1.5 lbs cream cheese, softened to room temperature
- 1 1/4 cups granulated sugar
- 4 large eggs, room temperature
- 2 large egg yolks, room temperature
- 1 3/4 cups heavy cream
- 1 tablespoon all-purpose flour
- Pinch of fine sea salt
Ingredient Notes and Substitutions
Listen closely: room temperature ingredients are non-negotiable for this dessert. If your cream cheese or eggs are cold, you’ll end up with lumps, and we want that luxurious, velvety cheesecake center, right? Take them out at least two hours before you start. That tiny tablespoon of flour is crucial, but intentionally small—it’s just there to add the smallest bit of structure so the basque burnt cheesecake doesn’t completely collapse into a puddle! Don’t try to substitute the cream cheese, though; this density requires full-fat blocks. You can use regular sugar, but the slightly deeper flavor from standard granulated sugar really helps that caramelized top shine.
Step-by-Step Instructions for the Easiest Basque Burnt Cheesecake
Okay, buckle up! This seems fancy, but once you see how simple the mixing is, you’ll be hooked. We’re going to build this decadent baked dessert layer by layer in the bowl, keeping everything gentle so we don’t introduce unwanted air. When you’re done, you’ll have created a batter ready for high heat! For more on how to handle delicate batters without wrecking them, you can check out some of my tips for my snickerdoodle recipe—it’s all about gentle incorporation.
Preparing the Pan and Oven for Your Crustless Cheesecake
First thing: get that oven preheating to 400°F (200°C). Now, for the parchment paper. This is where the rustic look comes from! Take two big sheets and crinkle them up slightly—don’t make them perfect! Line your springform pan so the paper sticks up at least two inches over the rim. This holds the batter in while it rises wildly. And here’s the best part: forget the water bath! That’s the old way. We want the direct, high heat to give our basque burnt cheesecake that scorched, beautiful exterior.
Mixing the Batter for a Velvety Cheesecake Center
Start with your room-temperature cream cheese. Beat it until it’s super smooth, like soft butter. Then, slowly add the sugar and mix until it’s fully combined. Now, add those eggs one at a time. Seriously, make sure the first egg is totally mixed in before the next one goes in. After the eggs and yolks, we pour in the heavy cream slowly. Finally, sift your tiny bit of flour and salt over the top and mix on low speed only until you don’t see white streaks anymore. Stop mixing right there! Over-mixing at this stage is what creates a dry cake.
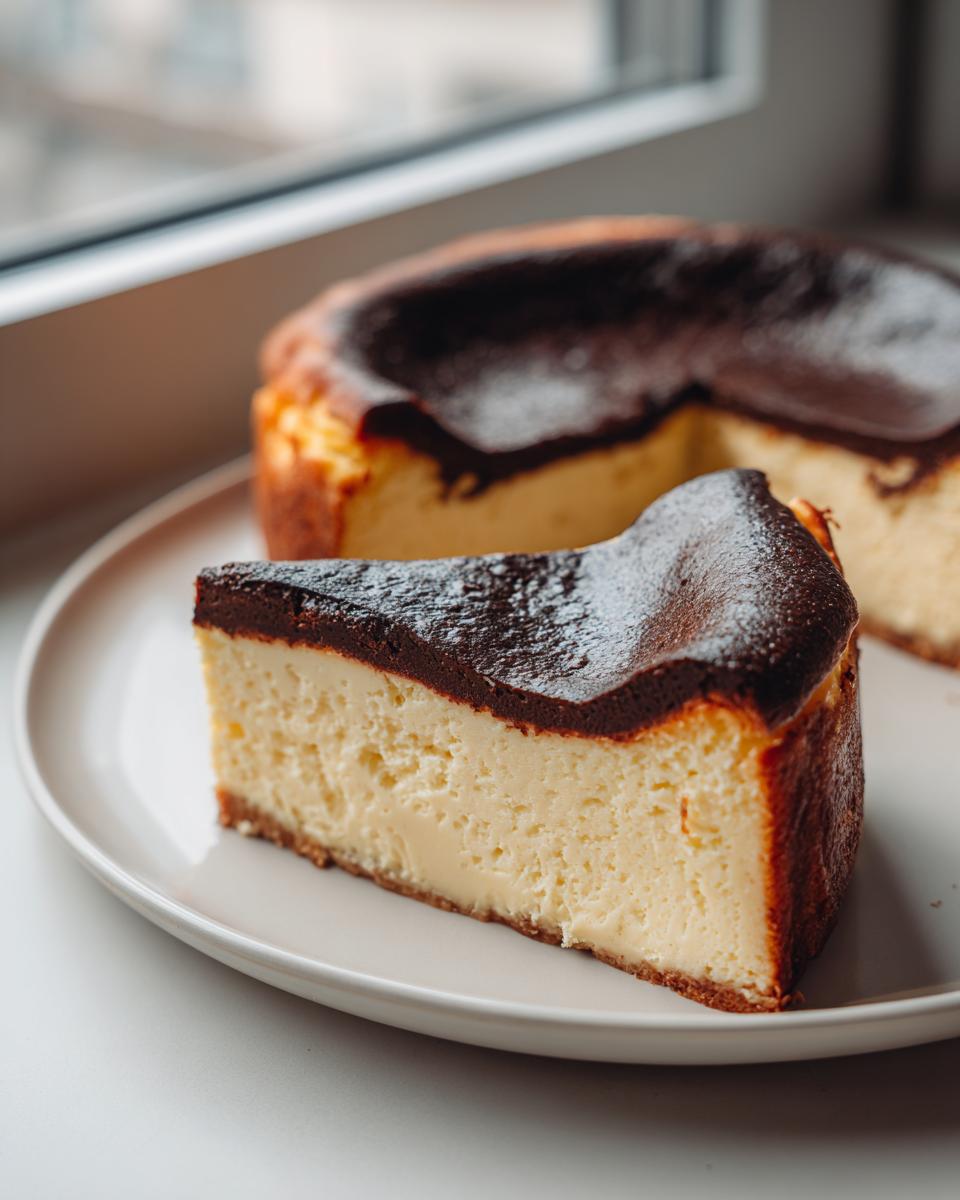
Baking and Cooling the Decadent Baked Dessert
Pour that silky batter into your crinkly-lined pan. Bake this beauty for about 45 to 55 minutes. You’re looking for the edges to be set firm, but when you gently shake the pan, the center should still wobble like soft Jell-O. Don’t try to bake that wobble out! Once it’s done, pull it out and let it cool completely on the counter—this takes about three hours. It will visibly sink, which is normal! Only then do you cover it and chill it overnight. This long chilling time is what transforms the center into that legendary, melt-in-your-mouth texture we adore in a basque burnt cheesecake.
Tips for Success with Your Homemade Burnt Cheesecake
You’ve nailed the mixing and the baking; now let’s talk about setting the stage for success! Because this dessert is so simple in ingredients, technique really makes all the difference between good and spectacular. If you want your basque burnt cheesecake to be an Impressive Dinner Party Dessert, pay close attention to the temperature shifts.
Here are my must-do tips!
- Don’t Fear the Dark: I know that dark, almost black top looks scary, especially when you’re used to pale, gentle cheesecakes. But that caramelization is flavor! If your top is only light brown, pop it under the broiler for 60 seconds—but watch it like a hawk, because that transition happens fast!
- Room Temp is Your Best Friend: I mentioned it before, but I can’t stress this enough. Cold ingredients equal lumpy batter, and we want zero lumps in this creamy dream.
- Rest is Best: Seriously, you have to wait. Serving it warm results in a runny mess. Those long cooling hours are when the starches and fats settle down to achieve that perfect contrast between the crisp edges and the soft middle. Patience is a virtue when making the perfect basque burnt cheesecake.
If you’re planning on making a whole spread, don’t forget to check out some appetizer ideas to go alongside your cheesecake!
Variations: Making a Loaf Pan Cheesecake Recipe
Okay, so maybe you don’t have an 8-inch springform pan handy, or maybe you just want to make individual portions because that’s how you avoid accidentally eating the whole thing in one sitting! We can absolutely adapt this recipe for a regular loaf pan. It makes for such a cute, rustic presentation—check out how lovely they look over at this great example! You’ll still use the crinkled parchment paper method, but make sure you let it drape over the sides even more generously.
Because the loaf pan is deeper than the springform, the heat takes a little longer to penetrate the center. You might need an extra 5 to 10 minutes in the oven, so start checking around the 50-minute mark. Since loaf pans are usually narrower, your basque burnt cheesecake will rise taller there than in a standard round pan. If you’re interested in making more individual desserts, perhaps check out my mini pecan pies; they share that ‘easy-to-scale’ benefit!
Serving Suggestions for the Rustic Cheesecake
Because this basque burnt cheesecake is so incredibly rich and has that beautiful dark char flavor, it honestly needs very little dressing up! I usually serve it completely plain because the contrast between the cool-from-the-fridge slice and the room-temperature bite is just heavenly. If you absolutely must add something, a tiny scattering of fresh raspberries or maybe just a whisper of flaky sea salt over the top is all you need. Remember, it’s the flavor powerhouse, so let that velvety texture shine!
Storage and Reheating Instructions for Basque Burnt Cheesecake
Now, this is where patience pays off again! While I know you’ll want to eat the entire amazing crustless cheesecake the minute it comes out of the fridge, you really need to wait. Once it’s fully cooled on the counter, cover that pan loosely with plastic wrap—make sure the wrap doesn’t stick to the top—and put it in the refrigerator. It really needs at least six hours to firm up properly, but overnight is honestly the golden standard. Chilling it locks in that creamy, almost custard-like texture we worked so hard to achieve.
How long does it keep? Stored tightly wrapped in the fridge, this creamy dessert is fantastic for about 4 to 5 days. You’ll notice the texture firm up the longer it sits, which is totally normal. But here’s my big secret for getting that perfect bite, especially on Day Three: Take the slice you plan to eat out of the fridge about 45 minutes before serving. Letting it come back close to room temperature softens that interior just enough, making it feel luxurious and rich again. Don’t bother trying to microwave it; that will ruin the texture we perfected with all that careful cooling!
Frequently Asked Questions About Basque Burnt Cheesecake
I always get the same questions after people make their first basque burnt cheesecake, and honestly, they are all really good questions! Getting the color and the texture just right can feel like guesswork, but once you know what to look for, you’ll nail it every time. We want this to be an easy, rustic cheesecake experience, not a baking science project. If you’re looking for more reliable tips on perfecting creamy desserts, you might enjoy my guide to a no-water-bath New York cheesecake too!
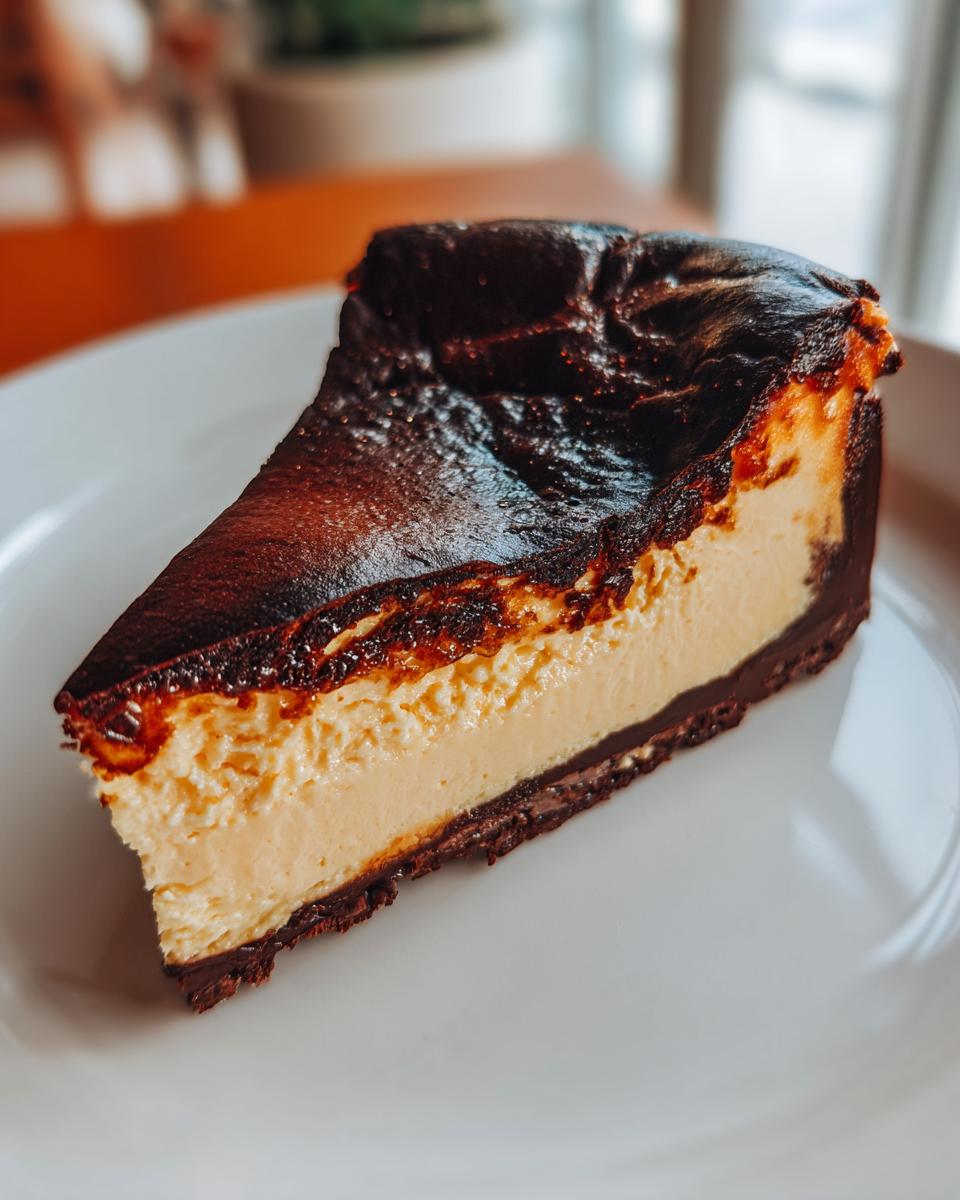
Is the top of the Basque Cheesecake supposed to be black?
Yes! A thousand times yes! If your top is only light golden brown, you haven’t pushed the oven temperature enough, or you stopped baking too soon. That deep, dark, almost black char is exactly what we are aiming for. It’s what differentiates this Spanish classic from every other crustless cheesecake out there. That intense caramelization is flavorful, not bitter, and it’s crucial for the overall taste profile!
Can I use a different size pan for this recipe?
You certainly can, but you have to be ready to tweak the time. If you use a smaller 6-inch pan, the batter will be much thicker, so you’ll need to add about 10 to 15 minutes to the bake time, watching carefully so the center doesn’t completely set. If you use a much wider pan, like a 9×13 pan, the batter will be thin, and it might only need 35 minutes or so. Keep using those rustic parchment sides, even with different pans, for the best visual appeal!
What is the difference between this and a New York Cheesecake?
It’s night and day, really! A classic New York style cheesecake is all about density—it’s heavy, it has a graham cracker crust, and we bake it low and slow, usually in a water bath, to keep it perfectly pale and smooth. This basque burnt cheesecake is the opposite! We bake it hot and fast, so it has that famous wobbly, almost soufflé-like, velvety cheesecake center, and we don’t bother with any crust at all. It’s rustic versus refined, if you will!
Sharing Your Decadent Dessert Creations
Now that you’ve successfully navigated the heat and created your own piece of edible art, I absolutely want to hear about it! Seriously, seeing your results is the best part of my day. Did you nail that deep char? Is that center just unbelievably creamy? Don’t keep that triumph to yourself!
If you made this basque burnt cheesecake, please take a moment to leave a star rating right below the recipe card. That feedback helps me keep the recipes here at DelishCraze reliable and top-notch. And if you’re sharing photos online, tag me! I love seeing how this decadent dessert looks in different kitchens.
If you enjoyed making this, I have so many other great things in my collection of baking and dessert recipes that I think you’ll enjoy trying next. Happy baking, everyone!
PrintThe Ultimate Easy Basque Burnt Cheesecake: Creamy Center & Perfectly Charred Top
Make this crustless Basque Burnt Cheesecake with minimal ingredients. You achieve a rich, velvety interior and a signature caramelized exterior without needing a water bath. This recipe offers an impressive, rustic dessert with simple preparation.
- Prep Time: 15 min
- Cook Time: 55 min
- Total Time: 70 min
- Yield: 8 servings 1x
- Category: Dessert
- Method: Baking
- Cuisine: Spanish
- Diet: Vegetarian
Ingredients
- 1.5 lbs cream cheese, softened to room temperature
- 1 1/4 cups granulated sugar
- 4 large eggs, room temperature
- 2 large egg yolks, room temperature
- 1 3/4 cups heavy cream
- 1 tablespoon all-purpose flour
- Pinch of fine sea salt
Instructions
- Line an 8-inch springform pan with two overlapping sheets of parchment paper, allowing the paper to extend high above the rim of the pan. This creates the rustic, uneven sides.
- Preheat your oven to 400°F (200°C). Do not use a water bath.
- In a large bowl, use an electric mixer or a sturdy whisk to beat the softened cream cheese until it is completely smooth. Scrape down the sides frequently.
- Add the granulated sugar to the cream cheese mixture and beat until fully combined and smooth.
- Beat in the eggs one at a time, mixing just until each egg is incorporated before adding the next. Mix in the egg yolks.
- Slowly pour in the heavy cream while mixing on low speed until the batter is uniform.
- Sift the flour and salt over the batter. Mix gently until just combined. Do not overmix; a few small lumps are acceptable.
- Pour the batter into the prepared pan.
- Bake for 45 to 55 minutes. The top should be deeply caramelized, almost black in spots, and the edges should be set. The center should still have a significant wobble, like soft gelatin.
- Remove the cheesecake from the oven. Let it cool completely on a wire rack at room temperature for at least 3 hours. The center will sink as it cools.
- Once fully cooled, cover the pan loosely and refrigerate for at least 6 hours, or preferably overnight, for the best creamy texture.
- To serve, carefully remove the outer ring and peel away the parchment paper. Serve at room temperature for the creamiest result.
Notes
- Use room temperature ingredients for the smoothest batter texture.
- For a loaf pan variation, use a standard loaf pan lined with parchment paper and reduce the baking time slightly.
- The high heat creates the signature caramelized top; do not worry if it looks very dark.
- Serve this decadent baked dessert plain or with fresh berries.
Nutrition
- Serving Size: 1 slice
- Calories: 450
- Sugar: 35g
- Sodium: 150mg
- Fat: 35g
- Saturated Fat: 22g
- Unsaturated Fat: 13g
- Trans Fat: 0.5g
- Carbohydrates: 30g
- Fiber: 0g
- Protein: 8g
- Cholesterol: 180mg