
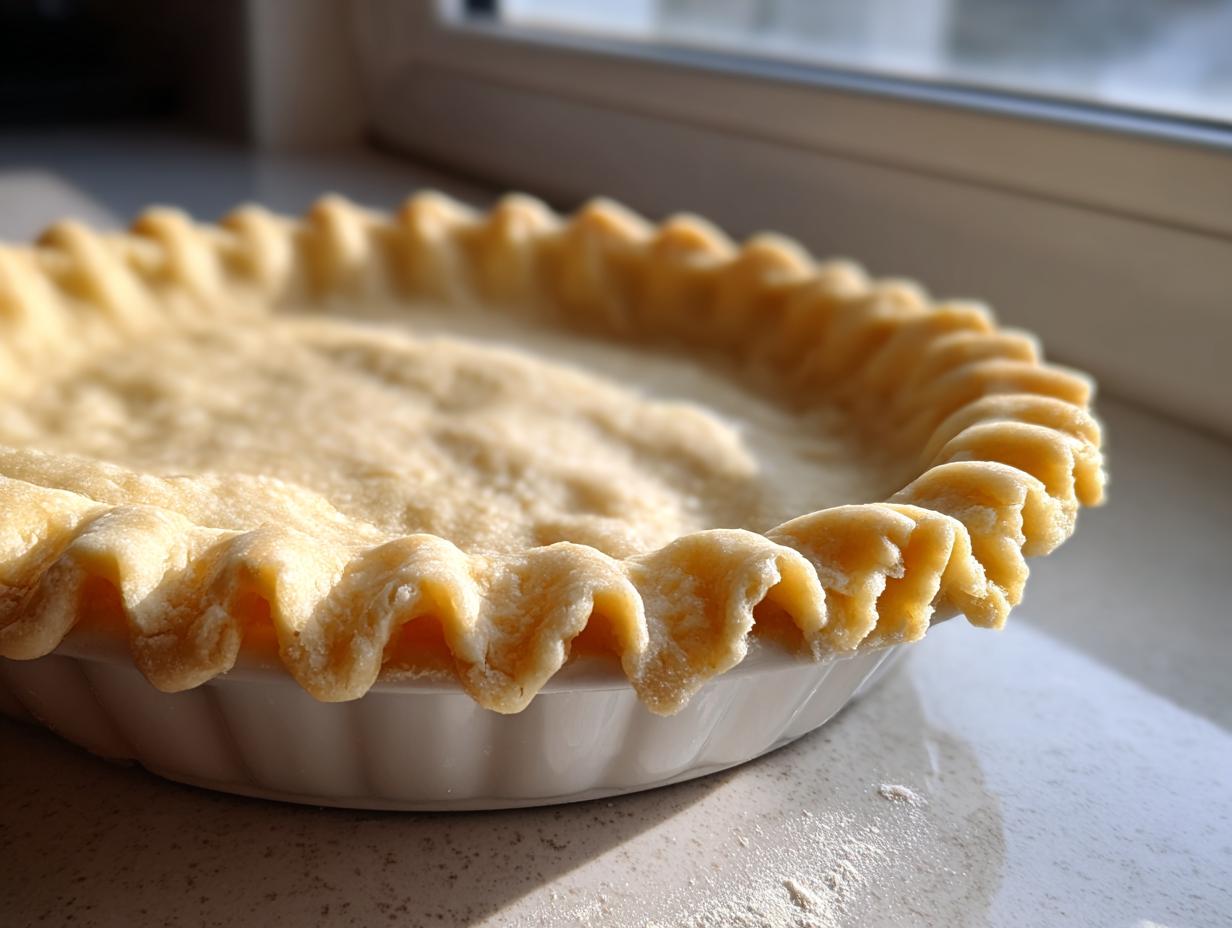
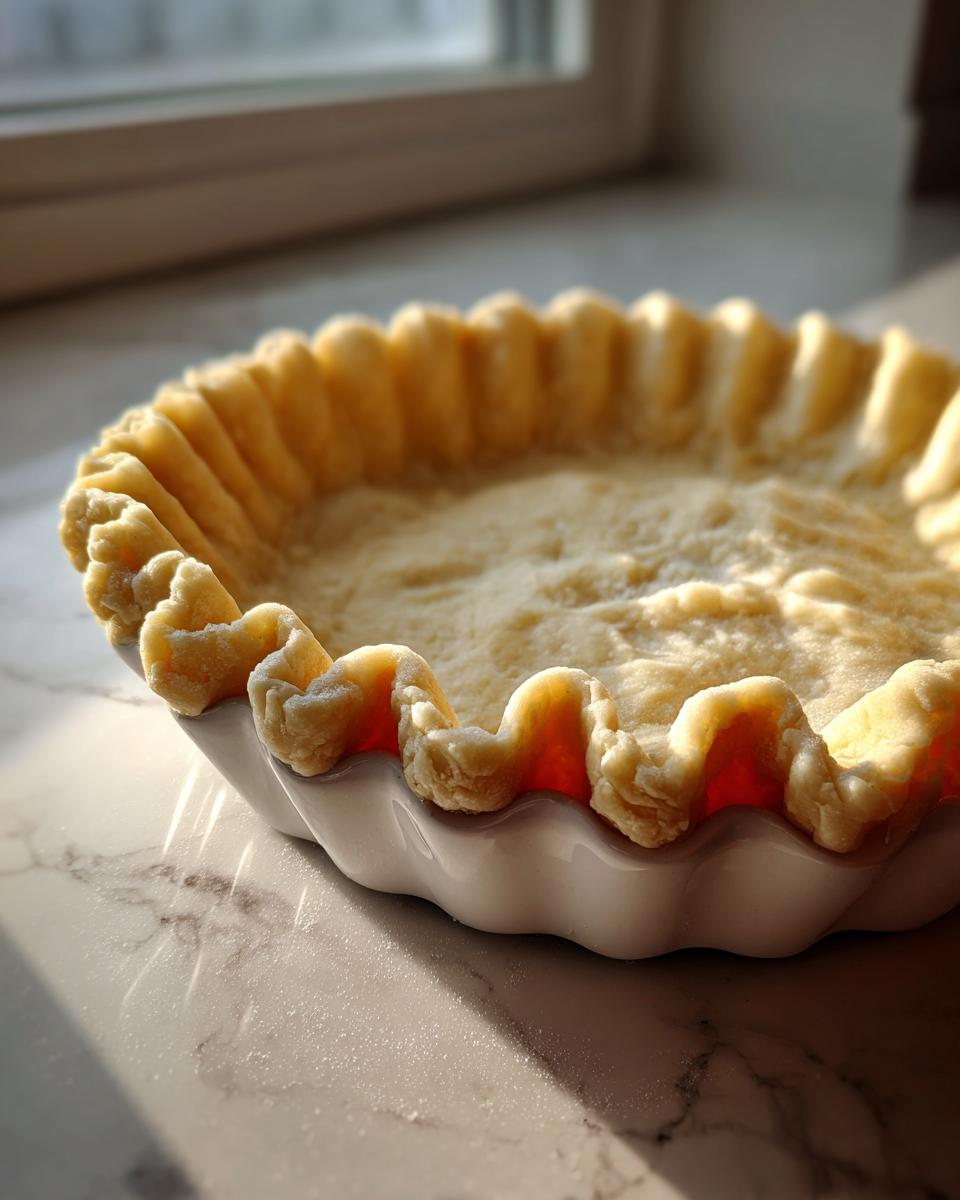
There is just something magical about that first bite of a truly homemade pie. You know the one—where the crust shatters delicately onto your plate and you can actually taste the rich, pure flavor of butter? When I first started baking seriously, making a perfect butter pie crust felt like baking’s final boss fight. So much pressure! That’s why, when I created DelishCraze, my goal was to take those classic, intimidating recipes, like the ultimate flaky pastry, and strip them down to the essentials. You don’t need any weird additives or shortening to get that professional, layered look. This is my straightforward, Foolproof All Butter Pie Crust Recipe, designed to give you those glorious, flaky, tender layers every single time, whether it’s for Thanksgiving or just a Tuesday afternoon.
- Why This Butter Pie Crust Recipe Is Your New Holiday Baking Essential
- Ingredients for the Perfect Butter Pie Crust
- How to Make Pie Crust from Scratch: Step-by-Step Instructions
- Tips for Baking a Golden Brown Pie Crust
- Troubleshooting Common Issues with Your Butter Pie Crust
- Storage and Make-Ahead Tips for Tender Pastry Dough
- Serving Suggestions for Your All Butter Pie Crust
- Frequently Asked Questions About Making a Butter Pie Crust
- Nutritional Estimates for This Simple Pastry Recipe
Why This Butter Pie Crust Recipe Is Your New Holiday Baking Essential
Listen, when the holidays roll around—or whenever you’re just craving something really special—you deserve a crust that never lets you down. My years of trial, error, and learning from classic recipes taught me that the best flavor comes from keeping this butter pie crust pure. Forget those complicated recipes that ask for half butter and half shortening; we’re keeping it simple and delicious here.
- Pure Butter Flavor: Nothing beats that nutty, rich taste that only comes from 100% butter. It makes your fillings taste even better!
- Flaky and Tender Every Time: I tweaked the technique until it was nearly impossible to mess up. You’ll get those delicate, shatterable layers you dream about.
- Reliable Consistency: This dough is sturdy enough to handle the heaviest apple filling or an upside-down quiche without weeping or breaking.
If you’re planning your heavy-hitting Thanksgiving menu, trust me, this is the base you need. It’s my go-to, and I know it’ll become yours too! Seriously, check out how others are loving this style of dough over here.
The Secret to Truly Flaky Butter Pie Crust Layers
If you want flakiness, you need tiny, distinct pockets of fat. That’s physics, friends! The absolute key is temperature. Your butter has to be rock hard and cut into small, roughly pea-sized chunks—maybe even a little smaller. When that cold butter hits the hot oven, the water trapped inside turns to steam super fast, pushing the layers of dough apart. If the butter melts before it steams, you just end up with a tough, greasy crust, and nobody wants that sad situation!
Ingredients for the Perfect Butter Pie Crust
This recipe is beautifully simple because we are sticking to what works best for a true butter pie crust: four main players. I developed this batch size to be perfect for a standard 9-inch double-crust pie—think apple or cherry! Remember, the quality here matters more than the quantity, so pay close attention to how you treat these ingredients.
Here’s what you’ll need:
- 2 1/2 cups all-purpose flour (Make sure it’s leveled, not scooped!)
- 1 teaspoon salt (You can adjust this based on your butter!)
- 1 cup (that’s two full sticks!) unsalted butter, very cold and cut into small 1/2-inch cubes
- 6 to 8 tablespoons ice water (This is non-negotiable—it must be icy!)
If you’re looking for something sweet to go *with* this crust, once you’re done here, you absolutely have to bookmark my easy homemade toffee recipe. It’s simple, buttery heaven!
Ingredient Notes and Substitutions for Your Homemade Pie Dough
Okay, let’s talk specifics, because this is where new bakers often get tripped up and end up with tough pastry dough instead of my favorite tender pastry dough.
First off, I insist on using unsalted butter. Why? Because I want complete control over the salt level to match my filling. If you absolutely must use salted butter (maybe that’s all you have in the fridge!), go ahead, but knock the added salt in the dough down to just 1/2 teaspoon instead of a full teaspoon. That will keep things balanced.
The butter must be cold—and I mean cold. Take it out of the fridge, cube it quickly, and if your kitchen is warm, pop those cubes back in the freezer for 10 minutes before you start mixing. We want those butter chunks to stay distinct until they hit the oven.
Finally, that water. Ice water is a game changer. If you don’t have time to add actual ice cubes, just fill a glass with water and let it sit while you measure out your flour; it needs to be painfully cold to help create the best-looking, flakiest pie crust possible.
How to Make Pie Crust from Scratch: Step-by-Step Instructions
Okay, this is where the magic happens, and where you need to channel your inner calm. Remember, the goal for this butter pie crust is minimal handling. We want that butter to stay cold and separate! You have to move quickly so you don’t warm up the dough one bit, but don’t rush the mixing process itself. Follow these steps exactly, and you’ll have the most beautiful, simple pastry dough ready for chilling.
Mixing the Flaky Pie Crust Recipe
First, get those cold butter cubes into your flour and salt mixture. Now, grab a pastry blender—or use your fingertips if you’re feeling brave!—and cut that butter in. This is key: keep working it until you have a mix that looks like coarse crumbs, but crucially, you should still see some bigger chunks, roughly the size of small peas. Those are your flakiness insurance policies!
Next comes the ice water. Start by sprinkling just 6 tablespoons over the crumbly mix. Use a fork and toss gently. I mean it—gently. You want the dough to barely cling together. If you press a small bit and it holds its shape, stop adding water. If it looks like dry sand, add the remaining one tablespoon at a time. Stop mixing the second it starts looking like actual dough. Lumps are good!
Chilling and Rolling Out Your Rolled Out Pie Dough
If you skip the chilling, your crust will shrink to about the size of a coaster. Don’t do it! Divide that shaggy dough in half, flatten each piece into a nice, tight disk, wrap it up tight, and tuck it into the fridge for a minimum of two hours. Honestly, I love making it the day before—it’s just better after a long rest.
When you’re ready to roll, lightly flour your counter. Take one disk—if it’s too hard to roll, let it sit on the counter for just five minutes to soften slightly. Roll from the center out to an even 12-inch circle. If you have to move the butter pie crust, fold it into quarters like a taco shell, lift, and unfold gently into your pie plate. That keeps the layers intact!
If you want some easy ideas for other make-ahead items while that dough rests, check out my make-ahead egg muffins—baking prep is best done in batches! If you want to see someone else nail this flawless technique, check out this great guide here.
Tips for Baking a Golden Brown Pie Crust
You’ve chilled it, you’ve rolled it out beautifully—now we just need the finishing magic! A great All Butter Pie Crust can look a little pale sitting empty in the oven, so we take a couple of steps here to make sure it comes out perfectly golden and, more importantly, crisp all the way through. Soggy bottoms are the sworn enemy of a good pie, and my goal is always a bottom crust that snaps when you cut it!
If you are blind baking—meaning baking the shell empty before adding a cold filling, like for a cream pie—you absolutely must dock it. Docking just means taking a fork and poking holes all over the bottom and sides of the dough. This allows steam to escape while it bakes. Without those little escape routes, the crust puffs up unevenly, and frankly, it looks silly.
For real insurance against a soggy bottom, I always line the shell with parchment paper once it’s in the pie plate. Then, I fill the parchment paper right up to the edges with pie weights. You can use actual ceramic weights, dried beans, or uncooked rice—I use whatever I have handy! Bake it like this for about 15 minutes until it looks set, then carefully lift out the weights and paper. Keep baking until it’s lightly golden brown.
Getting That Deep Golden Color
This is my personal little trick for getting the most gorgeous color on the edges, especially for holiday pies. Right before the final 10 minutes of baking (or right before you add a room-temperature filling), whisk up one egg white with just a splash of water. Brush this mixture lightly over the exposed rim of the crust.
That egg wash creates a beautiful sheen and helps those buttery edges turn a deep, envy-inducing golden brown without burning the rest of the shell. It’s such a simple step, but people always ask me how I get such pretty rims on my pies! If you’re baking off a savory pie, don’t forget that good fat makes everything better; it’s why I love using olive oil in my lemon cake—fat equals flavor, every time!
Troubleshooting Common Issues with Your Butter Pie Crust
Even when you follow the rules, baking sometimes throws us curveballs, right? Don’t panic if your gorgeous butter pie crust dough rebels a little bit. My mission here is to make you feel confident, so let’s talk about the three most common meltdowns this pastry dough throws and exactly how to fix them on the spot. Having a reliable pie crust guide means knowing how to recover when things get tricky!
If you are having a serious baking crisis, sometimes it helps to see how someone else handled a mishap, so I always bookmark brilliant troubleshooting guides like the one over here.
Dough Tearing When Rolling
This usually means one of two things: either the dough is too cold, or you’ve been rolling it too aggressively. If you pull the disk out of the fridge and it cracks the second you touch it, it’s fighting you because it’s too stiff. Don’t try to force it! Wrap it back up and let it sit on the counter for an extra 10 minutes. If it’s cracking because you are having trouble moving it around once it’s partially rolled, use your bench scraper to gently lift and shift the dough often, or even slip a piece of parchment paper underneath it to help maneuver it into the pie plate.
Crust Shrinks Dramatically in the Oven
A shrunken crust means you rushed the chilling process, plain and simple. The gluten strands in the flour get tightened up when you mix them with water, and chilling is what lets those strands relax. If you skip that two-hour rest, the dough tries to relax in the hot oven, causing it to contract and shrink right down the sides of your pan. The fix? If you notice shrinking happening early on, gently push the dough back up against the sides of the pie plate with your knuckles. For next time, make sure that dough is truly chilled for the full two hours!
Your Pastry Dough Feels Tough or Chewy
Oh, the dreaded tough crust. That almost always comes from overmixing. When you work the dough too much—especially after adding the water—you develop the gluten too much, which turns your beautiful, tender pastry base into something closer to chewy bread dough. If you realize you’ve gone too far while mixing, stop immediately! Don’t add more water or try to knead it smooth. Just wrap that slightly dodgy butter pie crust tightly and chill it for the full recommended time. Sometimes, a long chill can relax things just enough to salvage it, but honestly, this is the biggest lesson to take forward: handle that dough as little as possible!
Storage and Make-Ahead Tips for Tender Pastry Dough
One of the best things about mastering the butter pie crust is that you absolutely do not have to make it the day you need it. In fact, I often think it tastes *better* after a good long rest! This is a total lifesaver when you’re trying to juggle a huge dinner menu, especially around the holidays. Knowing you have this perfect, tender pastry dough tucked away in the fridge or freezer gives you such a leg up.
Since this recipe yields enough for two crusts, I almost always immediately wrap the second disk tightly in plastic wrap and stash it away. If you’re organized like me (or trying to be!), you’ll already have a batch ready to go! And if you are batch-prepping other things, don’t forget to whip up some egg muffins too; make-ahead meals are sanity savers!
Refrigerating Your Dough
This is the easiest way to store your dough if you plan on using it within the next couple of days. After you’ve flattened your two disks, wrap them super tightly in plastic wrap—I usually wrap them once, then aluminum foil just for maximum freshness. Keep it in the main compartment of your refrigerator for up to 48 hours. Seriously, the flavor seems to deepen overnight.
When you pull it out to roll, you must let it sit on the counter for about 10 to 15 minutes before trying to roll it. If you try to roll it straight from the fridge, it will crack and fight you, and we don’t want a stressed-out crust! Remember, slight warmth is your friend when rolling, but ice cold is your friend when mixing!
Freezing Your Butter Pie Crust for Later
If you need to keep that beautiful butter pie crust for longer than two days, freezing is the way to go. Wrap those chilled disks even more securely—I like an extra layer of plastic wrap or even a freezer bag to prevent freezer burn. It will keep beautifully for up to three months.
Thawing correctly is where we protect those flaky layers we worked so hard to create. Do not try to thaw frozen dough on the counter; it gets too warm on the outside while the inside is wrestling with ice crystals. Instead, transfer the wrapped disk from the freezer straight into the refrigerator the night before you plan to use it. It usually takes a slow 8 to 12 hours to thaw safely in the cold.
Once it’s soft enough to slightly indent but still quite firm (usually after about 4 hours in the fridge), you can take it out and let it warm up on the counter for those last 10 minutes before rolling. This slow thawing process preserves the integrity of the cold butter chunks, ensuring you still get that gorgeous, flaky texture when you bake your pie.
Serving Suggestions for Your All Butter Pie Crust
The beauty of this recipe is that it’s not just for one specific thing! Because we kept the flavor profile intentionally simple and focused purely on that wonderful, rich butter taste, this All Butter Pie Crust acts as the perfect partner for practically anything you want to bake.
I always tell people that mastering a reliable foundation like this pastry dough unlocks so many possibilities for you. It’s the ultimate blank canvas that elevates whatever you put inside it, whether you are going sweet or leaning savory.
For your sweet endeavors, this is obviously the gold standard for classic American fruit pies. Think deep-dish apple pies that bake up gorgeously golden, or delicate strawberry-rhubarb pies where you need the buttery crust to hold up to all that juicy filling. If you want the top crust to be a little crispier, remember those blind-baking tips we went over!
Savory Pies That Need A Buttery Base
Don’t forget that savory dishes deserve flaky pastry too! This dough is wonderful for pot pies filled with chicken and vegetables, or even individual hand pies. The richness of the butter really cuts through rich sauces beautifully.
But my absolute favorite savory use? Quiche! A Tender Pastry Dough that’s slightly salty and deeply buttery takes a creamy egg filling, like in a classic Quiche Lorraine, to another level. It stays crisp under that wet custard much better than some other doughs.
If you’re looking for inspiration for a truly comforting savory dish to make next week, try pairing that crust with a side like my creamy vegetable casserole. You need that sturdy, flaky base to balance out all that creamy goodness!
Ideas for Using Your Second Dough Disk
Since this recipe makes two disks, what do you do with the other one waiting in the freezer? It’s perfect for smaller projects!
- Tart Shells: Roll the dough thin and press it into small tart pans for individual desserts.
- Pie Crust Cookies: Cut out shapes, sprinkle with cinnamon sugar, and bake them while your main pie shell chills. It saves you from wasting scraps!
- Savory Toppings: You can slice the dough into strips and bake them off to use as toppers for stews or soups instead of making a full crust for a pot pie.
You know, if you want more simple, reliable baking ideas that really taste homemade, you should check out what my friends are doing—this crust style is becoming a real staple for holiday bakers, you can see some great examples here.
Frequently Asked Questions About Making a Butter Pie Crust
I totally get it; when you’re trying out a new recipe, you always have questions floating around. Trying to get that perfect, buttery pie crust just right can feel a bit mysterious, but don’t worry! My goal with this Easy Pie Crust Tutorial is to demystify the process. Here are some things I hear all the time from folks trying to achieve that beautiful, flaky result. Trust me, once you nail this, you won’t look back!
Can I substitute shortening for some of the butter in this butter pie crust recipe?
That’s a common question, especially if you grew up with recipes that used shortening! For this specific recipe, I really, truly recommend sticking to 100% butter. The magic here lies in the way the butter melts and the pure flavor it imparts. Shortening gives you tenderness, which we get from chilling the butter in this recipe anyway, but it doesn’t have the fantastic flavor payoff of all butter. If you substitute half the butter with shortening, your crust will still be tender, but it will taste significantly less rich and won’t have that deep, golden flavor we are going for with this pure butter pie crust.
How long does the homemade pie dough need to rest?
Resting isn’t just optional for amazing results—it’s mandatory! You must chill this homemade pie dough for a minimum of two full hours. But honestly, if you can manage it overnight, do it! When you mix flour and water, you activate gluten, which is what gives bread its chew. In pie dough, gluten is the enemy of flakiness! That long, mandatory rest period allows the gluten strands to completely relax. When the gluten relaxes, your dough rolls out easily the next day without snapping back on you—it leads straight to that wonderful, tender pastry.
What temperature should my butter be for the best All Butter Pie Crust?
I can’t stress this enough: the butter needs to be aggressively cold—straight from the freezer is actually ideal when you start combining it with the flour! We want those distinct cubes of butter to survive the mixing process intact. If the butter is soft at all, it coats the flour instead of layering with it, and that’s how you turn a potential flaky winner into a dense, sad cracker. Keep it cold, keep it cubed, and your All Butter Pie Crust success rate goes way up!
Is this recipe better for sweet or savory pies?
Because we used just salt and butter, this dough is perfectly neutral and incredibly versatile! You get the richness of the dairy without any added sugar interfering with savory fillings. It forms an incredible base for a classic chicken pot pie. That said, the flavor is so pure and buttery that it shines under a brightly flavored fruit filling as well. You really can’t go wrong!
If you’re thinking about what to make once that crust is baked, make sure you have some good side dishes ready—you might enjoy prepping my quick protein balls to keep everyone fueled while you’re baking all those holiday pies!
Nutritional Estimates for This Simple Pastry Recipe
Now, let’s talk fuel! I’m not one of those bakers who counts every single calorie, especially when it comes to something as foundational and wonderful as a homemade, flaky crust. When you’re using all that beautiful, rich butter, you know you’re getting some great energy from fat, but I always think it’s smart to have a rough idea of what’s in the batch, especially if you’re serving a crowd.
Keep in mind, these numbers are estimates based on the exact recipe above—2 1/2 cups of flour, 1 cup of butter, and 7 tablespoons of water, divided into 8 generous servings (1/8 of the whole crust). If you divide your crust into 10 pieces, the numbers change, so always do the math based on your actual yield!
Here are the rough estimates based on those ingredients:
- Serving Size: 1/8 of crust (This is a hefty slice!)
- Calories: About 250 calories per serving—hello, butter!
- Fat: Roughly 17g of glorious fat.
- Saturated Fat: We’re sitting right around 10g here from that quality butter.
- Carbohydrates: About 22g.
- Protein: A small boost, around 3g.
- Sugar: Zero added sugar in the crust itself, which is great for versatility!
- Sodium: Around 180mg, which you can fully control by adjusting the salt measurement.
It’s important to remember that homemade baking is all about nourishment and joy, not perfection on a spreadsheet! These estimates show you that this butter pie crust is rich, which is exactly what makes it taste so incredible. If you’re looking for other ways to balance out a rich dessert, try out some of my lighter ideas, like my cottage cheese toast recipes for breakfast!
PrintFoolproof All Butter Pie Crust Recipe for Flaky Layers
Make this simple, homemade butter pie crust recipe for tender, flaky layers that work perfectly for any sweet or savory pie. This is the best pie crust recipe using only four ingredients.
- Prep Time: 20 min
- Cook Time: 0 min (baking time depends on pie filling)
- Total Time: 2 hr 20 min
- Yield: One double-crust 9-inch pie
- Category: Baking
- Method: Pastry Making
- Cuisine: American
- Diet: Vegetarian
Ingredients
- 2 1/2 cups all-purpose flour
- 1 teaspoon salt
- 1 cup (2 sticks) unsalted butter, very cold and cut into 1/2-inch cubes
- 6 to 8 tablespoons ice water
Instructions
- Combine the flour and salt in a large bowl.
- Add the cold butter cubes to the flour mixture. Use a pastry blender or your fingertips to cut the butter into the flour until the mixture resembles coarse crumbs with some pea-sized pieces of butter remaining. These pieces create the flaky layers.
- Sprinkle 6 tablespoons of ice water over the mixture. Gently toss with a fork until the dough just begins to come together. If the dough is too dry, add the remaining water one tablespoon at a time. Do not overmix.
- Divide the dough in half. Shape each half into a flat disk, wrap tightly in plastic wrap, and refrigerate for at least 2 hours, or up to 2 days. Chilling is necessary for a tender pastry.
- On a lightly floured surface, take one disk of dough and roll it out from the center toward the edges into a 12-inch circle.
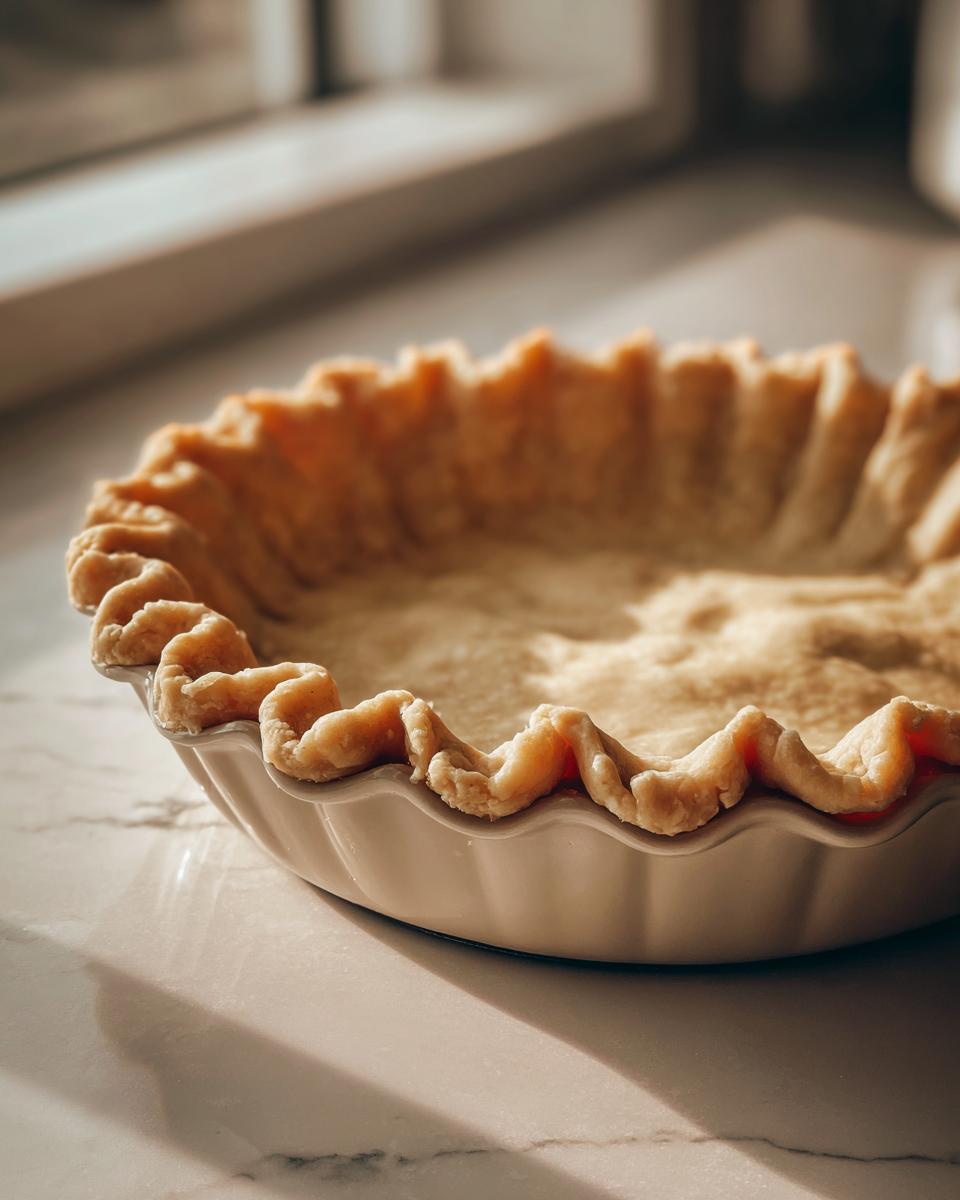
- Carefully transfer the dough to your pie plate. Trim the edges and crimp as desired. If making a double crust pie, repeat the rolling process for the top crust.
- Chill the assembled pie shell for 30 minutes before baking to keep the crust flaky.
- Bake according to your specific pie recipe instructions (blind bake or filled).
Notes
- Keep all ingredients, especially the butter and water, very cold for the flakiest results.
- If the dough gets warm while rolling, return it to the refrigerator for 15 minutes.
- This recipe makes enough dough for one double-crust 9-inch pie or two single-crust shells.
Nutrition
- Serving Size: 1/8 of crust
- Calories: 250
- Sugar: 0
- Sodium: 180
- Fat: 17
- Saturated Fat: 10
- Unsaturated Fat: 7
- Trans Fat: 0
- Carbohydrates: 22
- Fiber: 1
- Protein: 3
- Cholesterol: 45