
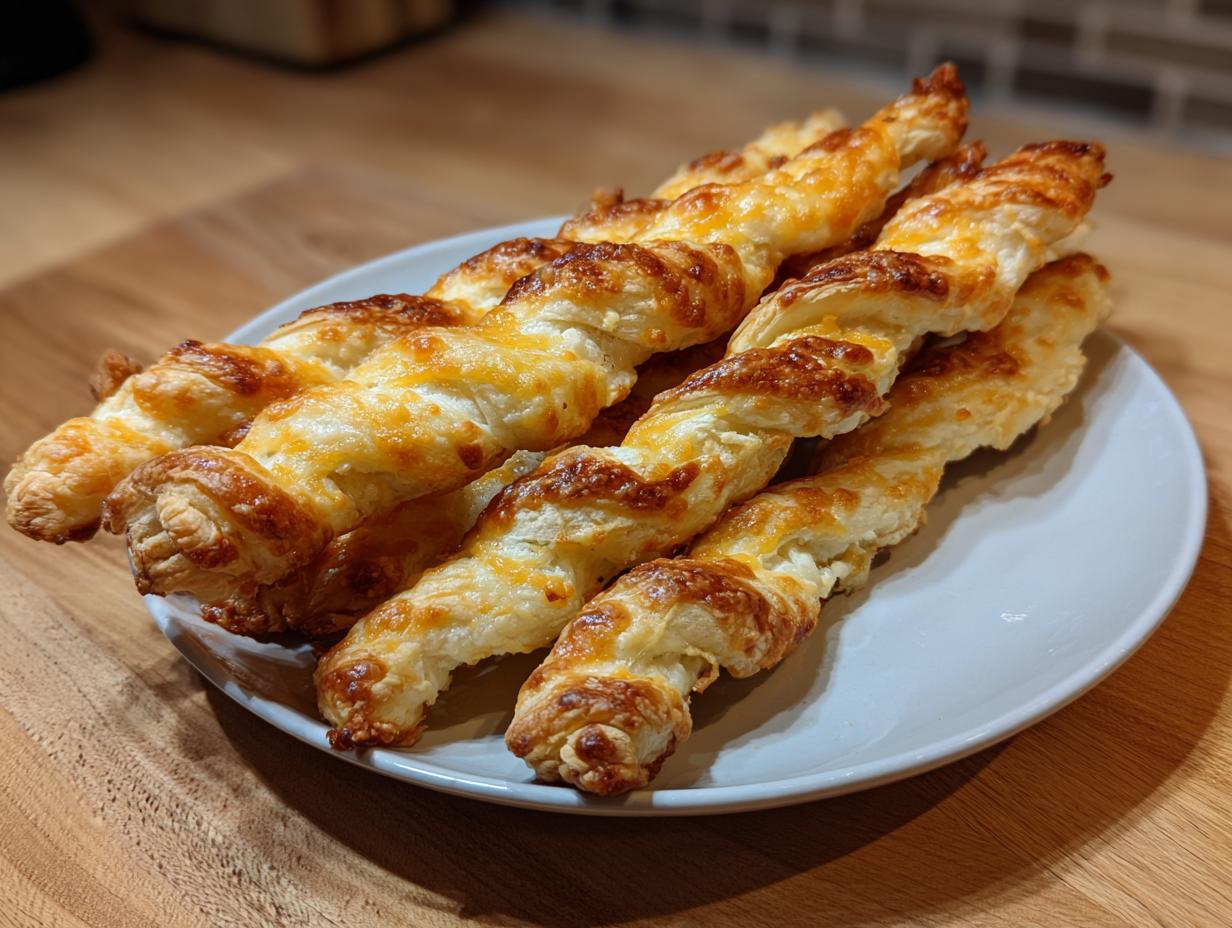
There’s just something magical about appetizers that vanish the second they hit the serving platter, isn’t there? For me, that quintessential party food—the one that instantly transports me back to gathering friends for a weekend appetizer spread—is the cheese straw. When I started DelishCraze, I knew I had to translate the rich, buttery flavors of my childhood into something truly easy for everyone to make. Forget those sad, pale imitations; we are making the ultimate, genuinely crispy Southern Cheese Straws that snap just right. Trust me, this classic appetizer recipe is built on simplicity and seriously good cheddar, perfect for sharing!
- Why This is the Best Crispy Cheese Straws Recipe
- Ingredients for Classic Cheddar Cheese Straws Recipe
- Step-by-Step Instructions for the Perfect Cheese Straws Recipe
- Tips for Success with Your Cheese Straws Recipe
- Cheese Straw Variations and Quick Savory Appetizer Recipes
- Storage and Make Ahead Appetizers for Your Cheese Straws Recipe
- Frequently Asked Questions About Homemade Cheese Straws
- Estimated Nutritional Data for This Cheese Straws Recipe
- Share Your Experience Making This Classic Cheese Straws Recipe
Why This is the Best Crispy Cheese Straws Recipe
I’ve tried every shortcut out there, trust me, but these homemade cheese straws win every single time. When you make them from scratch, you control the texture and the flavor intensity. That is where the magic lives! If you want that satisfying crunch that makes people reach for another before they even finish the first one, you have to stick to this classic approach.
We aren’t messing around with boxed mixes or substitutes here; this is the real deal. We are building flavor layers into every single bite, which is why I put so much care into finding the perfect Southern cheese variation for this recipe.
Key Features of Our Homemade Cheese Straws
- Intense Cheddar Flavor: We use a generous amount of sharp cheddar. Low-quality cheese melts poorly and doesn’t give you that necessary sharp, salty punch.
- The Perfect Snap: This is the signature of a great batch! When you follow the rolling and baking instructions, you get irresistibly crispy cheese straws that aren’t tough or chewy.
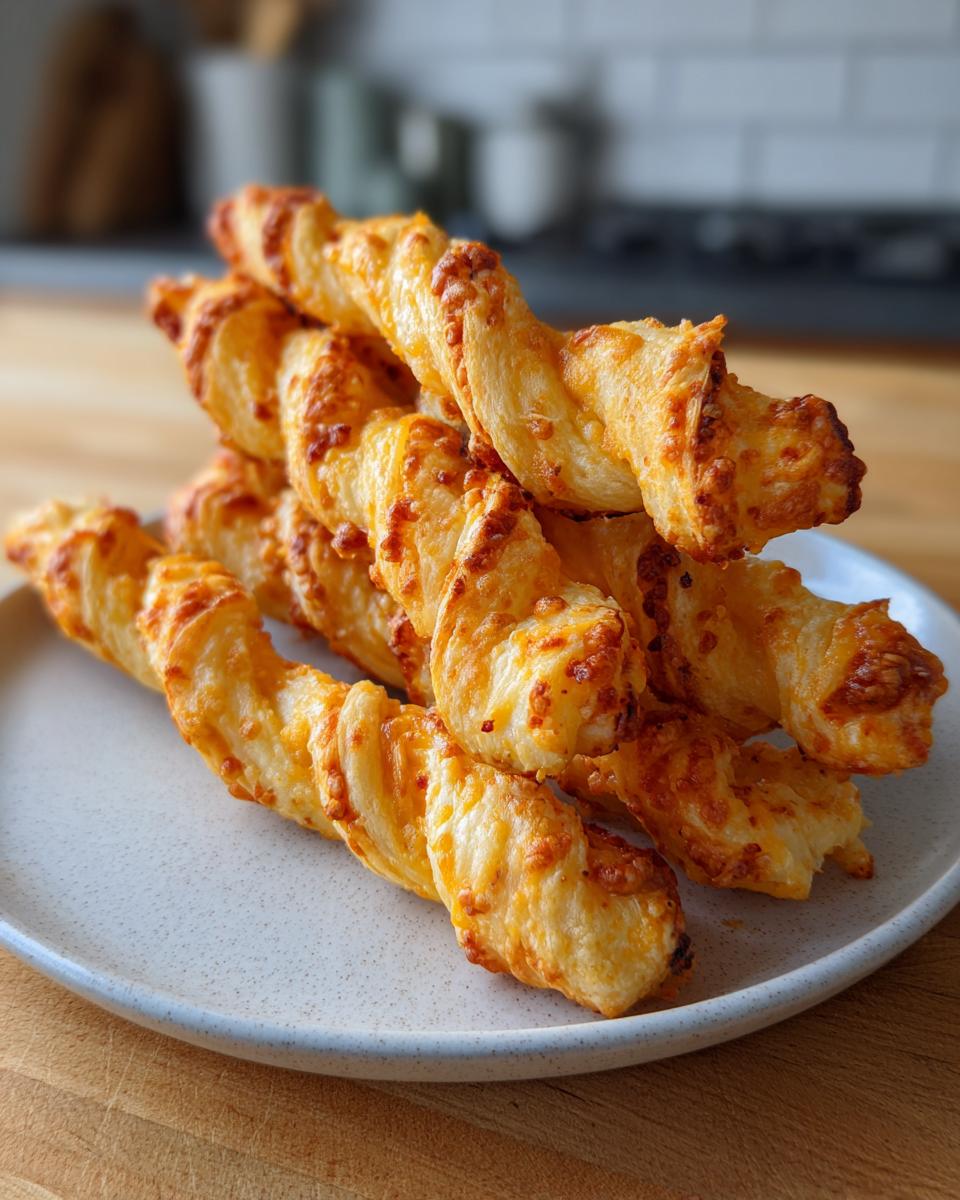
- Perfect for Entertaining: Whether it’s a big holiday bash or just a casual wine night, these instantly elevate any {party snack ideas} table. This classic Southern Cheese Straws style is what everyone hopes to find!
Ingredients for Classic Cheddar Cheese Straws Recipe
Getting great results starts right here, with these foundational components. You need quality—especially when it comes to the cheese and the fat!
For this recipe, which yields about three dozen of these lovely, buttery bites—perfect for a decent crowd—make sure everything is measured accurately. I think of this more like baking than cooking, so precision counts, especially for getting that signature crisp texture we’re aiming for!
I always keep my butter deeply chilled. If the butter isn’t cold, you end up with flat, greasy straws instead of the light, flaky kind. Also, please, go for sharp cheddar here! Medium cheddar just doesn’t give you that flavor punch. When you’re ready to bake, you’ll find everything you need laid out below. If you love flaky dough, you might also want to check out my thoughts on flaky biscuits while you’re here!
What You Need:
- 1 1/2 cups all-purpose flour
- 1/2 teaspoon salt (Don’t skip this! It balances the cheese.)
- 1/4 teaspoon cayenne pepper (This gives you the slightest little kick on the finish)
- 1/4 teaspoon paprika (For color and subtle earthiness, nothing spicy)
- 1 cup cold unsalted butter, cut into small pieces (This is key for puff and crispiness!)
- 1 1/2 cups sharp cheddar cheese, shredded (Make sure it’s sharp!)
- 1 large egg, lightly beaten
- 1 tablespoon cold water
Step-by-Step Instructions for the Perfect Cheese Straws Recipe
Okay, now the fun part! This is where we turn simple ingredients into those addictively good, savory little snacks. Since this is a true cheese straws recipe, we need to respect the dough—it doesn’t like to be fussed with too much. Make sure your oven is preheated to 400°F while you work, because these bake fast!
Preparing the Dough for Crispy Cheese Straws Recipe
First things first, grab a good wide bowl. Whisk your flour, salt, that tiny bit of cayenne, and the paprika together. This just makes sure those spices are evenly distributed so you don’t end up with one bland straw and one super-spicy one! Now, grab your cold butter chunks. You need to ‘cut’ that butter into the flour mixture. I use my pastry blender, but honestly, using your fingertips works great too! You want the mixture to look like coarse sand or little pea-sized crumbs. Once that’s done, stir in all that shredded sharp cheddar until it’s mixed in nicely. Finally, slowly add your egg/water mixture. Mix it just until a stiff dough barely comes together. I mean it—stop stirring the second you can press it into a ball. Overmixing dough like this is the fastest way to lose that crisp texture we love!
Cutting and Twisting Your Homemade Cheese Straws
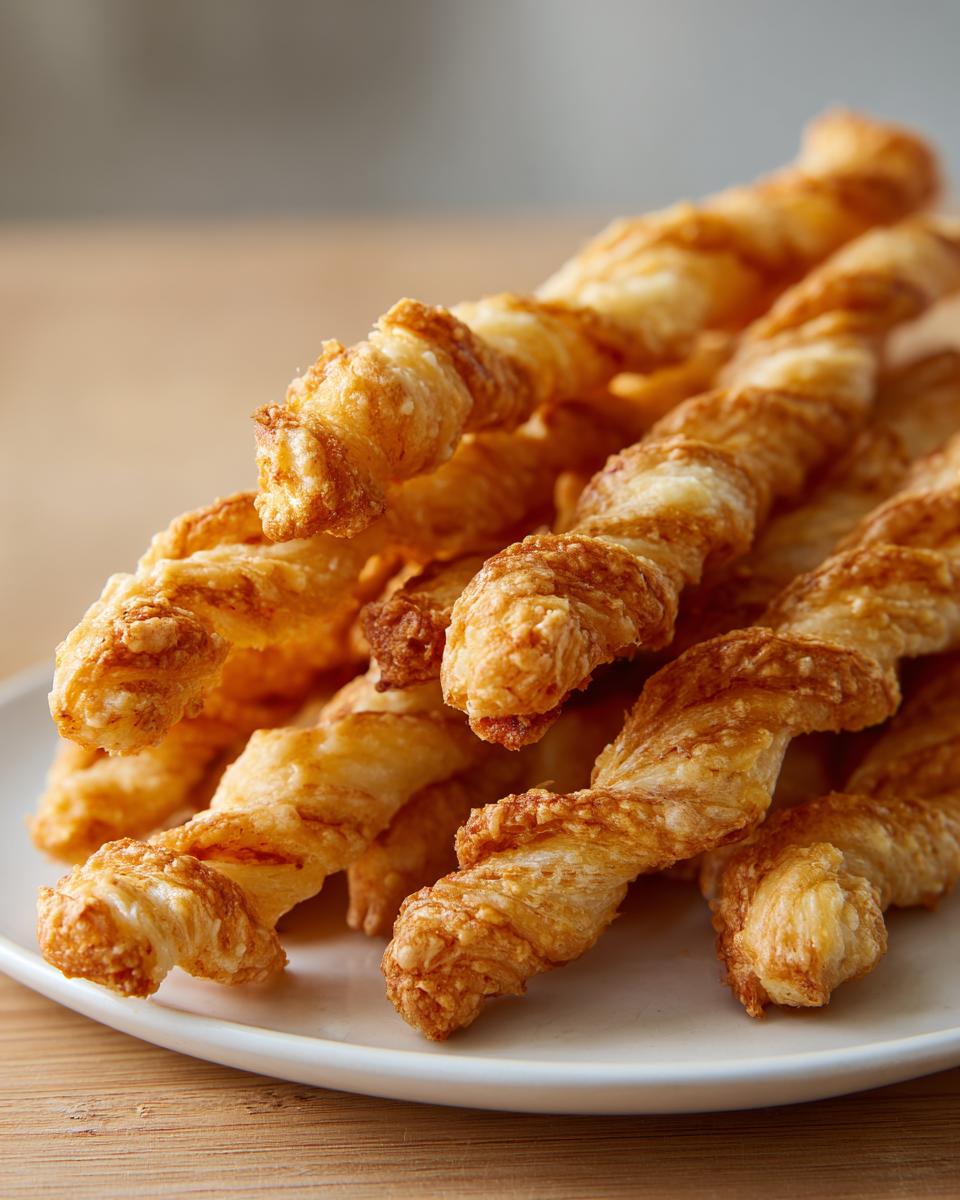
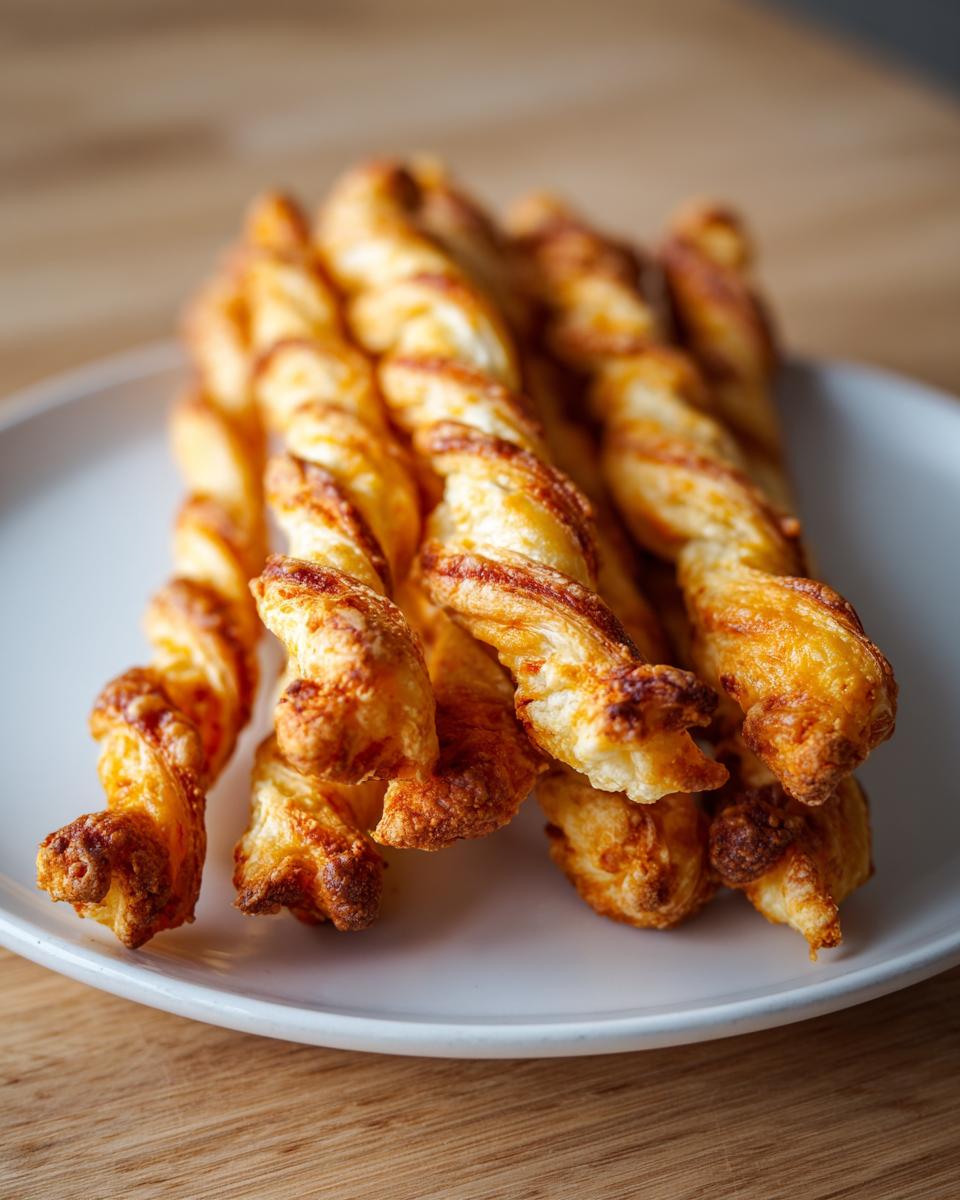
Take that dough and divide it in half; working with smaller bits is easier. Lightly flour your surface—but don’t go crazy dusting everything! Roll each half out into a nice, thin rectangle, about 1/8 inch thick. This thinness is your secret weapon for crispiness, so try to keep it even! Next, take a sharp knife or pizza cutter and slice strips about 1/2 inch wide and 5 inches long. If you want that classic look, grab each end and give the strip a little twist, once or twice. Then, lay them out on a baking sheet lined with parchment paper. They don’t need much space, but don’t let them touch.
Baking Time for Golden, Buttery Cheese Straws Recipe
Pop those sheets into that hot 400°F oven. You’re looking for 10 to 14 minutes. Keep an eye on them after the 10-minute mark; you want golden-brown edges, but they shouldn’t burn!
This next step is maybe the most important for that satisfying crunch we want in our easy finger foods: move them right onto a wire rack as soon as they come out. They will feel slightly soft right out of the oven, but they firm up and get wonderfully crisp as they cool down completely. Resist the urge to snack until they’re room temperature!
Tips for Success with Your Cheese Straws Recipe
I learned the hard way—through batches that ended up sad and soft—that successful cheese straws depend on technique just as much as ingredients. You want that snap! Don’t worry if your first batch doesn’t come out exactly, but paying attention to these few details will save you time and wasted sharp cheddar. This is where knowing the science behind your cheese straws recipe really pays off.
The biggest pitfall I see people run into is letting the dough get warm, which releases the butter too soon, creating more of a cracker than a crisp straw. Keep everything cold, move fast, and you’ll be golden!
Ingredient Secrets for the Best Cheese Straws Recipe
Let’s talk about the stars of the show: the cheese and the butter. As I mentioned earlier, cold butter is non-negotiable. If you are using your hands to cut it in, work quickly, or even pop the bowl back into the fridge halfway through the cutting process. Cold means flaky layers when baked; warm means greasy sadness.
For the cheese, the recipe calls for sharp cheddar, and I truly believe in that. But you know what I discovered? Mixing cheeses gives the flavor incredible depth! Try using 1 cup of sharp cheddar and 1/2 cup of Gruyère if you want an extra nutty, savory note. Gruyère melts beautifully while the sharp cheddar provides the essential tang. Just ensure whatever cheese you choose is freshly shredded—never the pre-shredded stuff with the anti-caking powder; that powder interferes with the dough coming together right.
Cheese Straw Variations and Quick Savory Appetizer Recipes
While I absolutely stand by our classic from-scratch recipe for the most authentic crunch, I know life gets busy! Sometimes you just need a fantastic snack on the table fast. Variety is the spice of life too, so I always keep a few simple tricks up my sleeve for whipping up different takes on these goodies, or using shortcuts when I don’t have time for the full traditional process.
If you love exploring other fun savory appetizer recipes, you’ll find these twists are almost as good as the original and can definitely save you in a pinch!
Easy Cheese Straws Using Puff Pastry
If you’re looking for incredibly light, flaky, and truly easy cheese straws, you can lean on good quality frozen puff pastry. This cuts your work down to almost nothing, and the texture is completely different—it’s airy and less dense than our main recipe, but still delicious!
The trick here is simple: thaw half a sheet of that store-bought pastry. Brush it lightly with an egg wash (or just a little milk), sprinkle generously with your shredded cheddar, your cayenne, and maybe a grind of black pepper. Then, you fold it over sandwich style (yes, fold the pastry onto itself) and cut your strips. The folding action layers the cheese and pastry nicely. Bake according to the package directions, usually around the same temperature, and you have beautiful puff pastry cheese straws in a flash!
Flavor Twists for Your Cheese Straws Recipe
The core of this cheese straws recipe is so robust that it stands up beautifully to added herbs and spices. This is where you can personalize them for whatever gathering you’re hosting. Don’t be afraid to completely transform them!
For a sophisticated party appetizer, try this combination: swap half the sharp cheddar for Parmesan, and add a teaspoon of finely minced fresh rosemary into the dry ingredients. Or, if you want to ramp up the heat the way some of my friends do, double the cayenne and add 1/4 teaspoon of smoked paprika instead of regular paprika. You can even look into recipes that use herbs like thyme to get that slightly different profile; I saw a fantastic recipe variation incorporating herbs that I think you’ll really love over here!
These cheese straw variations mean you can make the scratch recipe one week and the quick puff pastry version the next, keeping your snack game fresh!
Storage and Make Ahead Appetizers for Your Cheese Straws Recipe
This is honestly one of the handiest things about mastering this cheese straws recipe: they are fantastic for making ahead! Anyone who hosts knows that the less you have to scramble with right before guests arrive, the better. These buttery bites are ideal for planning ahead, which is why they are a staple on my list of make ahead appetizers.
Once they are completely cooled, they store wonderfully. Just make sure they are fully, totally cool. If you try to seal them while they are still even slightly warm, you’ll trap steam, and that steam is the enemy of crispness! Store them in an airtight container at room temperature. They hold up beautifully for about three to four days. Weekday snacking just got much, much better!
If you’re planning for a huge party or holiday gathering, you can actually freeze them! Yes, you can freeze your unbaked dough, and honestly, it’s such a lifesaver.
Freezing Your Homemade Cheese Straws Before Baking
Go ahead and cut your strips just like normal—twist them if you like—and arrange them on a parchment-lined baking sheet. Make sure they aren’t touching much. Pop that whole sheet into the freezer until the strips are rock hard. Once they are totally frozen solid, you can transfer those frozen little wonders into a sturdy freezer bag or an airtight container. They keep great for up to a month!
When party time rolls around, you don’t even need to thaw them! Just pull what you need, place them directly onto your preheated 400°F sheet (still using that parchment paper, please!), and bake them. You’ll just need to add a few extra minutes to the baking time—maybe four or five extra minutes—just to account for the chill. They come out fresh, crisp, and perfectly golden every single time. Seriously, this trick makes prepping for party snack ideas so simple!
Reheating for Maximum Crunch
What if you made a batch last week and now they aren’t quite as snappy? That’s easily fixed! If your straws have gone just a tiny bit soft on you, you can bring them right back to life. Pop them onto a baking sheet and warm them in a 300°F oven for about five to seven minutes. That low, slow heat gently evaporates any residual moisture. Pull them out, let them cool for two minutes, and you’ll have that amazing, satisfying crunch back!
Frequently Asked Questions About Homemade Cheese Straws
I always get so many wonderful questions when people try this cheese straws recipe for the first time! It just goes to show how much people love a perfect, savory snack. It’s important to know the little nuances so you get that gold-standard result every time, whether you’re aiming for classic Southern Cheese Straws or a spicy kick. Here are the things I hear most often from cooks trying to achieve that perfect crunch.
What makes a cheese straw crispy?
Honestly, it’s a trio of things, but the biggest factor is thickness. If your dough is rolled too thick—anything over 1/8 of an inch—it just won’t dry out enough in the oven. That leads to a chewy center. Second is the bake time; you need to wait until they are truly golden brown, not just pale yellow! And finally, just like Grandma taught me about baking cookies, cooling is vital. They firm up as they cool on the wire rack. Don’t touch them until they are cool, and you’ll nail that Crispy Cheese Straws Recipe texture!
Can I substitute the cheese in this cheese straws recipe?
You absolutely can play with the cheese, but use good sense! Since this cheese straws recipe relies on the cheese maintaining some structure while melting, stick to hard, aged cheeses that shred well. Sharp Cheddar is the best because of its low moisture content and high flavor. If you want to substitute, try using Gruyère, Monterey Jack, or even smoked Gouda for that nutty flavor.
The only cheese I would really warn you against using alone is soft cheese like fresh mozzarella or goat cheese. They have too much moisture, and you’ll end up with a greasy puddle rather than a straw shape. If you mix it in with sharp cheddar, that’s fine, but let the cheddar do the heavy lifting!
How long do homemade cheese straws last?
When properly stored, these homemade cheese straws are surprisingly resilient! If you’ve cooled them completely—and I cannot stress that enough—place them in an airtight container at room temperature. They should stay wonderfully crisp for about four days. They sometimes last longer, but honestly, they usually disappear too fast in my house for me to check past day four!
If you find they have softened up a bit after a few days, just pop them back in a 300°F oven for about five minutes, like I mentioned before, and they’ll crisp right back up. It’s like a magic trick for your party snack ideas!

Estimated Nutritional Data for This Cheese Straws Recipe
Okay, let’s be honest—these aren’t exactly health food, but when they taste this good, we allow ourselves a little indulgence! Since we are making these glorious, buttery bites completely from scratch, the exact nutritional profile depends heavily on the exact brand of cheese and butter you use, so take these numbers with a tiny grain of salt.
This data is estimated based on a serving size of just three straws, keeping in mind that these are rich little flavor bombs destined for party tables and weekend treats. If you’re planning a spread, having an idea of what’s in them is always helpful!
If you are looking for some lighter options to balance out your appetizer spread, you might want to check out some of my favorite healthy breakfast ideas while you’re having your snack break!
Nutritional Snapshot (Per 3 Straws)
- Calories: About 110
- Total Fat: 8g (mostly from that delicious butter and sharp cheddar!)
- Saturated Fat: 5g
- Trans Fat: Towards the lower end at about 0.2g
- Carbohydrates: 6g
- Protein: 4g
- Sugar: Very low, only about 0.2g
- Sodium: 150mg (This is where that salty cheese really comes into play!)
Enjoy them without guilt, but maybe try to stick to just three… if you can manage that!
Share Your Experience Making This Classic Cheese Straws Recipe
Well, that’s it! You now have everything you need to create the absolute best, crispiest, most addictive cheese straws recipe known to humankind. I hope you have fun in the kitchen getting your hands messy with that beautiful dough. It’s so satisfying watching those strips bake up golden and smelling that savory, buttery aroma filling your house!
I truly hope these become a go-to for your entertaining life, just like they are for mine. Seriously, I wouldn’t serve them if they weren’t reliable, so I stand behind this recipe 100%.
Now, I’d absolutely love to hear how yours turned out! Did you manage to keep your hands off the dough until they were cool? Which sharp cheddar did you end up using? Did you twist them all perfectly, or did you just throw them on the tray like I sometimes do when I’m in a rush?
Please hop down into the comments below, leave a rating—five stars if they made your guests swoon!—and let me know what you paired them with. If you snapped a picture of your beautiful platter of buttery cheese bites, don’t forget to share it with me so I can cheer you on!
If you have any burning questions or need a little troubleshooting tip not covered above, please don’t hesitate to reach out via my contact page. Happy snacking, and thanks for joining me in the kitchen!
PrintCrispy Southern Cheddar Cheese Straws

Make these classic, crispy Southern Cheddar Cheese Straws from scratch. They are a flavorful, buttery appetizer perfect for parties or snacks.
- Prep Time: 20 min
- Cook Time: 14 min
- Total Time: 34 min
- Yield: About 3 dozen 1x
- Category: Appetizer
- Method: Baking
- Cuisine: American
- Diet: Vegetarian
Ingredients
- 1 1/2 cups all-purpose flour
- 1/2 teaspoon salt
- 1/4 teaspoon cayenne pepper
- 1/4 teaspoon paprika
- 1 cup cold unsalted butter, cut into small pieces
- 1 1/2 cups sharp cheddar cheese, shredded
- 1 large egg, lightly beaten
- 1 tablespoon cold water
Instructions
- In a large bowl, whisk together the flour, salt, cayenne pepper, and paprika.
- Cut in the cold butter using a pastry blender or your fingers until the mixture resembles coarse crumbs.
- Stir in the shredded cheddar cheese until evenly distributed.
- In a small bowl, mix the beaten egg and cold water. Add this mixture to the flour mixture and mix until a stiff dough forms. Do not overmix.
- Divide the dough in half. On a lightly floured surface, roll each half into a rectangle about 1/8 inch thick.
- Cut the dough into strips about 1/2 inch wide and 5 inches long. You can twist each strip once or twice for a classic look.
- Place the strips on baking sheets lined with parchment paper.
- Bake in a preheated oven at 400 degrees Fahrenheit (200 degrees Celsius) for 10 to 14 minutes, or until golden brown and crisp.
- Transfer the cheese straws to a wire rack to cool completely. They will crisp up as they cool.
Notes
- For extra flavor, use a mix of sharp and medium cheddar cheese.
- If you prefer a quicker version, use one sheet of store-bought puff pastry, top with shredded cheese and spices, fold, and cut into strips before baking.
- These homemade cheese straws freeze well before baking; place frozen strips directly onto a baking sheet and add a few extra minutes to the baking time.
Nutrition
- Serving Size: 3 straws
- Calories: 110
- Sugar: 0.2
- Sodium: 150
- Fat: 8
- Saturated Fat: 5
- Unsaturated Fat: 3
- Trans Fat: 0.2
- Carbohydrates: 6
- Fiber: 0.3
- Protein: 4
- Cholesterol: 25