
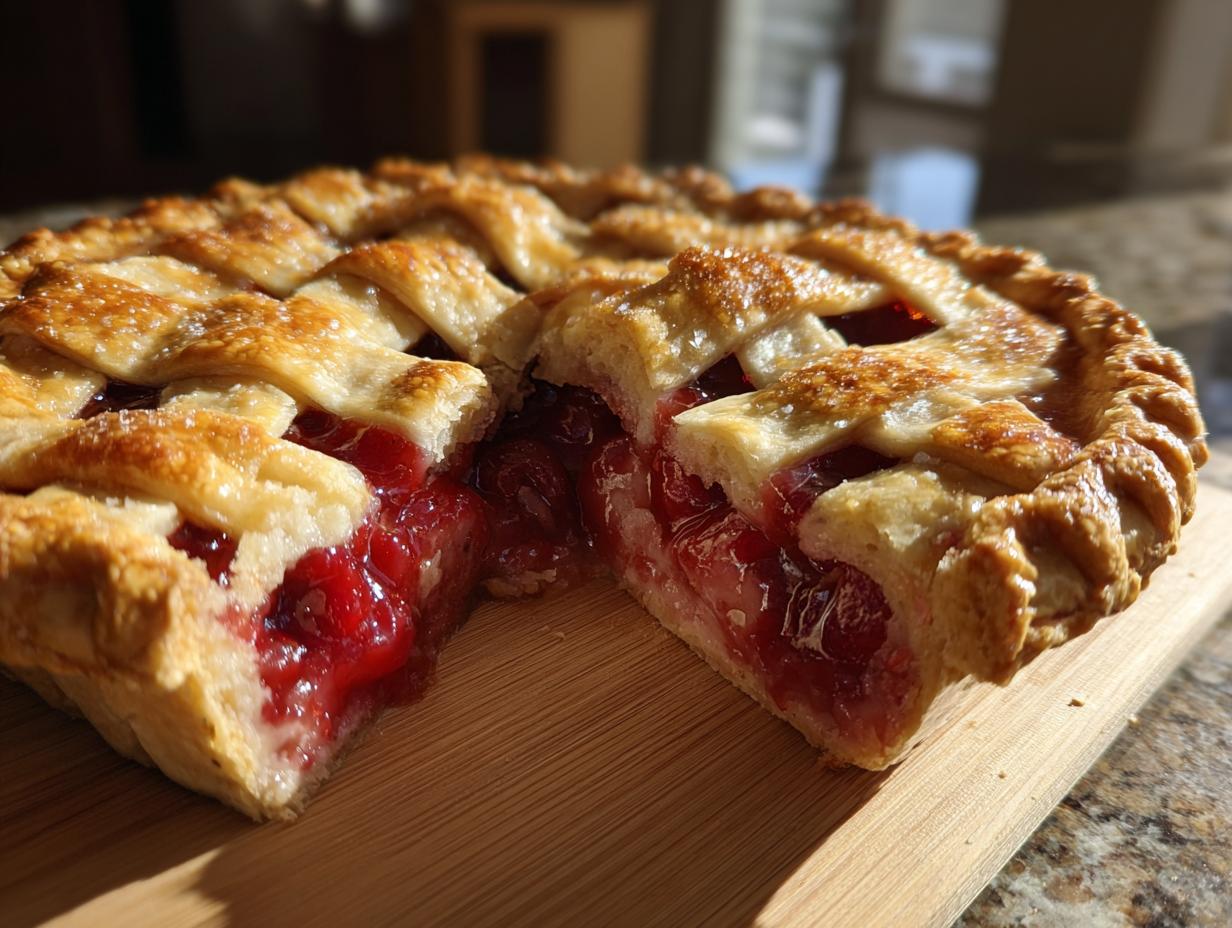
Oh, cherry pie! Just picturing that deep ruby filling peeking through a golden, buttery lattice crust gets my heart singing. There’s something so wonderfully classic about a slice of homemade cherry pie, isn’t there? It’s the kind of dessert that just feels like a hug, perfect for those cozy holidays or any day you need a little extra sweetness. Back when I was first really getting into baking, inspired by folks like Olivia Rosewood who believe in the magic of home cooking, I dreamed of making a cherry pie that looked just like the ones from those charming little cafes – zero sloshy filling, just pure, delicious perfection. This recipe is my answer!
- Why You'll Love This Classic Cherry Pie Recipe
- Ingredients for the Perfect Cherry Pie
- How to Make a Thick Cherry Filling for Your Cherry Pie
- Assembling Your Lattice Cherry Pie
- Baking Your Homemade Cherry Pie to Perfection
- Cooling and Serving Your Classic Cherry Pie
- Tips for a Successful Fresh Cherry Pie
- Holiday Cherry Pie: Make-Ahead and Storage
- Frequently Asked Questions about Cherry Pie
- Estimated Nutritional Information
- Share Your Homemade Cherry Pie Creations!
Why You’ll Love This Classic Cherry Pie Recipe
Seriously, this homemade cherry pie recipe is a total game-changer! You’ll be obsessed with:
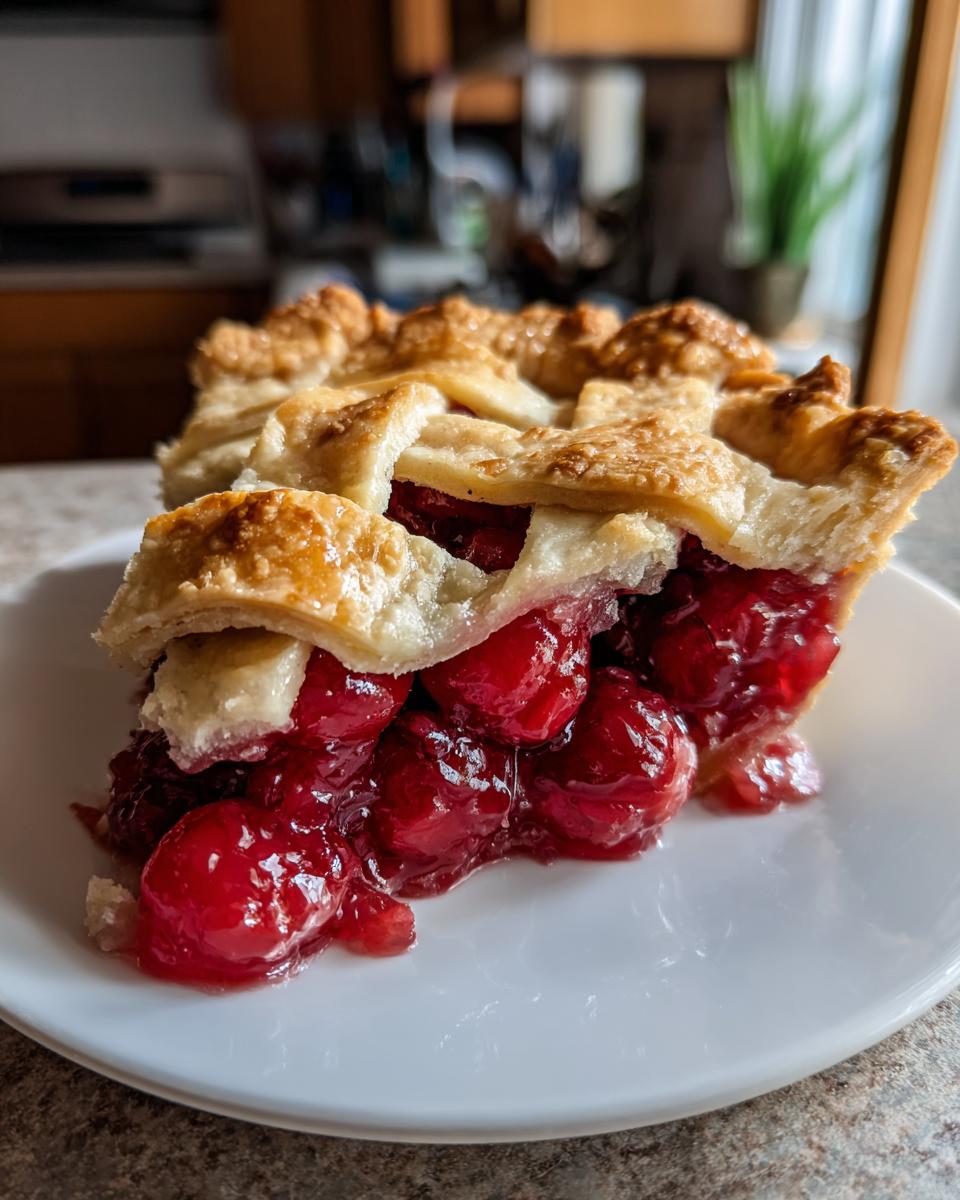
- That Thick, Luxurious Filling: No more watery messes! We’ve cracked the code for a wonderfully rich, sliceable cherry filling.
- Buttery, Golden Lattice Crust: It’s not just beautiful; it’s flaky, buttery perfection that complements the sweet-tart cherries.
- Super Simple to Make: Even if you’re just getting started, this recipe is totally doable. Trust me!
- Perfect for Any Occasion: Whether it’s a holiday feast or a Tuesday treat, this cherry pie wows every single time.
Ingredients for the Perfect Cherry Pie
Okay, let’s talk about what you’ll need to make this dreamiest of cherry pies! It’s pretty straightforward, but paying attention to these details is key for that café-style magic. You’ll want 3 cups of pitted cherries – fresh is amazing if they’re in season, but don’t be shy about using frozen ones (just toss ’em in still frozen!). Then, we’ve got 1 cup of good old granulated sugar, about 1/4 cup of cornstarch to get that filling nice and thick (this is super important!), a tablespoon of bright lemon juice to balance the sweetness, and just 1/2 teaspoon of almond extract. Trust me on the almond extract; it adds this wonderful little something that cherries just adore! A pinch of salt, of course, and then two refrigerated pie crusts – yep, store-bought is totally fine here for ease! Oh, and one large egg, beaten, for that gorgeous golden egg wash, plus an extra tablespoon of sugar to sprinkle on top for a little sparkle. Easy peasy!
How to Make a Thick Cherry Filling for Your Cherry Pie
Alright, let’s get to the heart of this amazing cherry pie – that luscious, thick filling! This is where the magic happens, and trust me, stopping that filling from being runny is easier than you think. It’s all about giving the ingredients a little love and understanding *why* we do what we do.
Combining the Filling Ingredients
First things first, grab a big bowl! Toss in your beautiful cherries (fresh or frozen, remember!). Now, sprinkle over the sugar, cornstarch, a little lemon juice for zing, that lovely almond extract, and a pinch of salt. Give it all a good, gentle stir so every single cherry is coated. You want everything to be evenly distributed before it even hits the pan!
Achieving a Thick Cherry Pie Filling
The secret weapon here, my friends, is the cornstarch. It’s what turns those juicy cherries into a gloriously thick, spoonable filling that won’t ooze out everywhere when you slice it. As the pie bakes, the cornstarch gets activated by the heat and liquid, creating that beautiful, glossy thickness. Also, don’t skip the cooling step – that’s crucial! The filling continues to set up as it cools, so patience is your best friend here for that perfect, sliceable consistency.
Assembling Your Lattice Cherry Pie
Now for the really fun part – putting it all together to make that gorgeous lattice cherry pie! It’s not as intimidating as it looks, I promise. We’re going for that classic homemade look that just screams deliciousness. Just follow these steps, and you’ll have a pie that looks as good as it tastes.
Preparing the Pie Crust
Alright, grab one of your refrigerated pie crusts and gently lay it into your 9-inch pie plate. Press it down nicely so it fits snugly. Trim off any extra dough hanging over the edge – you want a nice clean border to work with.
Creating the Lattice Top
Time for the showstopper: the lattice! Take your second pie crust and cut it into strips. An easy way to do this is to just cut them about 1/2 inch wide. Then, start laying them across the filling, alternating over and under, until you’ve got a nice woven pattern. Pinch the ends of the strips to the bottom crust where they meet the edge, and give them a little tuck.
Finishing Touches for the Crust
This is what gives it that beautiful, golden sheen! Grab that beaten egg and brush it lightly all over the lattice strips and the edges. Then, sprinkle on that extra tablespoon of sugar. It adds just the right amount of sparkle and crunch. It’s these little details that really make your homemade cherry pie special!
Baking Your Homemade Cherry Pie to Perfection
Okay, the moment of truth! Baking this classic cherry pie recipe is where all that love and careful assembly really pays off. We’re aiming for that perfect, bubbling cherry filling and a beautifully golden, flaky crust – the kind you see in all the best bakeries. Don’t worry, I’ve got you covered with my best tips to make sure it turns out amazing every single time. Trust me, the smell alone will make your whole house feel cozy!
Initial Bake and Temperature Adjustment
First up, let’s get that oven nice and toasty! We’re going to preheat it to 400°F (200°C). This initial blast of heat helps the crust get a good start and makes sure the filling begins to bubble and thicken right away. After about 20 minutes, we’ll gently lower the temperature to 375°F (190°C) to let the pie bake through without burning the beautiful crust we worked so hard on. Keep it at this temperature for another 30 to 35 minutes.
Preventing Over-Browning
Now, ovens can be a little wild sometimes, right? If you notice your gorgeous lattice crust starting to get a bit *too* golden before the filling is perfectly bubbly, don’t panic! Just grab a piece of aluminum foil and loosely tent it over the pie. This acts like a little shield, slowing down the browning while the inside finishes baking. It’s a lifesaver for getting that evenly baked look!
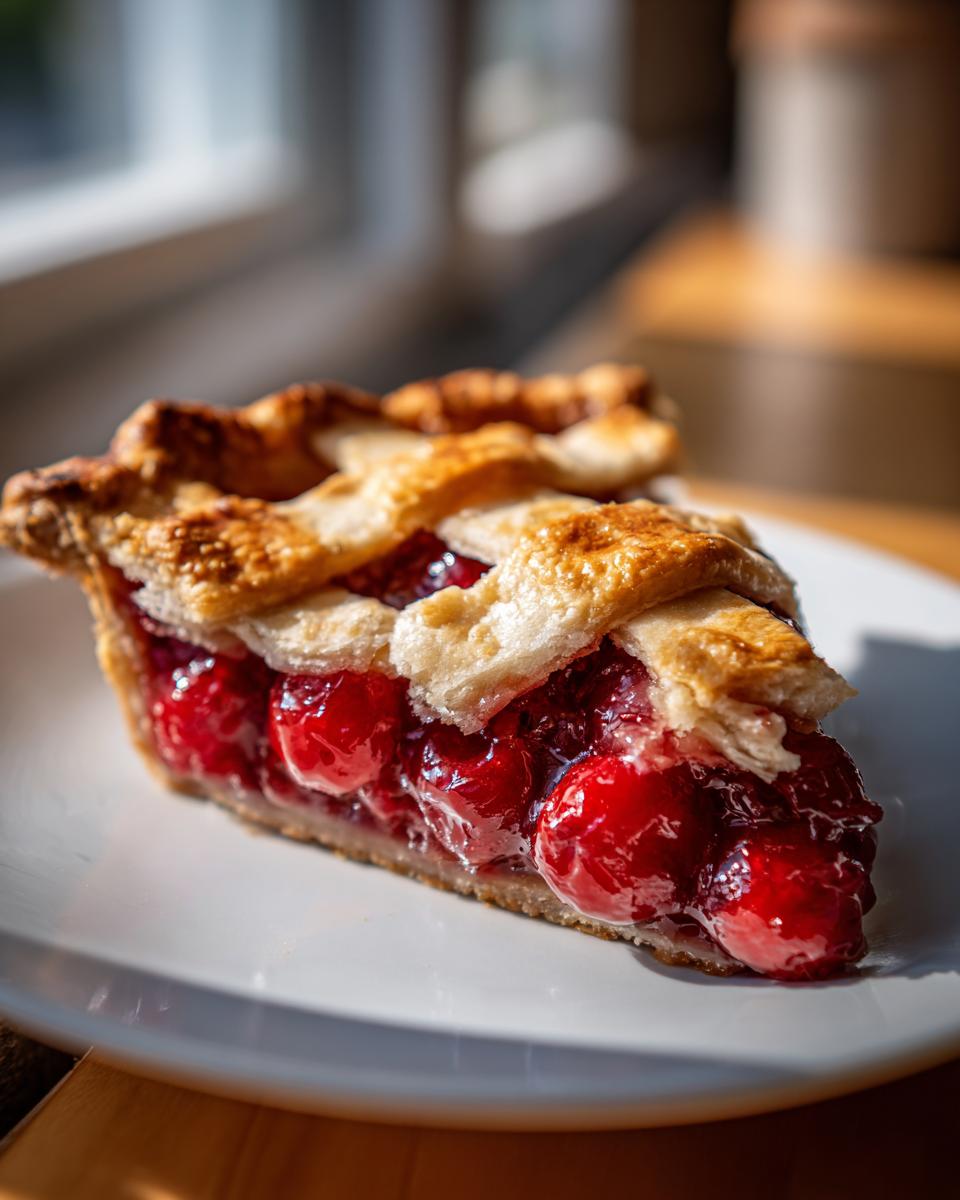
Cooling and Serving Your Classic Cherry Pie
Okay, this is probably the hardest part—waiting! But seriously, letting your beautiful homemade cherry pie cool is SO important. We need to give that luscious thick cherry filling time to set up properly. If you slice into it too soon, it’ll be goopy and run everywhere, and nobody wants that! Let it sit on a wire rack for at least 2 to 3 hours. It’s tough, I know, but SO worth it! Once it’s cooled, serve it up by the slice. It’s heavenly just as is, but a scoop of vanilla ice cream or a dollop of whipped cream takes it to another level of amazing. You can even drizzle a little of that leftover almond extract goodness right on top if you’re feeling fancy!
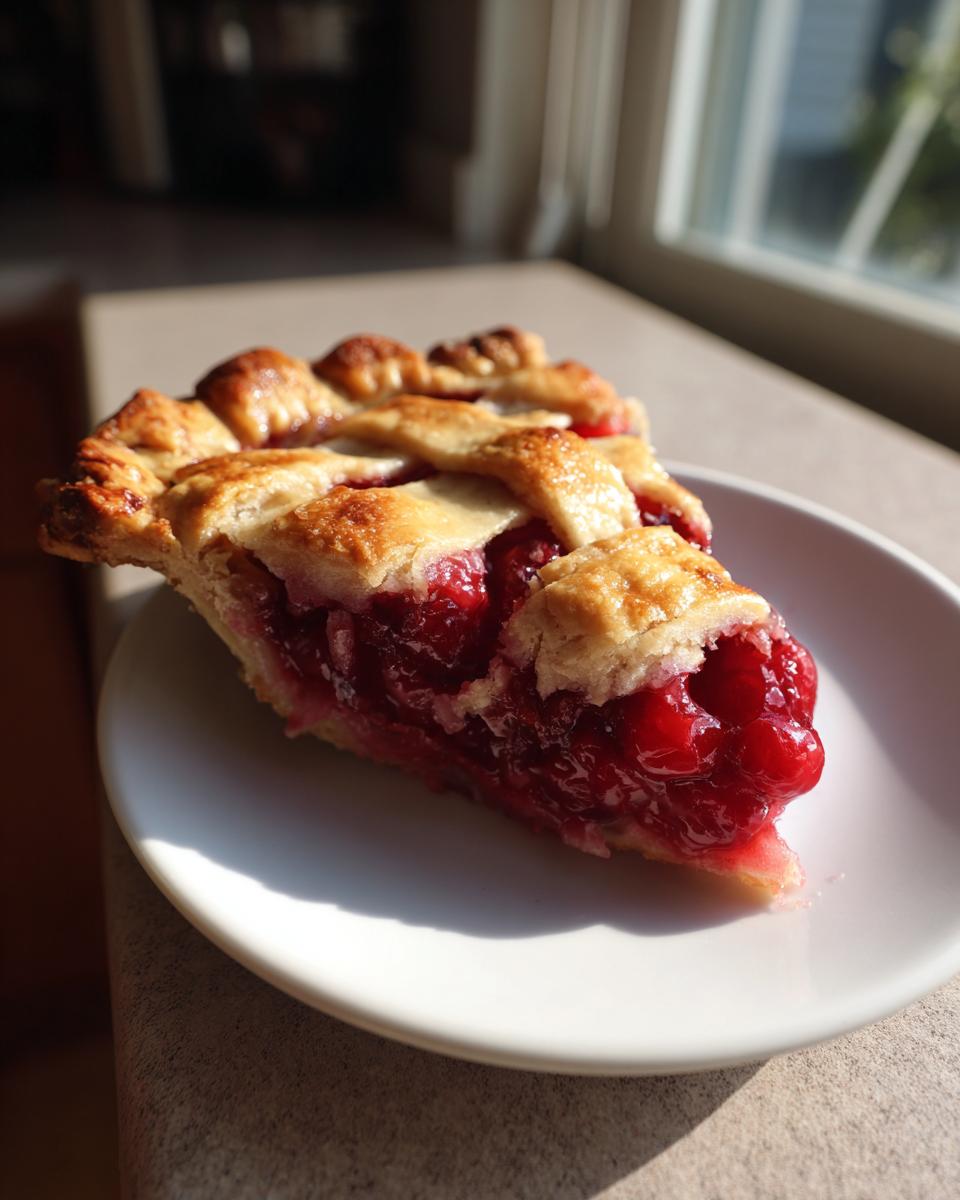
Tips for a Successful Fresh Cherry Pie
Alright, let’s dive into some of my favorite tricks for making sure your fresh cherry pie is an absolute showstopper. It’s all about those little details that make a big difference, from picking the best cherries to just knowing how to coax out all that amazing flavor. Trust me, a little extra care goes a long way for that perfect slice!
Choosing and Preparing Cherries
When it comes to cherries, fresh is often best if you can get them! Look for plump, firm cherries. If you’re using frozen ones, that’s totally okay – just don’t thaw them first! Plunging them straight into the pie filling helps prevent them from getting too mushy. And yes, you’ll need to pit them. I find a cherry pitter makes it a breeze, but a small knife and a lot of patience works too!
Enhancing the Flavor
That little bit of almond extract? It’s pure magic with cherries, adding a warm depth that just can’t be beat. And the lemon juice? It brightens everything up, making the cherry flavor really pop without making it taste lemony. If you’re feeling adventurous, a tiny pinch of cinnamon or even a whisper of clove can add another layer of cozy warmth, but honestly, the simple cherry, almond, and lemon combo is pretty spectacular on its own.
Holiday Cherry Pie: Make-Ahead and Storage
Having a gorgeous homemade cherry pie ready to go for the holidays is pure genius, and thankfully, it’s totally doable! You can prep a lot of this ahead of time. For instance, you can make your dough and filling a day in advance and keep them chilled in the fridge. Just assemble right before you plan to bake. If you want to get even more done, you can assemble the whole pie (but don’t bake it!) and wrap it tightly in plastic wrap, then foil, and freeze it for up to a month. When you’re ready to bake, just pop it straight from the freezer into a hot oven (you might need to add a few extra minutes of baking time). Leftovers? Cover any classic cherry pie recipe slices with plastic wrap or foil and they’ll stay yummy at room temp for about two days, or pop them in the fridge for a bit longer.
Frequently Asked Questions about Cherry Pie
Okay, so you’ve made your amazing cherry pie and maybe you’re just curious about a few things, or perhaps something didn’t turn out *exactly* as planned the first time around. Totally normal! Let’s clear up some common questions about making this classic cherry pie recipe.
Can I use canned cherries for this cherry pie recipe?
You can! While fresh or frozen cherries give you that best-in-class texture and flavor for a true homemade cherry pie, canned cherries will work in a pinch. Just know that they can sometimes be a bit softer and sweeter than fresh ones, so you might want to cut back on the sugar a touch, and they might not give you quite the same vibrant burst. If you do use canned, make sure to drain them really, really well!
Why is my cherry pie filling runny?
Oh no, a runny filling! The most common culprit is not using enough cornstarch, or not giving it enough time to fully set. Remember, that thick cherry filling needs that cornstarch to thicken properly as it bakes. Also, and this is SUPER important, you *have* to let the pie cool completely—at least 2-3 hours! The filling keeps thickening as it cools. Slicing too soon means it won’t have had a chance to set up, leading to that dreaded runniness.
How do I store leftover cherry pie?
Storing your leftover slices of lattice cherry pie is pretty straightforward. If it’s at room temperature, it’s generally good for about two days, especially if you cover it well with plastic wrap or foil. If you want to keep it fresh for longer, pop it into the refrigerator. Honestly, it stays pretty tasty for about 4-5 days in the fridge. Just bring it back to room temp or give it a gentle warm-up in the oven if you prefer it a little cozy again!
Estimated Nutritional Information
Just so you know, these numbers are estimates per slice for our wonderful homemade cherry pie. Things can vary a bit depending on your exact ingredients and how you slice it! You’re looking at roughly 350 calories, about 18g of fat (8g of that’s saturated), 45g of carbs, and 3g of protein per serving. It’s a delicious treat, after all!
Share Your Homemade Cherry Pie Creations!
I just *love* seeing your beautiful pies! Have you made this classic cherry pie recipe? Did you try the lattice or go for a full top crust? Please share your photos and stories with me! Leave a rating below or drop a comment with your thoughts. If you have any questions or want to share your own tips for a perfect cherry pie, I’m all ears!
Print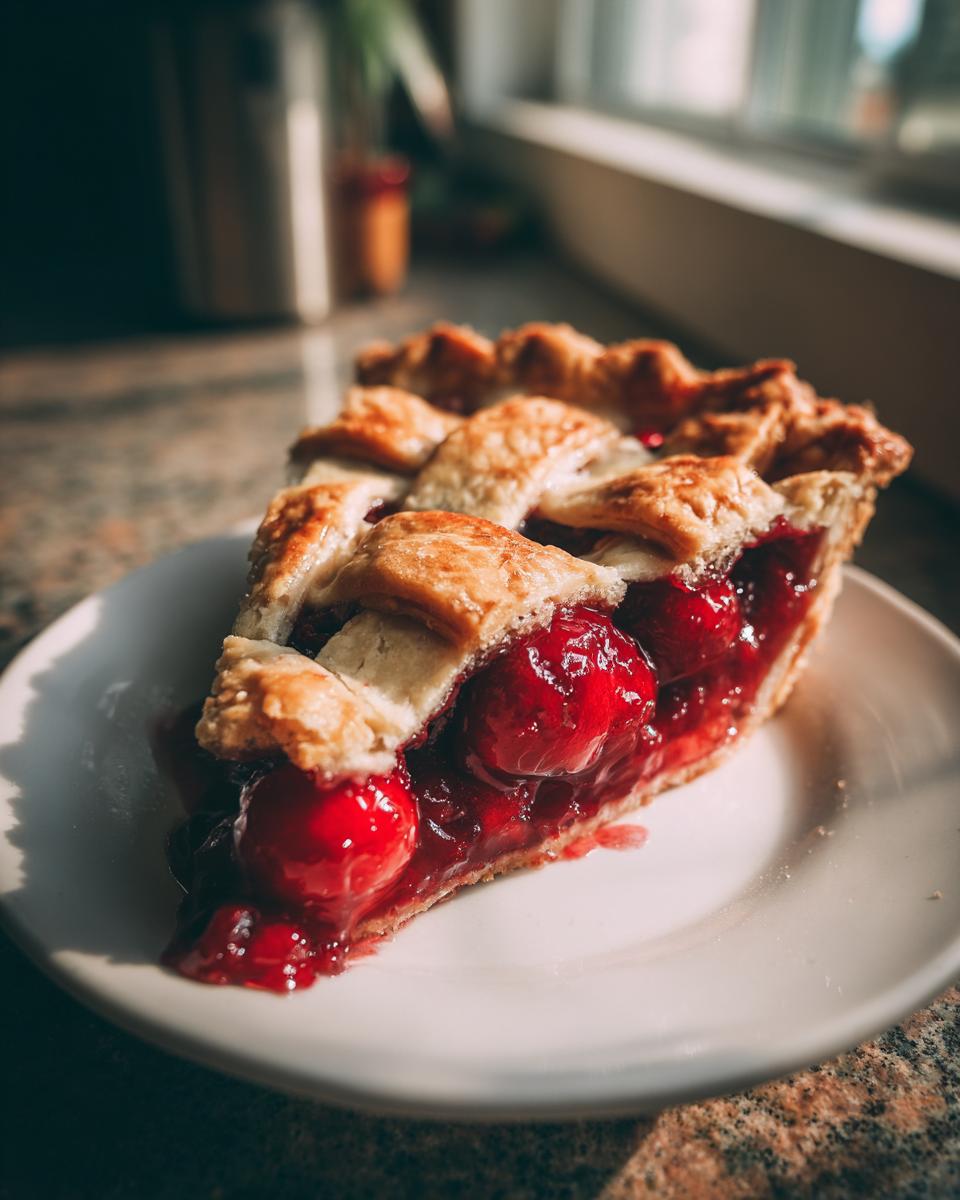
Classic Cherry Pie with Lattice Crust

A classic homemade cherry pie recipe featuring a thick, non-runny filling and a buttery lattice crust, perfect for holidays or any occasion.
- Prep Time: 30 min
- Cook Time: 55 min
- Total Time: 85 min
- Yield: 8 servings 1x
- Category: Dessert
- Method: Baking
- Cuisine: American
- Diet: Vegetarian
Ingredients
- 3 cups fresh or frozen pitted cherries
- 1 cup granulated sugar
- 1/4 cup cornstarch
- 1 tablespoon lemon juice
- 1/2 teaspoon almond extract
- 1/4 teaspoon salt
- 2 refrigerated pie crusts
- 1 large egg, beaten (for egg wash)
- 1 tablespoon granulated sugar (for sprinkling)
Instructions
- Preheat your oven to 400°F (200°C).
- In a large bowl, combine the cherries, sugar, cornstarch, lemon juice, almond extract, and salt. Stir until the cherries are evenly coated.
- Line a 9-inch pie plate with one of the pie crusts. Trim any excess dough.
- Pour the cherry filling into the prepared pie crust.
- Cut the second pie crust into strips and arrange them in a lattice pattern over the cherry filling. Crimp the edges to seal.
- Brush the lattice crust with the beaten egg wash and sprinkle with the remaining tablespoon of sugar.
- Place the pie on a baking sheet to catch any drips.
- Bake for 20 minutes at 400°F (200°C).
- Reduce the oven temperature to 375°F (190°C) and continue baking for another 30-35 minutes, or until the crust is golden brown and the filling is bubbly.
- If the crust starts to brown too quickly, loosely tent the pie with aluminum foil.
- Let the pie cool completely on a wire rack for at least 2-3 hours before slicing to allow the filling to set.
Notes
- For a thicker filling, you can add an extra tablespoon of cornstarch.
- If using frozen cherries, do not thaw them before using.
- Almond extract adds a subtle flavor that complements the cherries beautifully.
- Make ahead: You can prepare the pie crusts and filling separately a day in advance. Assemble and bake just before serving for the best results.
Nutrition
- Serving Size: 1 slice
- Calories: 350
- Sugar: 35g
- Sodium: 200mg
- Fat: 18g
- Saturated Fat: 8g
- Unsaturated Fat: 10g
- Trans Fat: 0g
- Carbohydrates: 45g
- Fiber: 3g
- Protein: 3g
- Cholesterol: 30mg