
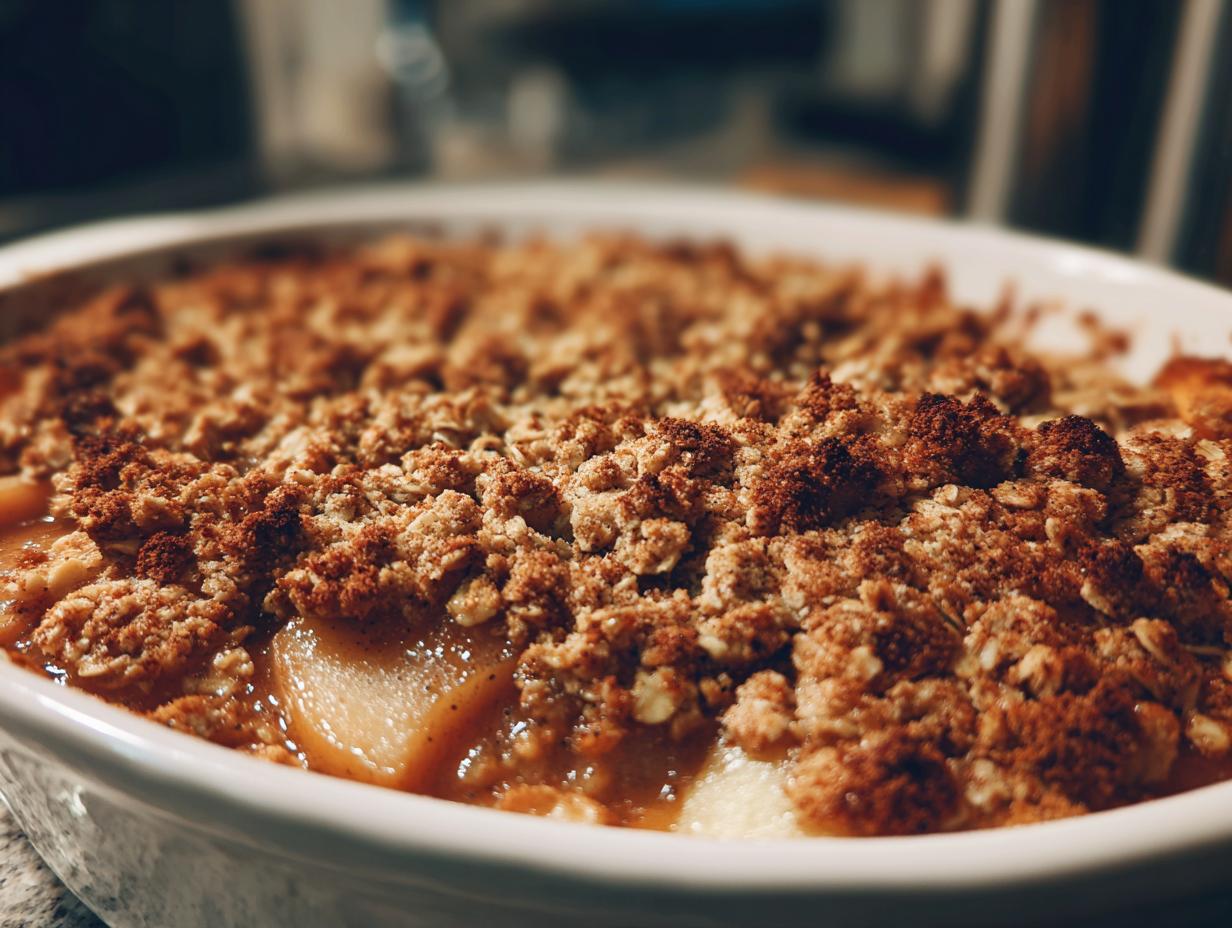
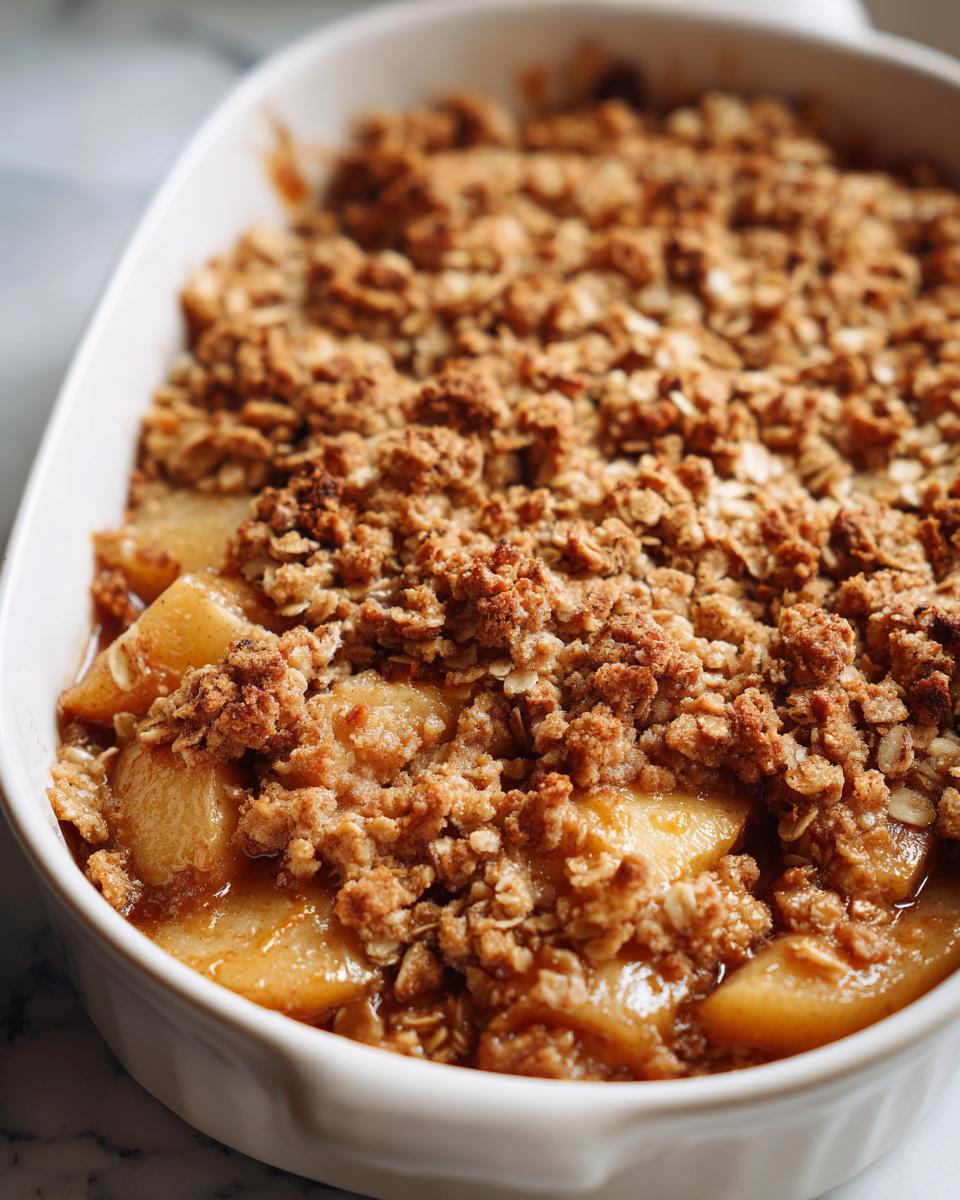
When the air gets that undeniable crispness, and you start craving something that smells like pure comfort, you know it’s time for a fruit crisp. Forget complicated baking projects; the quintessential *pear crisp* is my go-to simple, seasonal treat that always brings everyone running to the kitchen. My whole philosophy here at DelishCraze, started by me, Olivia Rosewood, is built on making amazing food accessible. We aren’t chasing fussy techniques here. We’re aiming for juicy, tender spiced pears underneath that unbeatable, crunchy, buttery oat topping. This recipe is designed to deliver maximum cozy satisfaction with minimal fuss, proving that truly delicious home cooking doesn’t take all day.
If you’re looking for something similar but leaning toward apples, don’t miss my guide on the best foolproof apple crisp recipe; it uses the same structure!
- Why This Brown Sugar Cinnamon Pear Crisp is Your New Favorite
- Gathering Ingredients for Your Pear Crisp
- How to Prepare This Easy Pear Crisp Recipe
- Tips for the Best Pear Crisp Ever
- Serving Suggestions for Your Rustic Pear Dessert
- Storage and Reheating Instructions for Leftover Pear Crisp
- Frequently Asked Questions About This Pear Crisp
- Nutritional Estimates for Your Pear Crisp Serving
- Share Your Delicious Baked Pears Creation
Why This Brown Sugar Cinnamon Pear Crisp is Your New Favorite
I just love how this recipe fits right into a busy week without sacrificing flavor. It’s all about capturing that cozy fall vibe instantly. It’s one of those recipes I always keep handy for last-minute guests!
-
Quick Baked Fruit Dessert Ready Fast
Seriously, from start to finish, this is an Easy Pear Crisp Recipe that clocks in under an hour total. Your active prep time is maybe 15 minutes, tops. That means you get incredible flavor for such a small investment of time!
-
The Ultimate Buttery Oat Topping
If you ask me, the topping is the star. We use brown sugar to deepen those caramel notes, and the result is the most heavenly Buttery Oat Topping you’ve ever crunched through. It’s golden, richly flavored, and completely addictive.
Gathering Ingredients for Your Pear Crisp
Okay, let’s talk about what you need! When I develop these recipes, my goal is simple: use things you probably already have. Quality ingredients make a world of difference here, especially grabbing those pears at the right stage of ripeness. Before you do anything, make sure your butter is fridge-cold—that’s non-negotiable for the crunch factor!
I’ve written everything out clearly below so you can check your pantry. If you want to see another recipe that uses warm spices beautifully, check out my guide for cinnamon sugar snowball cookies!
Pears and Spices for Warm Cinnamon Pears
You need six medium pears, and please, make sure they’re ripe but still firm enough to hold their shape when baked—nothing mushy! You’ll peel, core, and slice them before tossing them with just 1/4 cup of granulated sugar to draw out some liquid. That bright little splash of lemon juice keeps them from browning too fast. The heart of the flavor comes from that classic duo: one teaspoon of ground cinnamon and just a whisper of 1/4 teaspoon of nutmeg. This blend guarantees those perfect *Warm Cinnamon Pears*.
Components of the Brown Sugar Crisp Topping
The topping is where the magic happens for that rich flavor. You’ll combine 1/2 cup of all-purpose flour with 1/2 cup of packed light brown sugar—use the light brown, it gives a better melt! Add in 1/2 cup of rolled oats (the regular kind, not instant!) and just 1/4 teaspoon of salt to balance the sweetness. The crucial part is the butter: you need exactly 6 tablespoons of cold unsalted butter, cut into those tiny little cubes. These cold butter pieces are what create those glorious, distinct crumbs for your *Brown Sugar Crisp Topping*.
How to Prepare This Easy Pear Crisp Recipe
Getting this simple fruit crisp into the oven is surprisingly fast! Honestly, the hardest part is waiting for it to cool down afterward. I like to get my oven heated up first so there’s zero lag time when the fruit is spiced and ready to go. Remember, we’re aiming for that perfect bake where everything is bubbling beautifully. If you ever need a savory break from all this sweetness, you should check out my recipe for easy homemade pretzel dogs!
Preparing the Fruit Filling for Your Pear Crisp
First things first: Preheat your oven to 375 degrees Fahrenheit and take a moment to lightly grease your 8×8 inch baking dish. Now, grab that bowl with your sliced pears. Gently toss them with the small amount of granulated sugar, lemon juice, cinnamon, and nutmeg until every single slice is coated. Don’t mash them—we want them to keep their texture! Spread that spiced mixture evenly across the bottom of your prepared dish. This careful layering sets the stage for a truly lovely *Simple Fruit Crisp*.
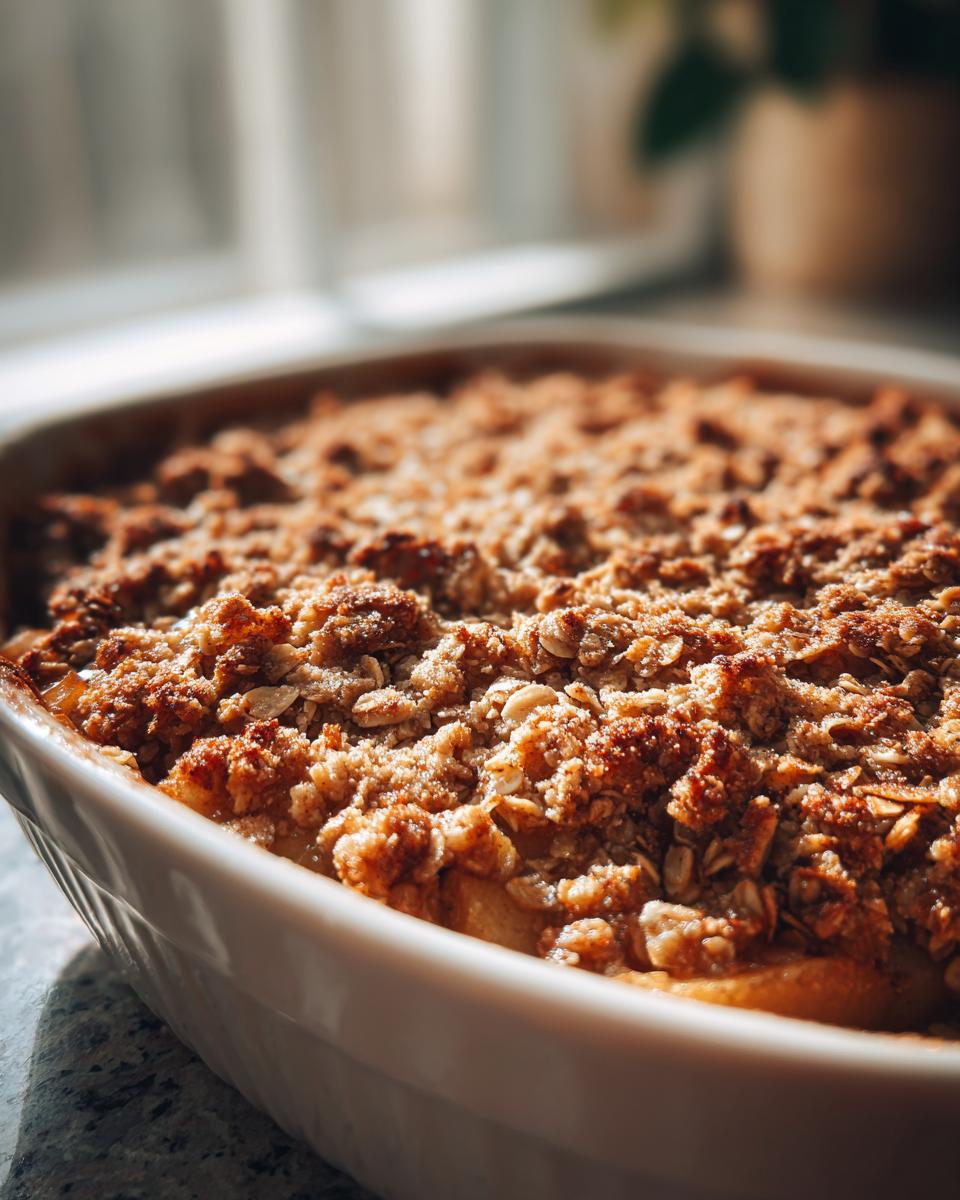
Creating the Buttery Oat Topping for the Pear Crisp
Next up is the best part: the topping! In a separate bowl, whisk together the flour, brown sugar, oats, and salt. Now comes the technique: you need to ‘cut in’ those cold butter cubes. I usually use my fingertips because I can feel exactly when the butter melts just enough to create that coarse, pebbly texture we love. You’re looking for mixture that resembles coarse crumbs—that’s the secret to your amazing *Buttery Oat Topping*!
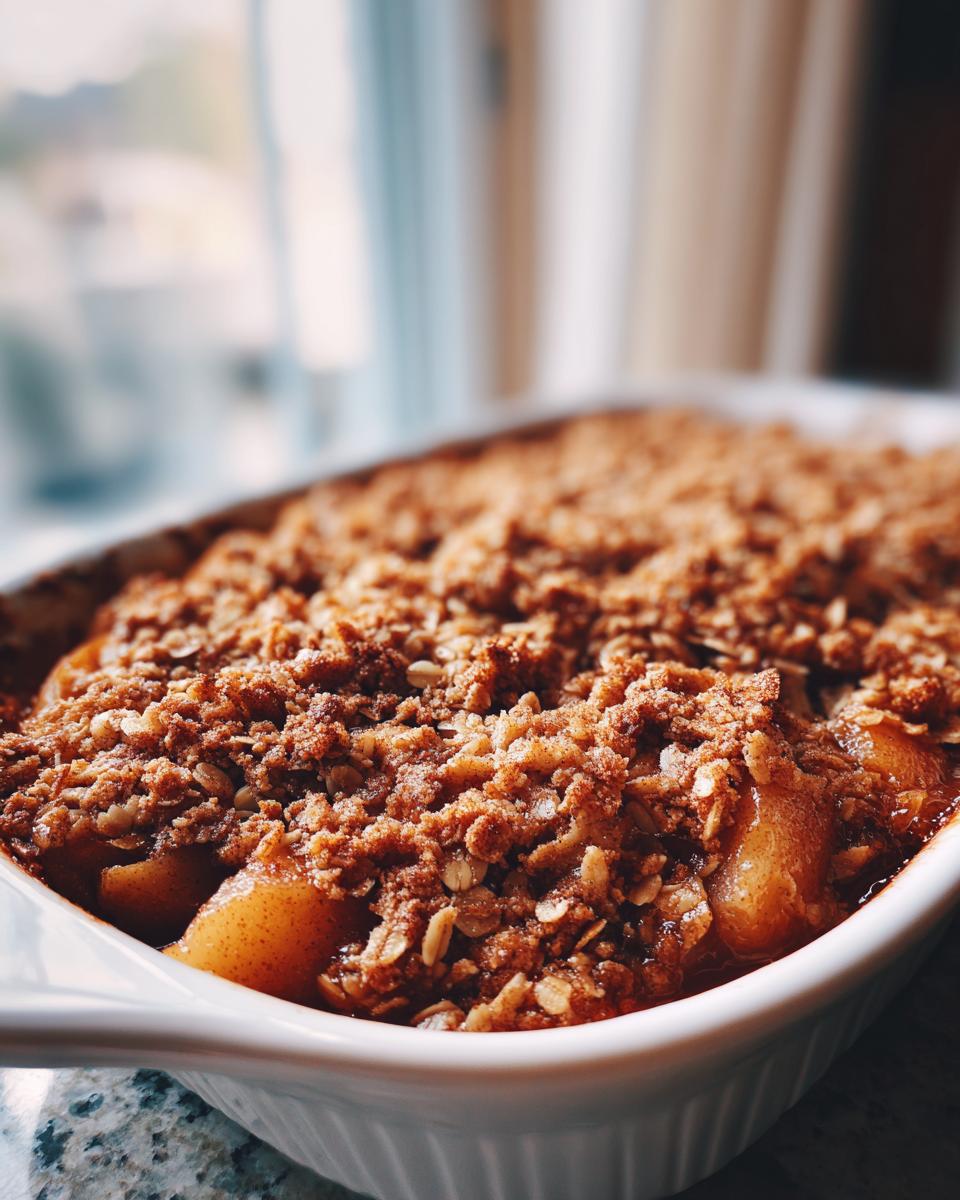
Baking and Resting the Pear Crisp
Sprinkle that glorious topping evenly over the pears—no pushing it down, just let it sit on top! Bake this beauty for 35 to 40 minutes. You’ll know it’s done when the fruit filling is oozing and bubbly at the edges and that oat topping is perfectly golden brown. The most important final step for any great *pear crisp*? You absolutely must let it rest for 15 minutes after it comes out. This time allows the juices to thicken up, preventing a watery mess when you scoop it out!
Tips for the Best Pear Crisp Ever
Even though this is an easy recipe, a few little tricks can take your baking from good to truly memorable. Because I want you to have the absolute best experience making this, I’ve included some of the variations I play with when I want to switch things up slightly. Trust me, adjusting these minor things really boosts the flavor profile and texture!
If you love a spiced apple cake, you might want to check out my recipe for apple dapple cake while you’re here!
Making a Cranberry Pear Crisp Variation
If you want that gorgeous pop of tartness that cuts through the richness of the brown sugar topping, you have to try the cranberry variation. It’s my favorite way to lighten things up in a festive way! Just add about 1 cup of fresh or frozen cranberries directly into the bowl with the spiced pears before you spread them into the baking dish. They cook down beautifully and create these little bursts of ruby tartness alongside the sweet baked pears.
Achieving Maximum Crunch in Your Pear Crisp Topping
While the oat topping is already fantastic, sometimes I want an extra layer of texture, especially if I’m serving this *pear crisp* as the main event after a big dinner. For maximum crunch? Fold in about 1/4 cup of chopped nuts! Walnuts or pecans work perfectly here. Just make sure you add them right alongside the dry ingredients before you cut in the cold butter. The nuts toast up nicely alongside the oats and give you that satisfying extra resistance when you bite in.
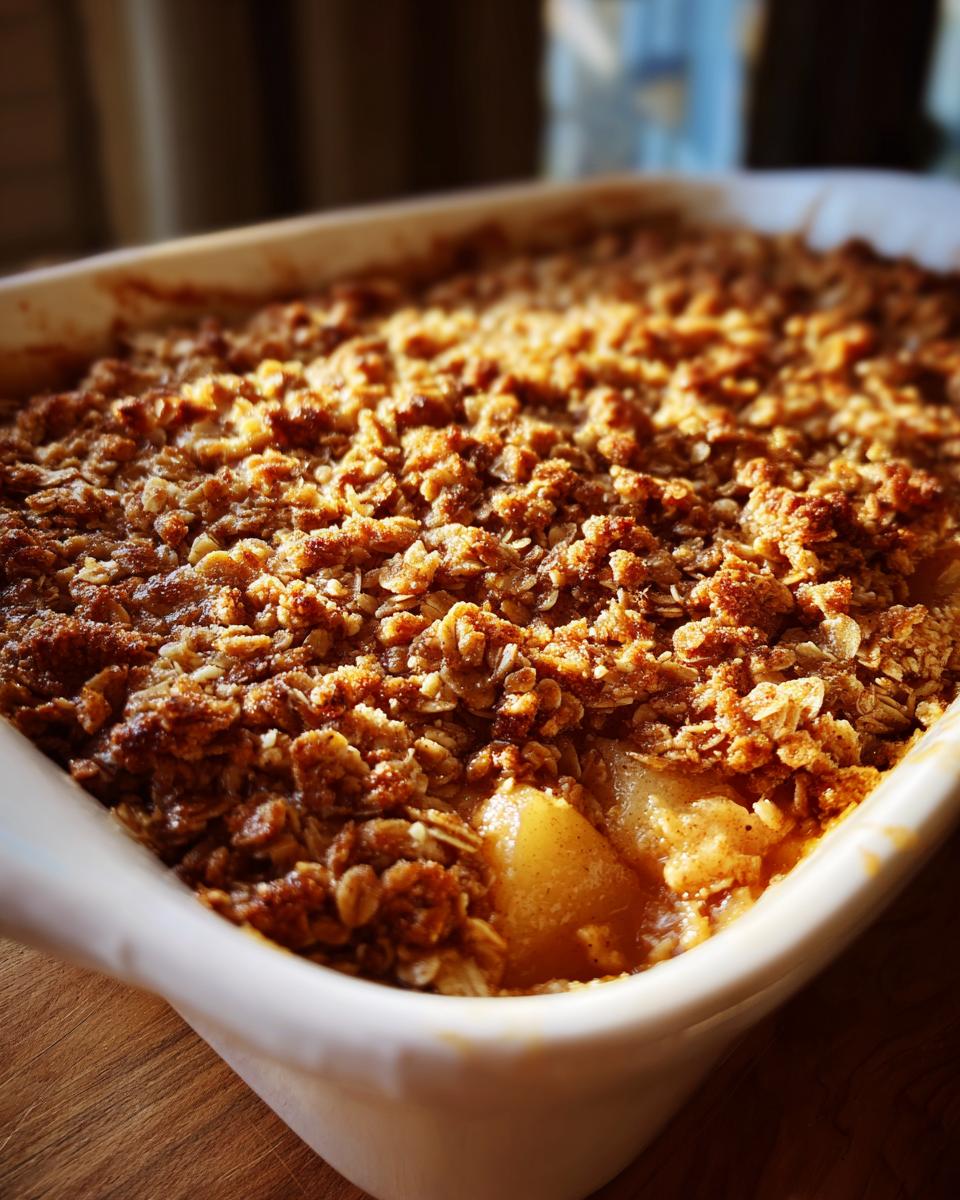
Serving Suggestions for Your Rustic Pear Dessert
Making a *Rustic Pear Dessert* means embracing that comforting, warm feel, and how you serve it can take it from good to absolutely unforgettable. Honestly, I rarely serve anything baked without some kind of cool contrast! It just makes the experience better.
The simplest way, and my personal favorite, is a big scoop of high-quality vanilla bean ice cream perched right on top while the crisp is still steaming hot. The way the cold ice cream melts into the warm, bubbly cinnamon pears and soaks into that buttery oat topping is just heaven. It creates this incredible hot-and-cold textural mix.
If you aren’t feeling ice cream, a generous dollop of freshly whipped heavy cream sweetened just slightly with powdered sugar works wonders. The light, airy texture of the cream balances the denseness of the crisp perfectly.
For a real showstopper, especially if you’re serving this after a holiday meal, you could drizzle a little caramel sauce over the top. You can find my recipe for the best caramel cake which includes a fantastic homemade sauce—double the batch and use that!
Don’t worry about making it look perfect; this dessert thrives on looking homemade and rustic. Just stack it high with that topping and let the warmth shine through!
Storage and Reheating Instructions for Leftover Pear Crisp
Now, if you manage to have any leftovers of this deliciousness—which is a big “if” in my house—storage is important if you want that topping to hang onto its crunch. I never cover the crisp tightly right away, as trapped steam is the enemy of crispness! Let it cool completely on the counter first.
Once cooled, cover it loosely with plastic wrap or foil and pop it in the fridge for up to three days. Don’t try to store it pre-scooped into bowls!
When you want to reheat a portion of your *pear crisp*, the oven or toaster oven is your friend. A small scoop on a baking sheet at 350°F for about 8 to 10 minutes brings back the bubbly fruit and re-crisps the topping beautifully. You can warm it up slightly faster in the microwave, but you’ll sacrifice that lovely texture. If you ever need a great savory make-ahead sauce, check out my recipe for easy homemade BBQ sauce recipe!
Frequently Asked Questions About This Pear Crisp
I know you might have a few lingering questions, especially if you’re trying to fit this into a busy schedule or swap out ingredients! That’s totally fine; that’s why I’m here to offer clarity. This *pear crisp*, like many of my favorite *Comfort Food Recipes*, is flexible, but a few tips ensure it turns out perfectly every time. It’s such a fantastic, *Simple Fruit Crisp* to master!
If you’re looking for something refreshing to balance out all this warmth, you might want to peek at my recipe for a creamy banana smoothie!
Can I make this pear crisp ahead of time?
Oh yes, you absolutely can do some prep work ahead of time, which is amazing for holidays! You can fully prepare the spiced pear filling and the buttery oat topping and store them separately in airtight containers in the fridge for up to 24 hours. When you’re ready to bake, just assemble it like normal and add about 5–10 minutes to your baking time since the components will be cold. I highly recommend *not* assembling it completely and storing the whole thing overnight, though, because that moisture from the pears will start making the topping soggy before it even hits the oven!
What is the difference between a crisp and a crumble?
This is a classic question, and honestly, the terms get used interchangeably these days, which drives me a little crazy! In my book, the difference really comes down to the topping. A crumble topping is usually just flour, sugar, and butter—a richer, sometimes smoother topping. A *pear crisp*, however, MUST have oats in the topping. That’s what gives it that signature, lovely, crunchy texture when baked. Since our recipe relies heavily on those rolled oats, we proudly call this a crisp!
Which type of pear works best for this pear crisp?
This is so important for texture! You want pears that are firm enough to stand up to 40 minutes in the oven without dissolving into sauce. Stay away from very soft pears like Bartlett if they are already very ripe. The varieties that truly shine here are Bosc or Anjou. They keep their shape beautifully, offer great natural sweetness, and provide just the right resistance when you take a bite. Using firm pears is the easiest way to guarantee a fantastic texture!
Nutritional Estimates for Your Pear Crisp Serving
Look, I’m a baker, not a nutritionist, but I know many of you like to keep track of what you’re eating, especially with comforting treats like this! In the spirit of full transparency—because that’s how I run my kitchen—here are the estimates for the recipe as written for one serving. Keep in mind these numbers can wiggle a bit depending on the exact size of your pears or the brand of butter you use.
- Serving Size: 1 serving
- Calories: 310
- Sugar: 30g
- Sodium: 110mg
- Fat: 14g (Saturated Fat: 8g)
- Carbohydrates: 48g (Fiber: 5g)
- Protein: 3g
As always, please view these as helpful guidelines rather than strict serving facts. This is a truly delicious baked fruit dessert, and enjoying it in moderation is part of the fun! If you’re looking for something lighter but still refreshing, you might want to try my easy watermelon smoothie recipe next time!
Share Your Delicious Baked Pears Creation
Truly, the greatest joy in sharing a recipe isn’t just writing it down—it’s hearing back from you! Once you’ve had a chance to bake this incredible **pear crisp**, I really, really want to know what you think. Did the brown sugar topping get perfectly golden? Were those pears tender enough? Getting your feedback helps me continue creating accessible, reliable recipes here.
Please leave a star rating right at the bottom of the page—it helps other bakers know they can trust this recipe to deliver amazing *Delicious Baked Pears*! And if you happen to snap a photo of your bubbling, warm dessert, tag me on social media! Seeing your version of this rustic treat makes my day.
If you’re looking for something savory to balance out all these fantastic baked goods, make sure you save my recipe for the easy salmon salad recipe for a protein-packed lunch later in the week!
PrintEasy Brown Sugar Cinnamon Pear Crisp
Make this easy brown sugar cinnamon pear crisp today. This recipe uses simple ingredients to create a delicious dessert with tender pears and a crunchy oat topping.
- Prep Time: 15 min
- Cook Time: 40 min
- Total Time: 55 min
- Yield: 6 servings 1x
- Category: Dessert
- Method: Baking
- Cuisine: American
- Diet: Vegetarian
Ingredients
- 6 medium ripe pears, peeled, cored, and sliced
- 1/4 cup granulated sugar
- 1 tablespoon lemon juice
- 1 teaspoon ground cinnamon
- 1/4 teaspoon ground nutmeg
- 1/2 cup all-purpose flour
- 1/2 cup packed light brown sugar
- 1/2 cup rolled oats
- 1/4 teaspoon salt
- 6 tablespoons cold unsalted butter, cut into small pieces
Instructions
- Preheat your oven to 375 degrees Fahrenheit. Lightly grease an 8×8 inch baking dish.
- In a large bowl, combine the sliced pears, granulated sugar, lemon juice, cinnamon, and nutmeg. Toss gently to coat the pears evenly.
- Spread the spiced pear mixture into the prepared baking dish in an even layer.
- In a separate medium bowl, whisk together the flour, brown sugar, rolled oats, and salt for the topping.
- Cut in the cold butter using a pastry blender or your fingertips until the mixture resembles coarse crumbs.
- Sprinkle the buttery oat topping evenly over the pear mixture.
- Bake for 35 to 40 minutes, or until the topping is golden brown and the fruit filling is bubbly.
- Let the pear crisp cool for at least 15 minutes before serving.
Notes
- For a cranberry pear crisp variation, add 1 cup of fresh or frozen cranberries to the pear filling mixture.
- If you want a crunchier topping, add 1/4 cup of chopped walnuts or pecans to the dry topping ingredients.
- Serve this warm dessert with vanilla ice cream or a dollop of whipped cream for a comforting treat.
Nutrition
- Serving Size: 1 serving
- Calories: 310
- Sugar: 30g
- Sodium: 110mg
- Fat: 14g
- Saturated Fat: 8g
- Unsaturated Fat: 6g
- Trans Fat: 0g
- Carbohydrates: 48g
- Fiber: 5g
- Protein: 3g
- Cholesterol: 30mg