
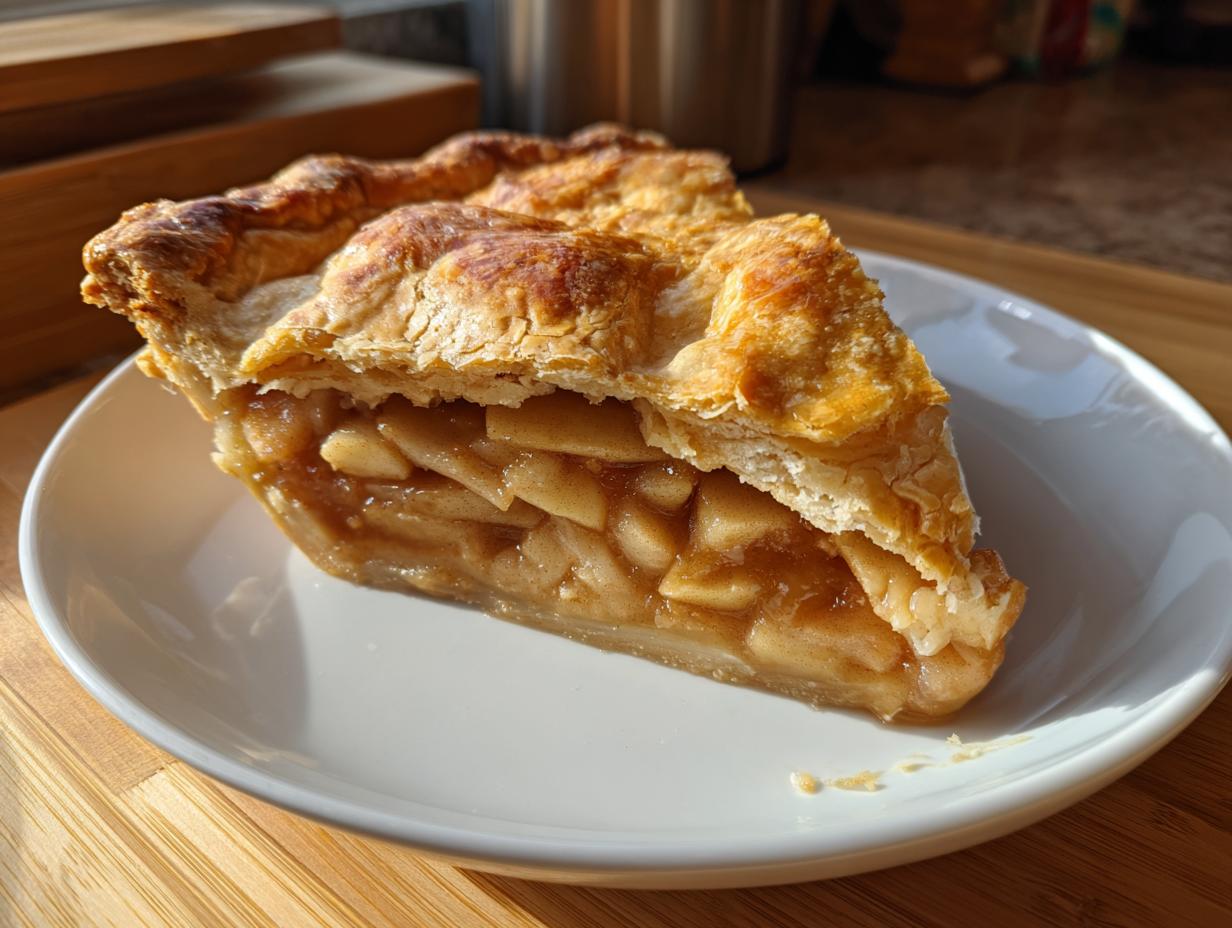
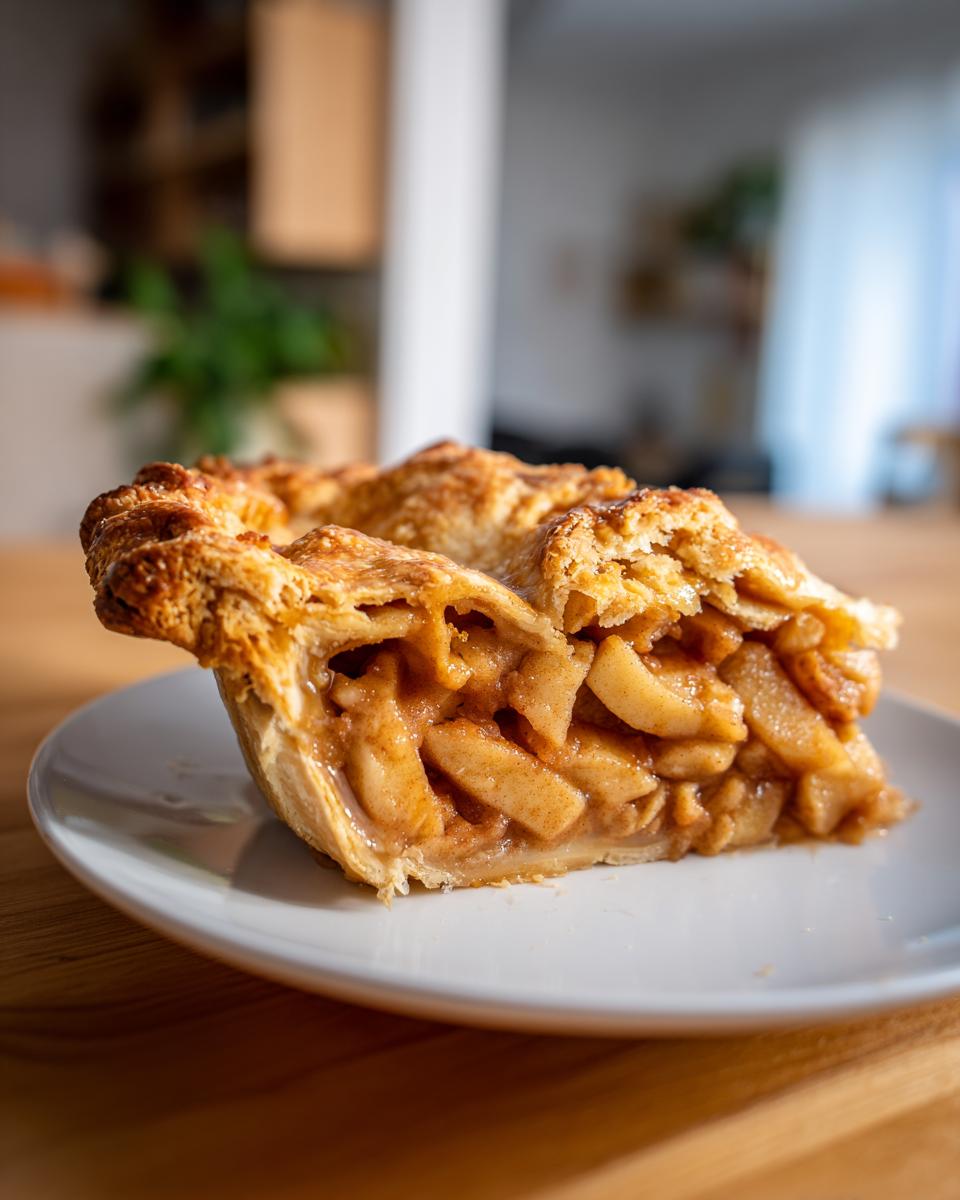
You know, sometimes life gets so fast, right? Deadlines, endless emails, and suddenly, you realize the only thing you’re connecting with is your keyboard. When I was deep in my graphic design years, I lost touch with that warm, slow feeling of true comfort food. But when I started my family, I knew I needed to reclaim that kitchen magic. And truly, nothing says ‘home’ like the scent of a perfect, traditional homemade apple pie baking away. This isn’t just *an* apple pie recipe, believe me. This is the definitive recipe. It’s got that shatteringly flaky double crust and a filling so perfectly spiced it tastes like stepping back into my childhood kitchen in Portland. If you’re looking for that American classic dessert that actually works every time, you’ve found it!
- Why This Homemade Apple Pie Recipe Is a Slice of Americana
- Gathering Ingredients for Your Classic Apple Pie Recipe
- Step-by-Step Instructions for Your Double Crust Apple Pie
- Tips for Success When Baking Apple Pie
- Ingredient Notes and Substitutions for Your Apple Pie
- Serving Suggestions for Your Traditional Apple Pie
- Storage and Reheating Instructions for Leftover Apple Pie
- Frequently Asked Questions About Making Apple Pie
- Sharing Your Apple Pie Creation
Why This Homemade Apple Pie Recipe Is a Slice of Americana
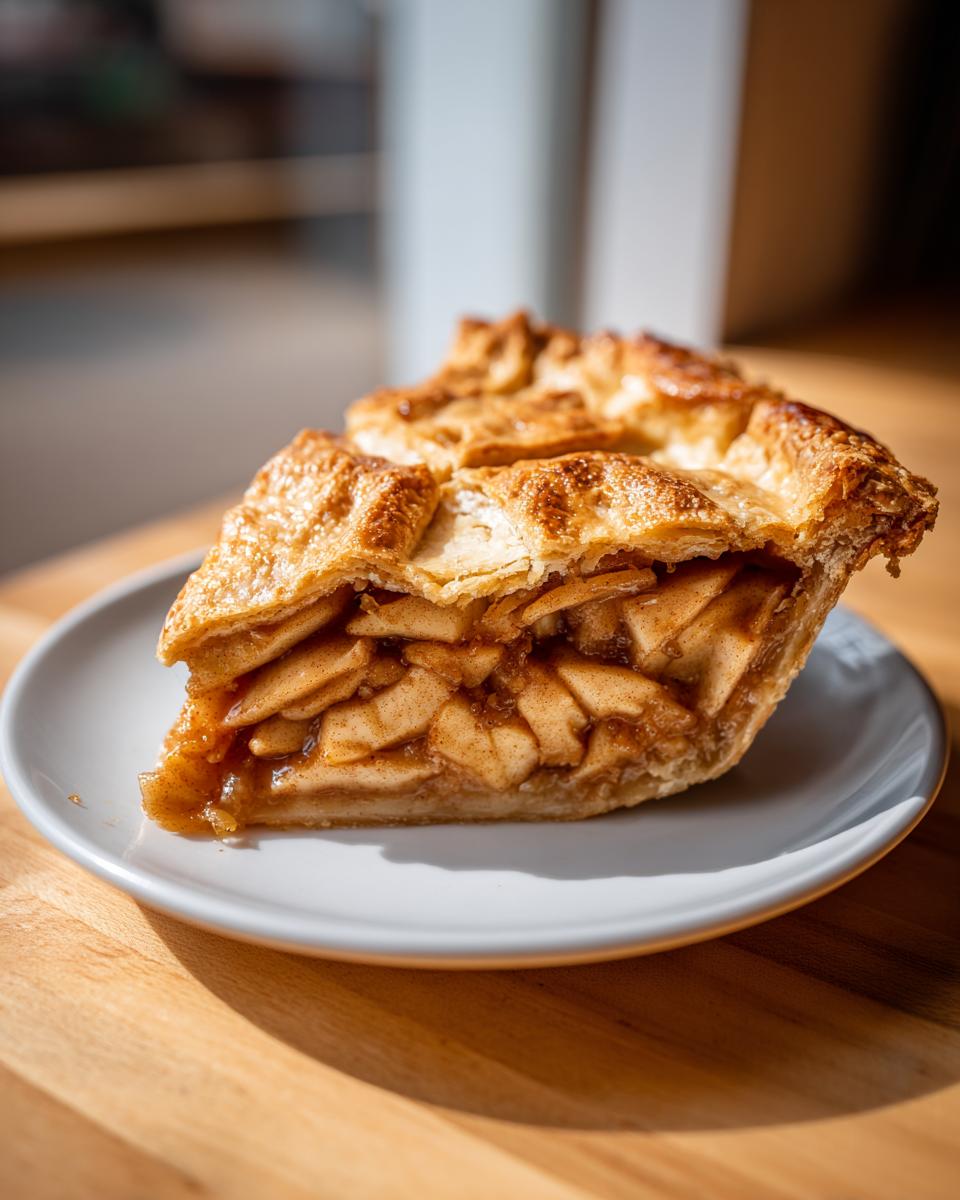
Honestly, this recipe isn’t just about putting fruit in a pastry shell; it’s about that feeling—the one where you just slow down. It’s pure comfort food baking packed into a beautiful lattice. When I was testing these recipes to bring back that nostalgic feeling, I focused on what made the best, most reliable pies. We nail the flaky crust because we respect the science of cold fat, and we nail the filling because we understand balance. This is the real deal, a true American classic dessert that will always earn compliments.
Achieving the Perfect Flaky Pie Crust Tutorial
Listen, the crust is where most people panic, but you shouldn’t! Flakiness isn’t luck; it’s temperature control. You absolutely must keep your butter and water ice-cold. When you mix them into the flour, you want those pea-sized chunks of butter to remain intact. Why? When that cold butter hits the hot oven, it creates steam pockets. Those steam pockets are what push the layers apart, making that glorious, flaky texture. Handle the dough as little as possible—seriously, just until it barely holds together!
The Secret to the Best Apple Pie Filling
The filling needs structure and complexity, not just sweetness. That’s why I always insist on Granny Smith apples; they hold up beautifully and give you that essential tartness to cut through everything. Now here’s my little secret if you’re aiming for that deep, traditional apple pie flavor: a tiny pinch of black pepper. Don’t skip it! It doesn’t make the pie spicy, but it really wakes up the cinnamon and nutmeg, giving you a more gourmet, deep spice profile that people always ask about.
Gathering Ingredients for Your Classic Apple Pie Recipe
Alright, now that we know the science behind the flake and the depth of the spice, let’s talk brass tacks: ingredients! Getting the right things ready is half the battle, and with this classic apple pie recipe, starting apple pie from scratch really pays off. We need precision here, especially with the butter—it has to be rock-solid cold. Everything else is straightforward, focusing on quality where it counts, especially those Granny Smiths. But hey, if you’re having a wild Tuesday and need a quick fix, no judgment here; this recipe is wonderful even with a good quality store-bought crust to save you time!
Here’s the rundown of everything you’ll need:
- 2 1/2 cups all-purpose flour
- 1 teaspoon salt
- 1 cup (2 sticks) cold unsalted butter, cut into cubes
- 1/2 cup ice water, plus more if needed
- 6 large Granny Smith apples, peeled, cored, and sliced 1/4-inch thick
- 1 cup granulated sugar
- 1/4 cup packed light brown sugar
- 1 teaspoon ground cinnamon
- 1/4 teaspoon ground nutmeg
- 1/8 teaspoon ground black pepper (for flavor depth)
- 2 tablespoons all-purpose flour
- 1 tablespoon lemon juice
- 1 large egg, beaten with 1 teaspoon water (for egg wash)
- 1 tablespoon coarse sugar for sprinkling
Step-by-Step Instructions for Your Double Crust Apple Pie
Okay, time to get messy—in the best way possible! This is where all that planning for apple pie comes to life. I know the steps look long, but trust me, they just flow one into the other. The biggest piece of advice I can give you from baking this for my own family is patience during the chill time later on. A warm pie is tempting, but a set pie is worth the wait!
Making the Flaky Pie Dough
First things first, the dough. Whisk your flour and salt in that big bowl, then get that cold butter cut in until it looks like coarse crumbs—you want those tiny pieces of butter left! Add the ice water slowly, just until it *barely* holds together when you squeeze a bit. Remember, we aren’t aiming for smooth here; we want texture! Divide it, flatten into disks, wrap it up, and get it chilling for at least an hour. This rest time is essential for a good apple pie crust.
Assembling the Cinnamon Spiced Apples Filling
While that dough is getting happy in the fridge, let’s tackle those apples. Take your perfectly sliced Granny Smiths and toss them gently with both sugars, that cinnamon, nutmeg, the secret pepper, flour, and lemon juice. Make sure every slice is coated! Set this mixture aside. Having the apples mingle with the sugar helps them release a little juice while you roll out the pastry, which sets us up perfectly for the filling step in your double crust apple pie.
Baking and Setting the Apple Pie
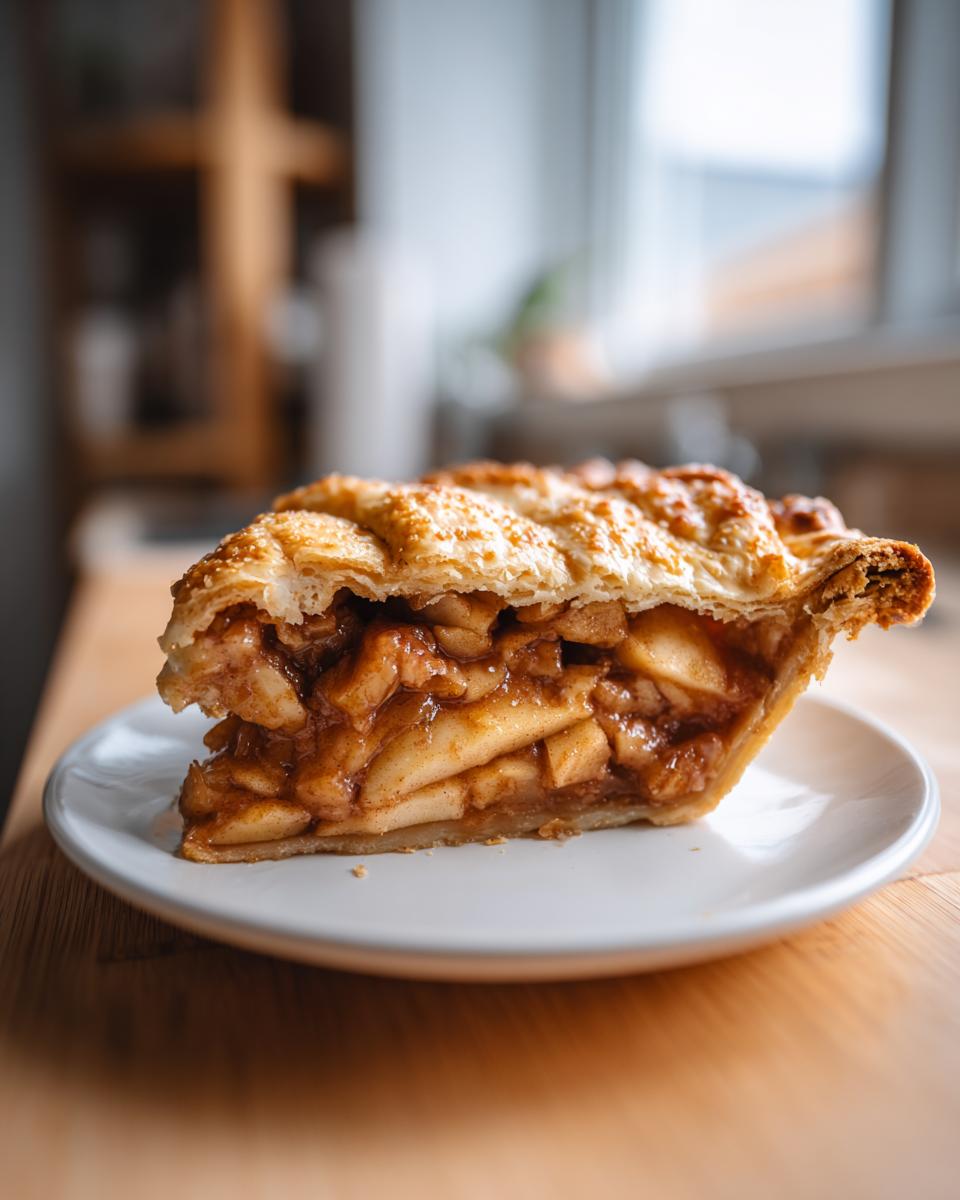
Roll out your bottom crust, fit it in the plate, pile in those cinnamon spiced apples, top it with your vented or latticed crust, seal it up, brush with the egg wash, and sprinkle that coarse sugar on top. Now for the magic temperature sequence! Start hot at 425°F for just 15 minutes—that sets the crust structure beautifully. Then, drop it down to 375°F for another 40 to 50 minutes until you see those juices bubbling thick. If the edges look too dark, snip a piece of foil and drape it over them midway through the lower bake. But here is the most important part for a perfect slice of apple pie: let it cool for a full three hours before even thinking about slicing. I promise, you need that time for the filling to truly set!
Tips for Success When Baking Apple Pie
I’m going to share a few things I learned the hard way so you can skip the mishaps! Avoiding a soggy bottom is paramount for that perfect slice of apple pie. My biggest tip, besides chilling that dough, is to bake the pie on the lowest rack for the first 15 minutes while it’s at the higher temperature. That blast of direct heat crisps up that bottom crust beautifully before the filling even gets fully hot.
Also, don’t be shy with the egg wash on top! That wash, mixed with a sprinkle of coarse sugar, is what gives you that gorgeous, deep golden sheen—it really elevates the whole apple pie aesthetic. Trust me, a little attention to these details turns a good pie into something truly memorable.
Ingredient Notes and Substitutions for Your Apple Pie
Let’s talk swaps and secrets for a minute because I know sometimes you have to pivot based on what’s in the pantry. If you don’t have Granny Smiths, you can absolutely mix them with Honeycrisp—but make sure you use at least two-thirds tart apples to keep that filling structure firm. Remember that little bit of black pepper I mentioned? It’s truly just there to boost the other spices; it won’t taste like pepper.
Now, if you’re trying to pull off one of those easy baking recipes for a weeknight, don’t sweat the from-scratch crust. Using a high-quality store bought crust apple pie shell works fine in a pinch! Just make sure you still make this amazing best apple pie filling; that’s where 90% of the magic happens anyway!
Serving Suggestions for Your Traditional Apple Pie
So, the pie is cooled—and I know it’s tough, but resist cutting into! How you serve this traditional apple pie really does elevate it, especially if you’re making it for one of those big holiday pie recipes.
The absolute classic, non-negotiable pairing for me is a high-quality vanilla bean ice cream that just melts into the warm spices. If you want to go really vintage, try serving a thin slice with a small wedge of sharp cheddar cheese; the salty bite against that sweet, fall dessert recipes filling is shockingly good!
Storage and Reheating Instructions for Leftover Apple Pie
If you happen to have any slices left over—which is a miracle in my house!—storage is easy. You can leave your finished apple pie on the counter, loosely covered, for about two days, especially if the weather isn’t too hot. For longer keeping, wrap those remaining pieces tightly and pop them in the fridge for up to four days.
Now, for reheating a slice? Don’t just microwave it; that ruins the crust! Pop that slice on a baking sheet into a 350°F oven for about 10 minutes. It brings back that wonderful crispness to the pastry and warms the best apple pie filling perfectly.
Frequently Asked Questions About Making Apple Pie
I get so many wonderful questions after I share a recipe as close to my heart as this one! It shows me you’re serious about making a show-stopping homemade dessert ideas centerpiece. Here are some of the top things I hear about achieving that perfect result.
How do I prevent my apple pie from being runny?
This is the number one worry for anyone trying a classic apple pie recipe! The leakiness usually comes from two places. First, make sure you’re using enough flour or another thickener (like cornstarch) in your filling—I specified 2 tablespoons, but if your apples are super juicy, you might need a tiny bit more. Second, and this is huge: you absolutely must let the pie cool completely, about 3 hours, before you slice it. That resting time lets the pectin and starch in the filling firm up into that beautiful, sliceable gel.
Can I use different kinds of apples besides Granny Smith?
You sure can, but be smart about it! Granny Smiths are my go-to because they are reliably tart and firm so they don’t turn to mush. If you want to try other varieties for more flavor depth, always aim for a mix. Try to use at least half tart apples, like Granny Smith, and fill the rest with sweeter, firmer apples like Honeycrisp or Braeburn. Avoid softer apples like McIntosh if you want that nice structure in your traditional apple pie!
Can I freeze this apple pie before or after baking?
Yes, freezing is a great solution when you’re planning ahead for holiday pie recipes! If you freeze the *unbaked* pie—fully assembled, foil-covered, and frozen solid—it lasts great for up to two months. You just need to add an extra 20-30 minutes to the baking time, keeping it loosely covered with foil. If you freeze the baked pie, though, the crust can get a little sad when you thaw it, so I always recommend baking it fresh!
Why do you call for black pepper in the filling?
I know, I know, it looks weird in the ingredient list for a cinnamon spiced apples recipe! But it’s my little secret weapon for making things taste richer, not hotter. Cinnamon is amazing, but it needs a little pop to contrast the sugar. That tiny 1/8 teaspoon of finely ground black pepper just heightens the warmth of the cinnamon and nutmeg. You won’t taste the pepper itself, just a deeper, more complex apple flavor!
Sharing Your Apple Pie Creation
Now that you’ve got that gorgeous, classic apple pie cooling on the rack, I just have to know how it turned out for you! Seriously, this is my favorite part of sharing these recipes—seeing the results of your hard work in your own kitchens.
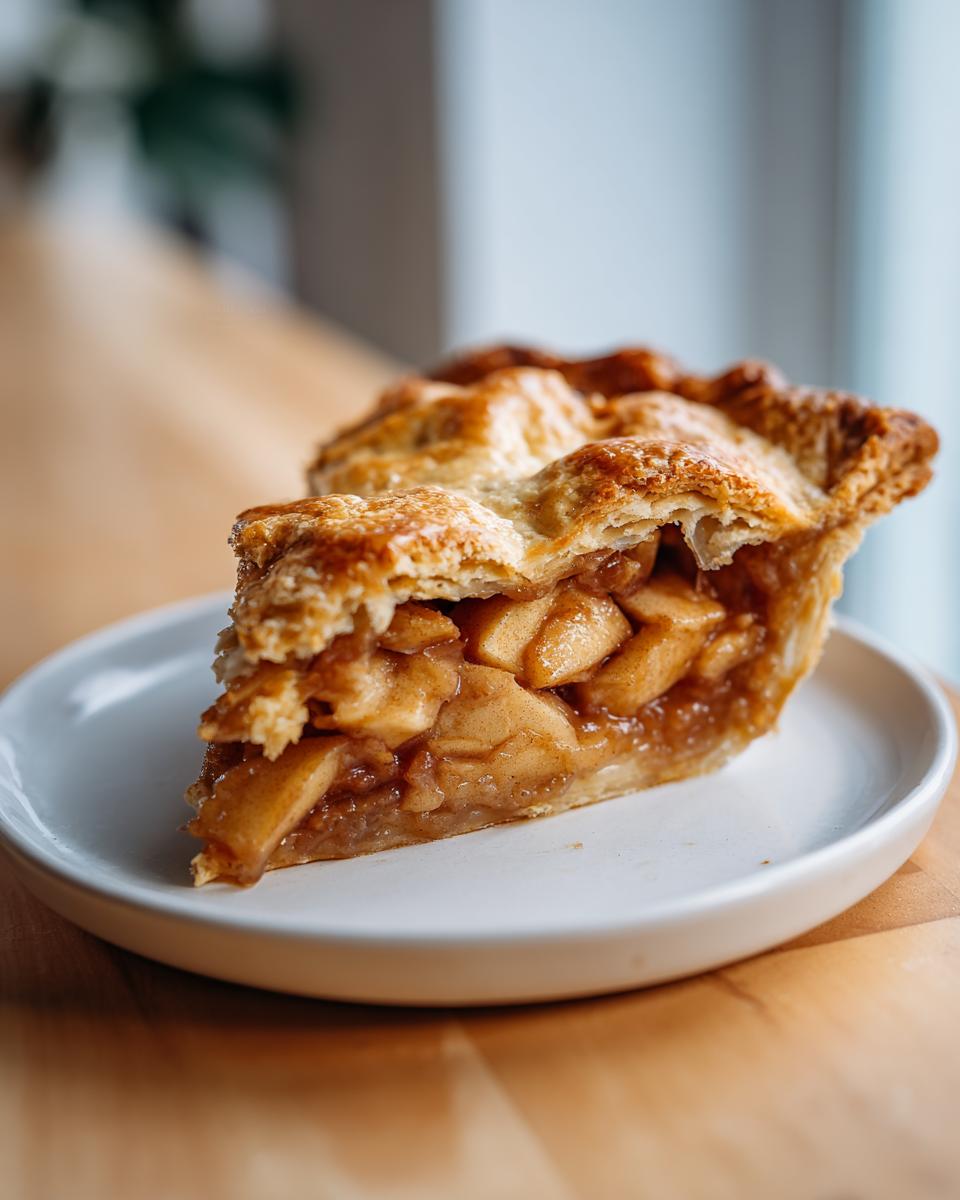
When you slice into that flaky double crust and smell those cinnamon spiced apples, please take a picture! I’d love for you to tag me or share your creation in the comments below. Knowing that this classic recipe is making its way onto your family tables, whether it’s for a cozy weeknight or a huge holiday gathering, just fills my heart up.
If you made this, drop a rating below—it really helps other home cooks know this is the definitive recipe they need to try. And if you have any tweaks or favorite ways you serve your perfect slice, share that tip too! Let’s keep the tradition going. If you want to see more amazing spins on classics, check out this gorgeous recipe for classic apple pie recipe inspiration!
PrintThe Best Homemade Apple Pie Recipe with Flaky Double Crust
Follow this classic homemade apple pie recipe to create a comforting dessert featuring a tender, cinnamon-spiced filling encased in a perfectly flaky double crust. This recipe delivers the traditional American classic you remember.
- Prep Time: 45 min
- Cook Time: 65 min
- Total Time: 110 min
- Yield: 8 servings 1x
- Category: Dessert
- Method: Baking
- Cuisine: American
- Diet: Vegetarian
Ingredients
- 2 1/2 cups all-purpose flour
- 1 teaspoon salt
- 1 cup (2 sticks) cold unsalted butter, cut into cubes
- 1/2 cup ice water, plus more if needed
- 6 large Granny Smith apples, peeled, cored, and sliced 1/4-inch thick
- 1 cup granulated sugar
- 1/4 cup packed light brown sugar
- 1 teaspoon ground cinnamon
- 1/4 teaspoon ground nutmeg
- 1/8 teaspoon ground black pepper (for flavor depth)
- 2 tablespoons all-purpose flour
- 1 tablespoon lemon juice
- 1 large egg, beaten with 1 teaspoon water (for egg wash)
- 1 tablespoon coarse sugar for sprinkling
Instructions
- Prepare the Pie Dough: In a large bowl, whisk together the flour and salt for the crust. Cut in the cold butter using a pastry blender or your fingers until the mixture resembles coarse crumbs with some pea-sized pieces of butter remaining. Gradually add the ice water, one tablespoon at a time, mixing until the dough just comes together. Do not overmix. Divide the dough in half, flatten each half into a disk, wrap in plastic, and chill for at least 1 hour.
- Prepare the Apple Filling: In a large bowl, gently toss the sliced apples with the granulated sugar, brown sugar, cinnamon, nutmeg, black pepper, 2 tablespoons of flour, and lemon juice until the apples are evenly coated. Set aside while you roll out the bottom crust.
- Assemble the Bottom Crust: On a lightly floured surface, roll out one disk of dough into a 12-inch circle. Carefully transfer the dough to a 9-inch pie plate. Trim the edges, leaving a 1-inch overhang. Chill the pie plate while you roll out the top crust.
- Assemble the Top Crust: Roll out the second disk of dough into an 11-inch circle. Cut vents into the top crust or cut into strips for a lattice design.
- Fill and Seal: Pour the apple filling into the chilled bottom crust. Moisten the edge of the bottom crust with water. Place the top crust over the filling. Trim the overhang and crimp the edges to seal the top and bottom crusts together. Brush the top crust with the egg wash and sprinkle with coarse sugar.
- Bake the Pie: Preheat your oven to 425 degrees Fahrenheit (220 degrees Celsius). Place the pie on a baking sheet to catch drips. Bake for 15 minutes at 425°F. Then, reduce the oven temperature to 375°F (190°C) and continue baking for 40 to 50 minutes, or until the crust is golden brown and the filling is bubbling. If the edges brown too quickly, cover them loosely with foil.
- Cool: Let the apple pie cool on a wire rack for at least 3 hours before slicing. This allows the filling to set properly for perfect slices.
Notes
- For an extra flaky crust, use only ice-cold ingredients and handle the dough as little as possible.
- If you are short on time, you can use a high-quality store-bought crust, but the homemade flavor is superior.
- For a deeper, richer flavor, substitute 1/4 cup of the granulated sugar with maple syrup in the filling.
Nutrition
- Serving Size: 1 slice
- Calories: 450
- Sugar: 35g
- Sodium: 250mg
- Fat: 24g
- Saturated Fat: 14g
- Unsaturated Fat: 10g
- Trans Fat: 0g
- Carbohydrates: 60g
- Fiber: 3g
- Protein: 5g
- Cholesterol: 60mg