
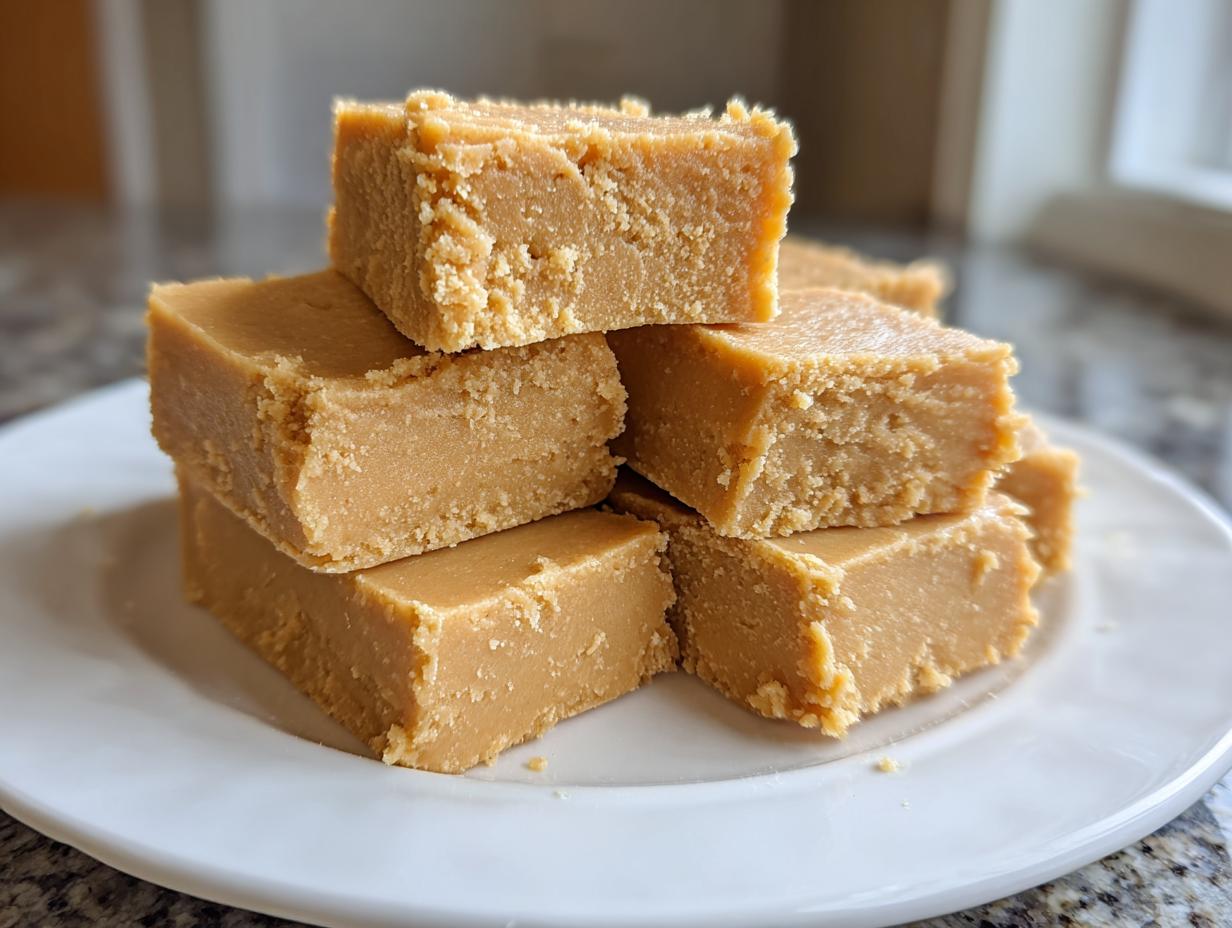
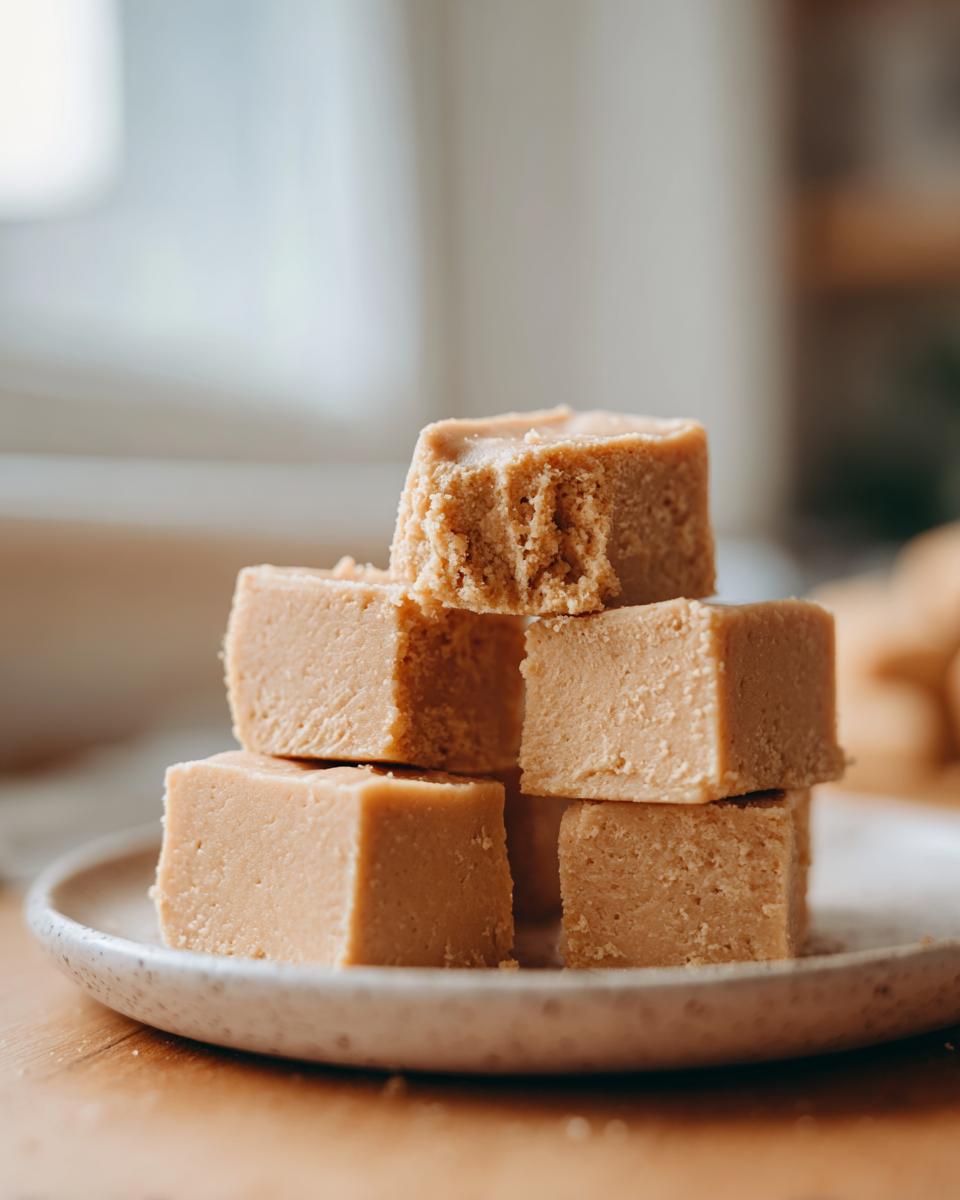
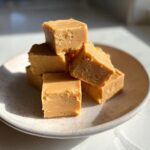
Sometimes you just need a sweet fix, right? The kind of dessert that feels nostalgic but takes almost zero effort. That’s why I’m so excited to finally share something truly special from my collection of reliable home classics: **The Best Ever No-Bake Creamy Peanut Butter Fudge recipe**.
When I developed this, I was focused on pure indulgence without the kitchen scare tactics—you won’t need a candy thermometer, trust me! This version uses just four simple ingredients to create that incredible melt-in-your-mouth experience. It’s truly the ultimate quick dessert. Here at DelishCraze, Olivia Rosewood always aims for the most accessible, flavorful treats, and this fudge absolutely delivers on that promise for holidays or any day you crave something decadent.
- Why This peanut butter fudge recipe is Your New Go-To
- Gathering Ingredients for Your peanut butter fudge recipe
- Step-by-Step Instructions for This Easy Fudge Recipe
- Tips for the Best Ever peanut butter fudge recipe
- Storage and Keeping Your peanut butter fudge Fresh
- Frequently Asked Questions about This Quick Dessert
- Estimated Nutritional Data for This peanut butter fudge recipe
- Share Your Creamy Fudge Creations
Why This peanut butter fudge recipe is Your New Go-To
I promise this straightforward peanut butter fudge recipe is going to knock your socks off. Honestly, it’s my top choice when I suddenly need a holiday candy fix or a truly easy fudge recipe for gifting. This hits all the right notes!
- It’s a true no-bake wonder—mix it up, chill it, cut it, done!
- The texture is undeniably rich, smooth, and just screams homemade fudge comfort.
- It’s incredibly adaptable if you ever want to try new flavor ideas. Check out my three-ingredient fudge guide for even simpler versions!
No Candy Thermometer Required
When I say no-bake, I mean it. Heating sugar mixtures on the stovetop can feel like walking a tightrope, right? With this method, you skip all that fuss. This is your ticket to stress-free, consistently smooth fudge every single time. No thermometer needed, ever!
Achieving That Perfect Creamy Fudge Texture
If you’re chasing that glorious melt-in-your-mouth fudge experience, this ratio of butter, peanut butter, and sifted sugar is the magic key. It sets up just right, giving you that decadent but not overly stiff result. You get true, velvety smooth peanut butter fudge.
Gathering Ingredients for Your peanut butter fudge recipe
Okay, friend, this is where the magic starts, and honestly, it almost feels like cheating because we only need four things! Before you even think about mixing, make sure you have everything measured out perfectly. Because this is a no-bake recipe, the quality and prep of these four core items really determine if you get that beautiful, smooth peanut butter fudge we are aiming for.
If you’re looking to try some other peanut butter favorites, my creamy peanut butter dip is another winner!
- 1 cup (2 sticks) unsalted butter, softened
- 1 teaspoon pure vanilla extract
- 1 pound powdered sugar, sifted
- 1 1/2 cups creamy peanut butter
Ingredient Clarity and Preparation Notes
Since we aren’t cooking this, preparation is everything. First, that butter needs to be truly room temperature soft—if it’s even slightly cold, your mixture will fight you. Second, I insist on standard creamy peanut butter here, not the natural kind that separates, unless you want to spend time stirring oil! Finally, please, please sift that powdered sugar. It stops lumps and makes sure those square pieces look gorgeously professional and smooth.
Step-by-Step Instructions for This Easy Fudge Recipe
This is the fun part where we turn simple pantry staples into decadent **homemade fudge**! Because this whole process is so quick—we aren’t even turning on the oven!—it’s important that you get your pan ready first. Trust me, scrambling for parchment paper when the peanut butter mixture is ready to go is a rookie mistake I only made once! For more quick, no-bake ideas, you should definitely check out my guide on easy no-bake peanut butter bars.
Preparing the Pan and Mixing the Base
First things first, grab an 8×8 inch pan and line it with parchment paper. The key here is leaving a flap or ‘overhang’ on two sides—this acts as a handle later so you can lift the whole slab right out! Lightly grease that paper too, just for good measure. Now, in your big mixing bowl, beat that softened butter (remember, room temp!) with your vanilla until everything looks creamy and happy. That’s step two done in five minutes flat!
Incorporating Peanut Butter for Creamy Fudge
Next, we tackle the powdered sugar. You need to add it gradually while mixing on low—don’t just dump it all in, or you’ll have a sugary cloud takeover in your kitchen! Once that’s mostly incorporated, sink in the peanut butter. Now crank up the mixer speed a bit and beat it until it’s completely smooth. I mean it—scrape down those sides a couple of times until there are absolutely no streaks left. That scraping ensures uniform flavor in every bite of your **creamy fudge**.
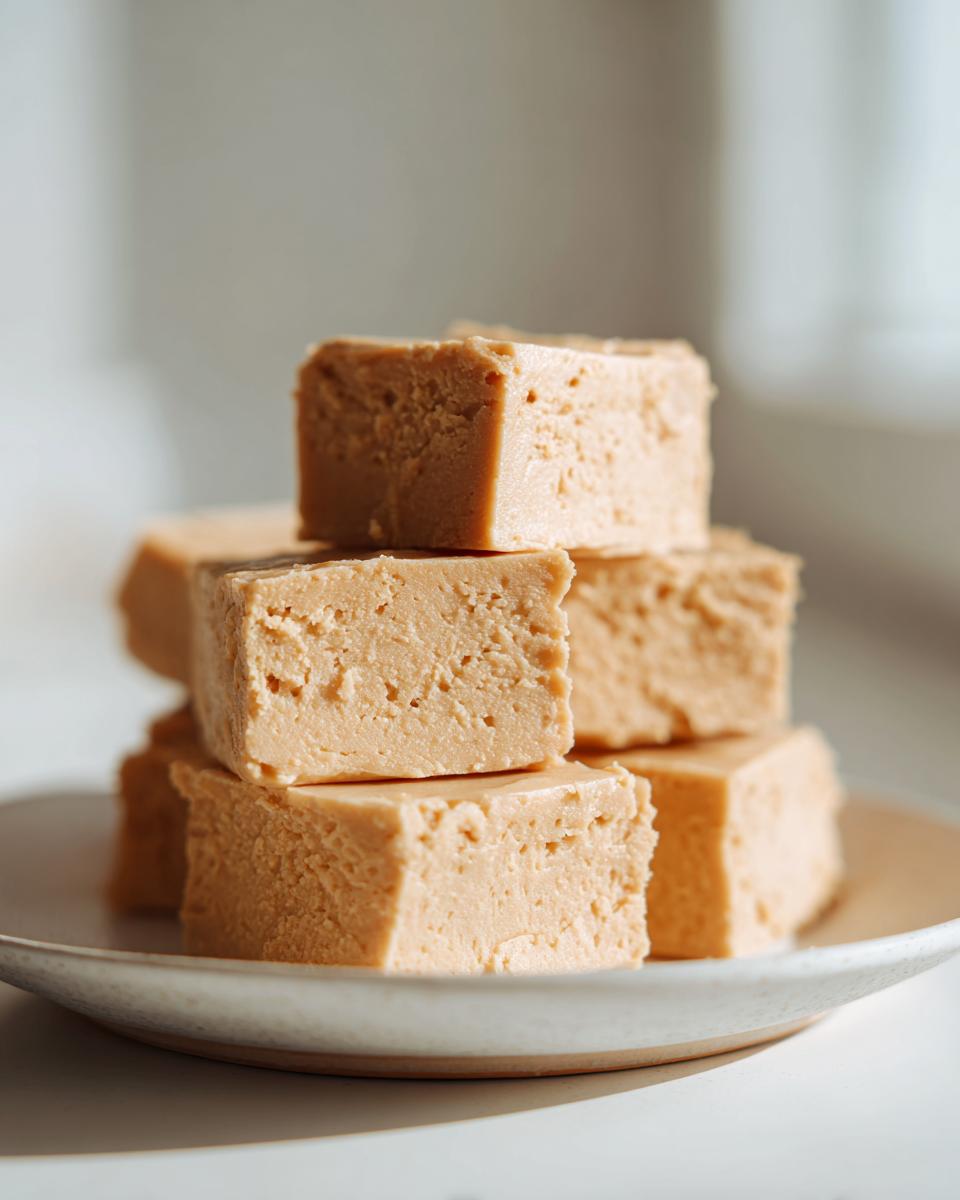
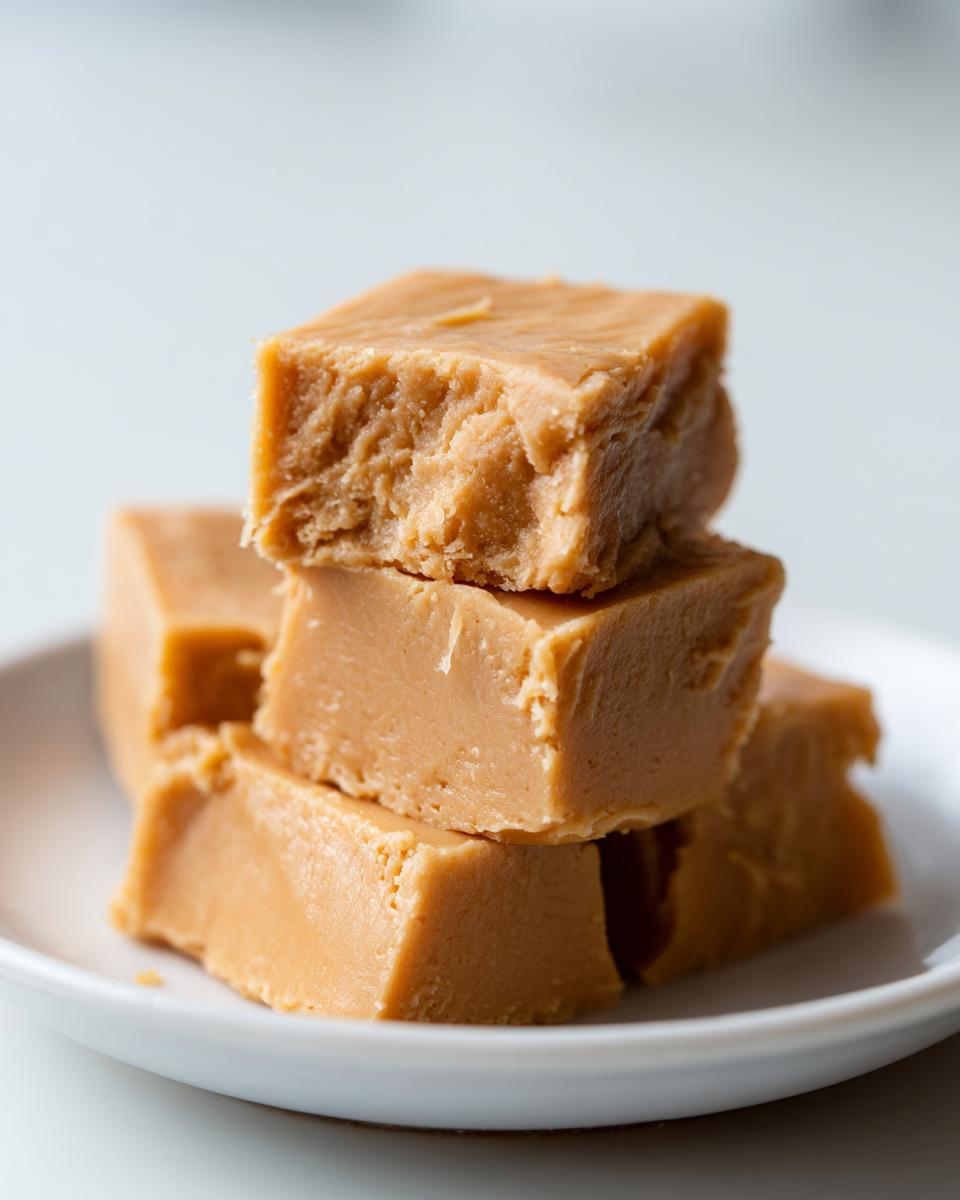
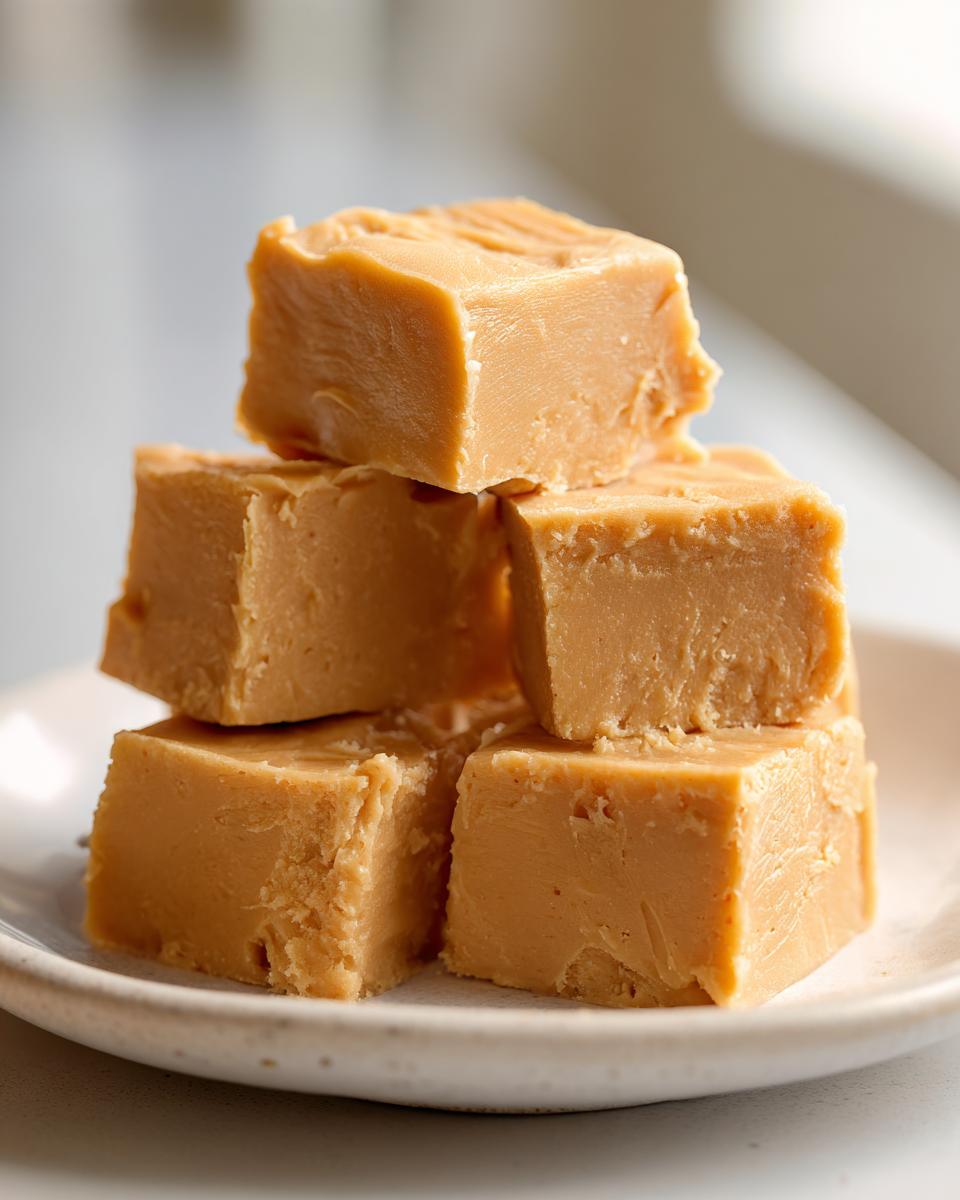
Setting and Cutting Your Homemade Fudge
Once your batter is smooth, press it firmly and evenly into that prepared pan. Use a spatula or the back of a spoon to smooth the top nicely. Now, it’s nap time for the fudge! Pop it into the fridge for a minimum of two hours—don’t rush this part! When it’s rock solid, grab those parchment paper handles, lift the whole block out, and slice it into little squares. You’ll find this method works wonderfully for clean cuts.
Tips for the Best Ever peanut butter fudge recipe
Even with a simple no-bake recipe, a few expert tricks can elevate your fudge from good to absolutely legendary. Since we aren’t relying on candy crystallization, we rely heavily on ingredient consistency to get that superior texture. These little insights really help ensure you get the smoothest, most decadent **homemade fudge** possible.
Ingredient Spotlight: Why Room Temperature Matters
You absolutely must use room temperature butter for this. If your butter is cold, it won’t properly combine with the sugar and peanut butter. This failure to emulsify is what causes that grainy, slightly crumbly texture instead of the pure, melt-in-your-mouth fudge we are aiming for!
Making This a Chocolate Peanut Butter Fudge Variation
If you want to dive into the world of **chocolate peanut butter fudge**, I have a quick tip! Once you’ve pressed the peanut butter mixture into the pan, let it firm up for about 30 minutes in the fridge. Then, melt some semi-sweet chocolate chips with a tiny spoon of coconut oil—it helps it stay smooth! Drizzle that right over the top before returning the whole thing to the fridge to set fully. It’s divine!
If you’re looking for something warm and comforting next, check out how I make my whipped hot chocolate!
Storage and Keeping Your peanut butter fudge Fresh
Since clean-up is nonexistent with this **easy fudge recipe**, storing leftovers—if you have any, ha!—is super simple. Because it’s a no-bake recipe relying on butter and fats, it really prefers the cool environment of the fridge to stay firm. You want to keep it in an airtight container, maybe layered with waxed paper between the squares so they don’t stick together.
The recipe notes say they last about a week in the fridge, which is the perfect amount of time for me to sneak one or two squares every afternoon! If you’re making a large batch for the holidays, popping them into the freezer inside a freezer-safe bag makes them good for about two months. Just let them thaw on the counter for about 15 minutes before serving for the best texture. Need something to serve alongside your fudge? My easy caramel sauce is amazing drizzled over vanilla ice cream!
Frequently Asked Questions about This Quick Dessert
It’s totally normal to have questions when you’re whipping up a new classic! Especially when we are aiming for that perfect, iconic, **creamy fudge** texture. Here are a few things people often ask me when they make this **easy fudge recipe** at home.
Can I use natural peanut butter in this peanut butter fudge recipe?
That’s a super common question, and honestly, it depends on the day! Natural peanut butter sometimes tries to separate because of the oil. If you use it, you need to stir it really, really well until it’s totally emulsified before adding it to the mixer. For the absolute best, smoothest result that guarantees that **Melt in Your Mouth Fudge** quality, I still lean toward conventional creamy peanut butter. It just makes this **4 Ingredient Fudge** recipe foolproof.
How do I get the best ‘Old Fashioned Fudge’ look?
Ah, presentation matters! For that gorgeous, clean, **Old Fashioned Fudge** look, the smoothing step is key. Once you’ve pressed the mixture into the parchment-lined pan, grab an offset spatula or even the back of a clean measuring cup. Gently but firmly press it down evenly across the surface. This compacts everything nicely so that when it chills, you get those sharp, satisfying squares. If you fancy adding a little something extra, try my Twix cookies next time!
Estimated Nutritional Data for This peanut butter fudge recipe
When you’re making something this rich and decadent, it’s always good to get a rough idea of what you’re diving into! Keep in mind that these numbers are just estimates based on the standard ingredients listed in the recipe, including the butter, sugar, and peanut butter. This fudge is definitely a treat meant for special occasions or small indulgence!
For a single square (one of the 36 small cuts), here is the estimated nutritional breakdown:
- Serving Size: 1 square
- Calories: 185
- Sugar: 22g
- Sodium: 75mg
- Fat: 10g
- Saturated Fat: 4g
- Protein: 4g
- Carbohydrates: 23g
Share Your Creamy Fudge Creations
Now it’s your turn! I genuinely hope this simple **Easy Fudge Recipe** brings a little bit of comfort and sweet joy to your kitchen. If you made this **peanut butter fudge recipe** and loved that super creamy texture, please come back and leave a rating—it helps so many others find reliable treats!
I absolutely adore seeing your results! Tag me on social media or drop a comment below telling me how quickly you devoured them. Next time you’re ready for another chocolate fix, might I suggest my chocolate brownie cookies? Happy baking (or, well, *no-baking*!)
PrintThe Best Ever No-Bake Creamy Peanut Butter Fudge
Make this incredibly smooth and rich peanut butter fudge using only four simple ingredients. This no-bake recipe delivers that classic, melt-in-your-mouth texture without needing a candy thermometer, making it perfect for quick holiday candy or simple sweet treats.
- Prep Time: 15 min
- Cook Time: 0 min
- Total Time: 2 hr 15 min
- Yield: 36 small squares 1x
- Category: Dessert
- Method: No Bake
- Cuisine: American
- Diet: Vegetarian
Ingredients
- 1 cup (2 sticks) unsalted butter, softened
- 1 teaspoon pure vanilla extract
- 1 pound powdered sugar, sifted
- 1 1/2 cups creamy peanut butter
Instructions
- Line an 8×8 inch baking pan with parchment paper, leaving an overhang on the sides for easy removal. Lightly grease the paper.
- In a large bowl, use an electric mixer to beat the softened butter and vanilla extract until the mixture is smooth.
- Gradually add the sifted powdered sugar to the butter mixture, mixing on low speed until just combined.
- Add the creamy peanut butter to the bowl. Beat on medium speed until the mixture is completely smooth and creamy. Scrape down the sides of the bowl as needed.
- Press the fudge mixture evenly into the prepared 8×8 inch pan. Use a spatula or the back of a spoon to smooth the top surface.
- Refrigerate the fudge for at least 2 hours, or until firm enough to cut.
- Lift the fudge out of the pan using the parchment paper overhang. Cut into small squares before serving.
Notes
- For an extra decadent dessert, you can top the fudge with a thin layer of melted chocolate before chilling.
- If you prefer a slightly firmer fudge, chill it for 30 minutes longer before cutting.
- Store leftover fudge in an airtight container in the refrigerator for up to one week.
Nutrition
- Serving Size: 1 square
- Calories: 185
- Sugar: 22
- Sodium: 75
- Fat: 10
- Saturated Fat: 4
- Unsaturated Fat: 6
- Trans Fat: 0
- Carbohydrates: 23
- Fiber: 0
- Protein: 4
- Cholesterol: 15