
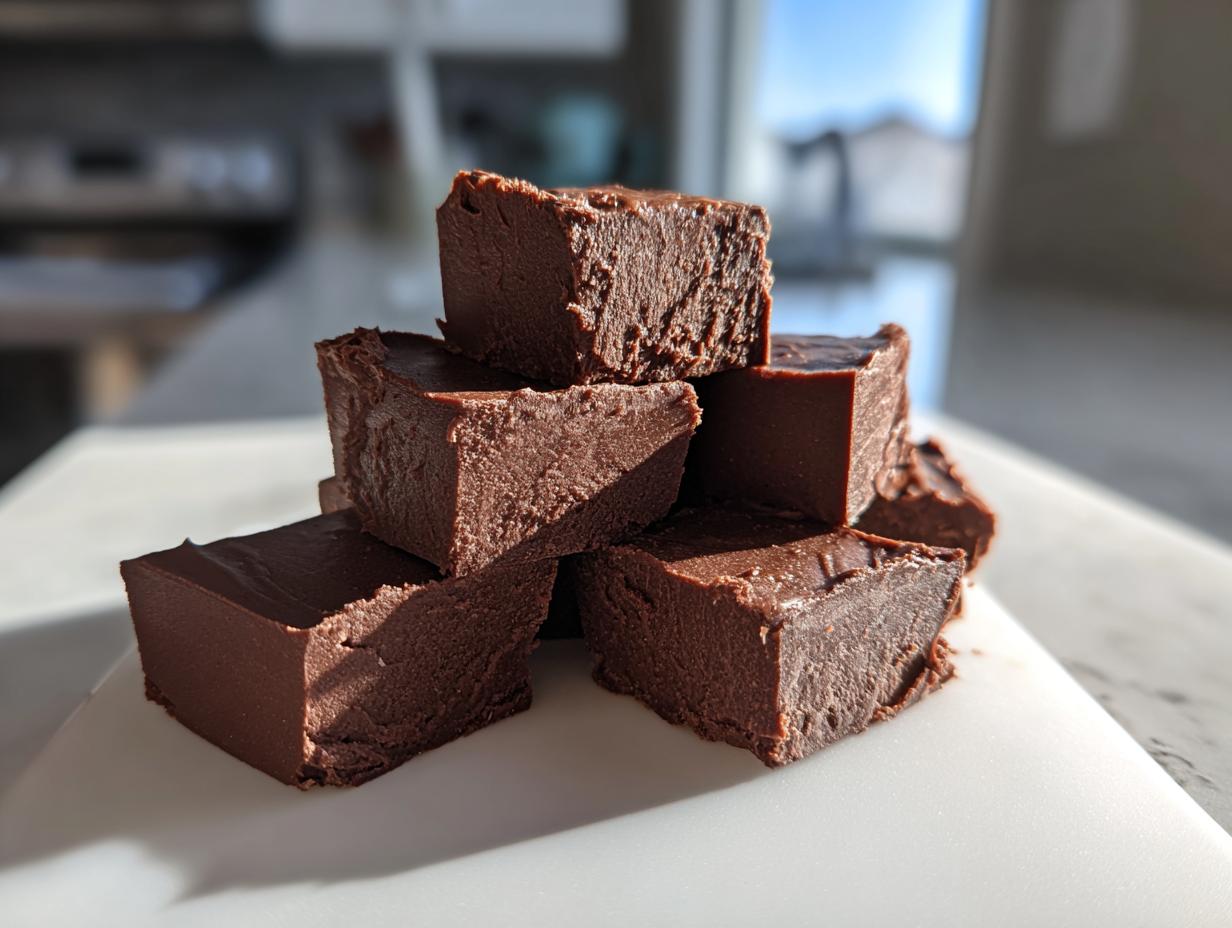
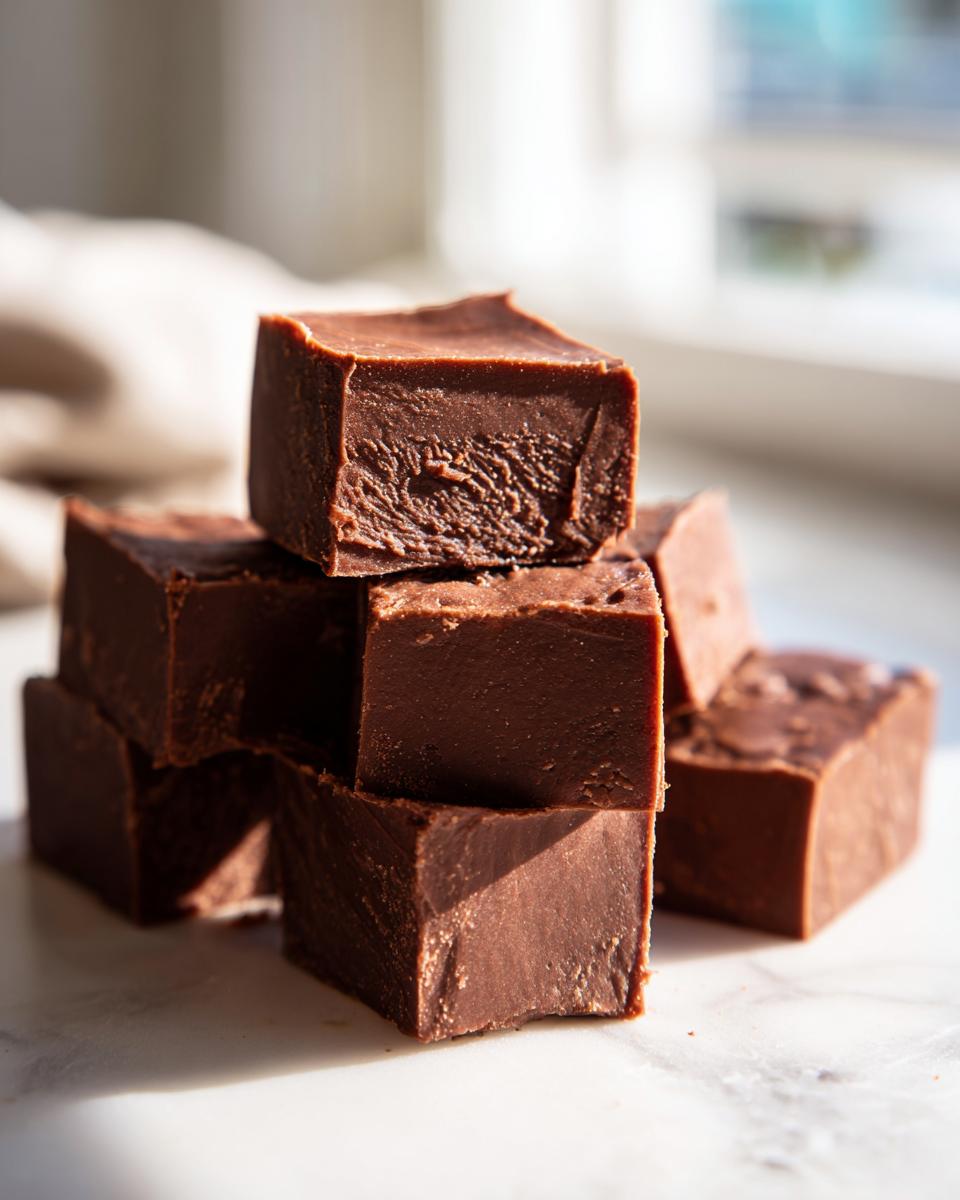
Do you ever just need chocolate? Like, right now? Me too! That’s why I absolutely had to share this recipe with you. Forget complicated candy-making; this is the easiest, 3-ingredient, no-bake chocolate fudge you will ever lay eyes on. Seriously. My whole philosophy here at DelishCraze, inspired by my own journey to slow down and simplify life’s pleasures, is that decadent shouldn’t mean difficult. This recipe delivers that rich, creamy moment you crave in minutes, not hours. It’s proof positive that you can make incredible homemade candy without turning on the stove or pulling out that scary thermometer.
- Why This Easy Fudge Recipe is a Must-Try Decadent Sweet Treat
- Gathering Your Simple Chocolate Treats Ingredients for Fudge
- Step-by-Step Guide to Making Perfect No Candy Thermometer Fudge
- Tips for Success with Your Homemade Candy Fudge
- Storage and Freshness for Your Simple Chocolate Fudge
- Serving Suggestions for This Party Dessert Ideas Fudge
- Frequently Asked Questions About Easy Fudge Recipe
- Nutritional Estimates for Your Homemade Sweet Treats
- Share Your Homemade Fudge Creations
- Nutritional Estimates for Your Homemade Sweet Treats
- Share Your Homemade Fudge Creations
Why This Easy Fudge Recipe is a Must-Try Decadent Sweet Treat
I know what you’re thinking: homemade fudge is fussy. That’s what I thought for years! But honestly, this method, which borrows a great trick from what some call ‘Fantasy Fudge,’ is brilliant because it’s so foolproof. It sets up so beautifully, giving you that dense, creamy fudge texture that melts right on your tongue. You don’t have to worry about crystalline sugar or burning your mixture over a double boiler. This truly is a reliable Quick Dessert solution. If you love salty-sweet combinations too, you should check out my recipe for easy toffee pretzels later!
The Magic of Three Ingredient Fudge
The secret weapon here is sweetened condensed milk. Seriously, it skips like ten steps. When you combine that rich, thick milk with your chocolate chips and microwave it just right, you get that perfect base instantly. It eliminates all the need for fiddling with temperatures. This little combination makes it the champion of the Three Ingredient Recipe category!
Perfect for Last Minute Desserts and Gifting
Because it’s No Bake Fudge, you can decide you want candy twenty minutes before guests arrive. It chills quickly enough to cut and serve, making it an absolute lifesaver for those big events. If you’re struggling to fill out your cookie platter for the holidays, this is your answer for classic Holiday Candy Ideas. It looks gourmet but takes about five minutes of actual work—perfect for making gorgeous Dessert for Gifting.
Gathering Your Simple Chocolate Treats Ingredients for Fudge
Okay, let’s talk about what you need to gather before you even think about taking out your mixing bowl. Because this recipe is so simple, the quality of these three things really shines through, so make sure they’re good ones! You don’t need a massive shopping list, which I love, especially when I’m whipping up something special but don’t have time for a huge grocery run. If you need a great topping idea later, you might want to bookmark my guide for easy 5-minute chocolate frosting!
Essential Components for Creamy Fudge
You only need three items to make this beautiful block of chocolate goodness. That’s it! Here are the exact amounts I always use:
- 1 (14 ounce) can sweetened condensed milk
- 1 (12 ounce) package semi-sweet chocolate chips
- 1 teaspoon vanilla extract
See? So manageable. That sweetened condensed milk is the workhorse here, making everything smooth and sweet without any extra sugar needed. It really sets up this entire batch for success, which is why it’s such a reliable recipe!
Step-by-Step Guide to Making Perfect No Candy Thermometer Fudge
This is where the real fun begins, and I promise you, this is one of the easiest methods out there for No Candy Thermometer Recipes. We are using the microwave because it’s fast and foolproof, but you have to pay attention! We’re aiming for that ultra-smooth, creamy fudge texture that melts right on your tongue. You don’t have to worry about crystalline sugar or burning your mixture over a double boiler. This recipe, similar to what you might find in a guide like this one, is brilliant because it’s so foolproof. If you want to try making a batch of my ultimate fudgy brownies another day, the technique is similar—low and slow heat is your friend!
Preparing Your Pan for Easy Fudge Removal
First things first, grab an 8×8 inch baking pan. You absolutely need to line it with parchment paper first. I always make sure the paper hangs over two sides—this creates little handles later. Lightly grease that parchment paper you just laid down. Trust me, this overhang is your best friend when it comes time to lift this beautiful block of chocolate out later.
Melting the Base for Smooth Chocolate Fudge Delight
Toss your chocolate chips and the entire can of sweetened condensed milk into a microwave-safe bowl. Now, here’s the vital part: microwave it on 50% power for only 30 seconds at a time. After 30 seconds, pull it out and stir it until it looks mostly melted. Then repeat in 30-second bursts, stirring well each time. Don’t rush this! Boiling the mix or overheating it will cause your smooth mixture to turn grainy—we want that pure Chocolate Fudge Delight, not sugar crystals!
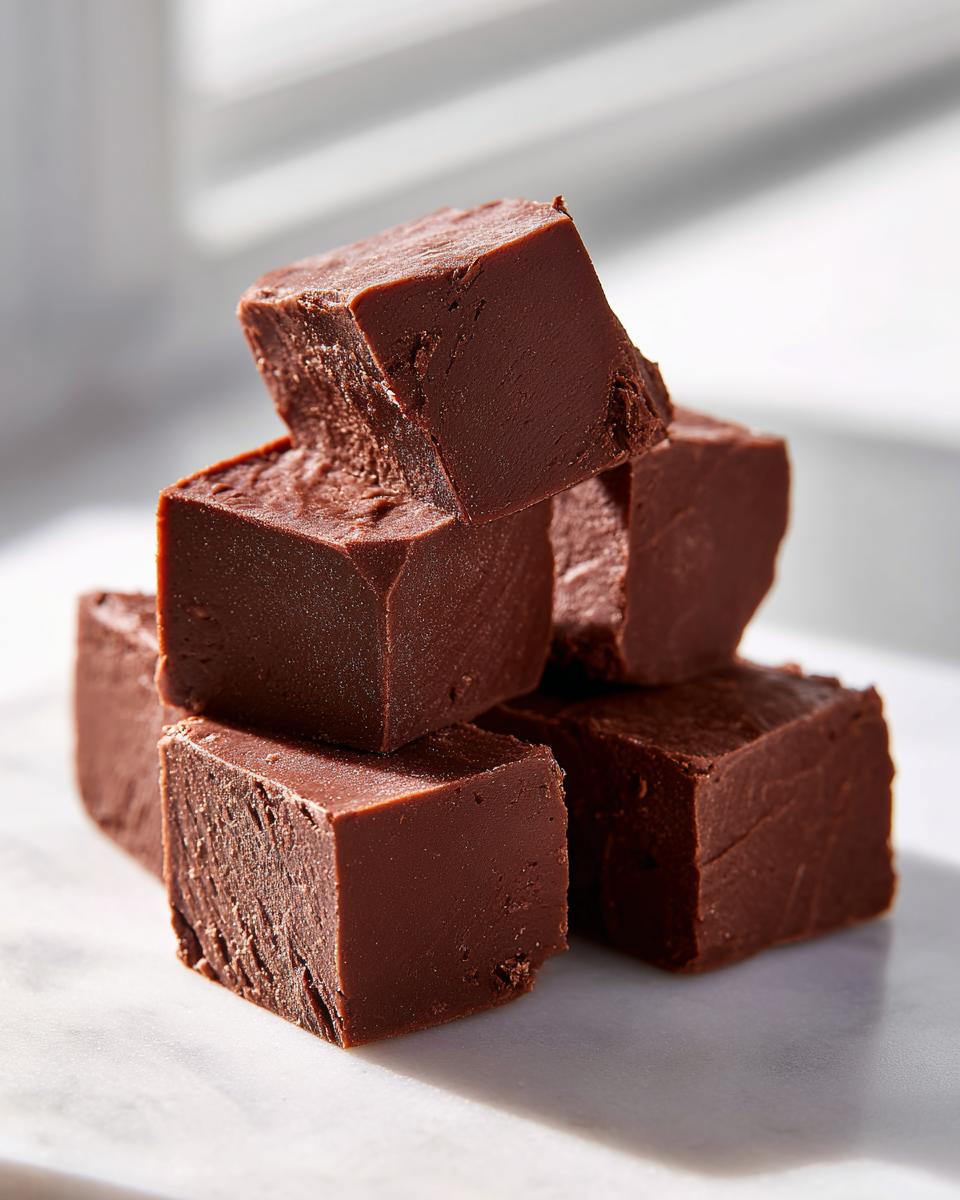
Finishing and Setting Your Melt in Your Mouth Dessert Fudge
Once it’s totally smooth, pull it from the microwave and stir in your vanilla extract until it disappears. Pour that glorious mixture into your prepared pan and spread it out evenly—no need to use a spatula for too long. Then, into the fridge she goes! You need to let it chill for a minimum of two hours, or until it’s really firm. Once it’s set hard, use those parchment paper handles to lift the whole thing out and cut it into small squares. Easy peasy to get that Melt in Your Mouth Dessert experience!
Tips for Success with Your Homemade Candy Fudge
Even though this is the easiest recipe on the planet, a few little tricks can take your batch of Homemade Candy Fudge from great to absolutely unforgettable. It’s all about those tiny details that make all the difference when you’re making Homemade Sweet Treats. I’ve learned over the years that even simple microwave recipes benefit from a little extra love, which is why I always keep these little tweaks in my back pocket. If you’re feeling adventurous after mastering this one, you might want to check out my recipe for best soft chewy homemade caramels next!
Flavor Variations for Your Chocolate Fudge
While the core three ingredients make a perfect chocolate base, sometimes you just want to add a little something extra! This is when you’ll want to act quickly, right after you stir in that vanilla extract. If you’re craving some texture, feel free to fold in about a half cup of chopped nuts—walnuts or pecans are classics! Or, if you want it even gooier, toss in some mini marshmallows. Just be gentle when stirring those additions in so you don’t deflate all the smooth air we worked so hard to create in the microwave. It’s a quick way to customize your Chocolate Fudge Delight.
Alternative Pan Lining for Fudge
You know how it is—sometimes you go to grab parchment paper and realize you’re out! Don’t panic and don’t try to pour the mixture into a dry pan, because getting it out will be a total nightmare. If you are completely out of parchment paper, you can use aluminum foil instead. Just make sure you grease the foil really well before pouring in your fudge. The foil will still give you those necessary edges to lift the whole slab out later, saving you from having to chip away at the pan!
Storage and Freshness for Your Simple Chocolate Fudge
Now you have this gorgeous, unbelievably easy fudge—the last thing you want to do is ruin it with bad storage! Luckily, since we didn’t have to mess with complicated sugar syrups, this easy batch of Simple Chocolate Treats stores like a dream. It’s fantastic for when you realize you need to save some for later, or if you’re making a huge batch for party leftovers.
For short-term happiness—say, if you plan on nibbling on these squares over the next few days—storing your Homemade Candy at room temperature is totally fine. Just make sure it’s in an airtight container. The high sugar content acts as a natural preservative, so it stays perfectly fresh for about a week. Don’t leave it sitting out uncovered, though, or it might get a little dusty or absorb other kitchen smells!
If you need it to last longer, or if your kitchen runs really warm (which can soften fudge cubes a bit too much), pop that airtight container into the refrigerator. Stored correctly in the fridge, your Creamy Fudge will easily last a couple of weeks longer. When you want to serve it chilled, just let it sit on the counter for about ten minutes before cutting or eating. That little bit of warming really brings out that melt-in-your-mouth quality we worked so hard to achieve!
Serving Suggestions for This Party Dessert Ideas Fudge
So, you’ve made your gorgeous, impossibly easy fudge! Now, how should you dress it up for the big show? Since this is such a no-fuss recipe, the serving suggestions should be simple too. You don’t want to spend hours decorating when the actual making took five minutes! This type of chocolate is fantastic for any kind of Party Dessert Ideas because it transports well and sits nicely on a platter.
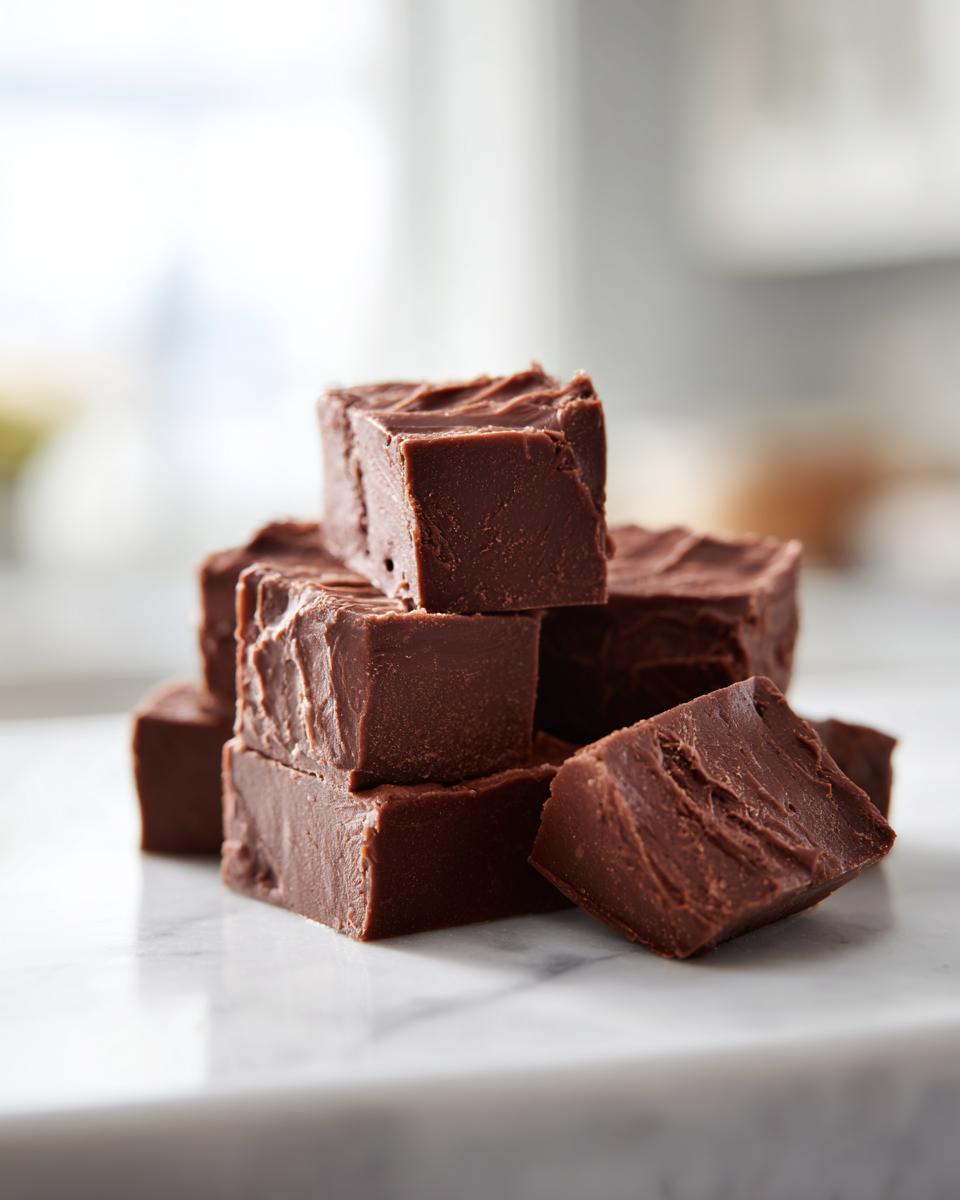
When serving it up, don’t stress about fancy drizzles unless you want to! A simple cut is often the best way to show off that perfect inside texture. You can cut the squares small—really small—because this fudge is rich, and people will go back for seconds anyway. Think bite-sized goodness!
For gatherings, I love arranging the cut squares on a plain white platter. Sometimes I’ll scatter a few flaky sea salt crystals over the top right before serving; it looks professional and those little pops of salt against the chocolate are divine. If you are serving it alongside hot drinks, maybe a steaming mug of my easy whipped hot chocolate would be perfect!
If you need some inspiration for other quick, easy treats to serve alongside your chocolate blocks, certainly check out what the folks over at Everyday Cooking Tips have to say about easy homemade treats. But honestly, this fudge stands proud all by itself!
Frequently Asked Questions About Easy Fudge Recipe
It’s funny how even the easiest recipes always generate questions! That just tells me how much you all love making Homemade Candy, which makes my heart so happy. If you’ve got a question about texture, timing, or how to mix things up for a fun variation, chances are someone else is thinking it too. Here are a few things I usually get asked about this incredible Easy Fudge Recipe.
Can I make this fudge without a microwave?
Absolutely, you can! I use the microwave because it’s the fastest way to melt these ingredients beautifully, but if you prefer a double boiler situation—or if your microwave is acting up—go for it. Just make sure you’re using gentle, indirect heat. Melt the chocolate chips and the sweetened condensed milk over simmering water in the bottom pot, making sure the top bowl doesn’t touch the water. Stir gently until it’s smooth. The key, even with a double boiler method, is to use low heat so you don’t scorch the chocolate, which ruins that perfect Creamy Fudge texture we want.
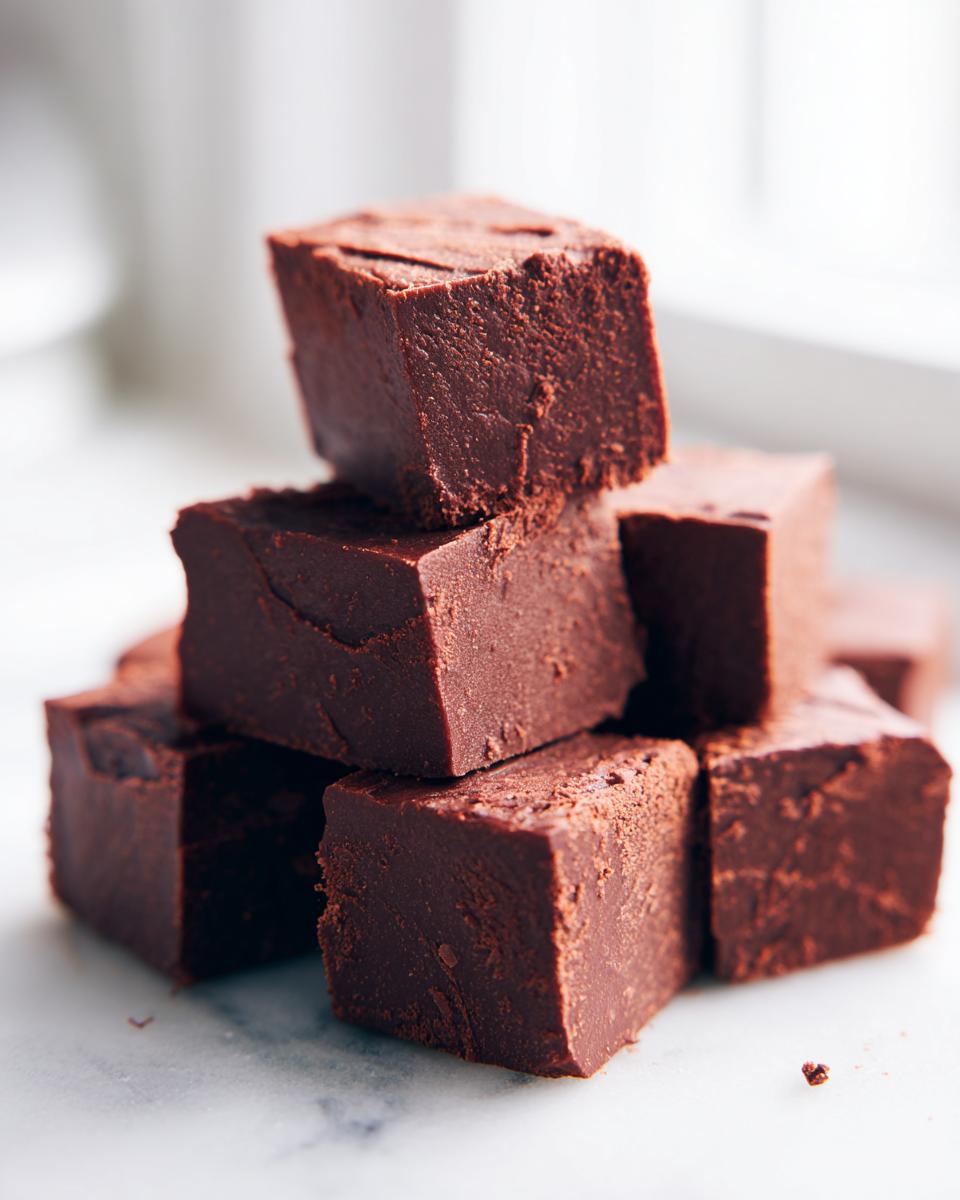
How do I get truly creamy fudge texture?
This is the most important question for any Chocolate Fudge Delight recipe! The main issue leading to graininess is overheating the milk and chocolate together or stirring it too aggressively once it’s melted. Remember how I stressed using 50% power in the microwave? That’s step one! Step two is just mixing until the mixture is uniformly smooth. Once you add the vanilla, stir only until you can’t see any streaks left. Over-mixing when it’s hot can introduce too much air or just break down the fats, leading to that grainy mouthfeel instead of the desired Melt in Your Mouth Dessert effect we’re aiming for.
Can I substitute the chocolate chips in this fudge recipe?
You certainly can, but just know that the final structure of your Homemade Sweet Treats might shift a tiny bit! The semi-sweet chips are standard because they balance the sweetness of the condensed milk perfectly. If you switch to milk chocolate, the fudge will likely be a little softer because milk chocolate has more milk fats. If you’re a dark chocolate fan, go for it—it will make a deeper, richer block of candy, but it might set up slightly firmer. Either way, it’s delicious! If you ever need an amazing peanut butter flavor profile, you have to try my creamy peanut butter Buckeye recipe!
Nutritional Estimates for Your Homemade Sweet Treats
I always want to be upfront about what we’re making here, right? This is pure comfort food indulgence! The nutrition facts below are just estimates based on the three core ingredients and yield of 36 small squares. Remember, if you add nuts or extra toppings, those numbers will certainly change. Here’s a basic breakdown for your Simple Chocolate Treats:
- Serving Size: 1 square
- Calories: 110
- Sugar: 15g
- Sodium: 25mg
- Fat: 5g
- Saturated Fat: 3g
- Unsaturated Fat: 2g
- Trans Fat: 0g
- Carbohydrates: 16g
- Fiber: 0g
- Protein: 2g
- Cholesterol: 10mg
Share Your Homemade Fudge Creations
When you whip up a batch of this incredibly simple Easy Fudge Recipe, I genuinely want to know how it went! Did you add nuts? Did you manage to resist eating the whole batch before it even cooled down? Let me know in the comments below! Your feedback helps everyone else feel confident about trying these quick, decadent sweets. I love seeing your photos and hearing about how you adapted this recipe for your own parties or just a Tuesday night craving. If you’re looking for another easy bake that brings tons of smiles, you absolutely must try my best soft chewy snickerdoodles recipe next time!
Nutritional Estimates for Your Homemade Sweet Treats
I always want to be upfront about what we’re making here, right? This is pure comfort food indulgence! The nutrition facts below are just estimates based on the three core ingredients and yield of 36 small squares. Remember, if you add nuts or extra toppings, those numbers will certainly change. Here’s a basic breakdown for your Simple Chocolate Treats:
- Serving Size: 1 square
- Calories: 110
- Sugar: 15g
- Sodium: 25mg
- Fat: 5g
- Saturated Fat: 3g
- Unsaturated Fat: 2g
- Trans Fat: 0g
- Carbohydrates: 16g
- Fiber: 0g
- Protein: 2g
- Cholesterol: 10mg
Keep in mind this is a foundational estimate, but it helps you keep track! Honestly, that low calorie count for such a rich piece of candy is a win in my book, but I never count calories when I’m enjoying something as delightfully easy as this.
Share Your Homemade Fudge Creations
When you whip up a batch of this incredibly simple Easy Fudge Recipe, I genuinely want to know how it went! Did you add nuts? Did you manage to resist eating the whole batch before it even cooled down? Let me know in the comments below! Your feedback helps everyone else feel confident about trying these quick, decadent sweets. I love seeing your photos and hearing about how you adapted this recipe for your own parties or just a Tuesday night craving. If you’re looking for another easy bake that brings tons of smiles, you absolutely must try my best soft chewy snickerdoodles recipe next time!
Don’t forget to rate the recipe right here on the site, too. Seeing those stars gives me such a boost when I’m planning what to bake next. Happy making, and enjoy every single square of that rich, creamy goodness!
PrintEasy 3-Ingredient Chocolate Fudge
Make rich, creamy chocolate fudge using only three simple ingredients. This no-bake recipe sets up perfectly for a melt-in-your-mouth dessert that is ideal for gifting or last-minute sweet treats.
- Prep Time: 10 min
- Cook Time: 5 min
- Total Time: 2 hours 15 min
- Yield: 36 small squares 1x
- Category: Dessert
- Method: No Bake
- Cuisine: American
- Diet: Vegetarian
Ingredients
- 1 (14 ounce) can sweetened condensed milk
- 1 (12 ounce) package semi-sweet chocolate chips
- 1 teaspoon vanilla extract
Instructions
- Line an 8×8 inch baking pan with parchment paper, leaving an overhang on the sides for easy removal. Lightly grease the paper.
- In a medium, microwave-safe bowl, combine the sweetened condensed milk and chocolate chips.
- Microwave on 50% power for 30 seconds. Stir well. Continue microwaving in 30-second intervals, stirring after each, until the mixture is smooth and completely melted. This usually takes 1 to 2 minutes total. Do not overheat.
- Remove from the microwave and stir in the vanilla extract until fully combined.
- Pour the fudge mixture into the prepared baking pan and spread evenly.
- Refrigerate for at least 2 hours, or until firm enough to cut.
- Lift the fudge out of the pan using the parchment paper overhang. Cut into small squares.
Notes
- For a variation, you can add 1/2 cup of chopped nuts or mini marshmallows after stirring in the vanilla extract.
- If you do not have parchment paper, you can lightly grease the pan and line it with aluminum foil instead.
- Store the finished fudge in an airtight container at room temperature for up to one week, or in the refrigerator for longer freshness.
Nutrition
- Serving Size: 1 square
- Calories: 110
- Sugar: 15
- Sodium: 25
- Fat: 5
- Saturated Fat: 3
- Unsaturated Fat: 2
- Trans Fat: 0
- Carbohydrates: 16
- Fiber: 0
- Protein: 2
- Cholesterol: 10