

Oh, you know that feeling? That desperate, deep craving for something obscenely rich, totally smooth, and wonderfully sweet, but the thought of turning on the oven makes you want to take a nap right then and there? Trust me, I’ve been there a million times. That’s exactly why I perfected this Easy, Ultra-Creamy No-Bake Peanut Butter Pie. This recipe is pure magic—it comes together in about twenty minutes, needs zero baking time, and disappears the second I set it out at any gathering. Here at DelishCraze, my philosophy, thanks to my own experiences reclaiming the kitchen, is that incredible food should connect us, not complicate our lives. If you also love that no-bake simplicity, check out my easy no-bake peanut butter bars! This simple peanut butter pie hits all the right notes for busy weeknights or last-minute potluck needs. It’s the comforting classic you deserve.
- Why This Easy Peanut Butter Pie Is Your New Favorite Dessert
- Gathering Ingredients for Your Peanut Butter Pie
- Step-by-Step Instructions for the Perfect Peanut Butter Pie
- Tips for an Expert-Level Peanut Butter Pie
- Variations: Chocolate Peanut Butter Pie and More
- Serving Suggestions for Your Easy Peanut Butter Pie
- Storage and Make Ahead Desserts for Your Peanut Butter Pie
- Frequently Asked Questions About This Peanut Butter Pie
- Estimated Nutrition for Your Creamy Peanut Butter Desserts
Why This Easy Peanut Butter Pie Is Your New Favorite Dessert
When I was wrestling with my design deadlines, I needed desserts that gave me flavor without the fuss. This peanut butter pie delivers the decadence without the baking drama. It’s designed to be your easiest, most impressive make-ahead dessert, hands down.
- You get that pure, unadulterated peanut butter flavor without any kitchen chaos.
- It’s a perfect slice every time, which is huge when you’re rushing out the door!
- It makes enough for a crowd but tastes so personal and delicious.
No Oven Required: Perfect for Summer or Busy Days
Seriously, this is my go-to for those scorching summer afternoons when I don’t want to heat up the whole house. We’re talking about a 20-minute prep time, max. Since it’s one of those wonderful no oven desserts, all you need is a fridge and maybe a freezer break for the crust. It’s the ultimate quick fix dessert for unexpected company.
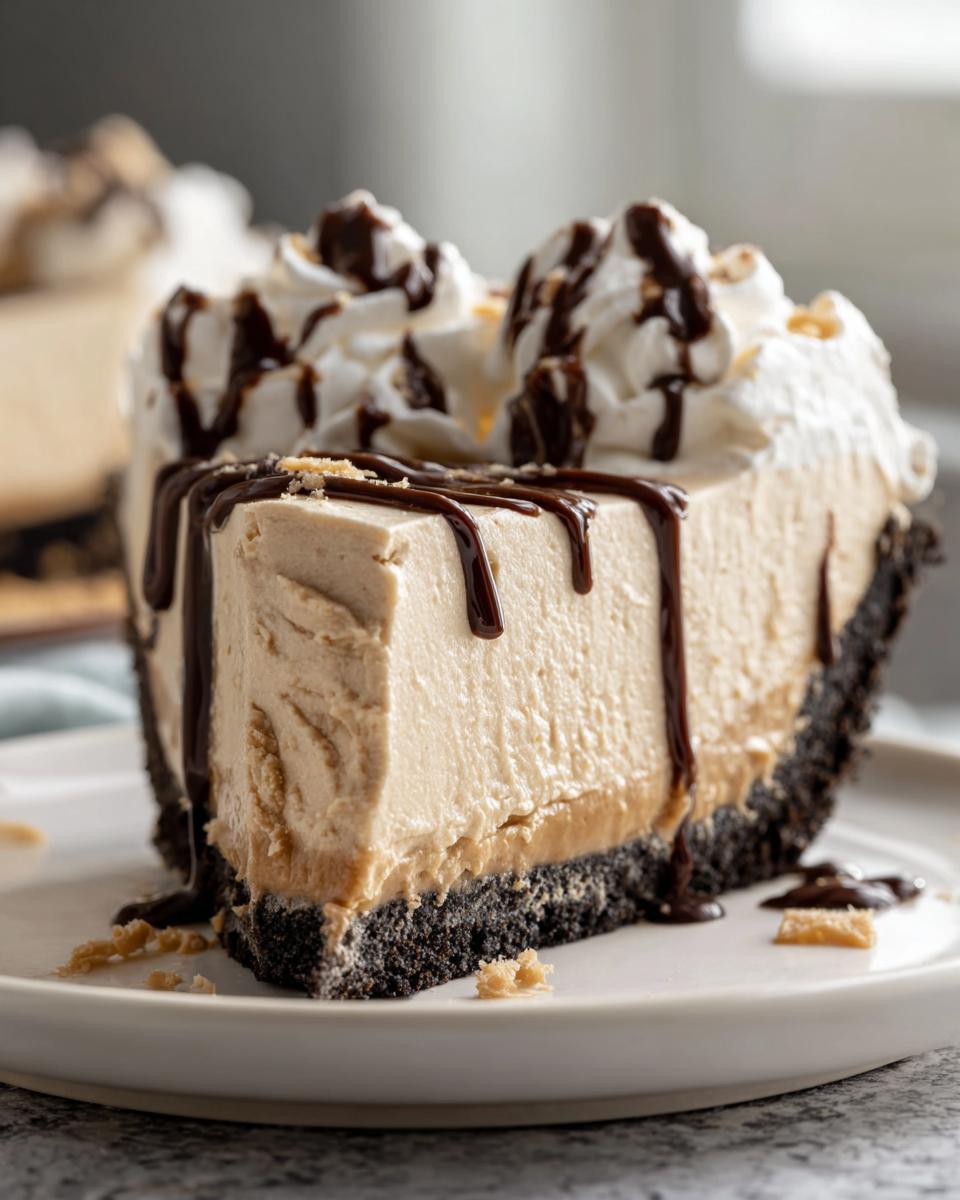
Rich and Velvety Pie Filling Texture
If you’ve had those grainy or heavy peanut butter pies before, forget them! The mixture of softened cream cheese and sweetened condensed milk works magic. It creates that signature rich and velvety pie filling texture that melts in your mouth. It’s light enough to feel like a dream but satisfyingly decadent. You absolutely have to try my peanut butter dip if you love this level of creaminess!
Gathering Ingredients for Your Peanut Butter Pie
Okay, gathering your supplies is where we set the stage for success. Since this is a no-bake showstopper, the quality and the state of your ingredients really matter. I’ve included everything you need below, but pay close attention to how soft or cold things need to be—it separates a good pie from a truly incredible one!
I always keep my pantry stocked with the essentials for impromptu no-bake fixes. If you’re looking for a quick chocolate element to drizzle on top or maybe dip some fruit into later, my easy chocolate dip recipe is fantastic!
For the Graham Cracker Crust Pie Base
You’ll need about one and a half cups of graham cracker crumbs total. Make sure you have those other two key players ready to go:
- Graham Cracker Crumbs: 1 1/2 cups
- Granulated Sugar: 1/4 cup (to give the crust a little sweetness)
- Unsalted Butter: 6 tablespoons, completely melted
For the Creamy Peanut Butter Pie Filling
This is the heart of the dish, so precision helps! You absolutely need the cream cheese softened up, and whatever you do, make sure your whipped topping is thawed but still cold when you add it in. We are aiming for that dreamy texture, remember?
- Cream Cheese: One 8-ounce package, make sure this is truly softened before you start!
- Creamy Peanut Butter: Exactly 1 cup
- Sweetened Condensed Milk: One 14-ounce can
- Vanilla Extract: Just 1 teaspoon
- Whipped Topping: One 8-ounce container, thawed
Step-by-Step Instructions for the Perfect Peanut Butter Pie
I know instructions can look daunting, but this is where the simplicity of a no bake peanut butter pie really shines. We’re taking this slow, step by step, just like my grandmother taught me to treat every single cooking venture—with care, but without rushing the results. If you’re thinking about adding a chocolate layer or maybe serving this with something extra decadent, I have a great easy 3-ingredient fudge recipe that pairs perfectly!
Preparing and Chilling the Graham Cracker Crust Pie
First things first, that buttery crust has to be locked in place. In a bowl, toss your graham cracker crumbs and that sugar together. Then, pour in the melted butter. Now, mix it until every crumb looks kissed by butter—it should hold together if you squeeze a handful. Press this firmly, and I mean firmly, into your 9-inch pie plate. Use the bottom of a measuring cup to really compact it! Then, pop it into the freezer while you whip up the filling. That chill time is essential for a clean slice later on.
Mixing the Ultra-Creamy Peanut Butter Filling
This is where the creaminess happens, so listen up! Using your electric mixer, we start with the cream cheese. You want it completely smooth—no lumps allowed! Beat it alone for a minute. Once it’s velvety, add your peanut butter and mix it in. Next, this is key for that perfect, even texture: gradually drizzle in the sweetened condensed milk while mixing on low speed. Add the vanilla, and mix just until it smooths out. Don’t whip it too fast or you’ll incorporate too much air too early!
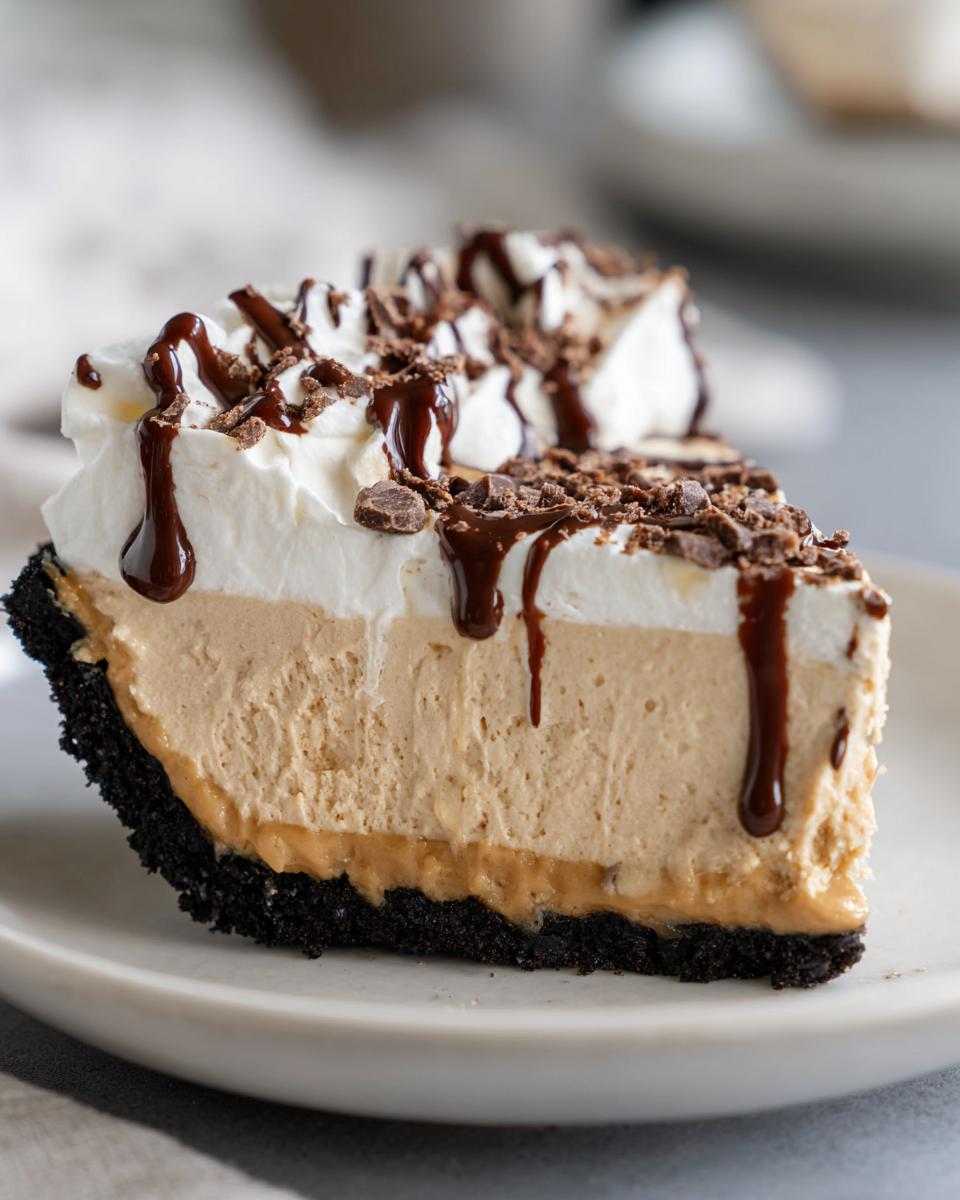
Assembling and Setting the No Bake Peanut Butter Pie
Now, gently fold in about half of your thawed whipped topping. You want to incorporate it, not mash it into oblivion! Spoon this gorgeous peanut butter mixture into your chilled crust and smooth out the top. Then, spread the remaining whipped topping right over that. If you want a little pizzazz, now is the time to drizzle chocolate or toss on some chopped peanut butter cups. The most important part? You must chill this—we need it to set! Make sure it goes into the refrigerator for at least 4 hours, or preferably overnight. Patience pays off here!
Tips for an Expert-Level Peanut Butter Pie
You’ve got the recipe down, but to make this peanut butter pie truly shine—making it restaurant quality, practically—you need to know a couple of little tricks I picked up over the years. It’s all about honoring the texture, since we skipped the oven altogether. Don’t worry, these aren’t hard; they just make the difference between good and OMG, who made this? If you are looking for ideas on how to maximize flavor in other unexpected dishes, you might appreciate my guide on the best homemade brown gravy recipe!
Ingredient Substitutions for Your Peanut Butter Pie
If you don’t have plain graham crackers on hand, please don’t stress! Using chocolate graham crackers or even crushed-up Oreos makes for an amazing upgrade, especially if you pair it with chocolate toppings later. Also, while the recipe calls for the thawed frozen topping, if you whip up your own heavy cream until it’s stiff, fold that in gently instead. Homemade whipped cream gives the filling a slightly lighter, more elegant texture, which I sometimes prefer!
Achieving the Best No Oven Desserts Set Time
Because this is one of our favorite no oven desserts, the chilling time is non-negotiable. You absolutely must wait that 4-hour minimum, but I’m telling you, overnight is when this pie becomes perfect. If you cut it too early, you’ll have a gooey mess, not slices! Also, try to resist the urge to let it sit out too long before serving. This pie tastes unbelievably good when it’s still super cold straight from the fridge.
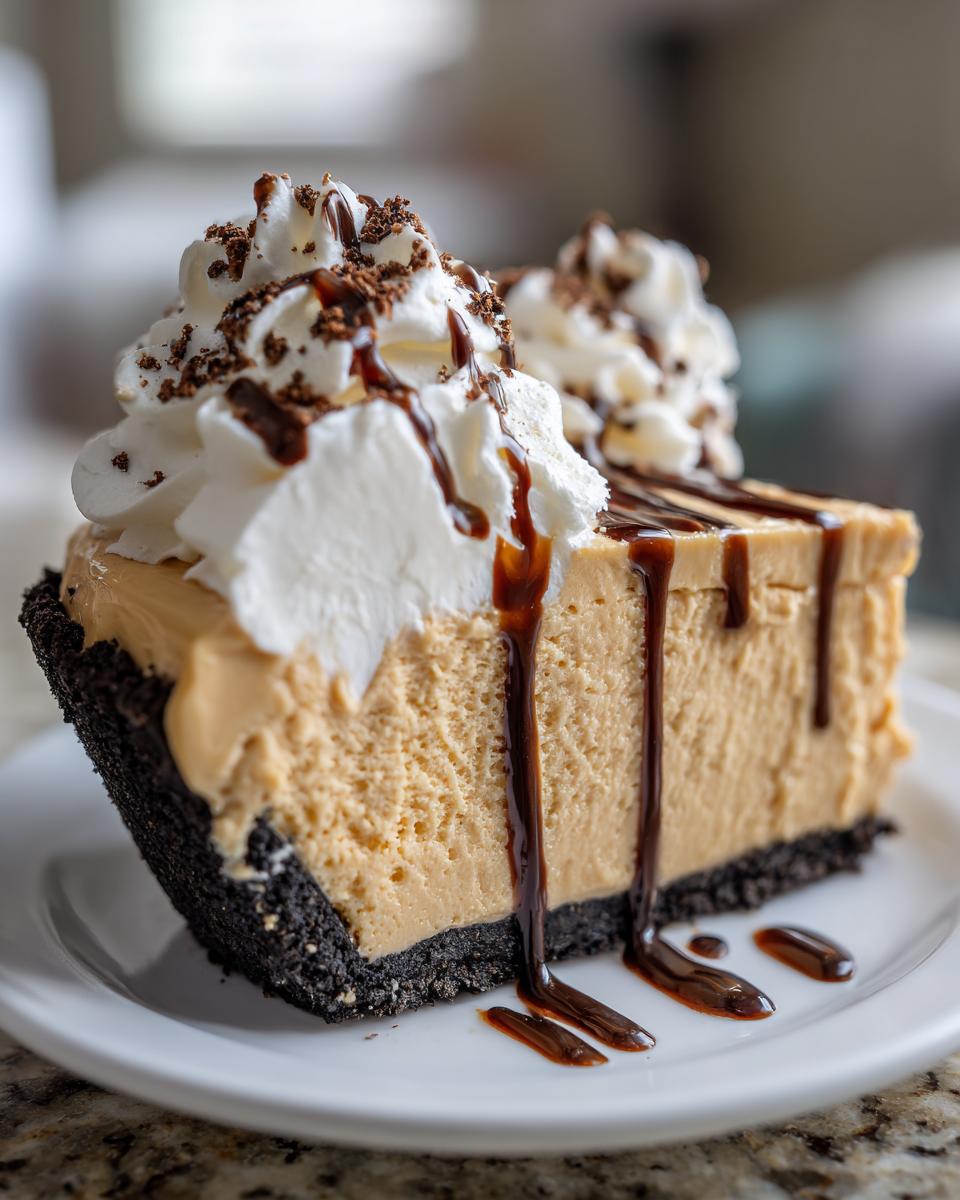
Variations: Chocolate Peanut Butter Pie and More
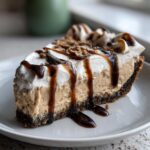
Now, don’t get me wrong, the classic creamy version is perfect as is, but sometimes you just need to jazz things up a bit, right? This base recipe is so sturdy, it handles mix-ins like a champ. If you need something extra decadent for your next party, think about transforming it into a Chocolate Peanut Butter Pie. You can easily swap out the plain graham crackers for Oreos in the crust, which gives it this amazing dark, rich base.
For true candy lovers, just chop up some mini peanut butter cups and fold half of them right into the filling before spreading it into the crust. Save the rest for sprinkling on top—it adds a fun little textural pop. Seriously, it elevates this simple dessert almost instantly. If you’re feeling ambitious (and you love chocolate as much as I do!), check out my recipe for chocolate brownie cookies for another easy win!
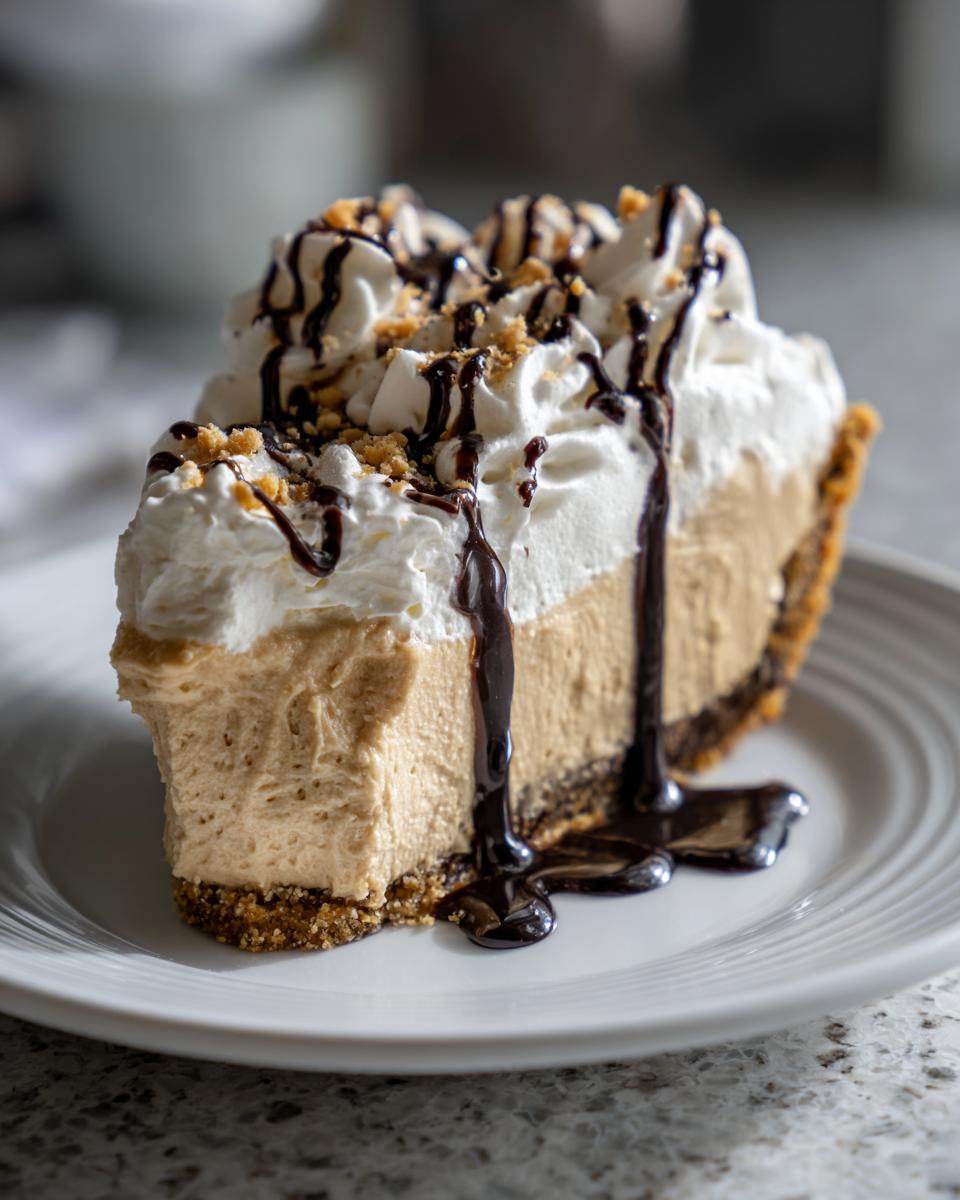
Serving Suggestions for Your Easy Peanut Butter Pie
Once your peanut butter pie has chilled perfectly and you finally slice into that beautiful, velvety filling, what should you serve it with? Honestly, it stands up perfectly on its own, but a little something extra never hurt anyone, right? I often serve mine with just a light dusting of flaky sea salt right before it hits the table—it really makes the peanut flavor pop!
If you need something cool and creamy on the side, a small scoop of vanilla bean ice cream is classic. Or, if you’re feeling fancy, a drizzle of warmed chocolate ganache takes it over the top. For something warming that cuts through the richness perfectly, you can’t beat having a mug of my easy whipped hot chocolate alongside it.
Storage and Make Ahead Desserts for Your Peanut Butter Pie
Here is where this peanut butter pie truly shines: it’s one of the best make ahead desserts you can keep in your rotation! Since this beauty is strictly no-bake, it actually improves after resting in the cold.
You just need to cover the pie tightly with plastic wrap—make sure the wrap isn’t touching the topping, or it might stick and tear! Keep it snug in the refrigerator. It stays wonderfully fresh and firm for up to three or four good days. That means you can make it Wednesday for a weekend gathering and not worry about it at all.
If you’re making something that needs to sit even longer or you just love planning ahead, check out my recipe for overnight peanut butter dessert for another great option that requires zero day-of effort!
Frequently Asked Questions About This Peanut Butter Pie
I get asked about this Easy Peanut Butter Pie all the time, especially when folks are busy or avoiding the heat! Having answers ready makes baking so much less stressful, trust me. Here are the top things folks always want to know before they dive into making this treat.
Can I use crunchy peanut butter in this peanut butter pie?
Oh, you totally can! If you love finding those satisfying little toasted peanut chunks in your dessert, go for the crunchy stuff. Just know that using crunchy peanut butter means your filling won’t be quite as perfectly smooth and uniform as the version I wrote up here. It’s a great way to make it your own, though! I wouldn’t change any of the other ingredients; the cream cheese and condensed milk still handle the binding perfectly, even with chunkier nuts in the mix.
What is the best crust substitute for a Graham Cracker Crust Pie?
Graham crackers give us that perfect buttery base for a Graham Cracker Crust Pie, but if you run out, don’t panic! My absolute favorite substitution is using chocolate wafer cookies—they make the crust darker and richer, pairing wonderfully with the filling. You could also use vanilla wafers or perhaps even a shortbread cookie if that’s what you have in the pantry. Just crush them up the same way, mix with the same amount of butter and sugar, and chill it well!
How long can this No Bake Peanut Butter Pie stay refrigerated?
Because this is an amazingly stable No Bake Peanut Butter Pie—thanks to that cream cheese stabilizing everything—it lasts really well! You can keep it tightly covered in the fridge for about three to four full days. It tastes best on day two, honestly, once it’s had time to fully firm up, but keeping it longer than four days is pushing it, especially since it has whipped topping in it.
If you’re looking for other great make-ahead treats, you should take a peek at my easy easy Twix cookies recipe. Planning ahead saves the day!
Estimated Nutrition for Your Creamy Peanut Butter Desserts
I always feel a little guilty looking at these numbers after devouring a giant slice, but knowledge is power, right? This table gives you the estimated macro breakdown for one slice of this rich and velvety pie. Remember, this is just a Guideline, as brands of peanut butter and cream cheese can totally change the final values. If you love boosting your smoothies with extra goodness, you should check out my creamy banana smoothie peanut butter recipe!
- Calories: 450
- Fat: 28g
- Carbohydrates: 45g
- Protein: 10g
- Sugar: 35g
Easy, Ultra-Creamy No-Bake Peanut Butter Pie
Make this ultra-creamy, no-bake peanut butter pie with a simple graham cracker crust. It requires minimal prep time and sets up perfectly, making it an easy, crowd-pleasing dessert for any occasion.
- Prep Time: 20 min
- Cook Time: 0 min
- Total Time: 4 hr 20 min
- Yield: 8 servings 1x
- Category: Dessert
- Method: No Bake
- Cuisine: American
- Diet: Vegetarian
Ingredients
- 1 1/2 cups graham cracker crumbs
- 1/4 cup granulated sugar (for crust)
- 6 tablespoons unsalted butter, melted
- 1 (8 ounce) package cream cheese, softened
- 1 cup creamy peanut butter
- 1 (14 ounce) can sweetened condensed milk
- 1 teaspoon vanilla extract
- 1 (8 ounce) container frozen whipped topping, thawed (or equivalent homemade whipped cream)
- Optional topping: Chocolate syrup or mini peanut butter cups
Instructions
- Prepare the crust: Combine graham cracker crumbs and 1/4 cup sugar in a medium bowl. Pour in the melted butter and mix until the crumbs are evenly moistened. Press the mixture firmly into the bottom and up the sides of a 9-inch pie plate. Place the crust in the freezer while you prepare the filling.
- Make the filling: In a large bowl, beat the softened cream cheese with an electric mixer until smooth. Add the peanut butter and beat until fully combined.
- Gradually pour in the sweetened condensed milk while mixing on low speed. Add the vanilla extract and mix until the filling is smooth and creamy.
- Gently fold in half of the thawed whipped topping until just combined. Do not overmix.
- Spoon the peanut butter filling evenly into the chilled graham cracker crust. Smooth the top with a spatula.
- Spread the remaining half of the whipped topping over the filling. If desired, drizzle with chocolate syrup or sprinkle with chopped peanut butter cups.
- Chill the pie in the refrigerator for at least 4 hours, or preferably overnight, until the filling is firm.
- Slice and serve your easy peanut butter pie.
Notes
- For a richer chocolate flavor, use chocolate graham crackers or crushed Oreo cookies for the crust instead of plain graham crackers.
- If you use homemade whipped cream instead of frozen whipped topping, make sure it is stiffly whipped before folding it into the filling.
- This pie tastes best when served cold directly from the refrigerator.
Nutrition
- Serving Size: 1 slice
- Calories: 450
- Sugar: 35g
- Sodium: 250mg
- Fat: 28g
- Saturated Fat: 10g
- Unsaturated Fat: 18g
- Trans Fat: 0g
- Carbohydrates: 45g
- Fiber: 2g
- Protein: 10g
- Cholesterol: 35mg