
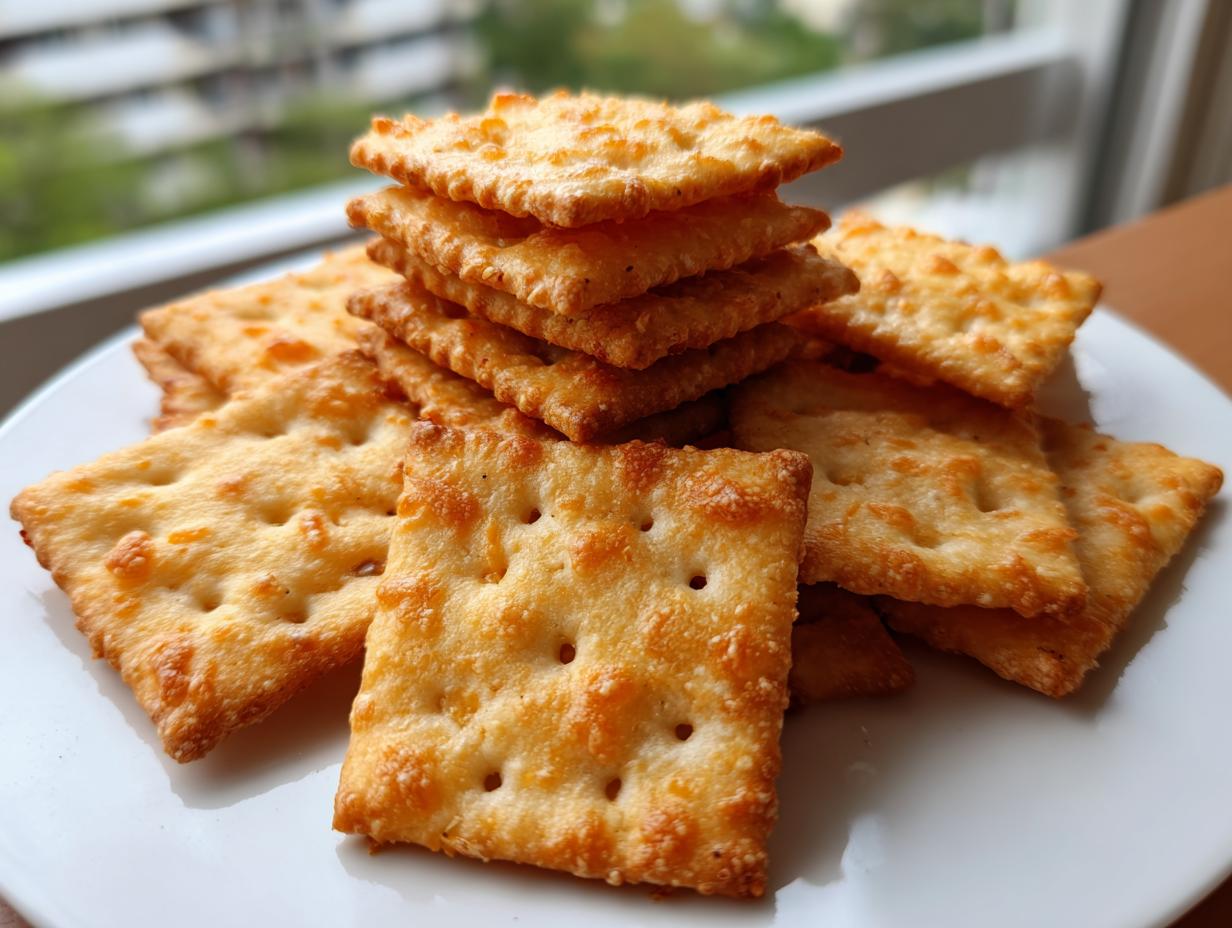
If your pantry is stocked with faded boxes of crispy, salty snacks, it’s time for a serious upgrade. Trust me, once you make these **cheese crackers** from scratch, you will never go back to the store-bought versions again! I’m setting out to show you how to make what I genuinely believe are the absolute best ever 4-ingredient homemade cheddar crackers. They have the crunch you crave—even better than the ones in the bright orange box—paired with an intense, real cheese flavor.
When I was deep in the hustle of my graphic design career, convenience ruled my kitchen, and simple comforts like these crackers vanished. Reclaiming my kitchen space meant finding joy in small, satisfying wins, like creating something truly delicious with just four ingredients. This recipe is that win, delivering pure, homemade satisfaction whether you need a quick snack or an amazing party appetizer. Let’s get baking!
- Why You Will Love These 4 Ingredient Cheese Crackers
- Gathering Ingredients for the Best Homemade Cheese Crackers
- Step-by-Step Instructions for Crispy Cheddar Crackers
- Tips for Success When Making Homemade Cheese Crackers
- Serving Suggestions for Your Savory Homemade Snacks
- Storage and Reheating for Perfect Cheese Crackers
- Variations: Beyond the Basic 4 Ingredient Cheese Crackers
- Frequently Asked Questions About Homemade Cheese Crackers
- Share Your Experience Making These Cheese Crackers
Why You Will Love These 4 Ingredient Cheese Crackers
Honestly, this recipe is a game-changer for quick savory treats. If you’ve been searching for a way to make something just that much better than what you buy, this is it. I promise you, we’re ditching those bland, manufactured snacks for something rich and satisfying.
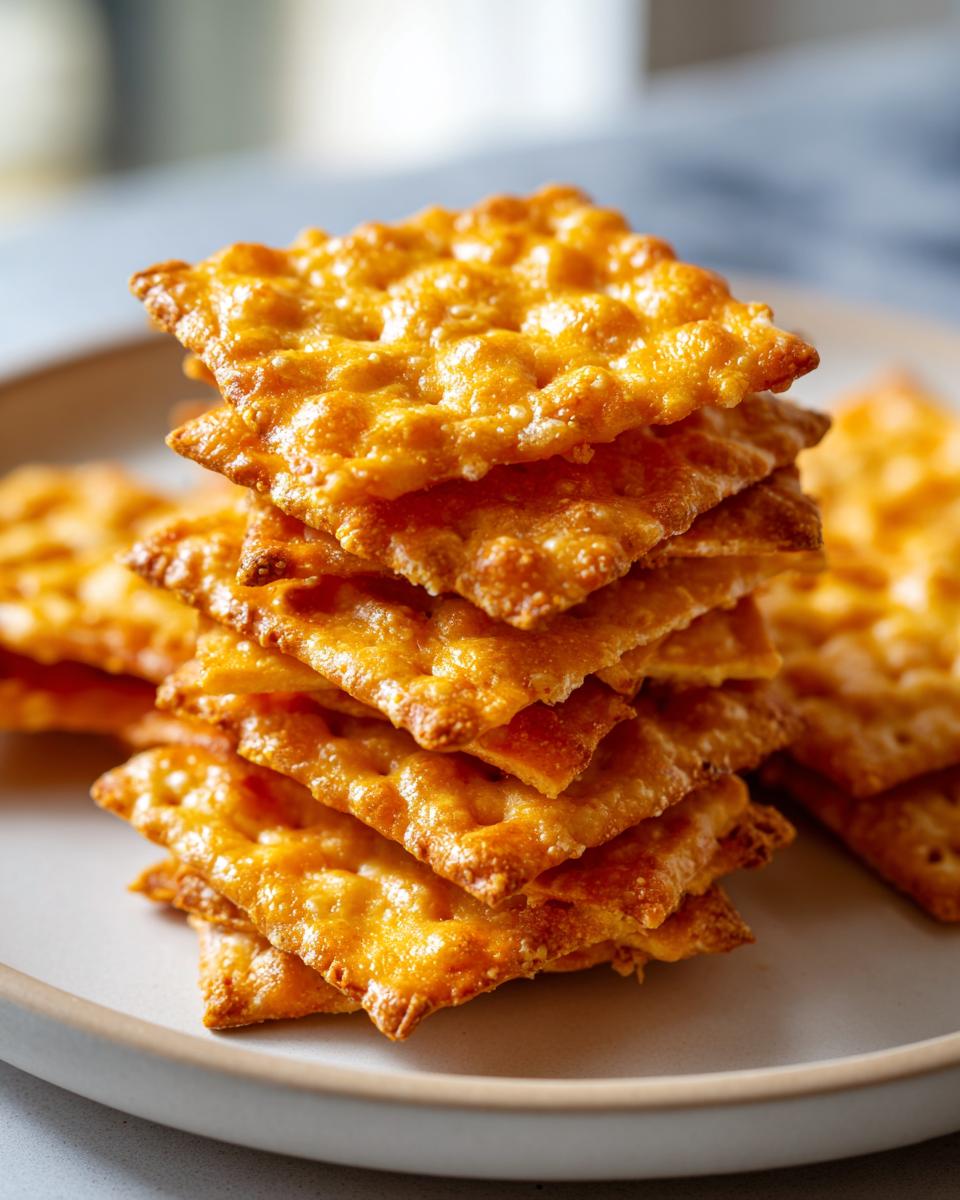
- Maximum Crunch Factor: Rolling these doughs razor-thin is non-negotiable! They come out perfectly snappy.
- Intense Cheddar Flavor: We use only sharp cheddar, so you get that real, unmistakable cheesy punch in every bite.
- Unbelievably Easy: Seriously, four ingredients! It doesn’t get much simpler for a seriously good appetizer cheese bite.
Gathering Ingredients for the Best Homemade Cheese Crackers
Okay, for these **homemade cheese crackers**, the magic truly starts before you even turn on the mixer. Since we are keeping this recipe down to just four simple components, the quality of what you use matters a ton. Don’t bother with mild cheddar here; we need that full, sharp flavor to shine through! Every ingredient needs to be nice and cold—I mean COLD. Cold butter and cold cheese are the secret handshake for getting flaky layers and that amazing, shatteringly crisp texture we’re aiming for.
Here is exactly what you need for about four dozen of these little flavor bombs:
- 1 cup all-purpose flour
- 1/2 teaspoon salt
- 8 ounces sharp cheddar cheese, finely shredded and cold
- 4 tablespoons unsalted butter, cold and cut into small pieces
Seriously, chill that butter and cheese until they are almost rock hard. If your kitchen is naturally warm, or if you’re just having a slow day, pop your shredded cheese back into the freezer for ten minutes before you start the food processor step. That step is crucial if you want your **easy cheese cracker recipe** to result in those crunchy delights rather than just sticky dough.
Ingredient Notes and Substitutions for Perfect Cheese Crackers
I call sharp cheddar my non-negotiable here. If you use anything less aged, the flavor gets lost once these bake up. You know how I feel about quality in my recipes; it just builds trust when you know the base ingredients are solid!
If you find your cheese isn’t shredding nicely because it’s too hard straight from the fridge, give it a quick 15 minutes on the counter, but no longer! Alternatively, if you are about to process it and it feels even slightly soft, grate it, put it on a plate, and put that plate in the freezer for about 10 minutes. It firms right up! I’ve also experimented by swapping out about a quarter of the sharpness with freshly grated Parmesan. That little nutty addition makes these little bites feel incredibly gourmet. They are fantastic alongside homemade pita bread puffs when you’re building a snack board!
Step-by-Step Instructions for Crispy Cheddar Crackers
Right, let’s get this dough moving! Since this is a food processor recipe, it whips up incredibly fast, but you absolutely cannot rush the chill time—that’s where the structure happens. First things first, get your oven set to 375 degrees Fahrenheit, or 190 Celsius if you’re working metric. While that’s warming up, line two baking sheets with parchment paper. Trust me on the parchment; it makes cleanup a breeze, and these little guys can sometimes decide to stick.
In the food processor, pulse your flour and salt together for just a quick second to combine them. Now, dump in the cold butter pieces and that finely shredded sharp cheddar. Pulse, pulse, pulse—you’re looking for a coarse crumb texture, like sandy peas. Stop as soon as it looks combined! If you overdo it here, the butter melts, and we end up with pizza dough, not crackers.
Turn that mixture out onto a lightly floured counter and give it a quick, gentle press together until it forms a disc. Wrap it tight and banish it to the fridge for at least 30 minutes. This chilling period is essential for easy rolling!
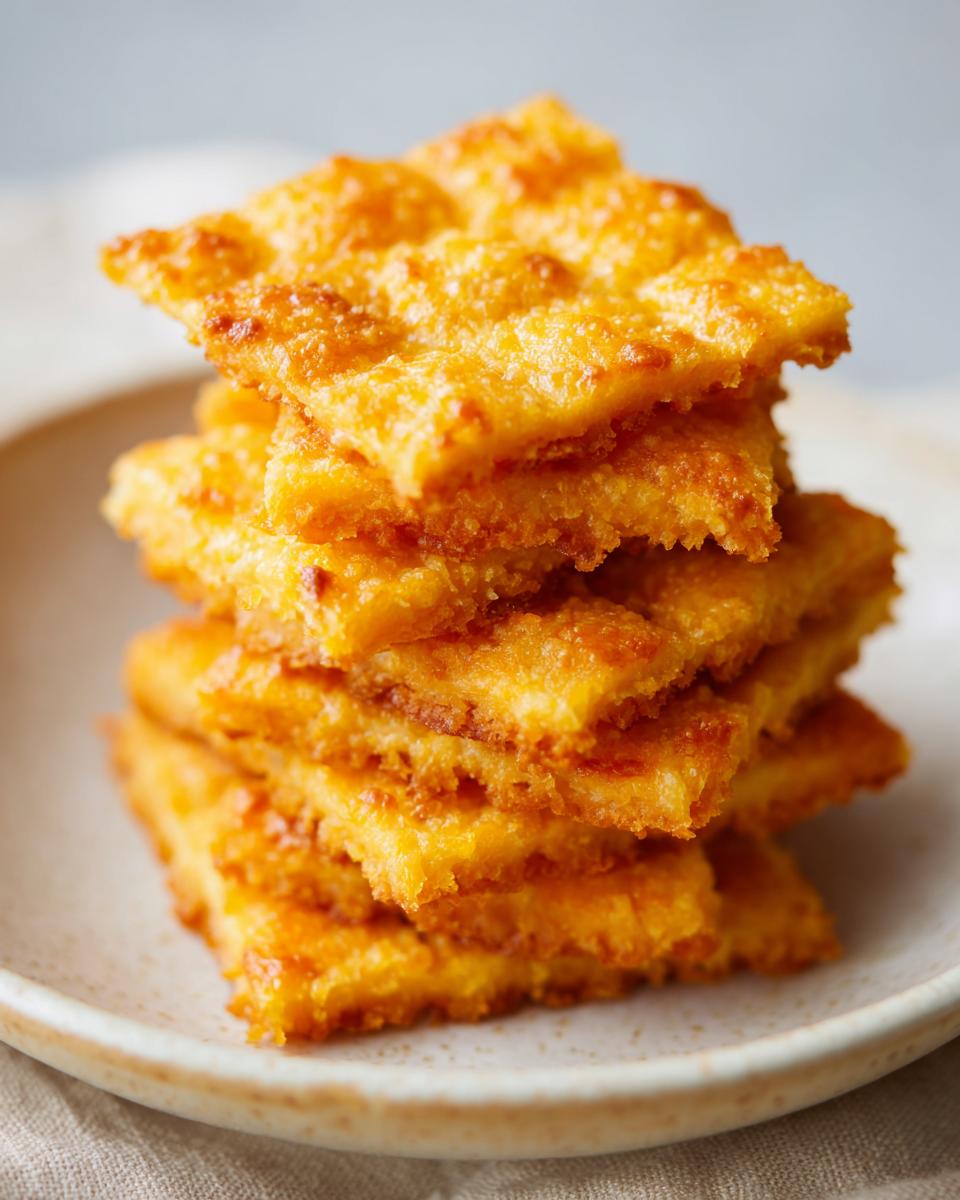
When you come back, carve the dough in half. Now comes the most important physical part for achieving that superior crunch: roll it out *thinly*. I mean paper-thin, aiming for about 1/16 of an inch thick. Use a pizza cutter to slice them into squares. Prick each one with a fork, just a few times, then get them onto those prepared sheets. They bake fast, usually 10 to 14 minutes. Keep an eye on them, especially the edges!
Achieving Maximum Crispiness in Your Cheese Crackers
The time they spend in the oven is a delicate balancing act! Since the oven heat can be uneven in home ovens, you absolutely must rotate those baking sheets halfway through the bake time. You’re aiming for a light, gorgeous golden color. If the edges look just a shade darker than the centers, you’ve nailed it!
But here’s my big secret for the best **crispy cheddar crackers**: don’t touch them right away! Let them cool down completely on the baking sheets before you even think about moving them. That final crisp sets up during the cooling process. If you move them too soon, they might just bend instead of snap. If you have extra dough after the first batch, don’t try to rush the second one—let it chill again! It’s worth the small extra wait. We cover more tips for perfect texture in my sourdough discard rolls recipe, and the same logic applies to keeping dough handled correctly!
Tips for Success When Making Homemade Cheese Crackers
Even with only four ingredients, there are a few little tips I picked up that stop these from becoming a floppy mess instead of perfect, **crunchy cheesy snacks**. Remember, control is your friend here. If the dough starts feeling warm or greasy at any point—maybe your hands are very warm or your kitchen is hot—stop immediately! Put the whole thing back in the fridge for 15 minutes.
The most common mistake I see people make when trying these **easy homemade cheese crackers** is over-processing. You want the butter cut into the flour, not completely incorporated until it looks like paste right away. That coarse crumb stage is what creates those tiny pockets that expand into flaky layers. Think of it as a very quick, rough rub-in method, just aided by the machine!
When it comes time to cut the shapes, ditch the butter knife. I swear by a pizza wheel or a sharp pastry cutter. Because the dough is so thin, using a knife can drag and pull the edges, sealing them up and preventing the edges from crisping nicely. A clean cut lets the edge bake up perfectly sharp. This same technique for clean edges helps when I make my flaky buttermilk scones, too—a sharp tool prevents dough drag!
Also, don’t skimp on the chilling time for the dough disk. Thirty minutes feels like forever when you’re hungry for crackers, but that downtime allows the gluten to relax and the fat solids to firm up again. A relaxed dough rolls out easily and thinly; a warm, fighting dough just shrinks back every time you try to work it thin.
Serving Suggestions for Your Savory Homemade Snacks
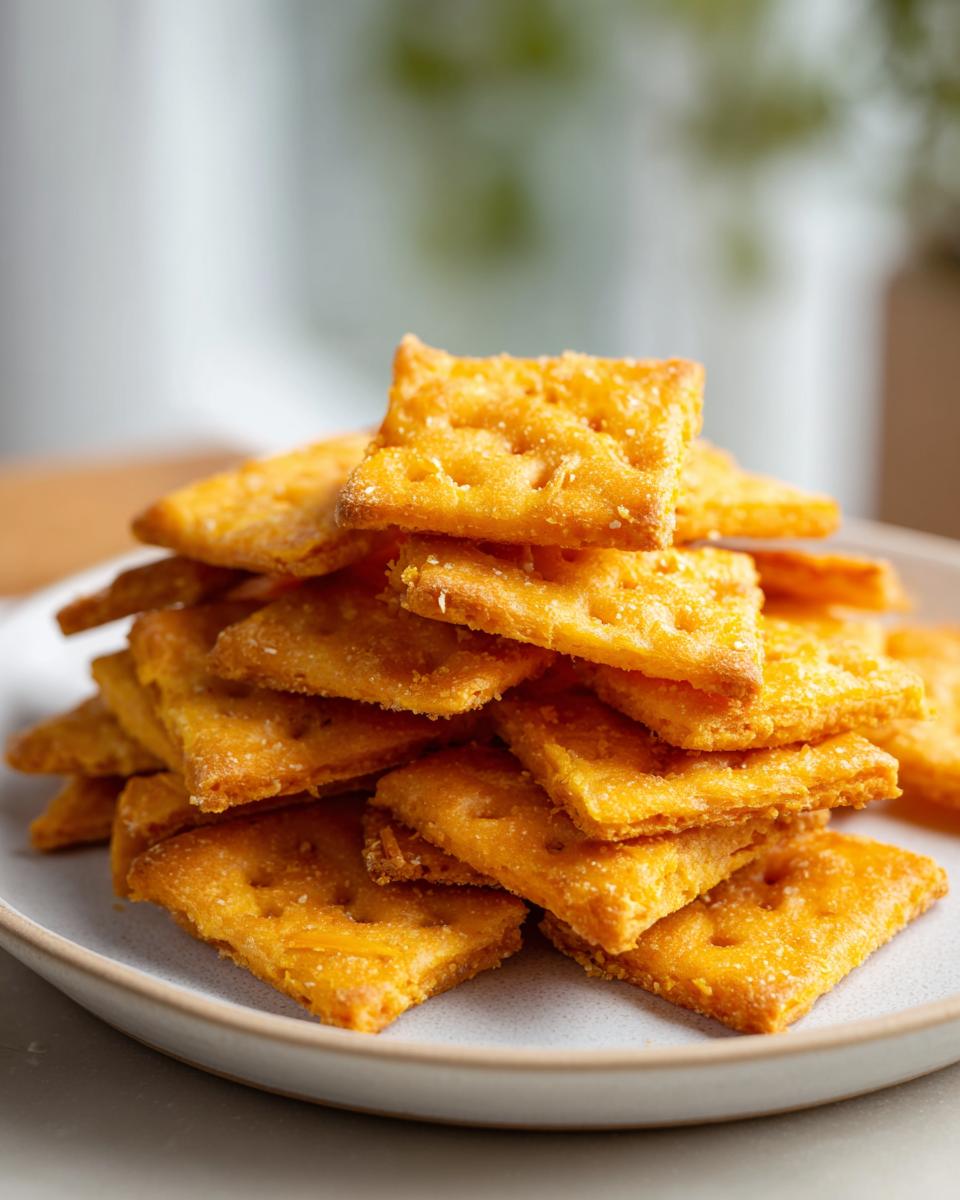
So, maybe you baked a double batch of these incredible **cheese crackers**, and now you’re wondering how to best serve up your new favorite **savory homemade snacks**. Honestly, they are phenomenal just straight out of the cooled container, but that’s only the beginning!
Because they are so sturdy and have such a great snap, they make an absolutely perfect vehicle for dips. Forget plain old chips; these elevate everything! You should definitely pair them with a big bowl of my easy beer cheese dip recipe—the sharp cheddar in the dip plays so well with the fresh cheddar in the crackers. Wow, talk about cheesy perfection!
They are also the ideal dunking companion when the weather turns cool. I usually make a big batch specifically to serve alongside creamy soups. Imagine dipping these into a steaming bowl of loaded baked potato soup. That crunch against the creamy soup texture? It’s just comforting heaven, Olivia-style. For an easy appetizer, just arrange them on a platter and serve them with some olives or candied nuts—instant party snack success!
Storage and Reheating for Perfect Cheese Crackers
Once you pull these glorious, crispy bites off the sheet pan, the first thing you need to do is let them cool completely. I know, I know, the smell alone is torture! But patience here is what keeps them crispy for days. If you try to store them while they still hold any residual heat, you’ll end up sealing moisture in, and that’s how we get sad, bendy crackers the next morning.
For storing your **better than store bought crackers**, you absolutely need an airtight container. Glass containers with gasket seals work the best for me, but a high-quality plastic container works too. Lay a paper towel on the bottom first—this helps wick up any tiny bits of surface moisture that might be lurking around. Stuffed in an airtight container, these usually stay perfectly crisp for me for a solid week. After that, they start to soften just a little, but don’t panic!
If you find they’ve lost a little snap after a few days, it’s not a lost cause. Reheating is your best friend! Seriously, skip the microwave; that will just steam them and make them chewy again. You just need a quick blast of dry heat. Pop them back onto a baking sheet and slide them into a 300-degree oven for about four or five minutes. Watch them closely because you only want to warm them back up and drive out that absorbed moisture, not start browning them again.
This simple trick works for almost any baked good you want to crisp up again. It’s the same principle I use when I need to revive slightly soft homemade croutons or even refresh my make-ahead egg muffins! Cool them on the sheet pan after reheating, and they’ll snap right back to their crunchy, cheesy glory.
Variations: Beyond the Basic 4 Ingredient Cheese Crackers
While this core recipe is designed to be the ultimate **easy cheese cracker recipe** using just four staple items, I know how our kitchens like to stretch and experiment! Once you’ve mastered the thin-roll technique, you’ll realize how easy it is to turn these into completely different, delicious **gourmet cheese crackers**.
The simplest way to change things up is to swap out flavorings. Remember how I mentioned Parmesan earlier? You can mix up the cheese blend! Try combining some Gruyère with your cheddar for a nuttier bite, or even add a pinch of smoked paprika along with your salt. If you’re making these for game day, a little garlic powder or dried onion flakes mixed in with the flour takes these right into party territory.
For those who like a bit of heat—and this reminds me of some wonderful Southern style cheese crackers I’ve seen—a tiny pinch of cayenne pepper in the flour mixture adds the perfect subtle kick without overpowering the cheese. Start small, maybe just an eighth of a teaspoon, and see how you like it!
Making Keto Cheese Crackers with Almond Flour
I always get questions about how to turn this into a **low carb cheese cracker** version, since the primary ingredient here is flour. Now, I stick to traditional baking in my core recipes, but I’ve seen fantastic results when cooks swap out that all-purpose flour for almond flour. I haven’t fully tested this swap in this exact 4-ingredient lineup yet, because almond flour behaves so differently than wheat flour, but the concept is sound!
If you are looking to keep things perfectly low carb, you’ll need a binder to make up for the lack of gluten structure. Keep an eye out on the site because I’m definitely testing a specific formula for a keto cheese crackers batch that uses almond flour instead of wheat. For now, just know that swapping flour in this simple cheddar base requires a little more attention to moisture control. But if you’re after that extreme crunch, skipping the flour can yield a truly decadent, melt-in-your-mouth experience!
Frequently Asked Questions About Homemade Cheese Crackers
I feel like whenever I share a new snack recipe, people always have questions about how to guarantee that perfect texture! It’s usually just one small tweak that makes all the difference between a good homemade cracker and a truly addictive one that beats anything you buy in a box. Here are the things I hear most often!
Can I make these cheese crackers without a food processor?
Absolutely, you can skip the food processor! I started baking long before I invested in one, so don’t let that stop you. When you are mixing the flour and salt, just put them into a large bowl. Then, you need to cut in that cold butter. The best way to do this by hand is using a pastry blender; it cuts those chunks of butter into the flour quickly. If you don’t have one of those, use your fingertips! Seriously, work quickly by rubbing the cold butter pieces into the flour mixture until it resembles coarse crumbs. Treat the cold shredded cheese the same way—toss it in and use your fingers to quickly blend it in until it looks right. Remember, the colder everything stays, the flakier your **cheese crackers** will be!
What is the best cheese for crispy cheddar crackers?
I really push the sharp cheddar for a reason! For the best flavor payoff in these **crispy cheddar crackers**, you need an aged, sharp cheddar. Mild cheddar usually has too much moisture and not enough flavor punch, so when you bake it, the flavor disappears. If you use good quality, *sharp*, aged cheddar, you get that deep, savory taste that makes these so addictive. Just make sure you finely shred it yourself and keep it absolutely chilled right up until it hits the flour. That cold temperature is just as important as the type of cheese when we are aiming for that supreme crunch.
How do I get my homemade cheese crackers to be perfectly thin?
This is the make-or-break step for that snap! You need that dough rolled out to about 1/16 of an inch thick. If you look at the thickness of most store-bought crackers, they are incredibly thin, and that’s how they get that satisfying *crunch*. If you’re having trouble getting it that thin because the dough is fighting you, here’s my trick: after you chill the dough disc for the first 30 minutes, divide it and roll out half. If it starts warming up and becomes tough to roll thinner, wrap that piece back up and slide it into the freezer for just 10 minutes. Working on two halves separately ensures you can chill the dough as often as needed. Even better, try this: place one sheet of parchment paper down, put the dough on top, and then put a second piece of parchment paper over the dough before you roll. You can press harder without sticking, and it helps keep everything even! We want these little savory bites to be perfectly flat.
Share Your Experience Making These Cheese Crackers
Now that you’ve got your hands on the recipe, I really want to hear what you think! Baking is such a personal activity, and seeing how these **homemade cheese crackers** turn out in *your* kitchen is the best part of running DelishCraze. Did you roll them thin enough? Did they pass the official ‘better than store bought crackers’ test in your house?
Please take a moment when you’ve finished your first batch—whether they are destined for dipping or just being devoured straight from the cooling rack—and leave a rating right down in the comments section below. Your feedback truly helps other home cooks decide to give this simple recipe a try!
If you snap a picture of your perfectly crunchy **party cheese snacks** or maybe a bright little box filled with these for school lunches (hello, lunchbox snack inspiration!), tag me on social media! I absolutely love seeing the creativity in our community kitchen. Showing off your snacks reminds me that making time for that simple, savory joy is always worth it. Happy crunching!
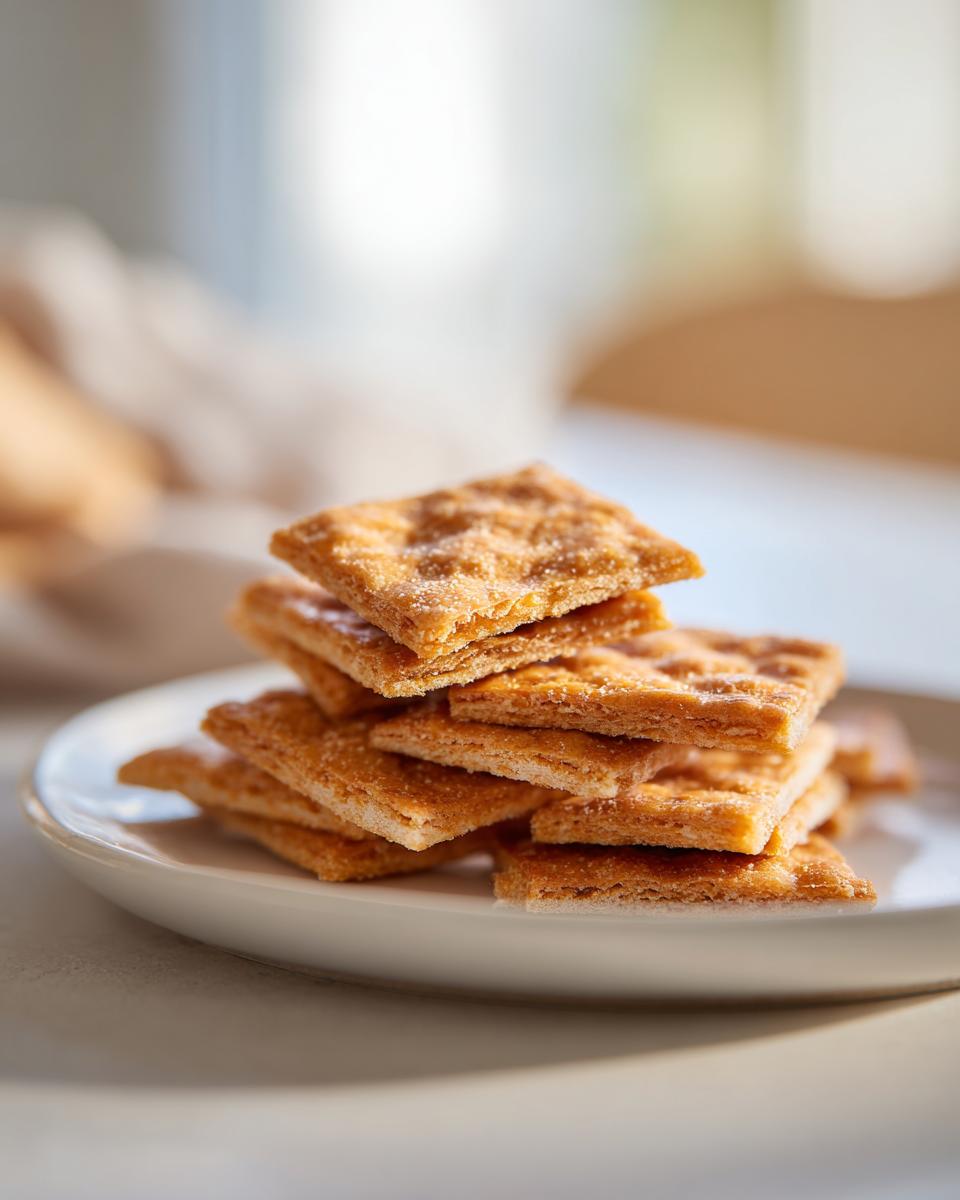
PrintThe Best Ever 4-Ingredient Homemade Cheddar Cheese Crackers

Make crispy, cheesy crackers at home that taste much better than store-bought versions using only four simple ingredients. This recipe delivers maximum crunch and cheddar flavor for a perfect savory snack.
- Prep Time: 20 min
- Cook Time: 14 min
- Total Time: 64 min
- Yield: About 4 dozen 1x
- Category: Snack
- Method: Baking
- Cuisine: American
- Diet: Vegetarian
Ingredients
- 1 cup all-purpose flour
- 1/2 teaspoon salt
- 8 ounces sharp cheddar cheese, finely shredded and cold
- 4 tablespoons unsalted butter, cold and cut into small pieces
Instructions
- In a food processor, pulse the flour and salt together briefly.
- Add the cold butter pieces and shredded cheese to the flour mixture. Pulse until the mixture resembles coarse crumbs, about 10 to 15 pulses. Do not overmix.
- Turn the mixture out onto a lightly floured surface. Quickly bring the dough together with your hands into a cohesive disk. Wrap the disk in plastic wrap and chill in the refrigerator for at least 30 minutes.
- Preheat your oven to 375 degrees Fahrenheit (190 degrees Celsius). Line two baking sheets with parchment paper.
- Divide the chilled dough in half. On a lightly floured surface, roll out one half of the dough very thinly, aiming for about 1/16 inch thickness for maximum crispiness.
- Use a pizza cutter or knife to cut the dough into small squares or desired cracker shapes. You can prick each cracker a few times with a fork.
- Transfer the cut crackers to the prepared baking sheets, leaving a small space between them.
- Bake for 10 to 14 minutes, rotating the sheets halfway through, until the crackers are lightly golden brown and crisp. Baking time varies based on thickness.
- Let the crackers cool completely on the baking sheets or a wire rack. They will crisp up further as they cool.
- Repeat the rolling and baking process with the remaining dough. Store your **crunchy cheesy snack** in an airtight container.
Notes
- For extra flavor, substitute 1/4 cup of the cheddar with Parmesan cheese.
- If you prefer a softer cracker, roll the dough slightly thicker, about 1/8 inch.
- Chilling the cheese and butter well is key to achieving a flaky, crispy texture.
- These **homemade cheese crackers** are excellent served with soup or as an **appetizer cheese bite**.
Nutrition
- Serving Size: 5 crackers
- Calories: 110
- Sugar: 0.2
- Sodium: 150
- Fat: 7
- Saturated Fat: 4
- Unsaturated Fat: 3
- Trans Fat: 0.1
- Carbohydrates: 8
- Fiber: 0.5
- Protein: 4
- Cholesterol: 15