
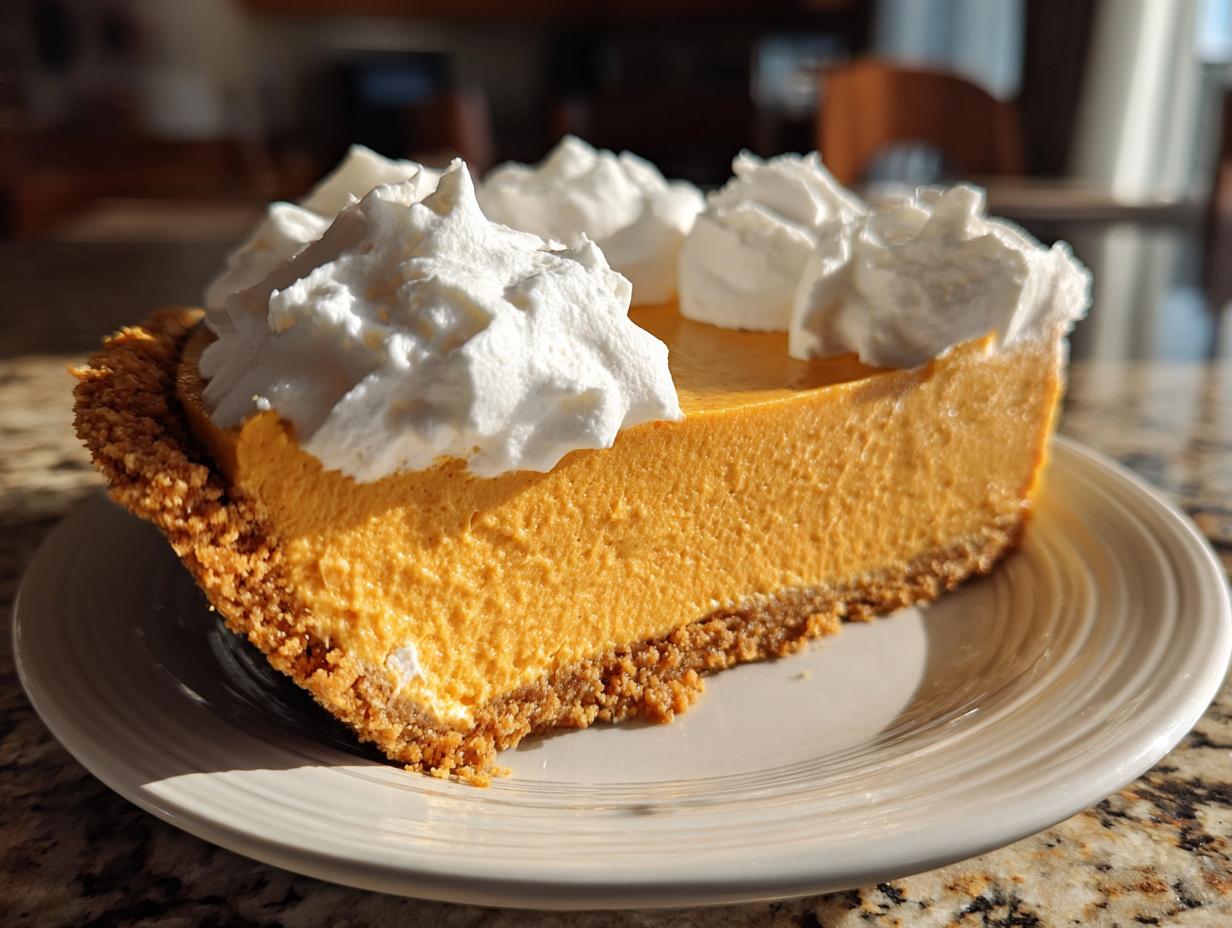
You know those holidays where the oven already feels like it’s hosting a party of its own? Thanksgiving is the perfect example! When the turkey needs hours and the side dishes are packed in there like sardines, the last thing I want is a dessert that needs baking time. That’s why I’m obsessed with this Creamy **no bake pumpkin pie**. It’s my instant hero for any **Thanksgiving Dessert** emergency.
As I always say here at DelishCraze, cooking should bring connection, not more stress! This recipe is pure Olivia Rosewood: reliable, wonderfully simple, and delivers huge flavor without needing complex techniques. Trust me, whipping this up in 20 minutes and letting the fridge do the heavy lifting is the smartest move you’ll make all season. You’ll have that velvety, spiced perfection ready to go!
- Why This Creamy No Bake Pumpkin Pie is Your New Favorite Fall Dessert Recipe
- Gathering Ingredients for Your No Bake Pumpkin Pie
- Step-by-Step Instructions for the Easy Pumpkin Pie
- Tips for the Best Ever No Bake Pumpkin Pie
- Serving and Storing Your Quick Pumpkin Dessert
- Frequently Asked Questions about Making a No Bake Pumpkin Pie
- Nutritional Estimates for Your No Bake Pumpkin Pie
- Share Your Family Favorite Pie Creations
Why This Creamy No Bake Pumpkin Pie is Your New Favorite Fall Dessert Recipe
When the air gets crisp, you want those classic spices, but honestly, who has oven space in November? That’s the magic of this **no bake pumpkin pie**. It truly is the definition of an **Easy Pumpkin Pie**—you spend maybe 20 minutes on prep, and the fridge chills it into perfection. It’s my go-to **Quick Pumpkin Dessert** when I need something impressive without the hassle!
I love how this recipe lets you focus on the big stuff. If you are looking for similar amazing chilled treats, you might also want to check out my recipe for easy pumpkin fluff—it uses some of the same wonderful flavors!
Oven-Free Convenience for Busy Holidays
This is designed to be a true **No Oven Dessert**. Forget hovering around the oven while the turkey browns! It’s the ultimate **Make Ahead Dessert**. Seriously, whip it up the night before, and you’re done. It frees up so much counter space and mental energy for the actual holiday meal prep. People never guess how simple this **Fall Dessert Recipe** actually is.
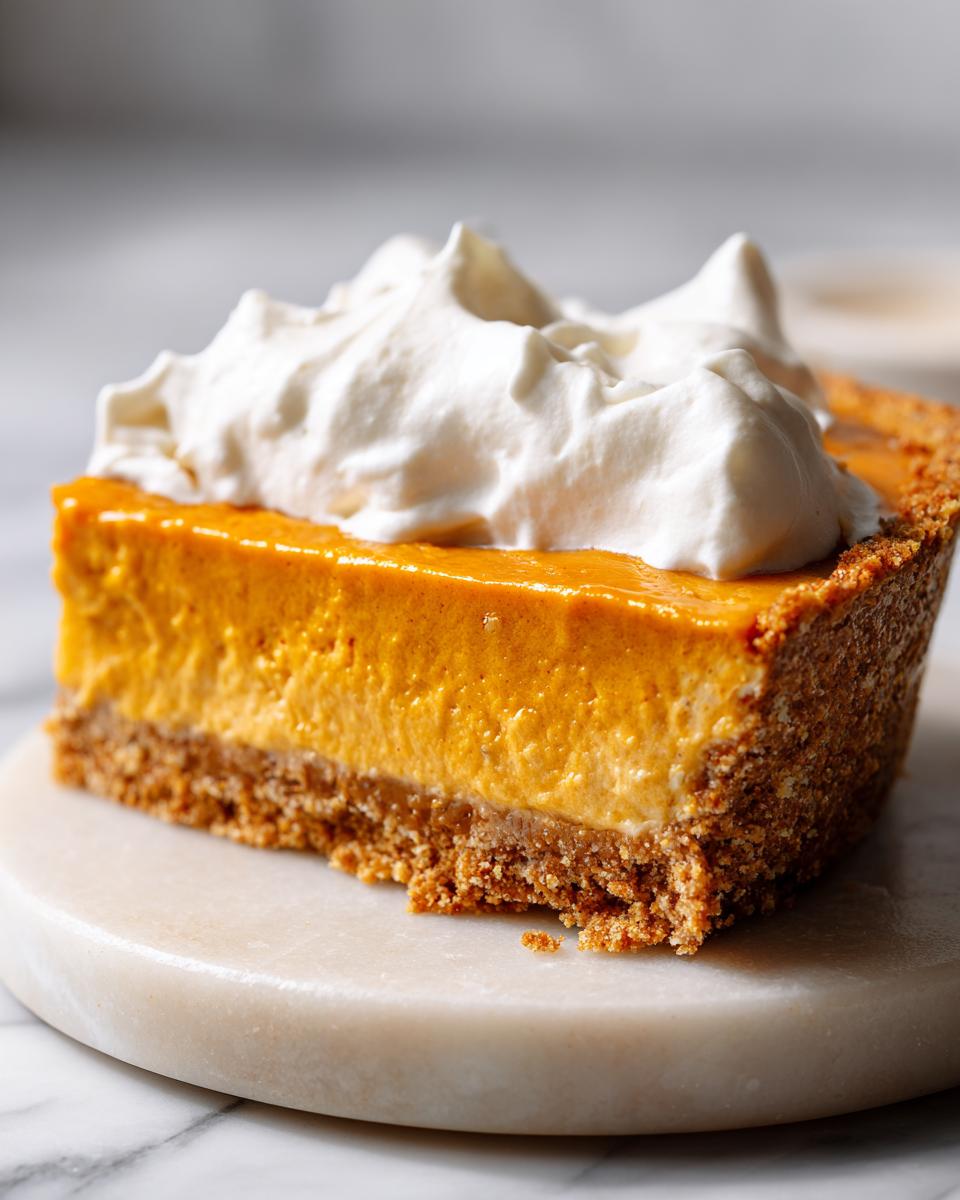
Achieving the Perfect Creamy Pumpkin Pie Texture
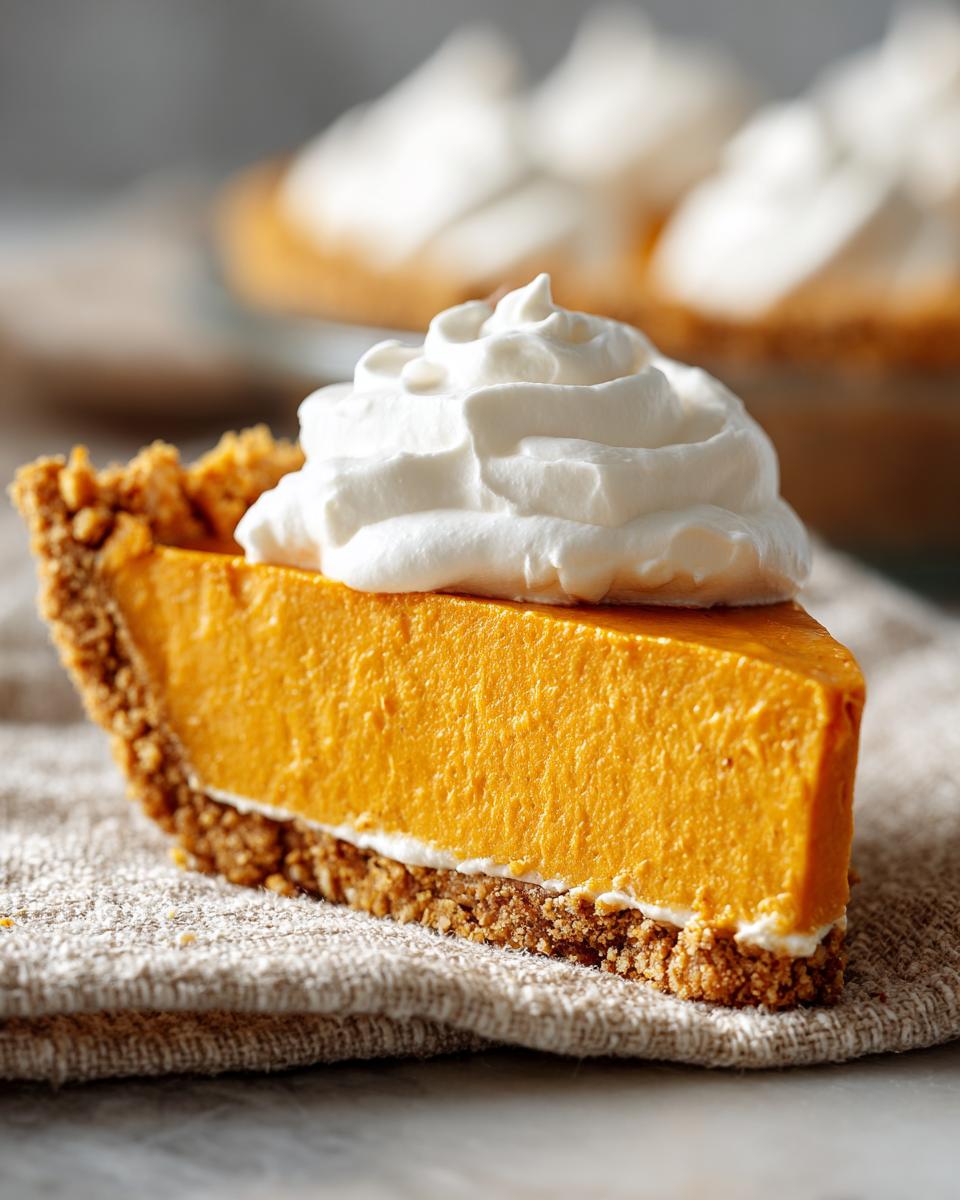
People ask me all the time how I get that texture without eggs or cooking the filling. The secret sauce is combining that softened, full-fat cream cheese with the airy texture of the thawed whipped topping. They emulsify beautifully with the pumpkin and milk base. It’s lighter than a cheesecake but richer than a simple fluff. If you want to see a famously easy version that people rave about online, check out this popular no bake pumpkin pie example for inspiration!
Gathering Ingredients for Your No Bake Pumpkin Pie
Okay, this is the fun part: assembling our toolkit! Because we aren’t subjecting this beauty to heat, ingredient quality really shines through. I like to lay everything out on the counter first—it makes the whole 20-minute prep time fly by! Before you start, make sure you look through my guide on easy 3-ingredient fudge; gathering ingredients that way is a habit that saves me so much frustration on busy days!
We need simple components for a strong foundation and a rich, spiced filling. Remember, we are using pure pumpkin puree, not that pre-spiced pie filling mix. That’s how we control the spice perfectly!
For the Graham Cracker Crust Pie Base
This crust comes together so fast; you just need three things! Make sure you have about 1 1/2 cups of graham cracker crumbs ready to go. You’ll also need 1/4 cup of granulated sugar and exactly 6 tablespoons of unsalted butter, which must be fully melted before you mix it in. Everything gets pressed firmly into a standard 9-inch pie plate. That’s it for the base!
For the Whipped Pumpkin Dessert Filling
Now for the creamy magic! You absolutely need one full 15-ounce can of pure pumpkin puree—the real deal! You also need one 14-ounce can of sweetened condensed milk (this is what holds it together without baking!). Don’t forget those essential warm spices: cinnamon, nutmeg, and ginger, plus a little salt. Crucially, we need an 8-ounce package of cream cheese, softened completely—this is key for smoothness!
Finally, we need 1 teaspoon of vanilla extract and the entire 8-ounce container of frozen whipped topping, thawed. We use half in the filling and save the rest for the top layer later!
Step-by-Step Instructions for the Easy Pumpkin Pie
Alright, let’s get this incredibly **easy pumpkin pie** made! Since there’s no baking involved, this whole process is all about efficient mixing and making sure things are properly chilled. I always put on some music while I work; it makes those 20 minutes of prep fly by. Seriously, if you need a quick, reliable dessert, this **no bake pumpkin pie** is it. If you want another easy, no-fuss recipe to save for later, you might enjoy my guide on my easy chocolate dip!
Preparing and Chilling the Graham Cracker Crust Pie
First up is our home for the filling. In a medium bowl, toss those graham cracker crumbs, the 1/4 cup of sugar, and the 6 tablespoons of melted butter together. Make sure it looks evenly moistened! When you press this into your 9-inch pie plate, do it firmly. My personal trick? I use the bottom of a flat measuring cup to really compact the crumbs right up the sides. This prevents crumbling when we slice it later. Once it’s packed tight, pop that crust into the fridge to chill while you tackle the filling. It needs time to firm up before we add anything wet!
Mixing the Creamy Pumpkin Pie Filling Layers
We start the filling by tackling the cream cheese—make sure it’s fully softened, or you’ll get lumps! Beat the cream cheese by itself until it’s totally smooth. Then we add the vanilla and beat that in briefly. In a separate bowl, whisk together your pumpkin puree, the entire can of sweetened condensed milk, and all your spices (cinnamon, nutmeg, ginger, and salt). Make sure those spices are totally blended into the wet ingredients! Now, add the pumpkin mixture to the cream cheese base and mix gently until you see one uniform color. The most important part is next, so listen close: In Step 5, you only fold in half of your thawed whipped topping. Gently slice the spatula through it until most of the streaks disappear. Seriously, do not overmix here, or you’ll deflate all the air we worked to keep in there!
Setting and Finishing the Chilled Pumpkin Dessert
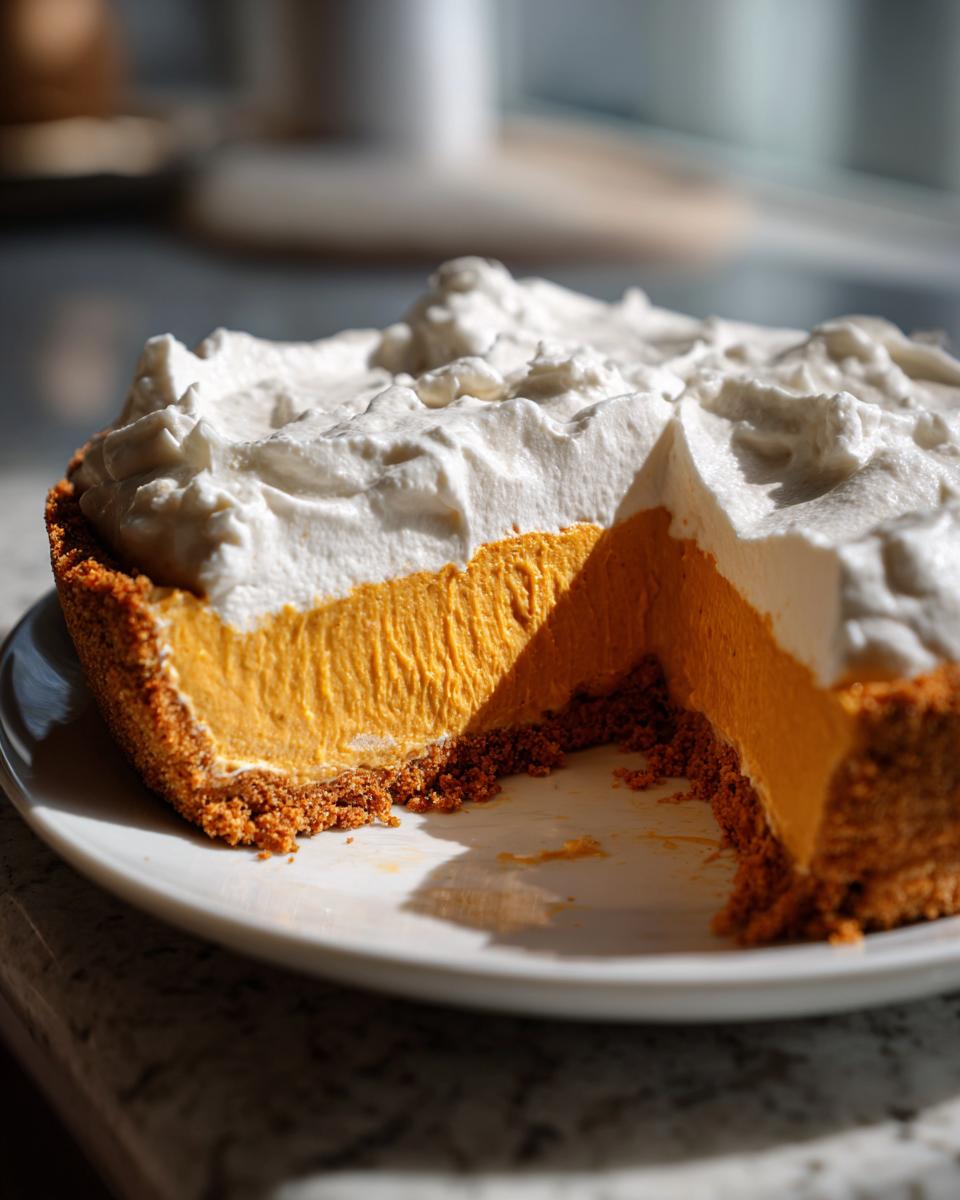
Pour that beautiful, pale orange, **creamy pumpkin pie** filling right into your chilled crust. Smooth out the top with your spatula. Now comes the hardest part: waiting! You must cover the pie loosely with plastic wrap and let it chill in the refrigerator for a bare minimum of four hours. Honestly, overnight is even better for ultimate firmness. If you’re looking for more great no-bake ideas that set up beautifully like this, this no bake pumpkin pie recipe shows off a great method too!
Once it’s completely set up, take out the remaining half of your thawed whipped topping. Spread it evenly over the top of the pie. This final layer gives it that perfect snowy look. A little extra dusting of cinnamon right before serving makes it look extra fancy!
Tips for the Best Ever No Bake Pumpkin Pie
When you skip the oven, you have to treat the ingredients a little differently to build structure. That’s where the real expertise comes in, right? I’ve tested this creamy **no bake pumpkin pie** recipe dozens of times so you don’t have to deal with weeping or splitting. Since this is such a fantastic **Make Ahead Dessert**, getting these chilling and mixing parts right ensures that first slice is just as beautiful as the last. If you love taking an easy staple and making it spectacular, you’ll adore my tips for soft and chewy snickerdoodles!
Ingredient Temperature Matters for Smoothness
This is non-negotiable for a silky texture! When the recipe calls for softened cream cheese, it means truly soft—you should be able to indent it easily with a light touch. If it’s cold, it will fight the mixer and leave you with little hard lumps floating around the filling. It just won’t blend right!
On the flip side, your whipped topping needs loving attention. You want it fully thawed so it folds in smoothly, but it needs to be cold—not liquidy. Warm whipped topping loses its aeration power, and that’s what gives the filling its fluff. If you find yours is already too liquid, pop the bowl into the freezer for about 15 minutes to firm it up just slightly before folding it in. That small chill makes all the difference!
Variations on the No Bake Cheesecake Style Filling
I love how adaptable this structure is. If you want to lean into a tangier profile that feels a little more sophisticated, try swapping out some of that cream cheese. The notes say you can use 4 ounces of cream cheese plus 4 ounces of mascarpone cheese instead of the full 8 ounces of cream cheese.
Mascarpone is naturally richer and sweeter, giving you that delightful **No Bake Cheesecake** vibe while still setting up perfectly in the chilling process. It’s a great way to change things up if you’re making this **pumpkin spice treat** for new guests!
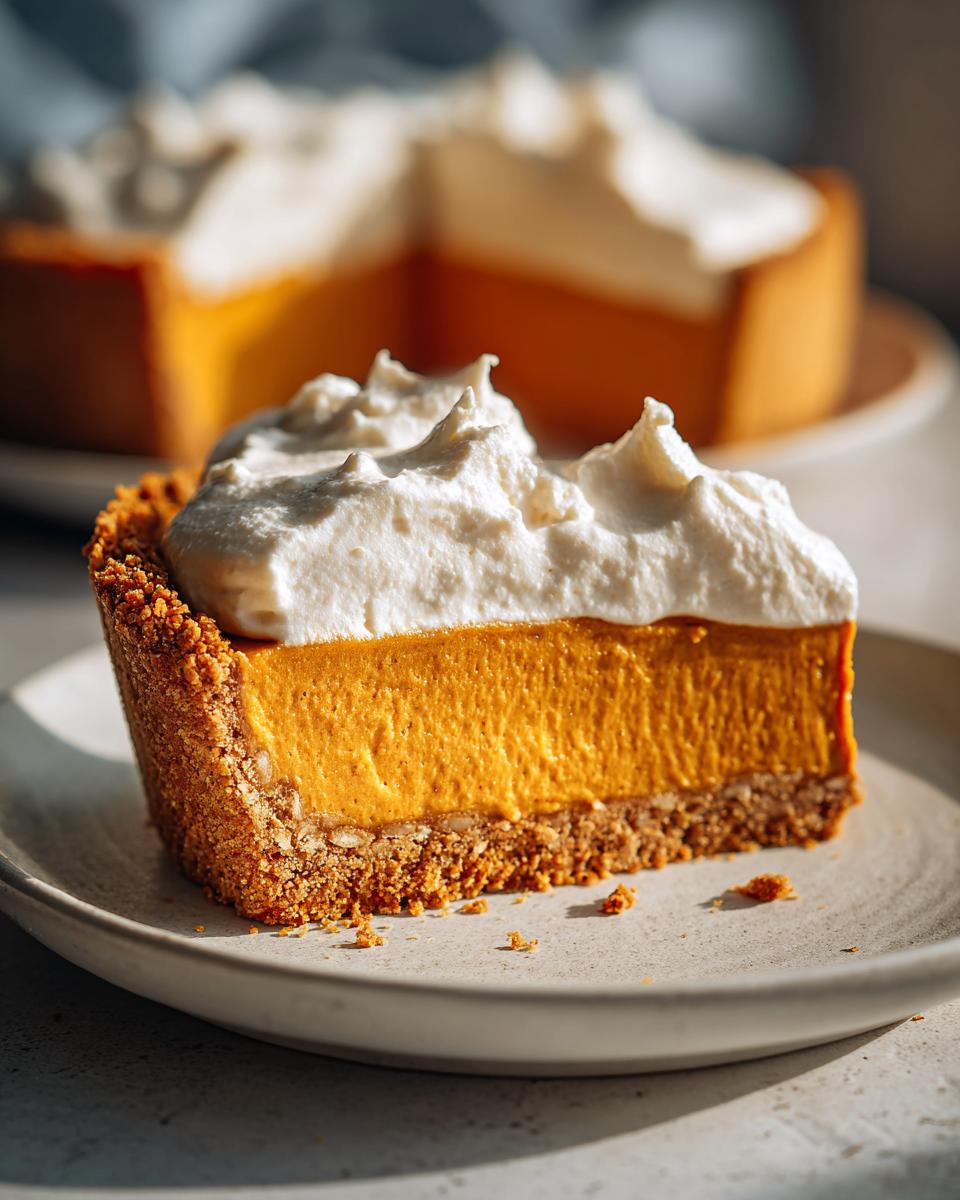
Serving and Storing Your Quick Pumpkin Dessert
Since this incredible **no bake pumpkin pie** relies entirely on chilling to set up, storage is super simple, but necessary! You must keep leftovers tightly covered in the refrigerator. This keeps that beautiful whipped topping fresh and, most importantly, ensures the structure stays perfectly firm—we don’t want any slumping!
It tastes best served straight from the fridge, nice and cold. You can absolutely make this **make ahead dessert** a day in advance; in fact, I think it tastes even better once it’s had a full night to settle and let those pumpkin spices mingle! If you are prepping other easy treats, you might want to save this recipe for my easy whipped hot chocolate too, so you have lots of cold options!
Frequently Asked Questions about Making a No Bake Pumpkin Pie
Whenever I share this recipe online, I get so many wonderful questions! It’s honestly the star of the show at our gatherings, and I want to make sure your experience creating this **family favorite pie** is seamless. Don’t worry if you need clarification; that’s what I’m here for!
Can I substitute the graham cracker crust for a different base in this no bake pumpkin pie?
Absolutely! While the graham cracker crust is classic and holds up beautifully, this recipe is wonderfully flexible. If you don’t have graham crackers on hand, you can easily swap them out! Gingersnap cookies crushed up make a fantastic, slightly spicier base. Vanilla wafer crumbs work perfectly too, especially if you want an even milder flavor profile. It’s all part of the ease of this **simple Fall baking** project!
How long does this chilled pumpkin dessert need to set?
This is key for that perfect slice! The recipe calls for a minimum of four hours of chilling time in the refrigerator. This gives the sweetened condensed milk and cream cheese just enough time to firm up around the pumpkin puree. However, and I’m sharing a true pro tip here, if you can manage it, making this the day before you serve it is ideal. Letting it set overnight ensures a structure that doesn’t sag at all when you slice into that magnificent **chilled pumpkin dessert**.
Can I make this Thanksgiving Dessert completely ahead of time?
Yes, this is the ultimate stress-saver! Because this **no bake pumpkin pie** doesn’t rely on egg structure that can sometimes break down after a day, it’s the perfect **make ahead dessert**. I usually have it fully constructed, topped with the first layer of whipped topping, and chilling in the fridge by lunchtime on Wednesday if Thanksgiving is Thursday. Just remember to wait to add the final layer of whipped topping until about an hour before you plan to serve it, just to keep it looking as fresh and fluffy as possible!
For more easy meal solutions when the oven is packed, you might want to check out my guide for easy 30-minute chicken marsala—sometimes weeknights need a no-fuss win too! And if you’re curious about how other bloggers manage similar recipes, this no bake pumpkin pie cheesecake variation shows off some great tips for adding textural variety.
Nutritional Estimates for Your No Bake Pumpkin Pie
I always feel a little guilty looking at the numbers for rich desserts like this, but since everyone always asks, I wanted to make sure I included the estimates right here! Remember, because this is assembled from ingredients like sweetened condensed milk and cream cheese, it’s certainly a richer treat—great for holidays, not so much for every Tuesday night, ha! These figures are based on dividing the recipe into 8 generous slices, as specified in the recipe card.
Please know that these are just ballpark figures, as the exact brand of cream cheese or how much butter soaks into your crust can change things slightly. For the most accurate count, you’d need to plug the exact products you used into a calculator, but this gives you a solid starting point for enjoying your **no bake pumpkin pie** guilt-free!
- Serving Size: 1 slice
- Calories: About 380
- Fat: Around 22g (Note the 12g saturated fat)
- Carbohydrates: A solid 42g (Where all that sugar hides!)
- Protein: About 6g
- Sugar: Approximately 35g
- Cholesterol: Roughly 55mg
It’s got a good mix of sweet and rich elements, which is what makes it such a satisfying **chilled pumpkin dessert**! Enjoy every bite!
Share Your Family Favorite Pie Creations
Well, that’s the whole journey of making what I truly believe is the best **no bake pumpkin pie** you will ever need! It’s easy, it’s creamy, and boy, does it save the day when your oven is already overloaded with turkey and stuffing.
Now that you have the blueprint for success, I absolutely need to hear from you! Did you try it out for your family gathering? Did your guests ask for the recipe? Don’t be shy! Please hop down to the comments section below and let me know how it went. Five stars are wonderful, but hearing a story about how this saved your holiday is even better!
Creating these simple, nourishing recipes is the whole point of DelishCraze. It’s about bringing that warm, connected feeling back into your kitchen, just like it was growing up for me in Portland. If you want to read more about why I believe home cooking is so important and how these recipes are developed for busy people like us, you can always peek at my philosophy section right here on the site. Happy baking—or should I say, happy chilling!
PrintCreamy No Bake Pumpkin Pie
Make this simple, creamy no bake pumpkin pie with a graham cracker crust. It is a quick, chilled dessert perfect for fall gatherings or Thanksgiving when you want to keep the oven free.
- Prep Time: 20 min
- Cook Time: 0 min
- Total Time: 4 hr 20 min
- Yield: 8 servings 1x
- Category: Dessert
- Method: Chilling
- Cuisine: American
- Diet: Vegetarian
Ingredients
- 1 1/2 cups graham cracker crumbs
- 1/4 cup granulated sugar
- 6 tablespoons unsalted butter, melted
- 1 (15 ounce) can pure pumpkin puree
- 1 (14 ounce) can sweetened condensed milk
- 1 teaspoon ground cinnamon
- 1/2 teaspoon ground nutmeg
- 1/4 teaspoon ground ginger
- 1/4 teaspoon salt
- 1 (8 ounce) package cream cheese, softened
- 1 teaspoon vanilla extract
- 1 (8 ounce) container frozen whipped topping, thawed
Instructions
- Combine graham cracker crumbs, 1/4 cup sugar, and melted butter in a bowl. Press the mixture firmly into the bottom and up the sides of a 9-inch pie plate. Chill the crust while you prepare the filling.
- In a large bowl, beat the softened cream cheese with an electric mixer until smooth. Add the vanilla extract and beat until combined.
- In a separate bowl, whisk together the pumpkin puree, sweetened condensed milk, cinnamon, nutmeg, ginger, and salt until fully blended.
- Gradually add the pumpkin mixture to the cream cheese mixture, beating on low speed until just combined and smooth. Do not overmix.
- Gently fold in half of the thawed whipped topping until no streaks remain. This creates a lighter filling.
- Pour the filling into the chilled graham cracker crust. Smooth the top with a spatula.
- Cover the pie loosely with plastic wrap. Chill in the refrigerator for at least 4 hours, or until the pie is firm.
- Before serving, spread the remaining half of the whipped topping evenly over the chilled pie. You can also sprinkle with extra cinnamon or nutmeg.
- Slice and serve this easy pumpkin pie cold.
Notes
- You can make this make ahead dessert the day before serving for best results.
- For a graham cracker crust alternative, use vanilla wafer crumbs.
- If you prefer a tangier filling, use 4 ounces of cream cheese and 4 ounces of mascarpone cheese instead of 8 ounces of cream cheese.
Nutrition
- Serving Size: 1 slice
- Calories: 380
- Sugar: 35
- Sodium: 250
- Fat: 22
- Saturated Fat: 12
- Unsaturated Fat: 10
- Trans Fat: 0
- Carbohydrates: 42
- Fiber: 1
- Protein: 6
- Cholesterol: 55